Recently, we created a video that teaches beginners How To Tie A Bow Tie, so it works every single time, and we already got a lot of feedback from readers telling us it was extremely helpful. If you have been with the Gentleman’s Gazette for a while, you know that we are not satisfied with the basics, and we always strive for the best.
Therefore, I decided to create a video with three advanced bow tie techniques that separate the gentlemen from the average men. After all, if you have a special bow tie in madder silk, wool challis or grosgrain, you want the look to be unique.
Today, I am going to show you, how to tie a bow tie with:
1. A Twisted Knot
2. A Big Knot
3. How To Tie a Single End Bow Tie
Welcome to the Gentleman’s Gazette. In this video, I’m going to show you a few more advanced ways to tie your bow tie.
I assume that you already know how to tie a bow tie but if not, check out this video where I explain how to do it.
Okay first, let’s the bow tie in this way where the knot is more three dimensional and looks different. I’m using a Barathea bow tie here from Fort Belvedere. Again you want the left end to be slightly longer than your right one, and you simply tie it.
Okay, normally this is the point where you just bring the bow tie down here and tie it. In order to get a different look, all you have to do is take this front end and twist it so you get a look that you like and then bring it down, so you get that nice knot and then just finish tying your bow tie just like you did the way before. As you can see, it’s a very nice twist tot he normal way of tying a bow tie. I particularly like it with solid bow ties such as this black bow tie because it adds another element of dimension and it really makes you and your outfit look different from all the others who wear a black bow tie.
Okay, in this second variationI’m going to show you how to tie a bigger bow tie knot that is not extremely tight like so. So when you start, you want your left end to be just a tad longer than before to give you a little more room so maybe an inch and a half or about 4 centimeters and then you just tie the bow tie the same way again and now what you intentionally want to do, you want to keep things rather loose and then eventually what you can do, you can press it flat slightly and then it depends on your taste. This way, you get a bow tie that’s really big, and you can see it’s more like slightly asymmetrical, it’s big in the middle, bunches up. So if you don;t want that you can always pull on the ends that are folded. Pull slightly through and create a slightly tighter knot.


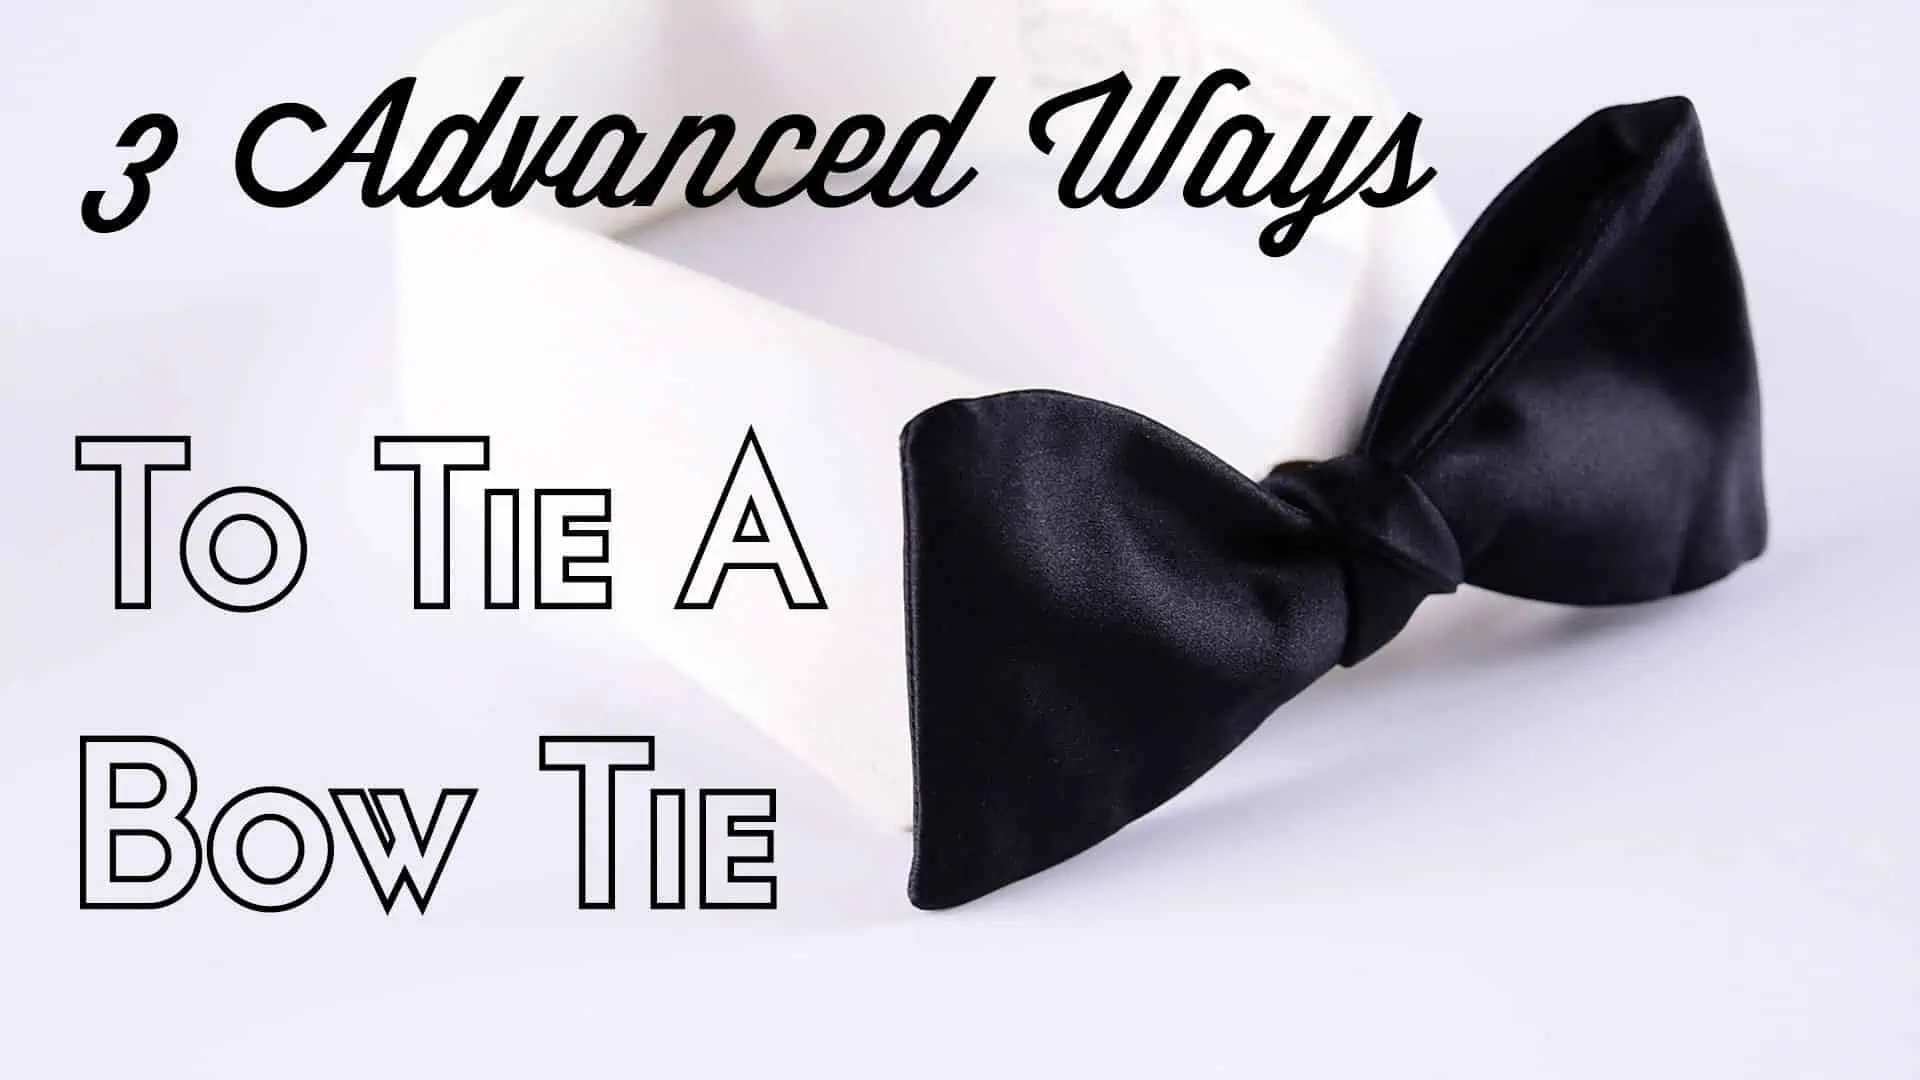
The third way to create a really unique bow tie look is to use a single end bow tie.I’m wearing the black moire single end bow tie from Fort Belvedere today. Unlike a regular bow tie, this bow tie just has one bow end that is called single end bow tie.You tie it very similarly to a regular bow tie, but there are a few exceptions so first, start out and you lay the wide end onto your shirt and the short end goes on top. Now you pinch it you want to pull it through a little bit and then you bring the slim end up and now like a regular bow tie, slim end up, you create your shape. You have to pay attention here because there’s just one way to do this. There’s not much adjustment you can do. Now you bring this part over and instead of pulling the back end to the side, you bring it through here and you simply pull up. First, adjust it, so it’s right now you pull up. You can either get a tight knot or a loose knot, it’s up to you and once you have it pulled up here all the way, I like it with a tight knot sometimes just looks cool. Bring this end, basically, flip up your collar bring this end under the inside band here so nobody can see it. It’s also suitable to be worn with detachable collars and you just have to spend a little more time getting it neatly underneath your collar but it’s basically there’s no clasp at the end, no adjustment, and it looks really beautiful with detachable collar as well.
Here, I fold this one down, adjust it slightly in the way I like it, VOILA! The single end bow tie.
Single end bow ties are extremely rare; they were sometimes worn by very elegant men in the 20s and in the 30s for white tie and black tie events. Today, they are basically extinct. For that reason, I decided to design my own single end bow ties because I really enjoy the look of them, and you can find them in our shop. All Fort Belvedere black bow ties come in a fixed length without adjuster that means they’re sized according to your neck size and the advantage of that is on the one hand, if you wear detachable collars, there are no visible adjustors and even if you wear a regular turn down collar the way I do, it’s just a next step up from an adjustable bow tie and you can take it out and it just shows you that you truly understand what you’re doing.
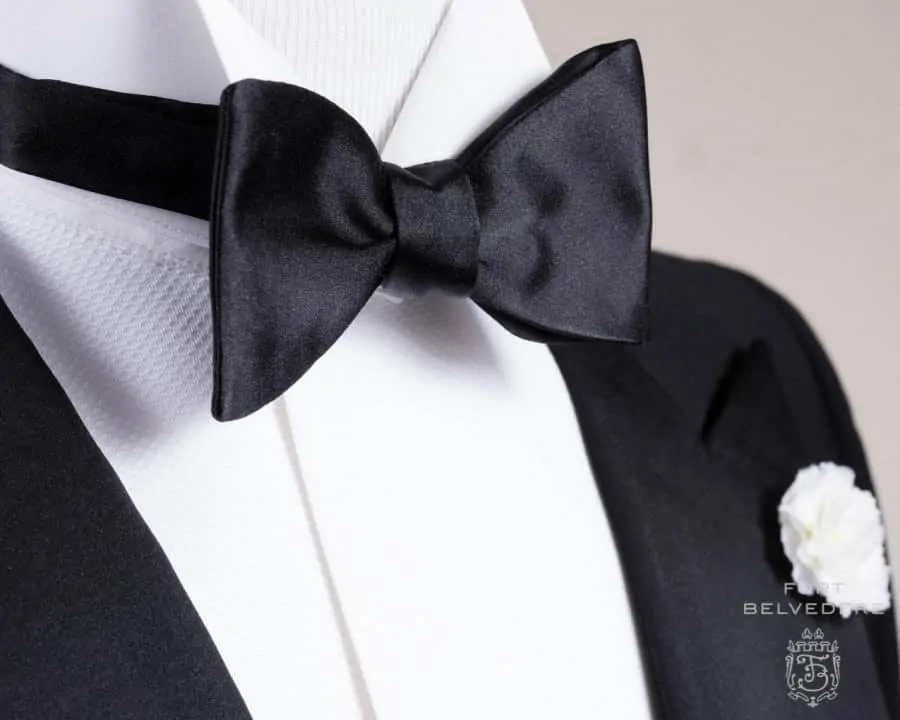
This kind of fixed length bow ties are hard to find especially in various materials but at Fort Belvedere, we offer them in Satin, barathea, In grosgrain, Faille, and moire. The traditional way to choose a bow tie material for your tuxedo is to simply use the same material as you have on your lapel faces.
Also make sure to check out my video on How To Tie A Bow Tie.

I know that Prince Charles, the Prince of Wales still wears single-end bow ties (black)… also I have seen the thin end tucked inside the shirt placket (rather than under the collar) Odd, but true.