How to Iron a Suit Jacket or Sport Coat
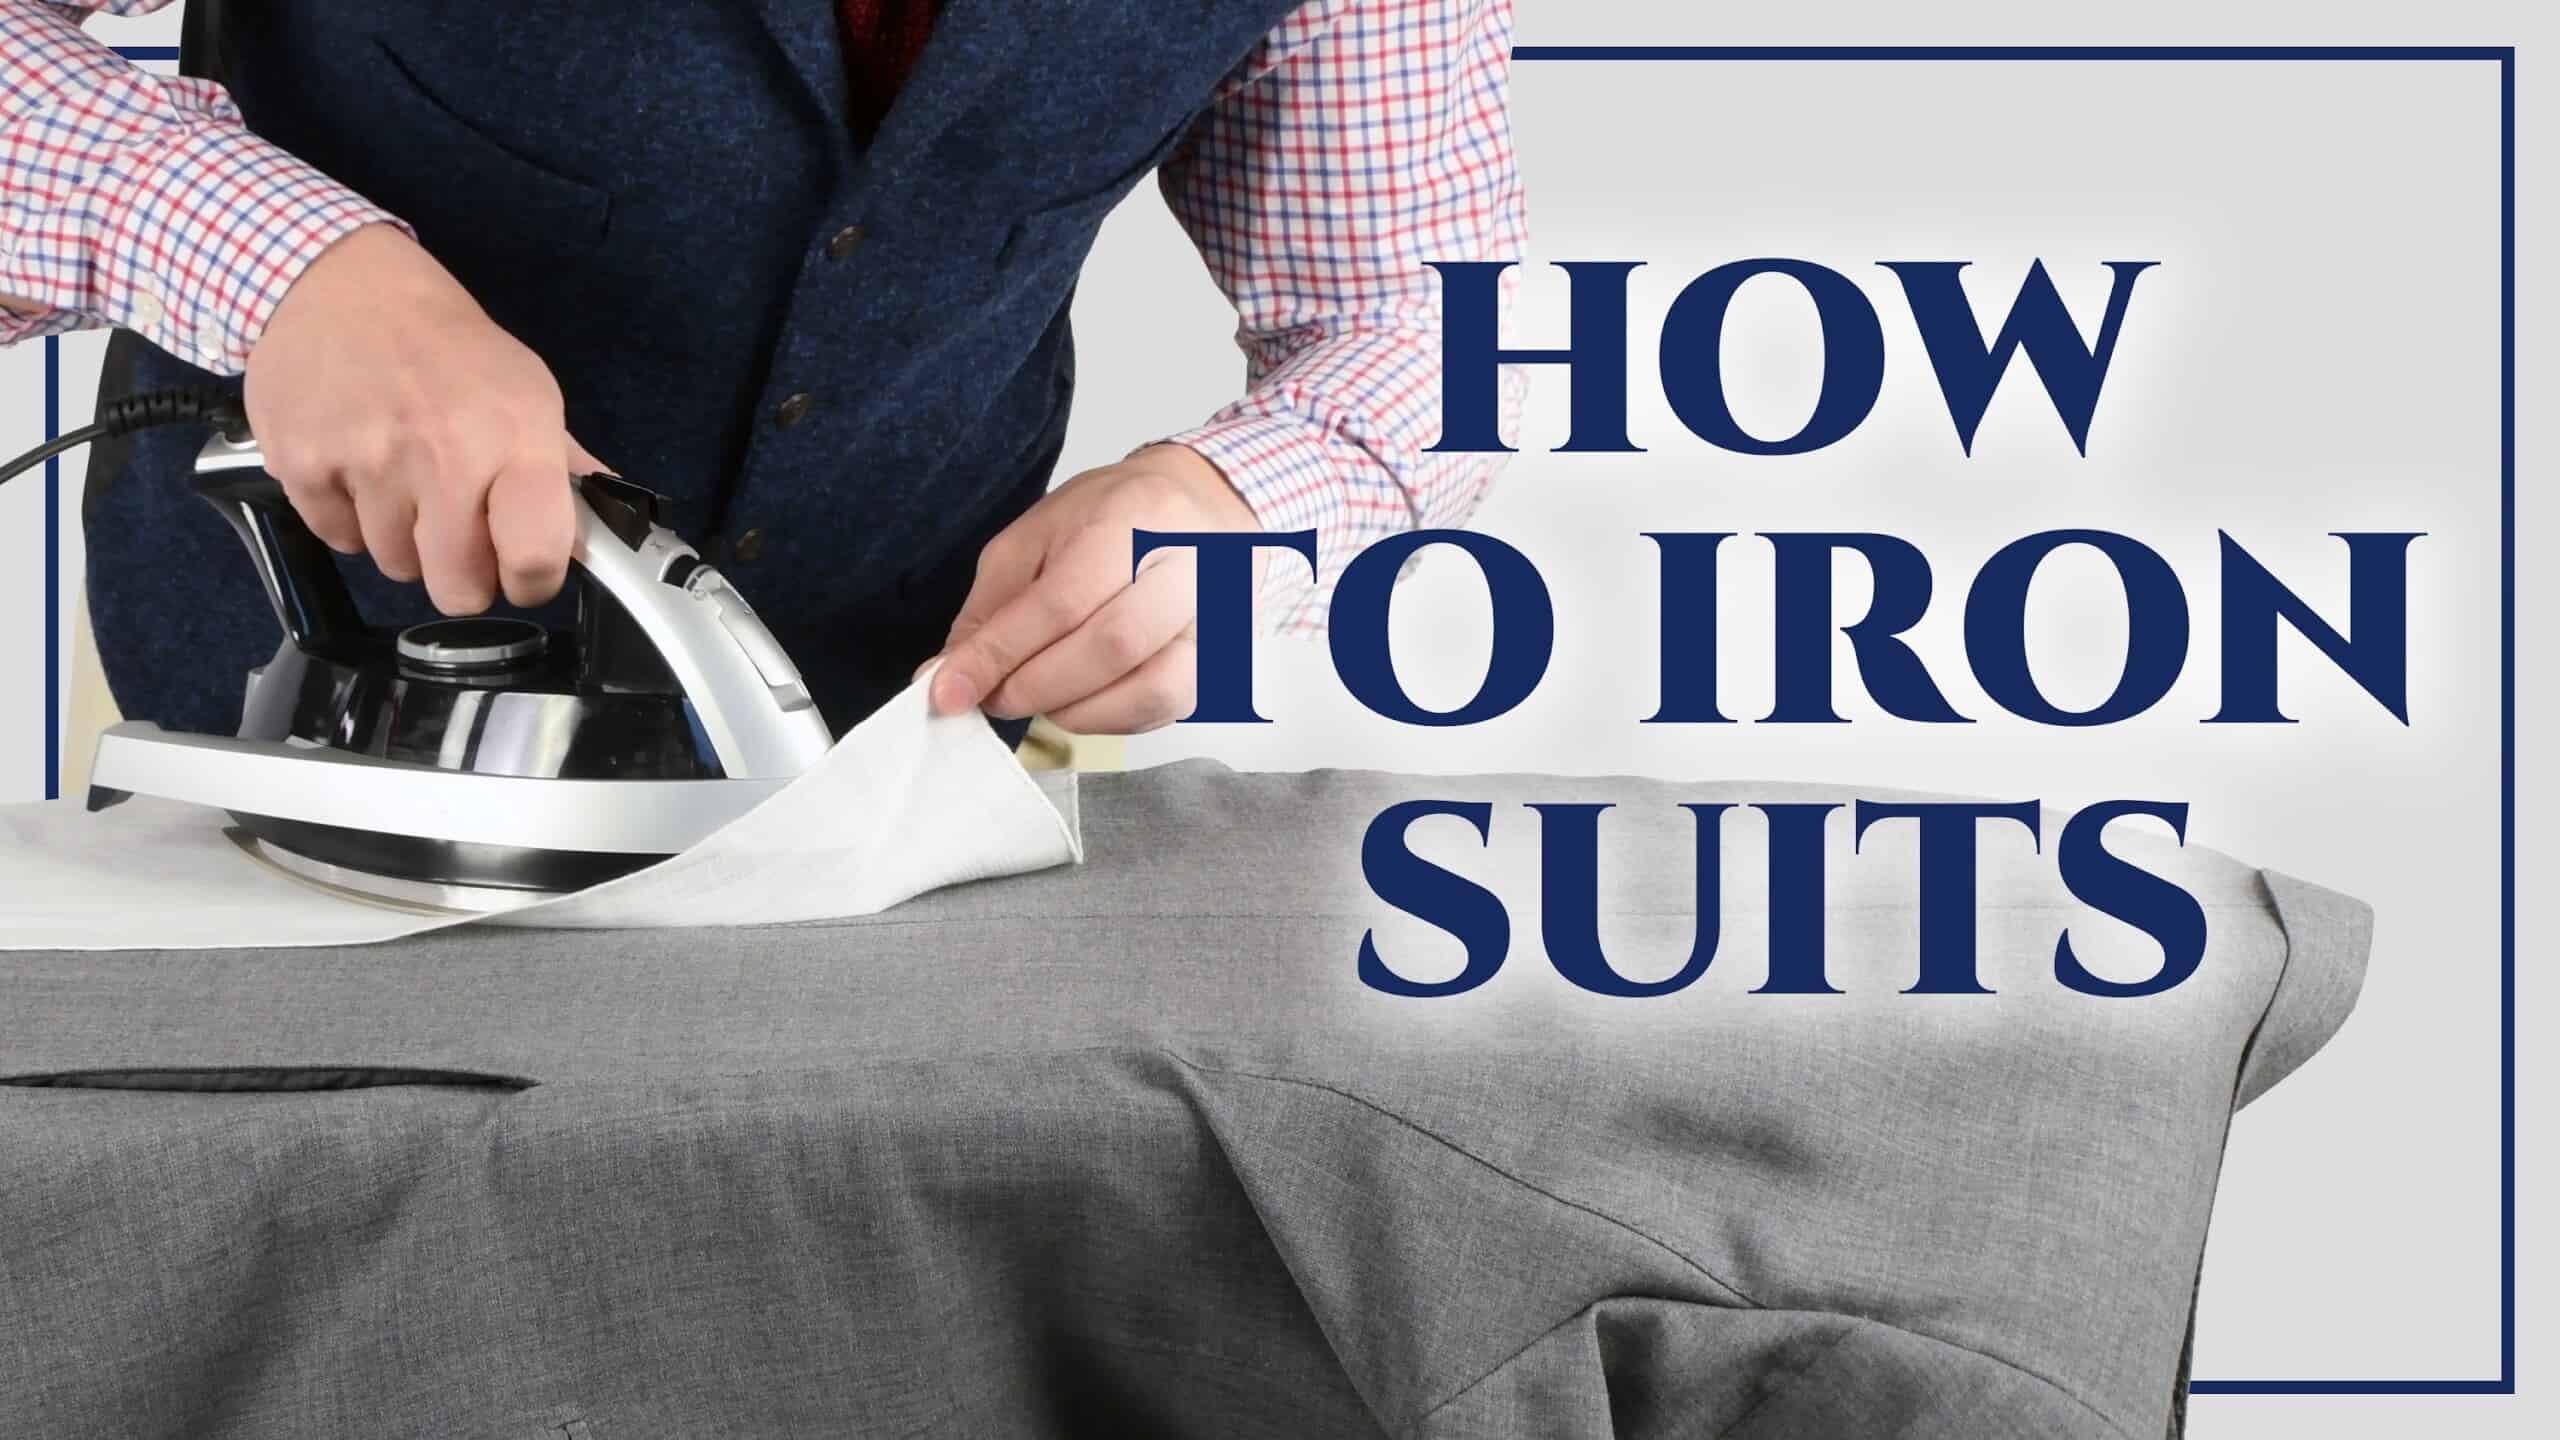
Ironing a suit jacket uses similar techniques to pressing a shirt because they share a similar shape and structure. The principles of ironing wool trousers would also apply to wool jackets. People may hesitate to press a jacket because of its complexity, including canvasing, lining, and padding, but, with the information in this article of our series on ironing, you’ll be able to de-wrinkle your jackets without fear.
Ironing Series
This is just Part IV of our ironing series. You can see the other essential ironing videos here
Part I – Essential Ironing Tools
Part II -How To Iron A Dress Shirt
Part III – How to Iron Dress Pants
Part IV – How to Iron a Suit Jacket
Removing Wrinkles without Ironing
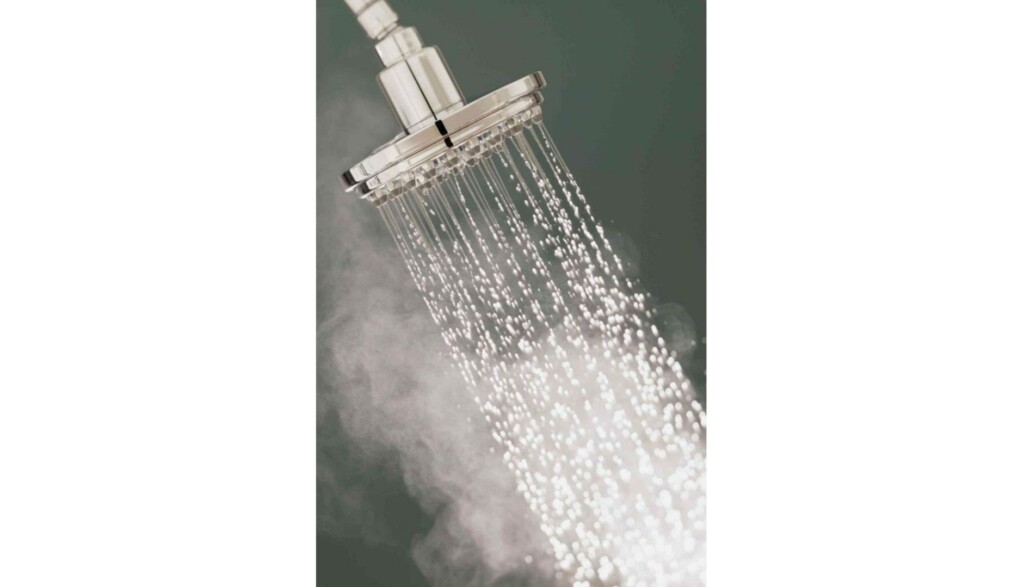
In some ways, getting the wrinkles out of a jacket is easy because most wrinkles will come out if you just apply steam without even making contact, and the weight of the jacket assists with this. De-wrinkling of specific areas can be achieved by expelling steam from an iron or handheld steamer held a few inches from the jacket surface. An even easier hands-off option, and maybe the most effective, is running a hot shower and then hanging the jacket in the steam afterwards. It may take some time for the effect to be noticeable, so run the shower before bed, shut it off, and keep the jacket in the closed bathroom overnight.
When it comes to the detailed work that requires an iron, the approach is similar to what you would do with a shirt. However, odds are, if you cared for it properly, your jacket will never be as wrinkled as your shirts (unless its linen) and will require less ironing. Therefore, you’ll only need to address specific areas with a touch-up, which shouldn’t be hard at all.
How to Press a Jacket
1. The Sleeves
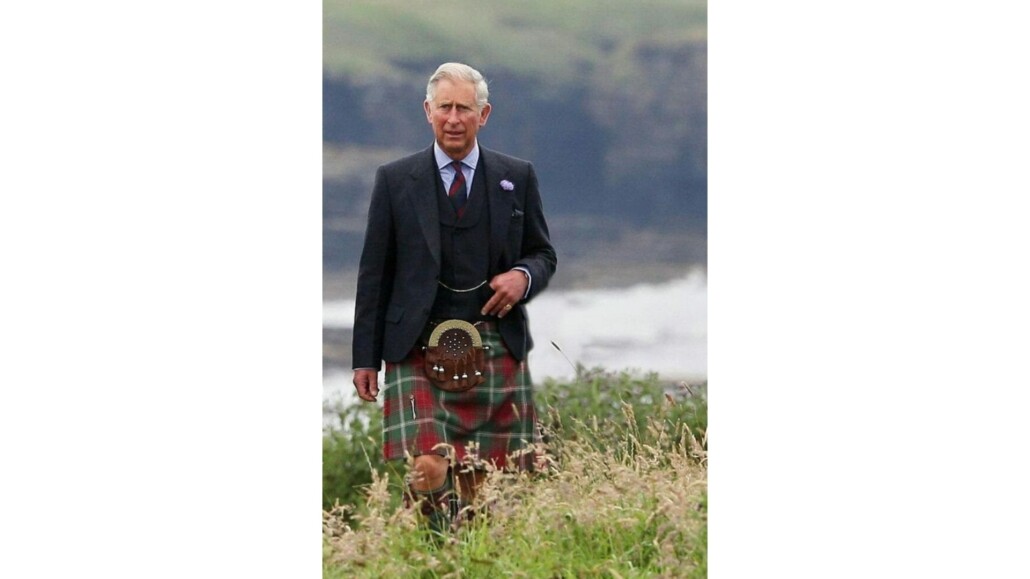
Begin with the sleeves. Using a sleeve board if you have one, place the jacket shoulder over the narrow end of the board you are using and lay the sleeve flat. Use a pressing cloth, so you won’t be ironing directly on the wool. As with a shirt, concentrate on pressing the middle of the sleeve as needed for its full length. Be careful not to press hard where the edges of the sleeve meets the board or you will leave sharp “military creases” down the middle of the sleeves unless this is what you want; it’s a matter of preference, but such creases are usually seen only on the shirts of military personnel, not jackets (Prince Charles notwithstanding). Press around the sleeve head below the shoulder. Especially with the heavier structured nature of suit jackets and sport coats, the trick is always to follow the contours of the fabric. In other words, don’t try to straighten the arm; go along the curve.
2. The Body (Including Lapels)
To avoid any risk of shining your wool, continue to use a pressing cloth. Follow the method for shirts by doing one half of each side of the jacket (a panel) at a time, working your way around the jacket or doing both front panels and then both of the back ones. The back area, which is essentially flat, is the easiest. One area that tends to fold and wrinkle is around the vent flaps. Concentrate your pressing efforts on the edges of these.
The main concern when working on the front of a jacket is pressing it to death, especially the lapels. You don’t want to flatten them so they look like a steamroller ran over them because the lapels, in many ways, define the appearance of the jacket, especially if you have a beautiful 3-roll-2. Again, the solution is to go with the contours. Press the lapels lightly. Flip each one up and run the iron along the crease below it (called the hollow), smoothly following the curve to preserve the roll. Even if they aren’t wrinkled, this will liven them up.
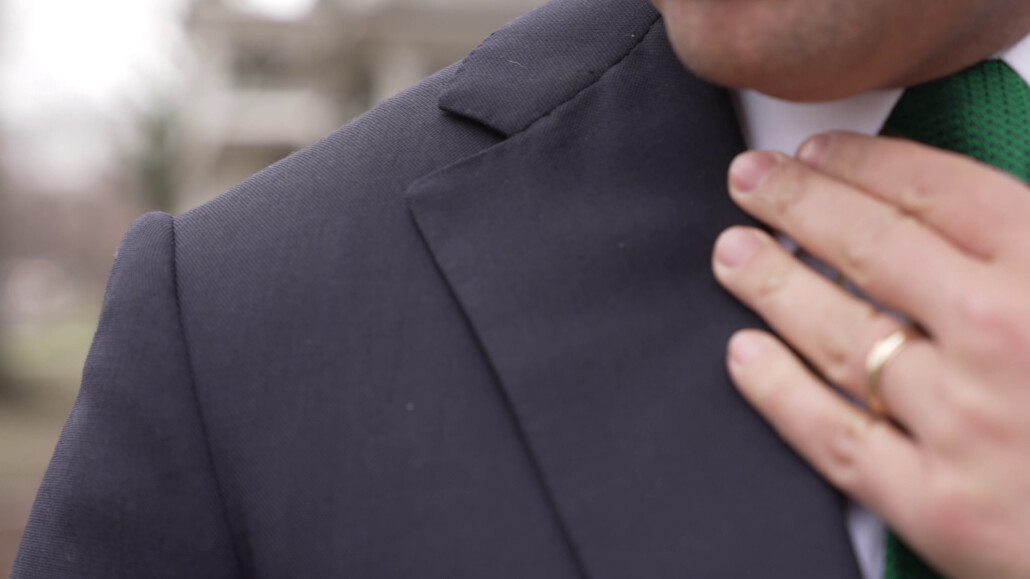
Lastly, work on the most difficult area: the shoulders. Use a presser’s ham or a sleeve board, if you have one, to keep the shoulder round, its natural shape, as you press it. You want to imitate the way it sits on your shoulders when you’re wearing it. Finish your pressing by applying some steam to the inside lining and armpit areas; apply a scented spray, such as lavender water.
Jackets made of materials that wrinkle more than wool–linens, cottons, hemp/linen combinations, etc.– don’t require as much caution, though you still don’t want to press them flat. You can, however, use a higher temperature and more sprayed water and steam; in fact, particularly with linen, you’ll probably need to.
With time, you’ll appreciate working on individual parts of the jacket, just like detailing your car, and going with the shape of the garment becomes intuitive with practice.
3. Special Consideration: Pressing the Lining
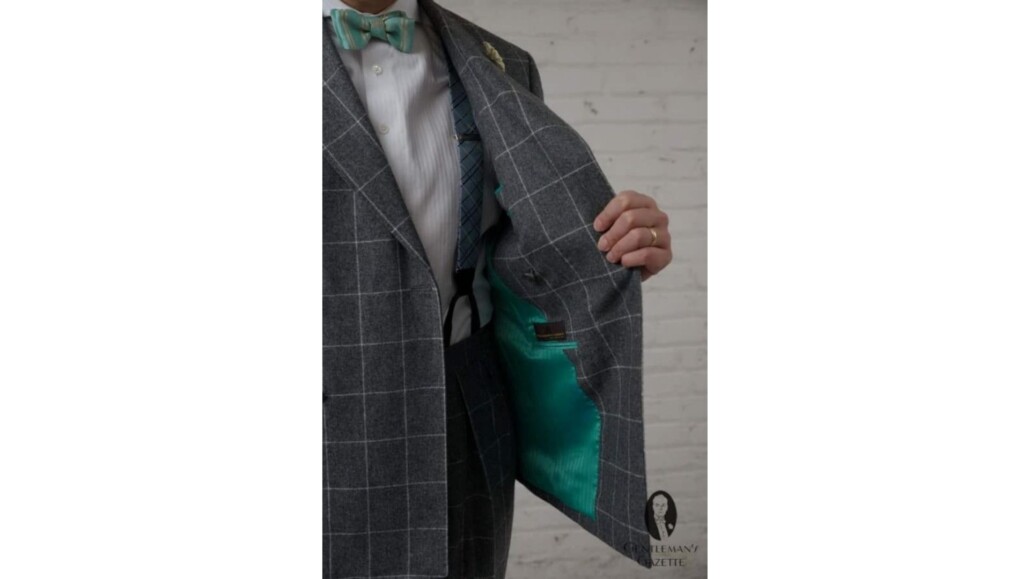
If you’ve packed a suit for traveling at all, you likely know what a wrinkled inner lining looks like. Yet, the nature of the cupro or Bemberg that quality linings are made of is such that pressing can be difficult. The light and loose aspect of the lining prevents the iron from moving smoothly over the surface, and it tends to cling to the soleplate. The best approach is to hover the iron over the material and steam liberally to loosen up the wrinkles without making contact. If you find you do need to press the fabric, reduce the heat setting to a medium or low level and skim the surface lightly. As always, push, pull and straighten the cupro to get as smooth a starting surface as possible.
Conclusion
Hopefully, after viewing the three parts of our Complete Guide to Ironing, you’ve been convinced to try your hand at ironing your own tailored clothes. You may even have a wishlist of ironing gear that you never imagined having. In the long run, it’ll save you time and money, and once you have some hands-on experience putting your knowledge into practice, seeing the finished product will prove quite rewarding.
Outfit Rundown
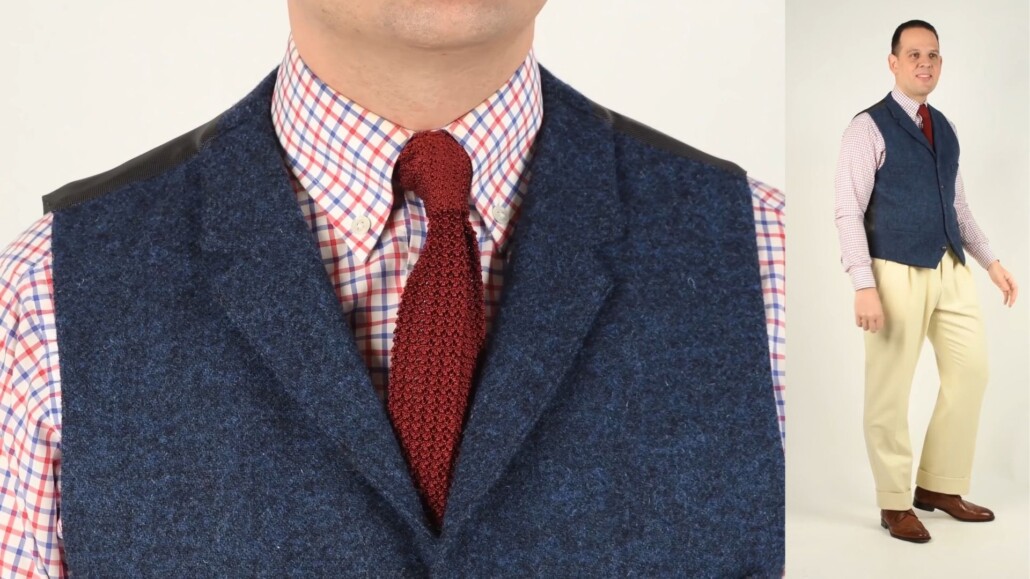
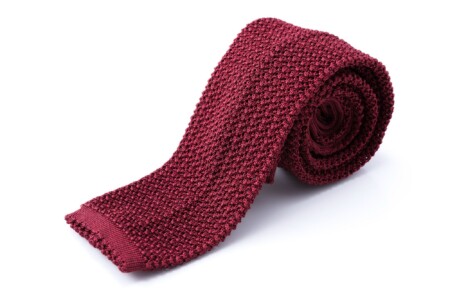
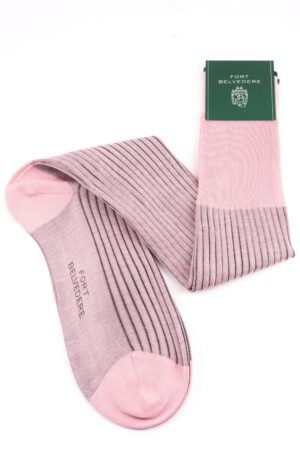
I am wearing a red, white, and blue check shirt with barrel cuffs because it’s easier than French cuffs when you iron. I also skipped the jacket because I wanted a full range of movement so I’m not hindered when I iron. So I just opted for a blue Harris tweed vest. I combined it with a Bordeaux red silk knit tie from Fort Belvedere and a pair of off-white wool flannel winter pants. White or off-white winter flannels are not something you typically see these days but they were quite popular in the 30s. My shoes are full brogue derby wingtips in a nice chestnut brown and I combine them with a pair of light pink and gray socks that provide just enough contrast between the shoes and the pants. They’re from Fort Belvedere and you can find out all of the accessories in our shop here.
Gentleman’s Gazette readers, do you press your own suit jackets and sport coats? Share your techniques, insights, and experiences in the comments below.
My advice would be:
Don’t even try!
Unlike shirts and trousers, ironing/pressing a jacket should be left to professionals.
I strongly disagree. Using the tools and techniques outlined in the video enable you to iron your own jackets quickly and cost-effectively.
Why spend time going to the dry cleaner / tailor, wait, go pick it up if you can do it quickly yourself.?
Thank you for your insightful article. Your leading a revolution in men’s fashion.