It’s a simple fact of life that stains happen. Whether you’ve been a little too careless with a hotdog or a spoonful of soup, had a mishap with a fountain pen, or just run into some unfortunate weather conditions, we’ve all encountered situations where we need to get unwanted materials out–and when it comes to ties and pocket squares, today’s guide has the answers!
When it comes to larger garments like shirts, trousers, jackets, and so on, we’ve already done several garment care videos that should help you there. And while much of the information in our general stains guide holds true today, there are some special considerations you should keep in mind when it comes to your more delicate accessories like neckties, bow ties, and pocket squares.
Why is this? Well, for one thing, these accessories are often made with finer threads and fibers which wouldn’t stand up as well to heavy scrubbing or machine laundering. For another, ties in particular often have an interlining and stitching that could be damaged or otherwise disturbed by those processes.
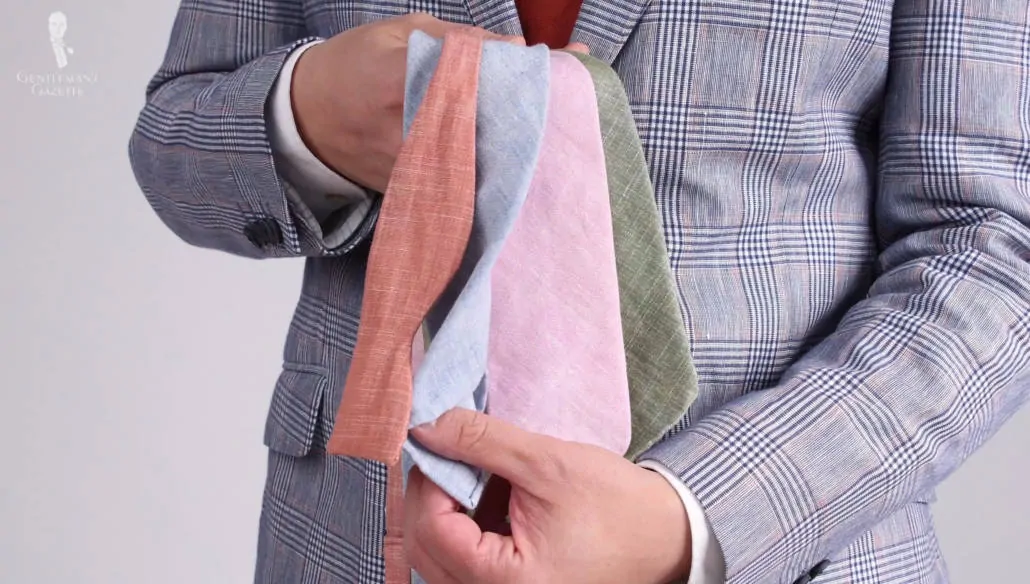
Common Fabrics Used for Accessories
Let’s get started today with a summary of some of the most common materials you’ll see used in ties and pocket squares: silk, wool, and linen, and some special considerations for each.
Silk
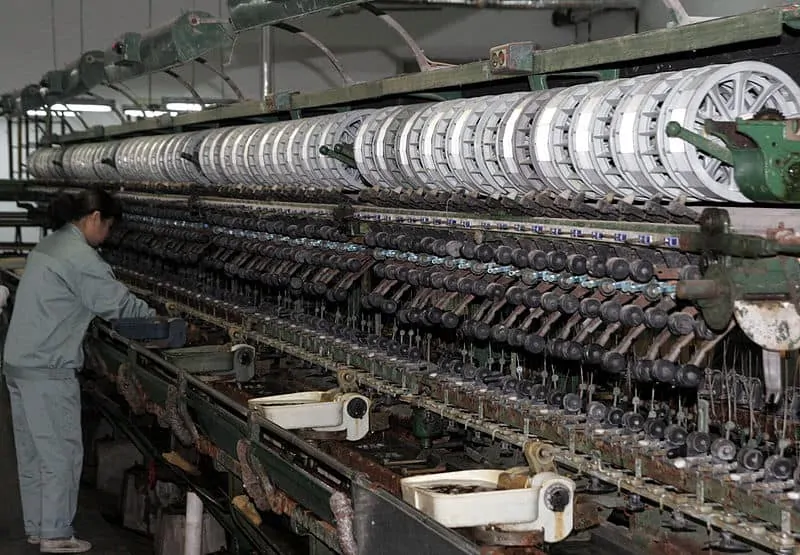
We’ll start with silk, which is a delicate material made most commonly from the fibroin protein of the mulberry silkworm. These proteins have a triangular, prism-like structure that refracts light to show various colors and also gives the overall fabric a lustrous appearance. Silk has a natural sheen, it drapes well and it has good absorbency so it takes dyes easily.
The use of silk as a textile dates as far back as 6000 BC/BCE in China, and it then spread to other parts of the world, reaching places like America by the 17th century. Once expensive enough that it was only worn by nobility, it’s now still used in luxury garments today, although it is much more readily available.
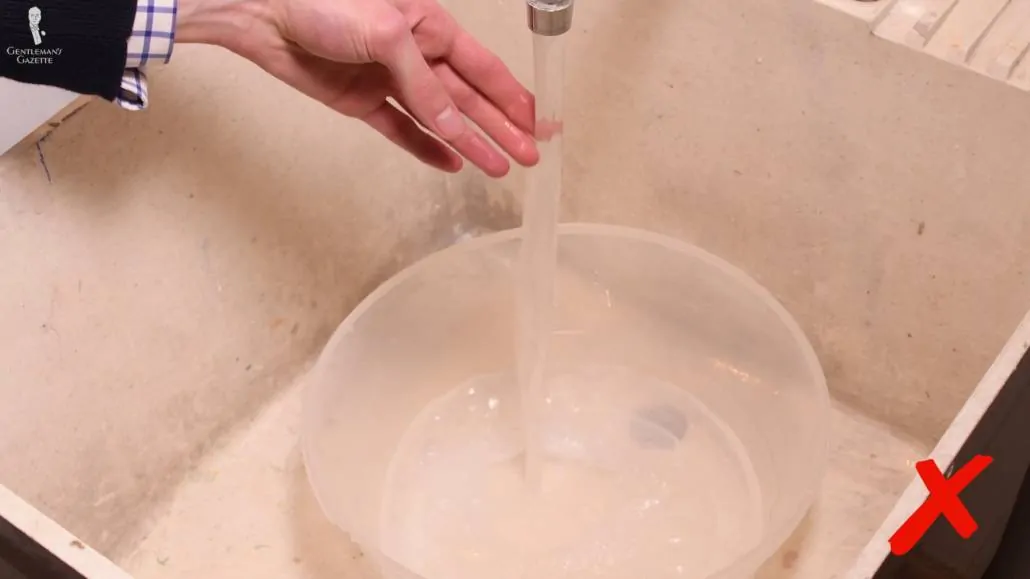
As far as cleaning considerations are concerned, we’ll start by saying that you shouldn’t submerge or soak silk fabrics in water. Completely saturating silk with water can not only aggravate a stain, but can also cause rings or ripples that might ruin the texture, color, or pattern of the silk. It weakens when it’s wet and it also degrades with heat and perspiration. Silk can also have finishes that could be removed by washing; for example, a smoother hand feel might become pebbled. In order to make sure that you aren’t going to remove this finish, you should test the garment in an area that can’t be readily seen.
Linen
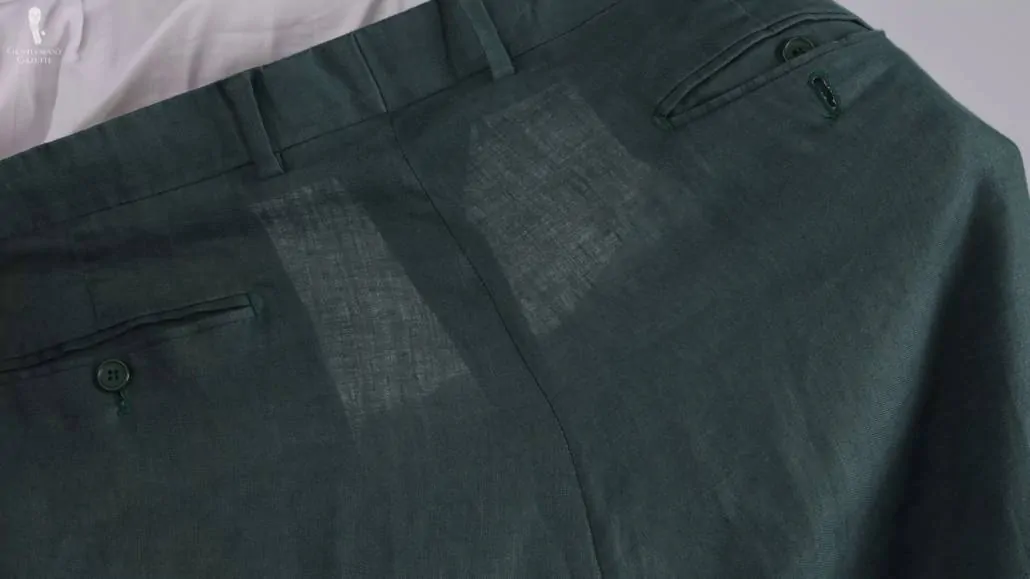
Linen is a natural fiber that’s derived from the flax plant. It is also weaker when it’s wet, and it’s prone to abrasion, so it should be cleaned with care. It’s important that you not squeeze or press linen fibers when you’re trying to get a stain out. If you do this, you may further grind the stained material into the linen fibers, making it harder to get out.
Wool
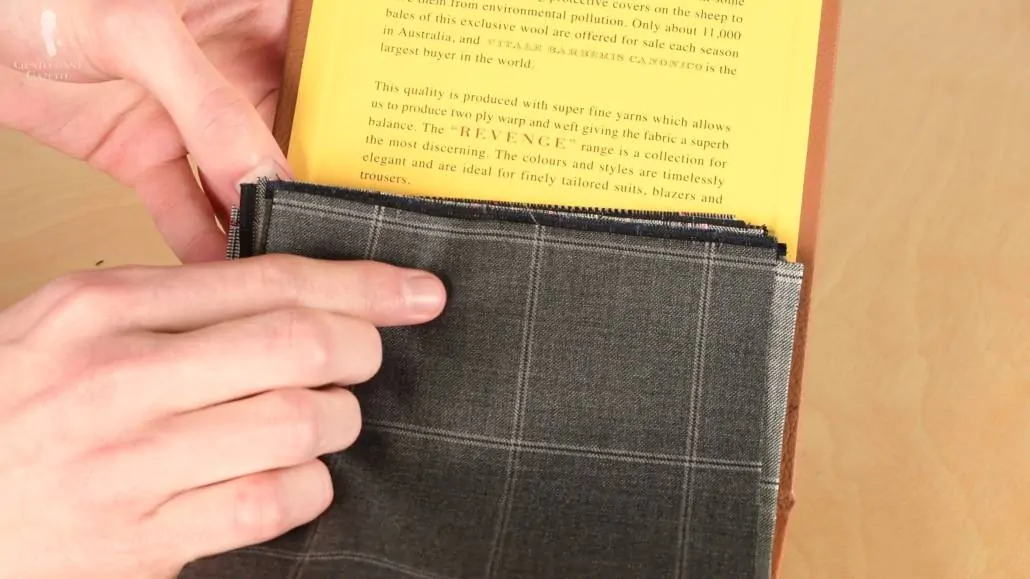
Finally here, there’s wool, which is really more of a categorical term for textile fibers derived from the coat of mainly sheep, but also goats, musk oxen, rabbits, camels, llamas, alpacas, vicunas, guanacos, and even cattle and pigs. Note that stains can often set especially quickly into wool fibers, so tending to a new stain is especially key with wool.
Types of Stains
Stains can either be organic or inorganic in nature and from there, can be oily or not. In other words, you could think of all stains as falling into four broad categories: organic, inorganic, oily organic, and oily inorganic.
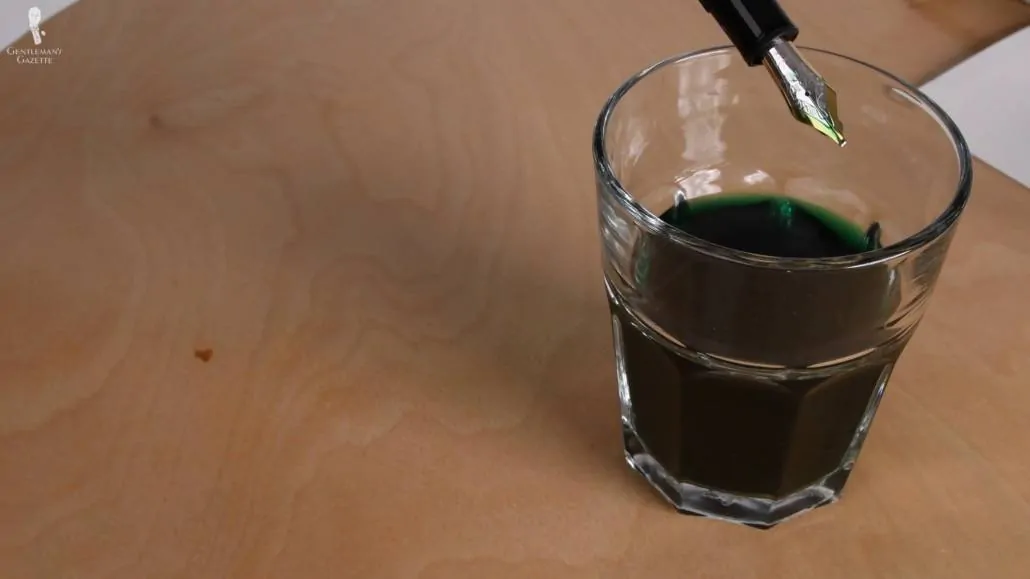
As examples of each of these, stains from living organisms (including plants) are organic; things like blood, grass stains, or red wine. Meanwhile, stains from man-made materials such as ink, solvents, or machine dust are inorganic. Examples of oily organics could include things like barbecue sauce or sweat stains, and examples of oily inorganics could include things like cosmetics. Our general stain removal guide goes into greater detail on these points!
Things You’ll Need For Stain Removal
- Clean towel – place this on your work surface (ironing board, table, etc.)
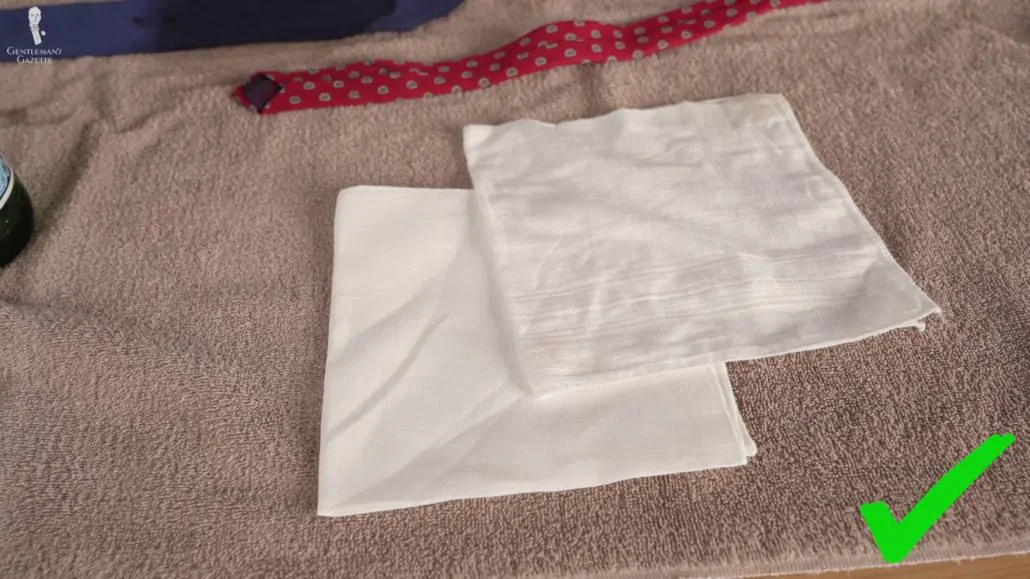
- Clean white cloth – preferably made from cotton or linen, with linen probably being best because it doesn’t pill
- Paper towels or napkins – to soak up oil or grease stains
- Club soda or plain water – carbonation can help to lift stains out
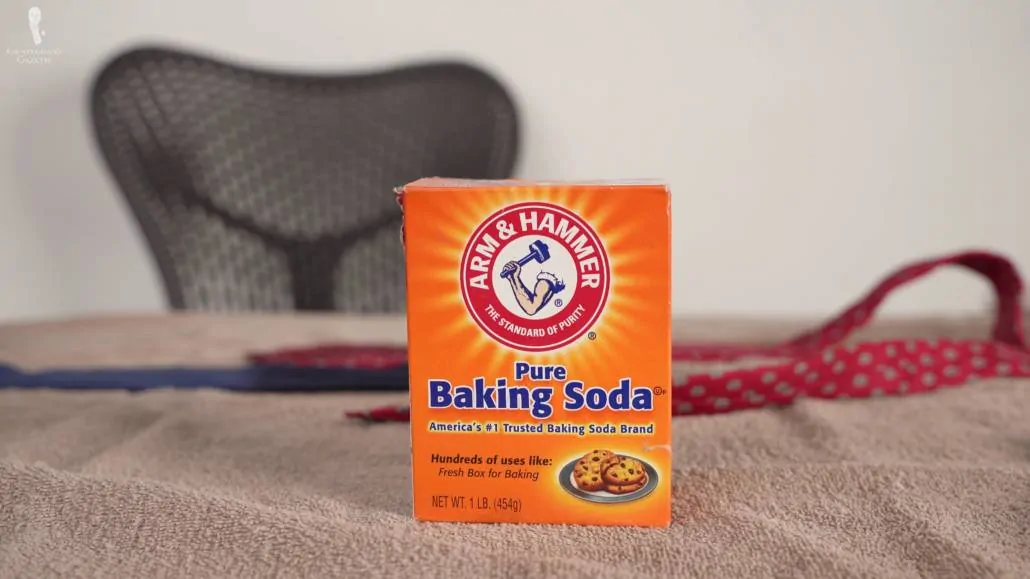
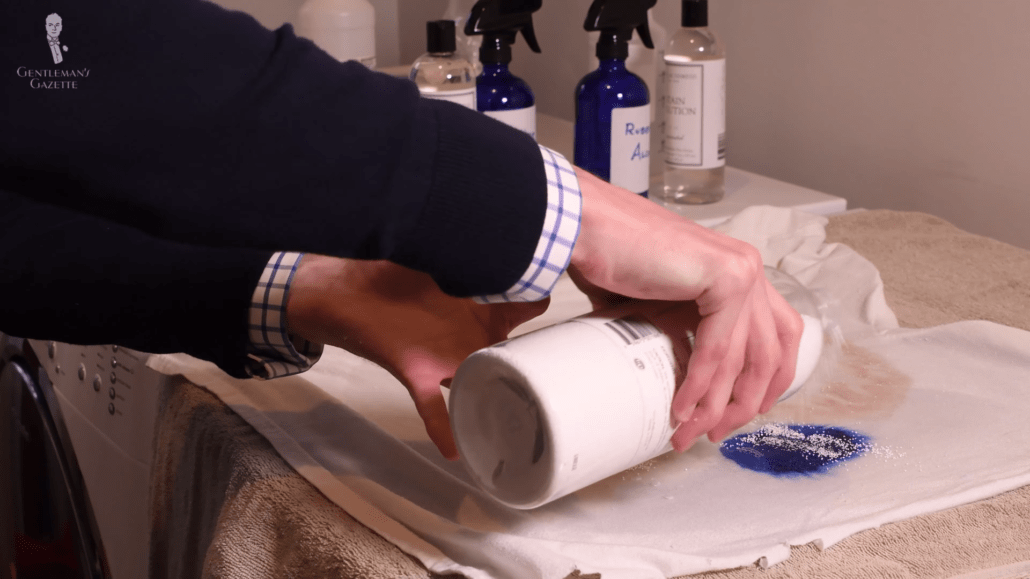
- Talcum powder, baking soda, cornstarch, or borax – to treat old stains
- Table salt
- A formulated stain solution – as an example, this one from The Laundress
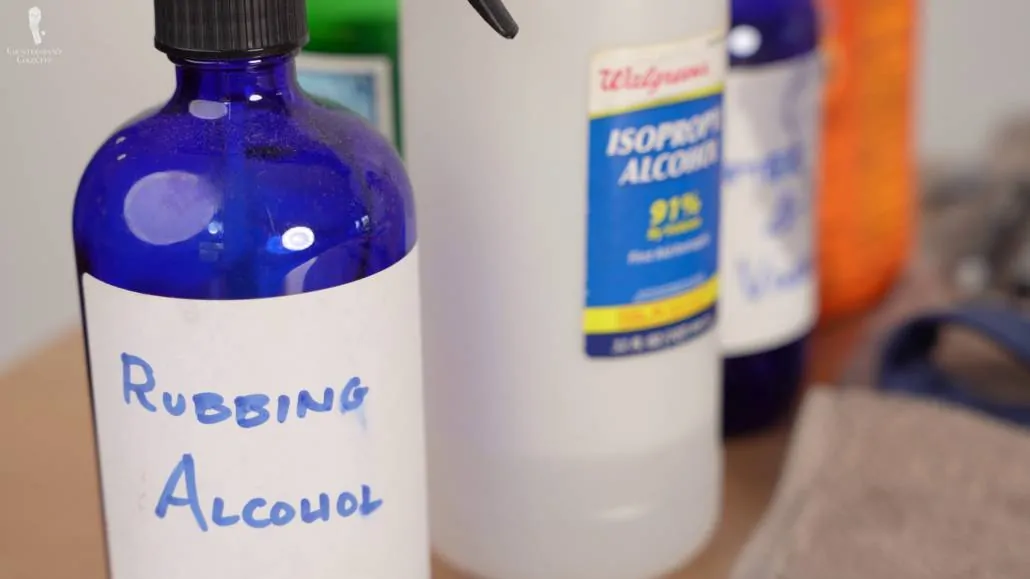
- Spray bottles filled with either vodka, isopropyl alcohol, or rubbing alcohol; and a 50-50 mixture of water and white vinegar or lemon juice
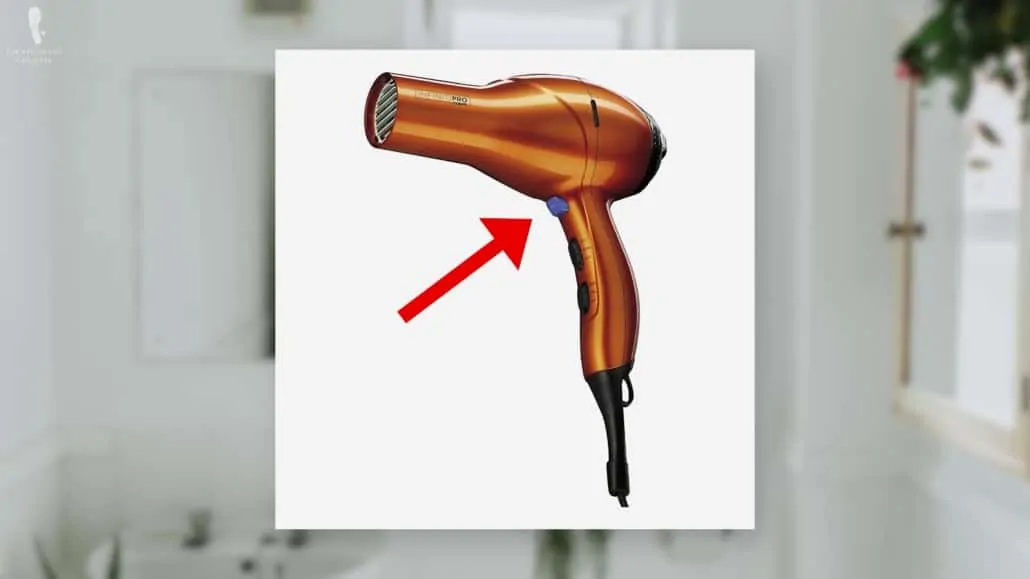
Having a hairdryer on hand to help prevent the spreading of liquids can also be helpful–but if you are going to use one, be sure that it has a “cool” setting. We’ll also note here that other commercial products such as Carbona Stain Devils, Tide To Go, Shout Wipes, or Silk & Clean tissues are all potential aids for you here, but we would sooner recommend the more gentle methods that we’ve already outlined.
General Stain Removal Tips for Accessories
1. Be Wary of Using Bleach & Bleach Alternatives
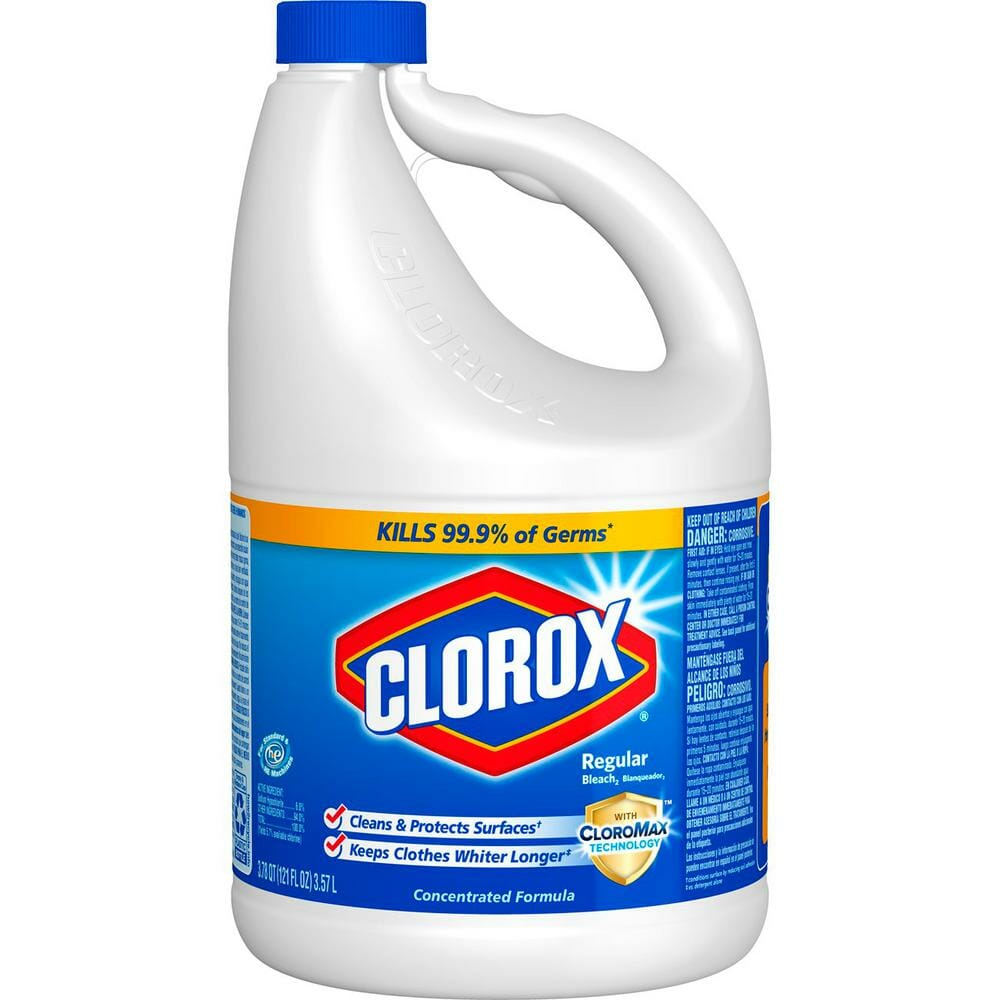
You may remember that in our general stain removal guide, we recommended the use of bleach alternative (also called oxygen bleach, and made from sodium percarbonate), but we would advise against using it on your delicate accessories, especially those made of silk. And as with regular garments, never use conventional chlorine bleach! Both bleach and bleach alternative are probably going to be too harsh for these more delicate garments, so you should stay away from them. This is also true of conventional soaps and laundry detergents.
2. Be Careful with Biological Detergents
Something else to be careful of in particular is what’s known as a “biological detergent.” This matters because biological detergents contain enzymes that effectively eat their way through protein-based stains. But since wool and silk are also largely made from proteins, these enzymes can eat through them, as well.
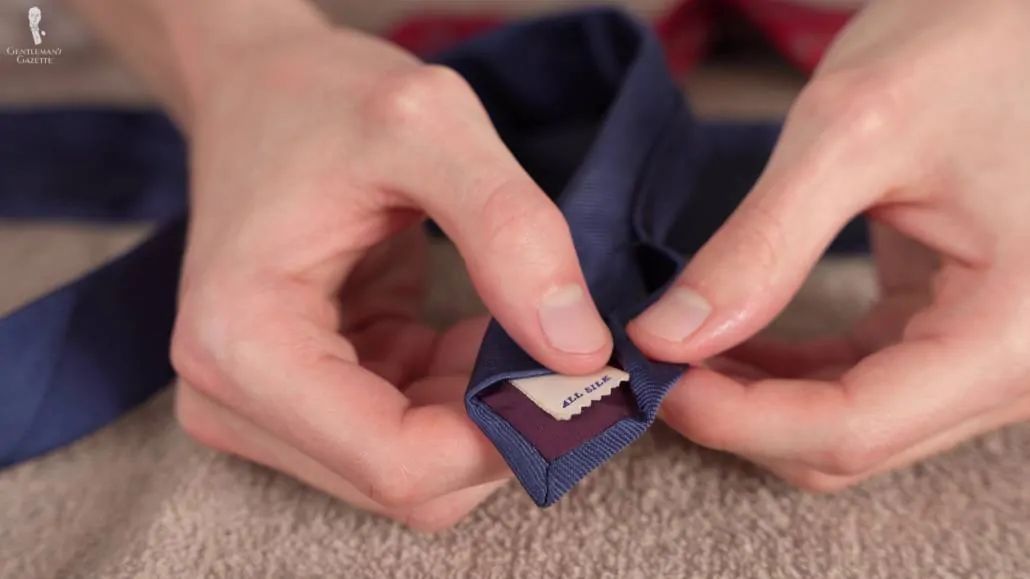
Before you attempt to use any materials, except, perhaps water or club soda to remove a stain, be sure to check the label on your garment to see if there are any special care considerations you need to be aware of.
3. Check the Fibers’ Colorfastness
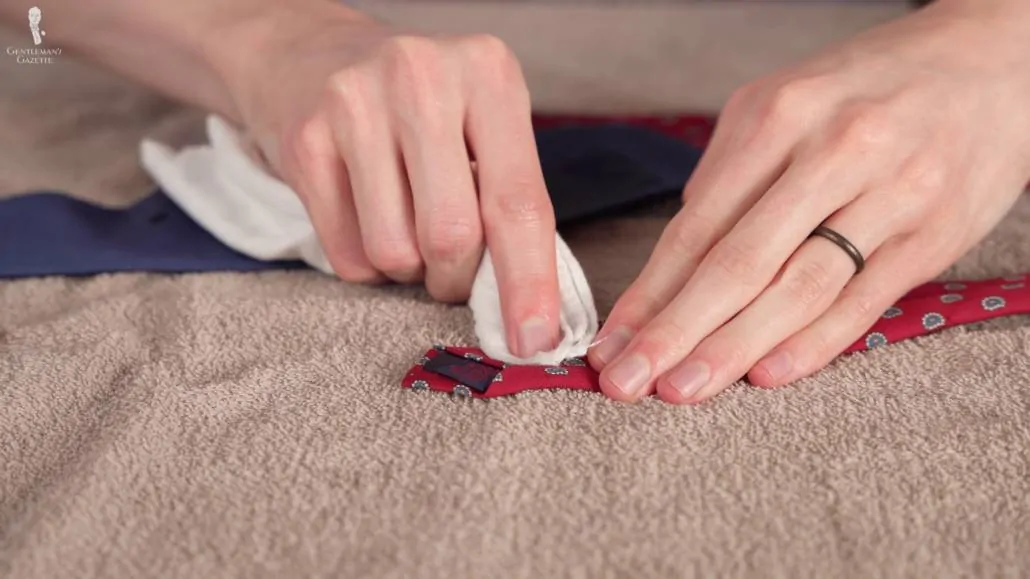
After this, you should also check the color fastness of the fibers by dabbing a small and clean area of the clothing with a clean, white cloth that is slightly damp. If the garment isn’t colorfast, you’d either want to take it to a dry cleaner or consider it a lost cause.
4. Don’t Iron Your Neckties or Bow Ties
When it comes to ties, you definitely shouldn’t iron them, either, as they have delicate rolled edges that can be unattractively flattened out under an iron. In addition, the heat might also damage the fibers.
5. Don’t Machine Wash Your Accessories
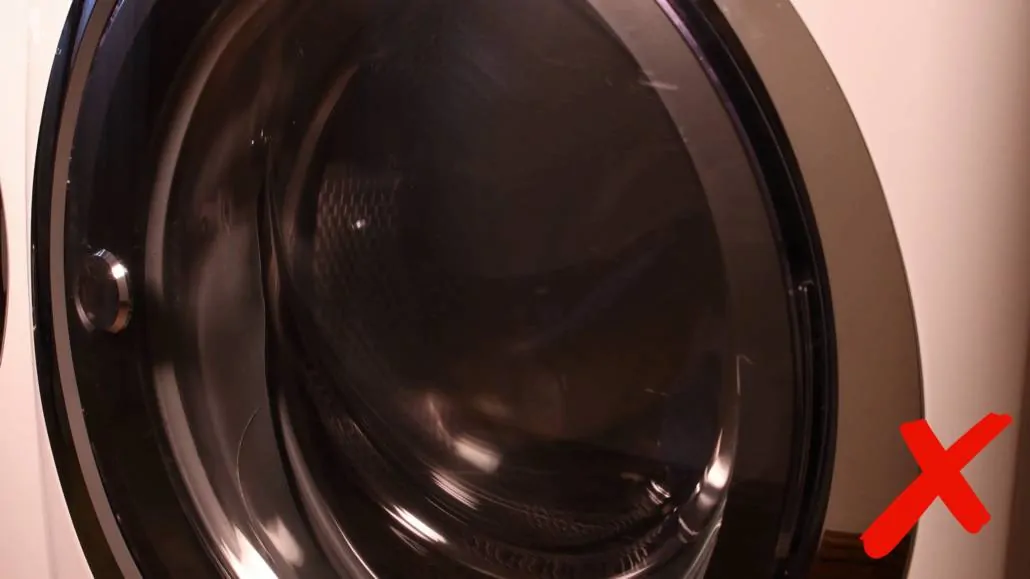
Speaking of appliances not to use, you should never machine wash or tumble dry any of the delicate accessories we’re discussing today.
6. Don’t Scrub Out The Stains
And no matter what cleaning agent you happen to be using, you should always remember to be gentle–blot, don’t scrub. Some gentle rubbing may be okay but you should always exercise caution and work slowly. Also, it’s a good idea to work from the outside of the stain inward to prevent spreading.
7. Don’t Wring Out Your Accessories
Because many of the fibers we’re discussing today are particularly delicate, you should also never attempt to wring out a tie or pocket square, as this could easily damage the structure of the fibers.
8. Be Careful with All Cleaning Methods
And as we’ve said in our general stain removal guide, it may be that a given stain is actually a combination of some or all of the four types we mentioned. If one particular stain removal method doesn’t seem to work well for you, you could try some of the others and see if that gets you further. Of course, do remember to be careful no matter what method you’re using.
9. Inform the Dry Cleaner of the Fabric Composition
Finally here, if you would like to use a dry cleaner as a last resort, be sure to tell them of the fabric composition of the garment you’re bringing in and the type of stain that the garment was subjected to. This way, if they have more information, they should know more properly how to treat the garment in question.
Immediate Stain Removal, Step by Step
Here’s what to do in the moment, right when something actually gets on your garment.
Organic Stains (Food or Bodily Fluids)
1. Scrape Off with A Knife or Spoon
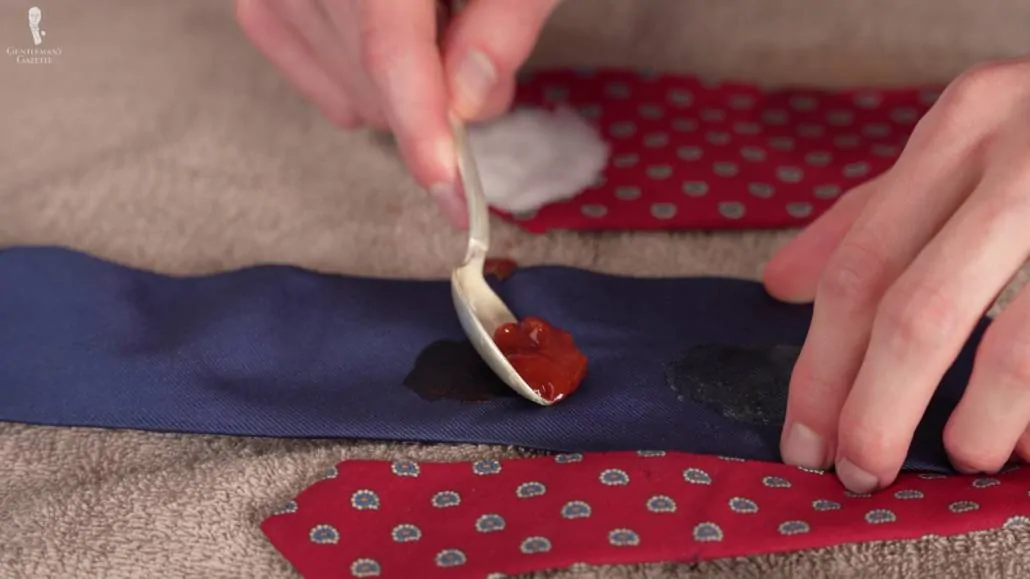
Firstly, you should gently scrape off the offending material using something like a butter knife or a spoon; something that is firm, but without a sharp edge. This way, you’ll get the majority of the substance off of your tie or pocket square so you won’t be grinding or mushing it into the fibers when you’re trying to remove the stain. And if you’re using an implement with a defined-but-not-sharp edge, you won’t risk tearing the fibers that way, either.
2. Blot At The Stain
Next, try blotting at the stain with a clean cloth or napkin using water (or preferably club soda). Paper towels are also acceptable, but you should try to avoid paper napkins if you can at all help it, because they will often disintegrate as you’re trying to blot or rub at the stain. Of course, if all you’ve got in a given situation is paper napkins, then by all means, go for it–but you should sooner try something a bit softer and at the same time more durable.
Inorganic Stains (Oil or Grease)
1. Blot Up As Much of the Stain as Possible
When it comes to oil and grease stains, we would recommend that you start by blotting up as much of the oil and grease as possible with a paper or cloth napkin. You’re not rubbing here, but just taking up the excess material with the paper or cloth.
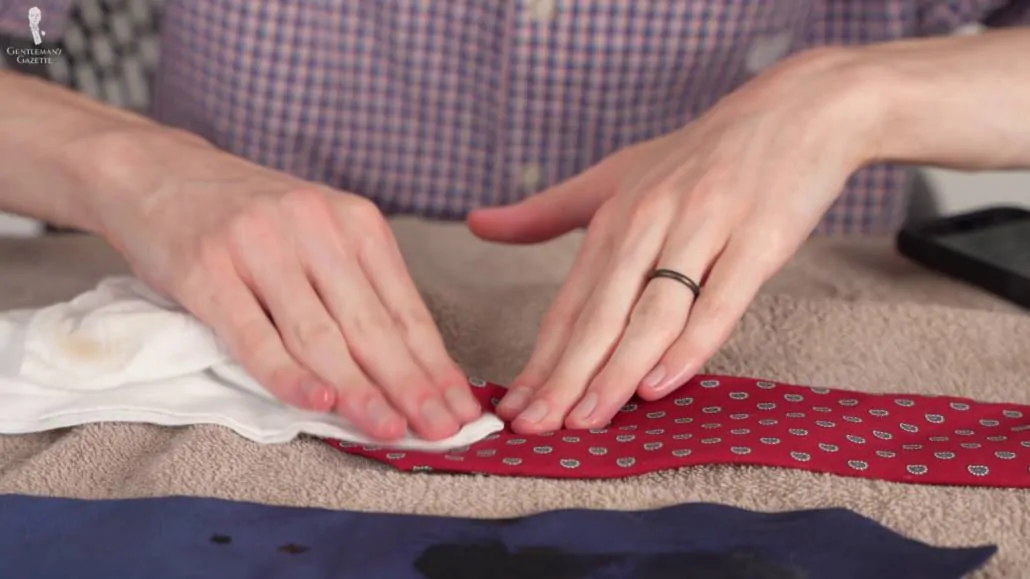
2. Apply Club Soda
Remember, of course, that because water and oil don’t mix, water probably won’t be much help to you here. The carbonation from club soda could be a bit more helpful, but just trying to blot up the excess oil is a good first step.
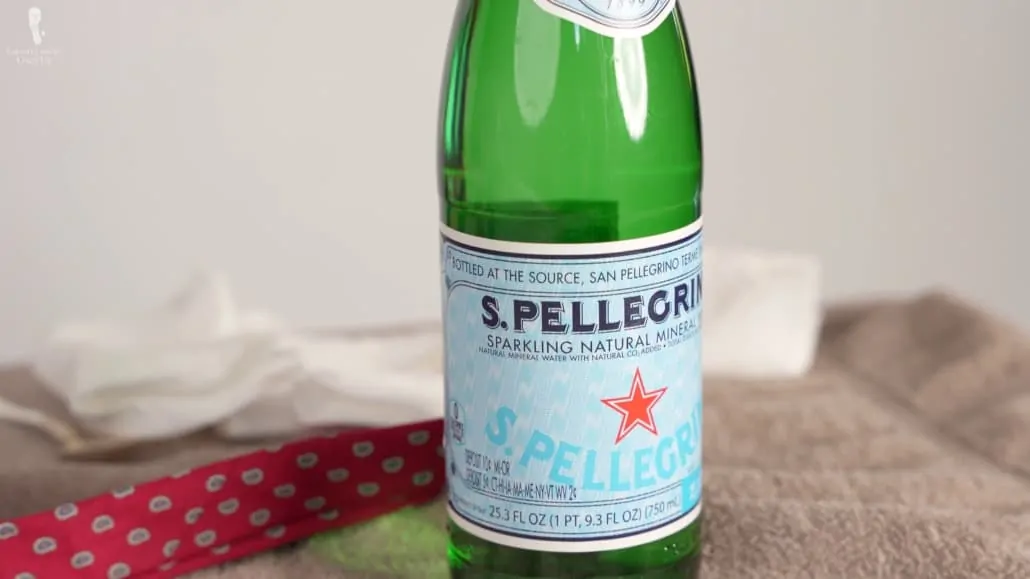
Going back a bit to an organic stain, red wine is best treated at the moment with table salt, although you will obviously want to take your tie off first in order to do this. It can also be taken up with club soda or even white wine if you’ve got it on hand. Speaking of white wine, you shouldn’t panic if you get a bit of this on your tie or pocket square, as it’s best left to dry and then to deal with later.
Removing Hours-old or Older Stains
So, those are all of the immediate methods to employ right as the stain hits the tie. But once you’re back home and have a bit more time to deal with things, there is a subsequent follow-up process you should use to really ensure that you’re getting the stains out.
Oil Stains
This particular treatment can also be a great method for removing older stains, although you may want to use it in conjunction with some of the other processes we’ve already talked about.
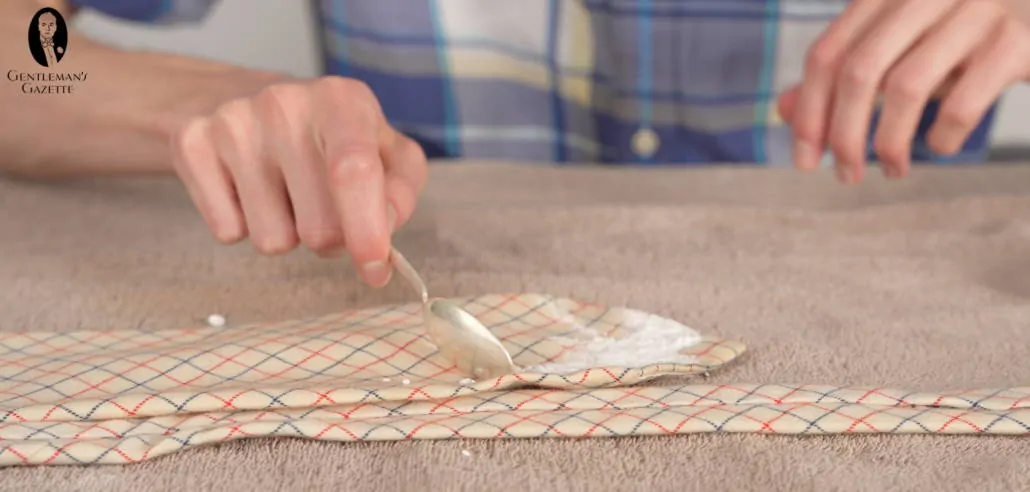
1. Leave Baking Soda for 12 to 24 Hours
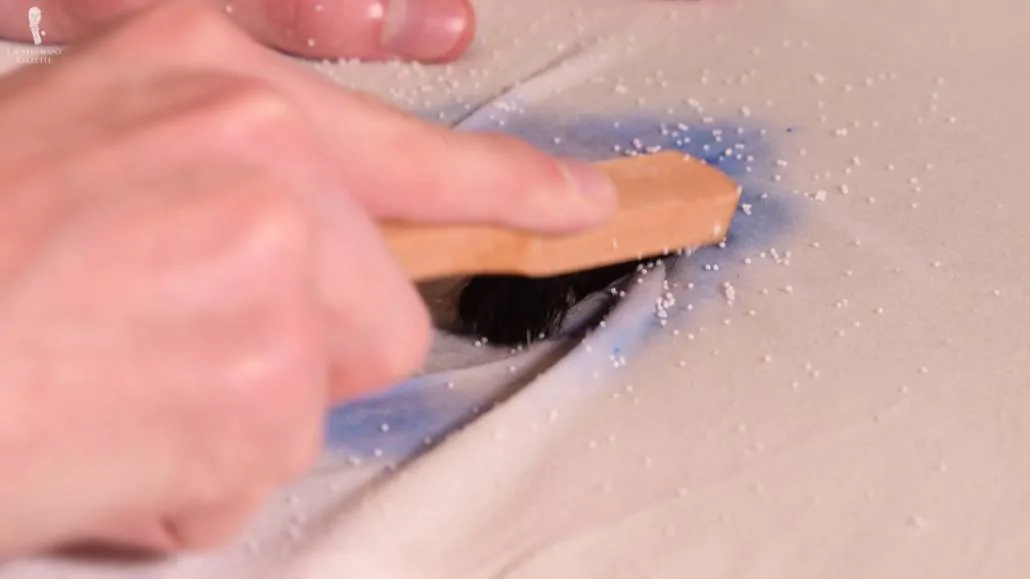
Lay the tie flat on your work surface with a towel underneath and create a small pile of either baking soda, cornstarch, talcum powder, or borax. All should work roughly equally. Allow this small pile of powder to sit on the stain for 12 to 24 hours; this is especially important for oil-based stains. After the 12 to 24 hours has elapsed, you can take the powder off of the tie and see if the stain has come up with it.
2. Brush Carefully
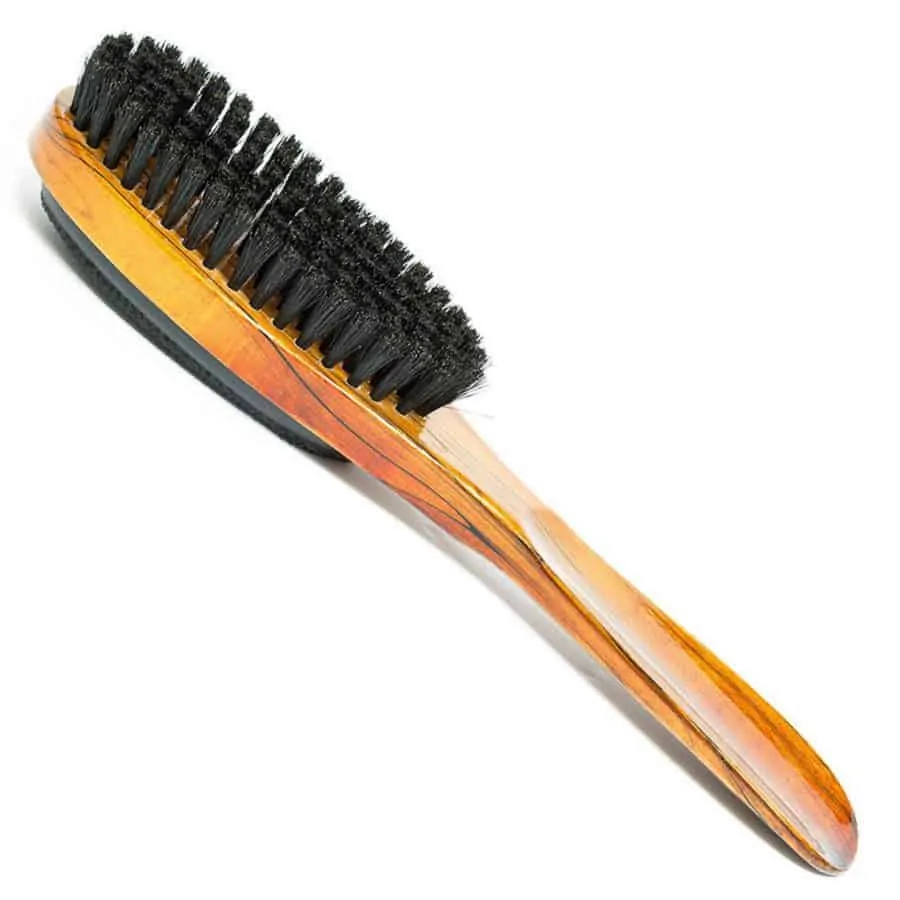
Afterward, a bit of delicate brushing with a garment safe brush might be good. Of course, you want to use something with particularly soft bristles here, not something like a scrub brush, shoe brush, or any related material. This method may not work on the first try, but it can be repeated up to three times without any potential for damaging the tie. You could also try different types of powders if you weren’t satisfied with the one you used the first time.
A small amount of mineral spirits can also be used for particularly stubborn oil stains, but this stuff can be harsh, so we would exercise extreme caution here.
Ink Stains
Finally today, we’ll discuss ink stains. We’ve saved these for last because ink is a bit of an outlier. It’s best treated not right away, but after it has completely dried. This is because, if you try to remove a fresh ink stain while it’s still wet, especially by introducing another liquid, there is a great potential for the ink to simply spread around to more of the tie or pocket square.
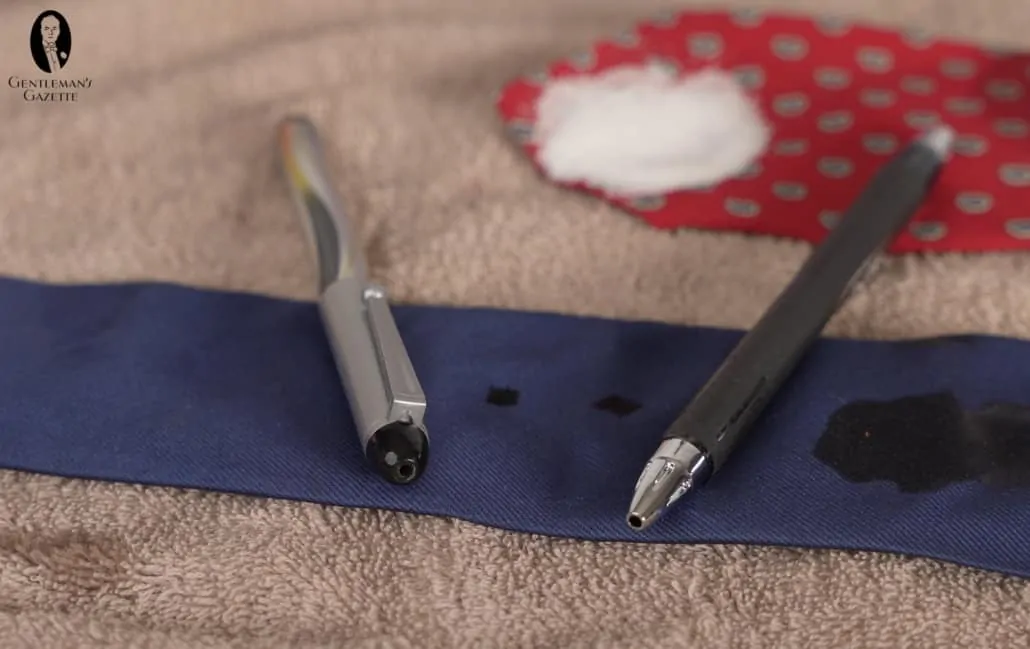
So, once the ink is completely dry, you should gently dab at it with a cotton ball or clean rag or cloth that has been soaked in rubbing alcohol. If the ink doesn’t all come out at first, you should allow it to dry again, and then repeat the process. Alternatively, you could also combine this method with a few of the other cleaning substances we’ve already recommended just to see what works.
Conclusion
Hopefully you’ll find these various techniques helpful in getting your neckties, bow ties, and pocket squares back to looking their best, regardless of the fabric composition. These methods could also likely work for other materials like cotton or polyester, of course, but we’ve just listed some of the most common construction fabrics here today. Remember to always work slowly and carefully and not to expect miracles.
Not every garment and accessory is going to be able to be brought back to 100% of course, but garment care techniques are always worth a try!
Special thanks to the Laundry Evangelist, Patric Richardson, whose work in the field of stain removal contributed to this article.
I learned about using white wine to remove red wine stains when I was in college. I didn’t believe it until I used it one night at a party. Voila!
In one photo you showed bottle of “Rubbing Alcohol” and “Isopropyl Alcohol.” These are not the same, even though many people think they are. Rubbing alcohol should never be used for stain removal as it contains lanolin, which when the alcohol evaporates will left behind as an oily stain. Isopropyl alcohol or vodka will evaporate with no residue.
Thanks for sharing, Steve!