Many men are intimidated by cufflinks since they don’t know how to wear them properly. Even if they know how to put on a pair of T-Bar cufflinks, they may struggle to put on a pair of chain cufflinks or fixed bar or snap cufflinks. Around the turn of the century, a valet would have taken care of that for you but today, you have to put them on yourself. Therefore, we created a video guide and article that shows you how to put on and wear all kinds of cufflinks, so you buy and wear them with confidence.
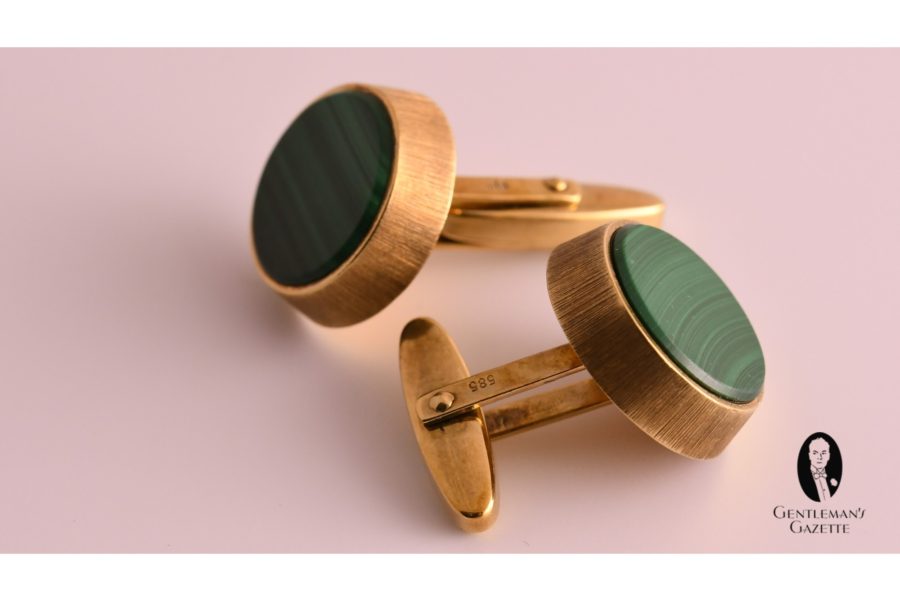
T-Bar Clip Cufflinks
It’s the most popular mechanism out there today. Probably 95% of all cufflinks use it, but it’s not because it’s the most elegant, it’s simply because it’s the cheapest and least expensive to produce. Even a goldsmith can just buy these mechanisms in bulk and just add whatever shape onto them.
The disadvantage of T- is that you can actually see the t-bar at the back and it’s not as decorative as the front and looks cheap.
The only reason we wear cufflinks is because we want to look good and the cufflinks represent the elegance and the style of our outfit and our personality. Therefore, I’m not a big fan of those, and although they are easy to put on, they’re not something that you should really invest in if you have other choices.
How do you put them on? Please watch the video!
- Most of them are angled, so you want to angle them down because otherwise, it will look weird on your cuff. So first, you actually put your cufflink through the hole, and achieve that by holding it between your thumb and index finger, pushing it through and pushing against from the bottom of the cuff.
- Then turn around and do the same thing with the other two holes. You can actually do them both together, and since it’s a hole and a straight bar, you can just use a little pressure to find the buttonholes very easily.
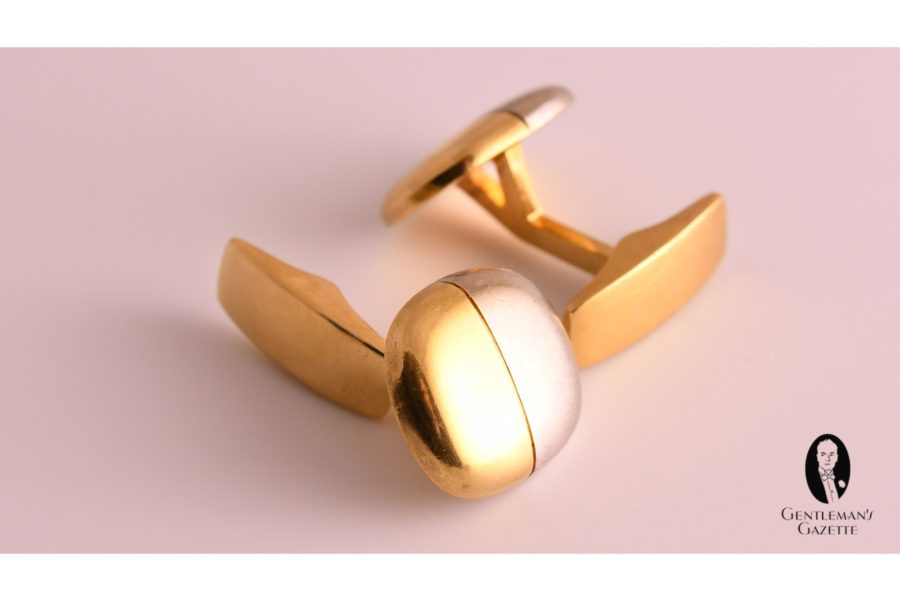
A variation of this style is another t-bar that doesn’t quite work like it but is also angled, and it’s basically used in the exact same way. Flip it open, locate the buttonhole, push it through, rotate the cuff, do the same thing, feel, when you find it and then simply flip the clip open. Watch the video for more details.
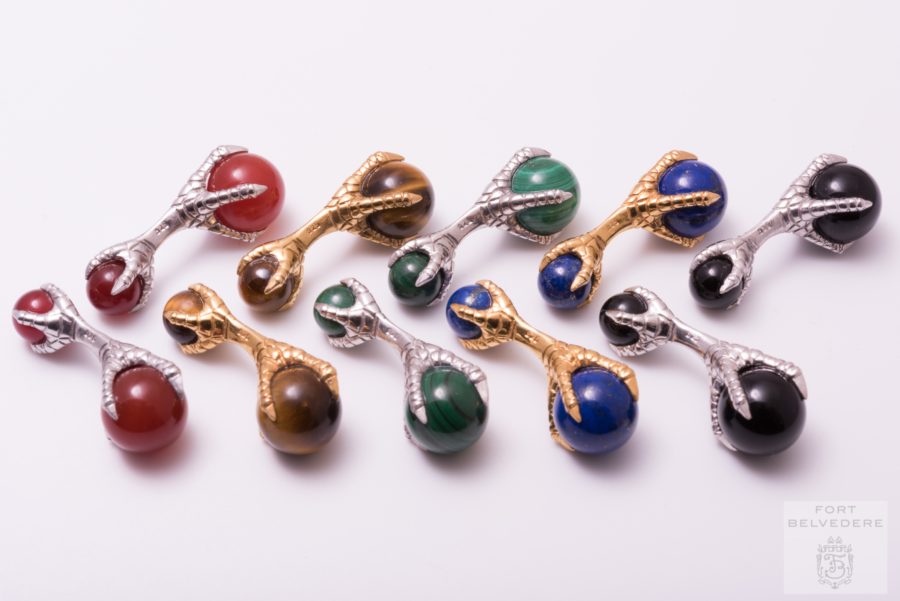
Fixed Bar Cufflinks
Now, my personal favorite style is the fixed bar with nice decorative elements on both sides. I prefer this cufflink because it’s easy to put on, it’ very decorative, it’s elegant, and there are no moving parts, so the cufflinks don’t break and will last forever.
How do you put them on? Watch the video!
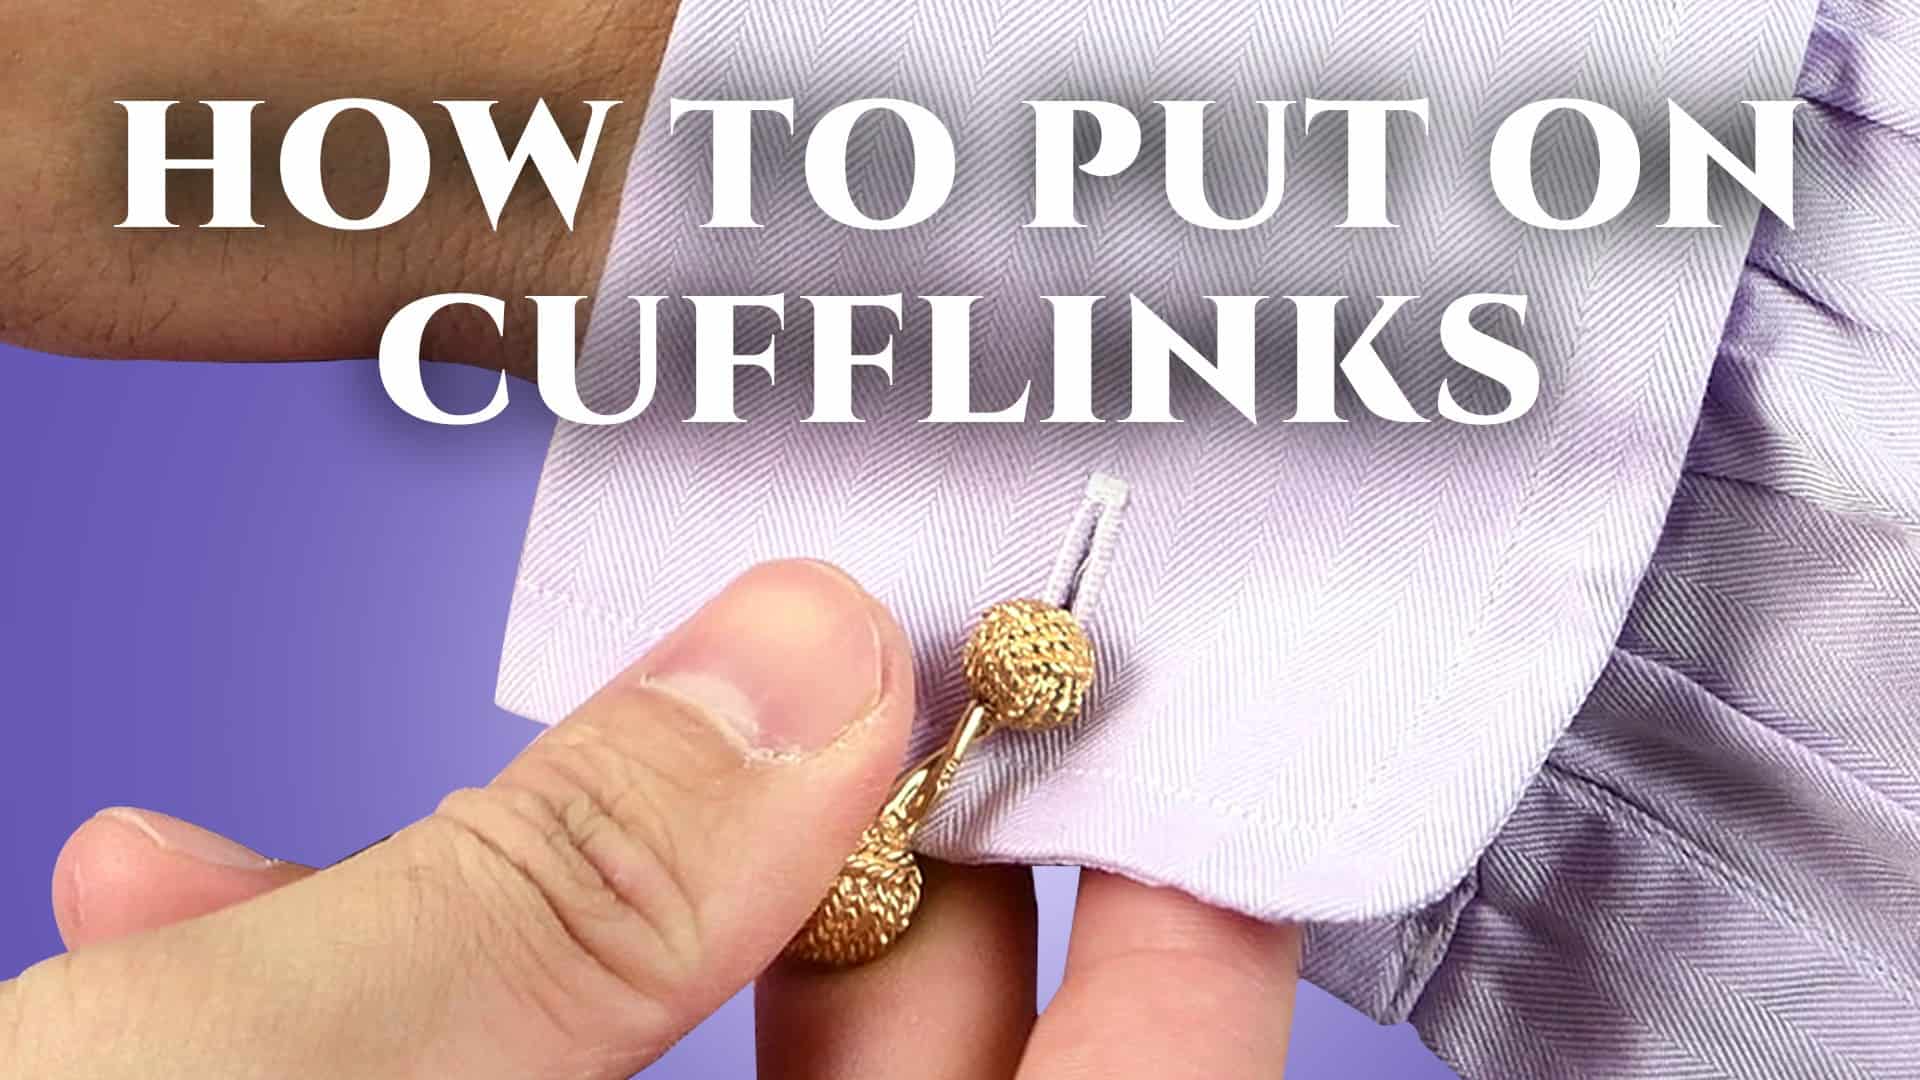
- You always want to hold the big end because you’re going to push through the small one. Hold it between your index finger and thumb and have your two middle fingers underneath the cuff, then just push it through. It’s very easy.
- Now, have your thumb push from the top and use your fingers (middle finger, index finger, thumb) to push through.
Ideally, with this technique, it’s better to do one buttonhole at a time otherwise, it can be confusing and difficult. Once you have done it a few times, it will feel quite easy to put on cufflinks this way, so practice in the beginning.
It takes marginally longer than putting on a t-bar cufflink but it looks a lot nicer and it will last for years to come.
It works the same way as our Fort Belvedere knot cufflinks & eagle claw cufflinks , we have them in black onyx, blue lapis, green malachite, red carnelian and a wonderful brown tiger’s eye.
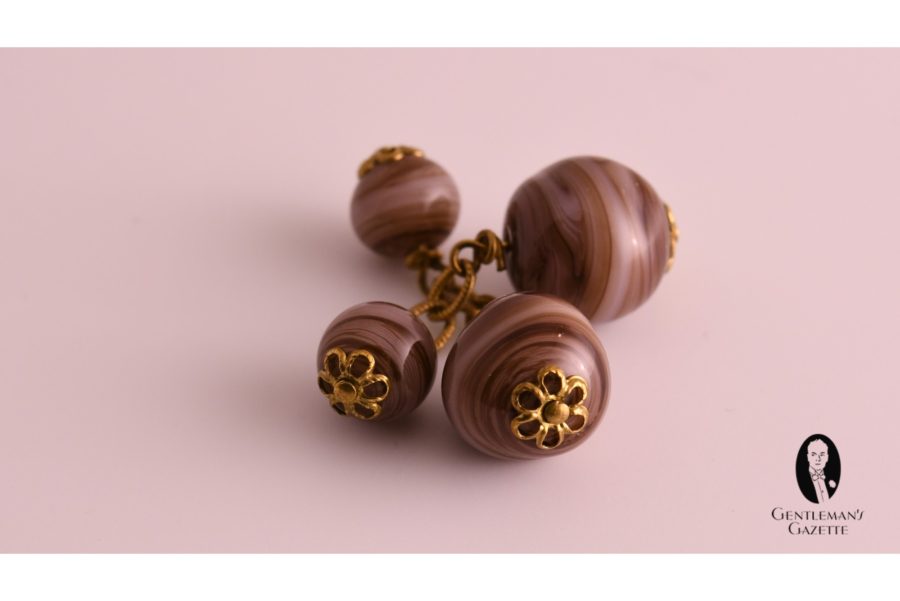
Chain Cufflink style
As the name implies, tt has a chain and was very popular in the 1930’s. It always has two decorative elements but they’re a little more tricky to put on and you need a little more skill. Please watch the video to really understand how to put them on.
- You want to hold the small end. You take the small end, put it on your buttonhole, hold it tight with your thumb and push through.
- Then, you pull through the entire chain and start with the next buttonhole. Do one buttonhole at a time, it’s easier that way.
- Once you’ve done the first two, rotate your cuff, look at it and do the same thing again.
- Hold it in between your middle finger and your index finger, push it through and hold it with your thumb; the same process again.
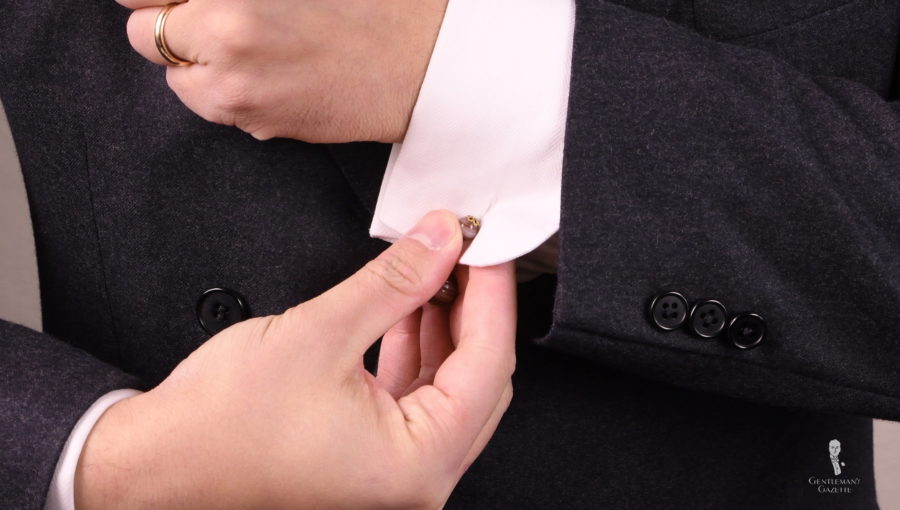
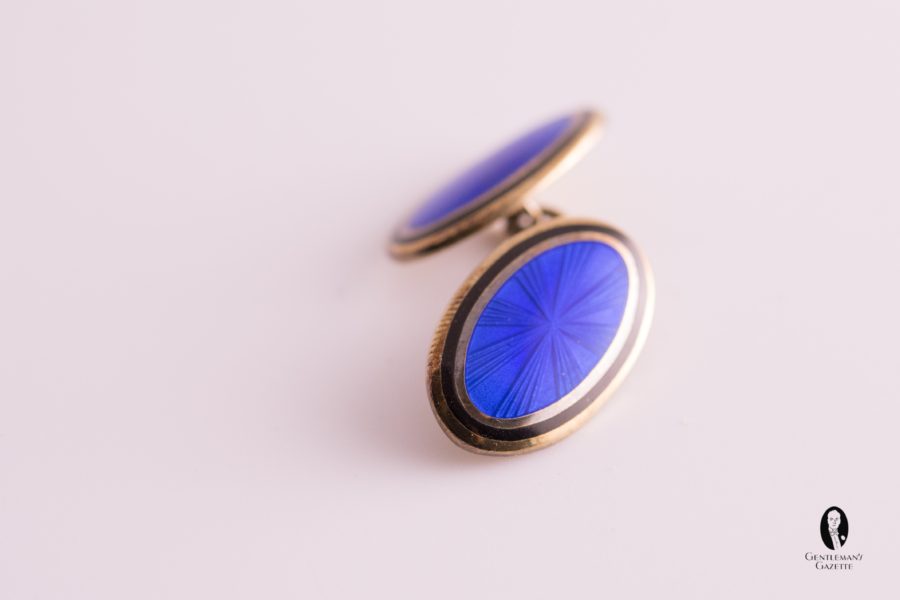
Double Sided Enamel Cufflinks
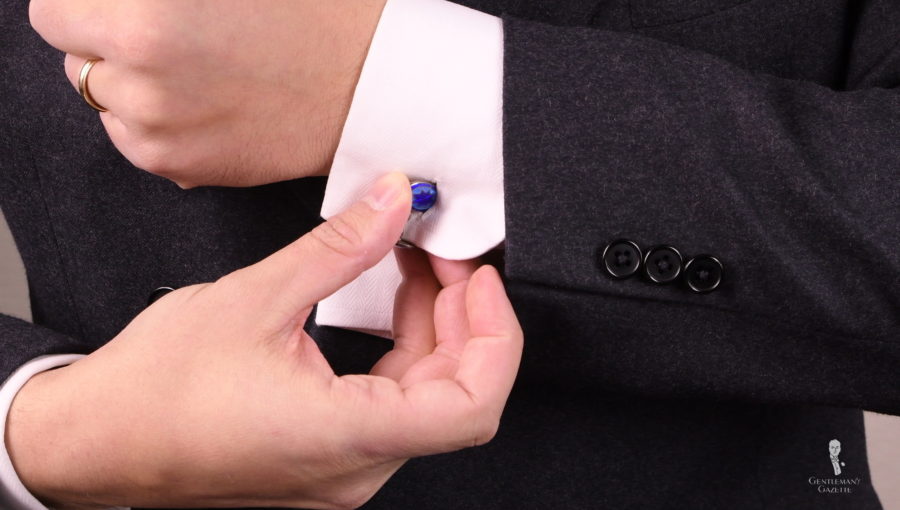
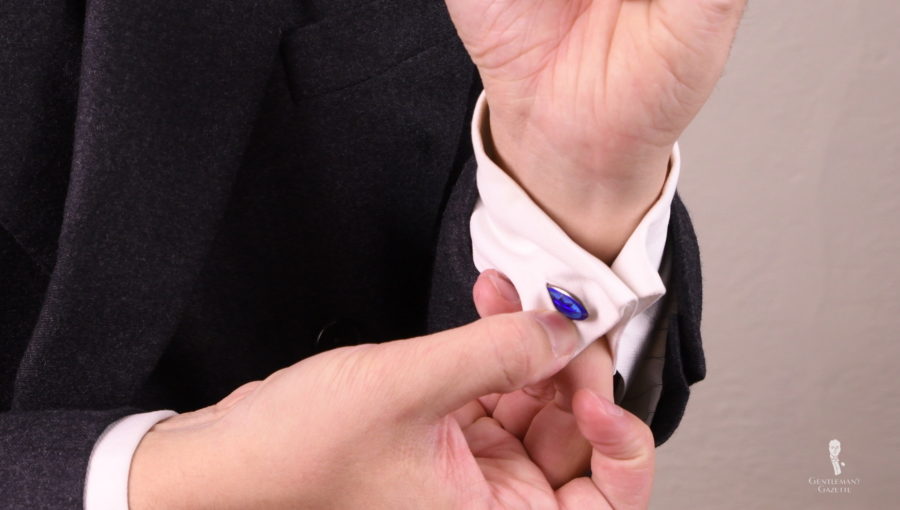
They’re usually double sided, they’re identical in front and back or at least they are the same size. Ususally they are enameled on silver or gold. Unfortunately, they can be very tricky to put on because of the size; sometimes they’re round, sometimes they’re octagonal, or hexagonal, or sometimes oval shaped which is probably the most tricky way to do it. Therefore, please watch the video on top to learn how to put them on.
- You have to hold them in between and just hold one side very firmly.
- Then, put that through the buttonhole. Usually you can do it through two buttonholes at once.
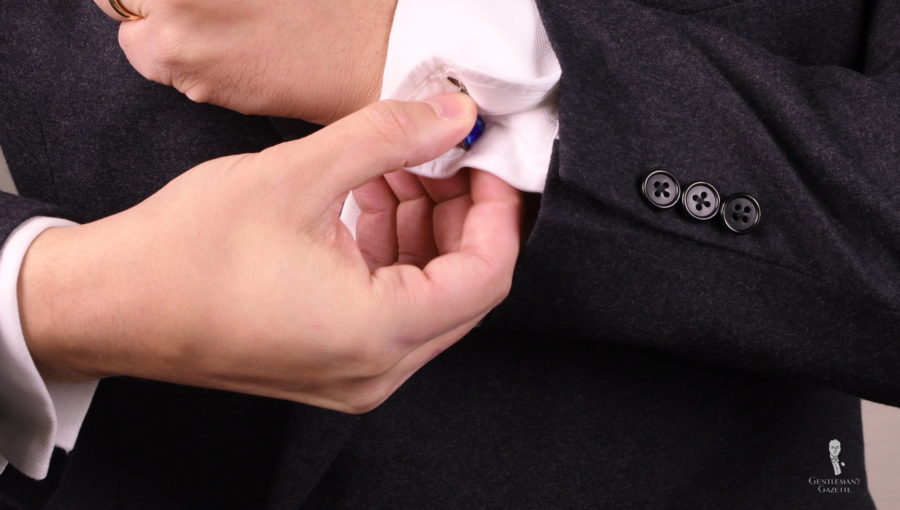
- Now, when you get through, you have to hold it from the other side and pull it through, if it’s too tricky, do one buttonhole at a time.
- Once you’re through one buttonhole, pull it through. You want to do the same thing again, locate the buttonhole and push it through, this can be tricky at times because of the roundness of the cufflink, you may slip out and get frustrated but if you experience that, simply try again and do just one buttonhole at a time.
It may seem difficult at first, but with a little practice, you can really do this quite quickly.
Sometimes, men try to put the cufflinks into their cuff before they put the shirt on, and then the just slide their hands throught the cuffs afterwards. If you can do that, your cuff is too wide! Learn more about the proper size of a shirt cuff here. Also, you risk to break the chain by doing that, so it’s better you learn how to do it the proper way.
How to Take Off cufflinks?
Now, for most cufflinks, it’s very easy to take them off. You simply put them in the reverse way you put them on. For enamel cufflinks it’s a little more tricky. Basically, you have to hold the cufflink and push it back through the hole. One by one, one buttonhole at a time. Once you’ve actually loosened one side, you can take off your shirt and then remove it with both hands which is much easier. If you have enamel cufflinks, you can actually put it on one side of your cuff so you already have two buttonholes done, put on the shirt, button up the front and then button your cuffs. That way, it’s super easy.
On the flip side, if you chain cufflinks, you can actually put them in one side of the cuffs before you put on the shirt, then put on the shirt, button up the front and then button the remaining cuffs. That way, it’s super easy because you have already completed 50% of the work upfront.
Snap Cufflinks
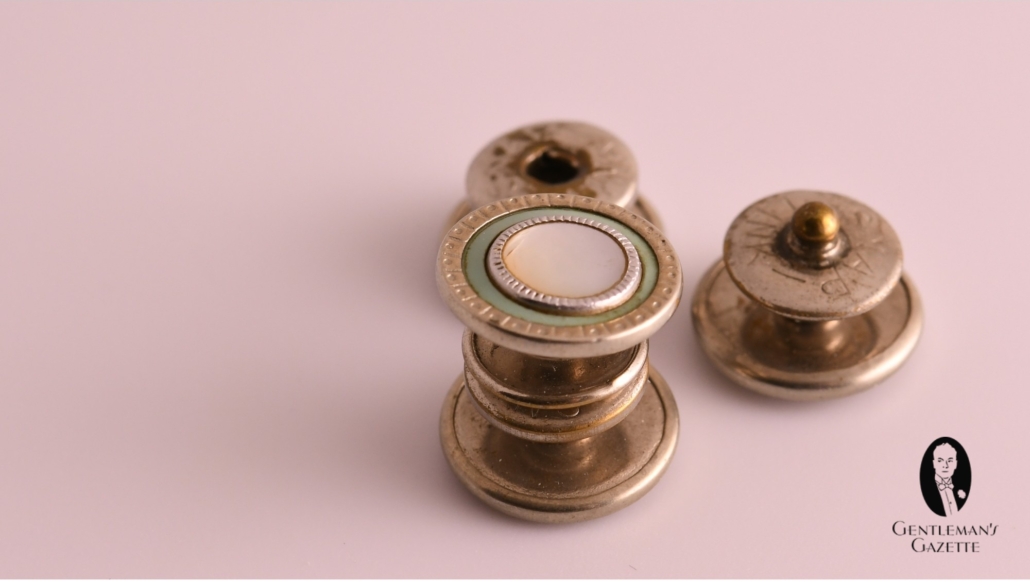
They were popular during a period in the 30’s and 40’s, sometimes in the 50’s but they quickly fell out of favor. The big advantage of snap cufflinks is that you can put them on before you put on the shirt.
- You open the snap cufflinks, just do one part at a time. Hold it over at a slight angle and push it through with your thumb. I suggest you do it one buttonhole at a time. Simply push it through, and you wiggle a little bit so you get it over.
- Once you’ve done that, it’s time to grab the next part. Again, angle it a little bit so you find the buttonhole and then push it through.
- Then you can simply snap them together.
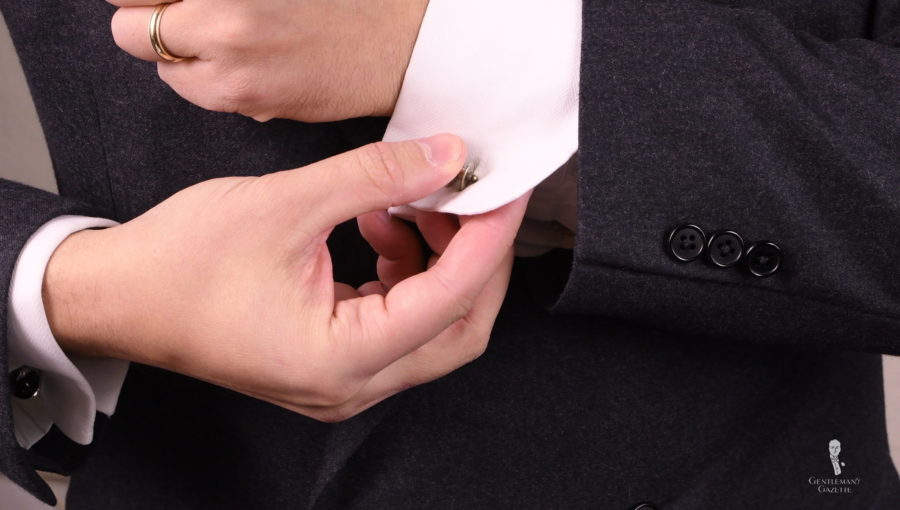
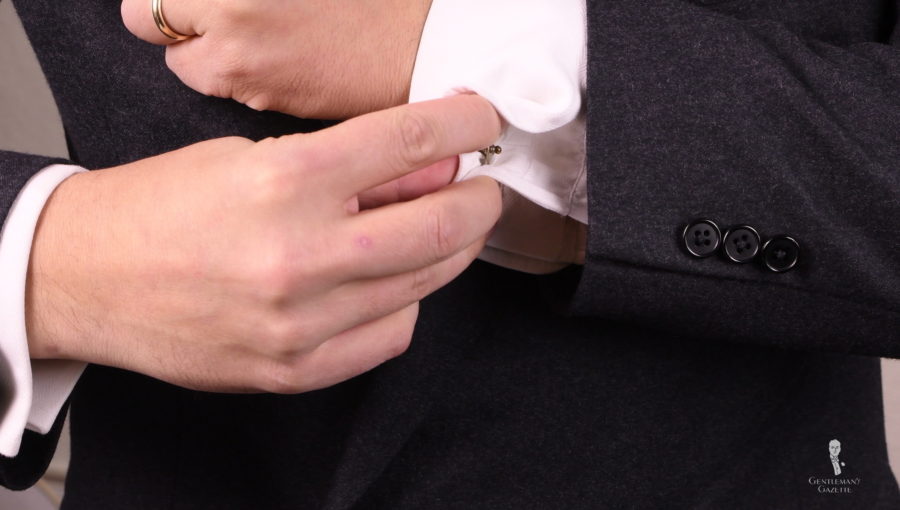
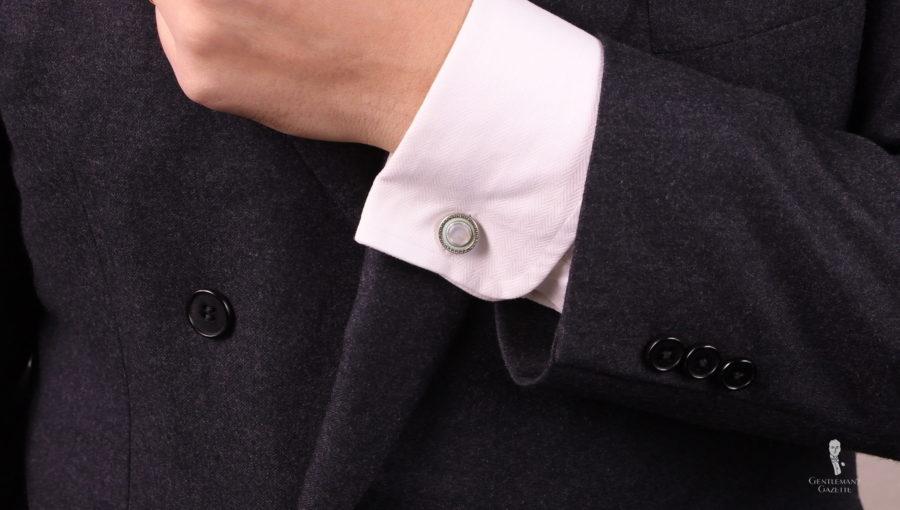
I put them on the way I put on other cufflinks. You can do that before you put on a shirt so if you have difficulties, that may be a good way. The problem with snap cufflinks is when you work hard or move suddenly, they easily come undone and then it just looks very bad. It’s probably one of the reasons why they fell out of favor and one of the reasons I personally don’t like them very much.
So, how do you put on your cufflinks? Please share in the comments!

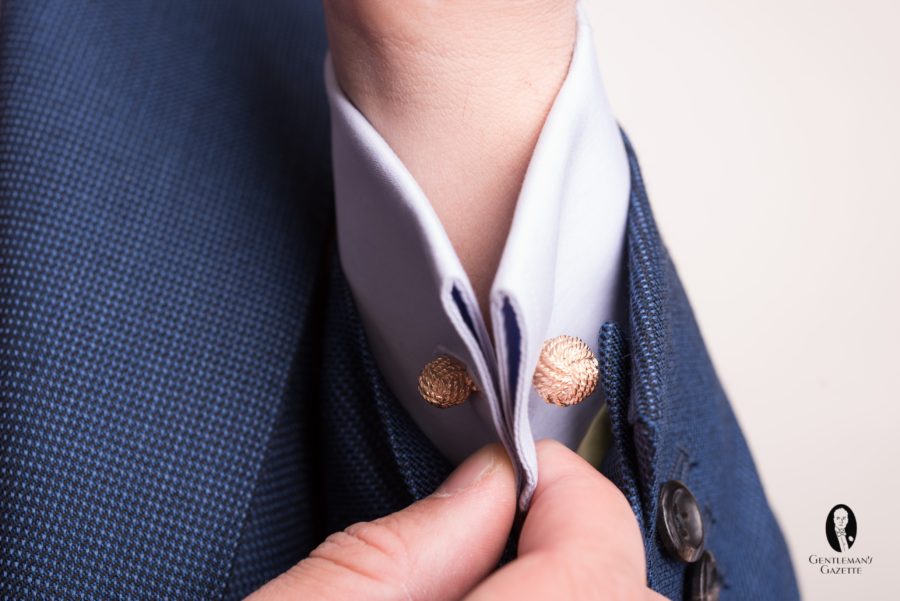
Silk knots? A personal favorite of mine.
For chain cufflinks, isn’t the correct way to have your valet do it? ;)
Great tutorial and gorgeous enamel cufflinks :)
Thank you, Ryan!