It’s safe to say that most of us, if not all, have probably had some experience with a button coming loose on a garment. Not only can it be embarrassing if it happens in front of others but it can also shorten the useful life of a garment. You could, of course, take the garment into a tailor to have the button reattached but a simple and cost-effective solution is just learning how to reattach a button yourself.

What You Will Need…
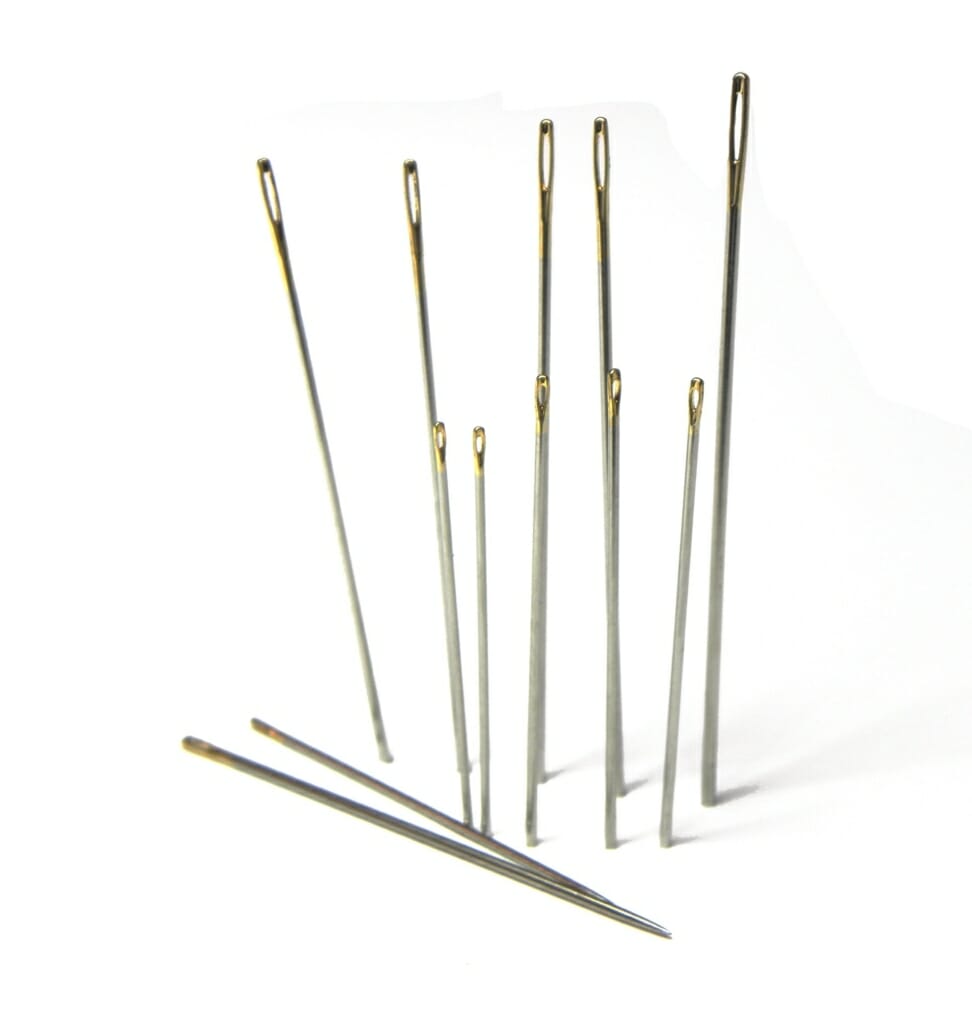
Sewing Needle
Of course, a sewing needle is going to be your main tool. Any type of basic needle will do but generally, the slimmer the needle you have, the better for this application.

Thread
In terms of thread, having about nine to twelve inches will be enough for most situations, however, if you want to double your thread over to make it stronger, doubling the amount of thread would also be necessary. Therefore, you’ll probably want about eighteen to twenty-four inches of thread in total. Ideally, you’re going to want to have a thread that matches the thread used on the garment but if you don’t have something in exactly the same color, it’s typically safe to just use a light-colored thread for light garments and dark-colored thread for dark ones.

Button
Most button-up shirts will have spare buttons on the inside of the bottom front of the shirt’s placket. Most jackets and outerwear will come with some spare buttons typically in a small plastic bag inside one of the pockets and many pairs of trousers will often have a spare button on the inside of the waistband.
As another note, there are buttons with differing amounts of holes. The standard button will have four holes but you’ll also occasionally see buttons with two holes or even less commonly some other amount.
The main methods we will be illustrating today concern four-holed buttons but they could apply to buttons with different amounts of holes as well. There are also certain types of buttons that have no holes whatsoever, these are referred to as shank buttons and they require a slightly different method of sewing.
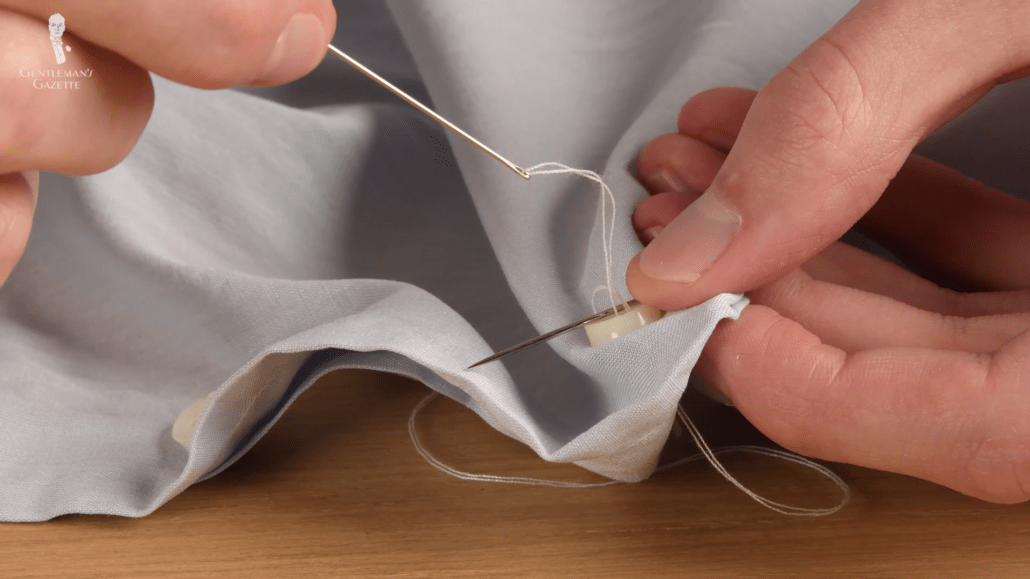
Spacer
You’re also going to want a small implement called a spacer to be placed on top of the button while sewing, this will leave a little bit of extra room between the button itself and the fabric. For your spacer, you could use another sewing needle, a matchstick, or any similarly sized tool. Some sewing kits will also come with a small metal rod that has two blunt ends, you can use this one without having to worry about poking yourself as you would if you were using a second needle.
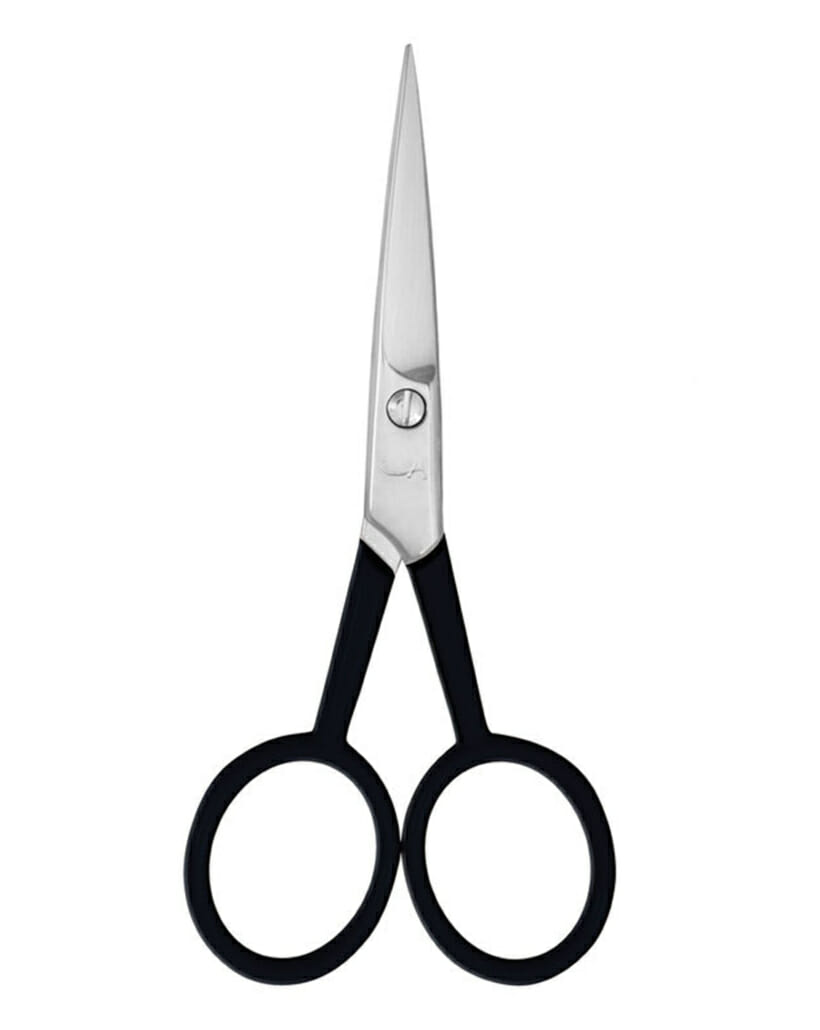
Cutting Tool
You’re also going to need a cutting tool, this could be a pair of scissors, a pocketknife, a seam ripper, or any other sharp-edged object.
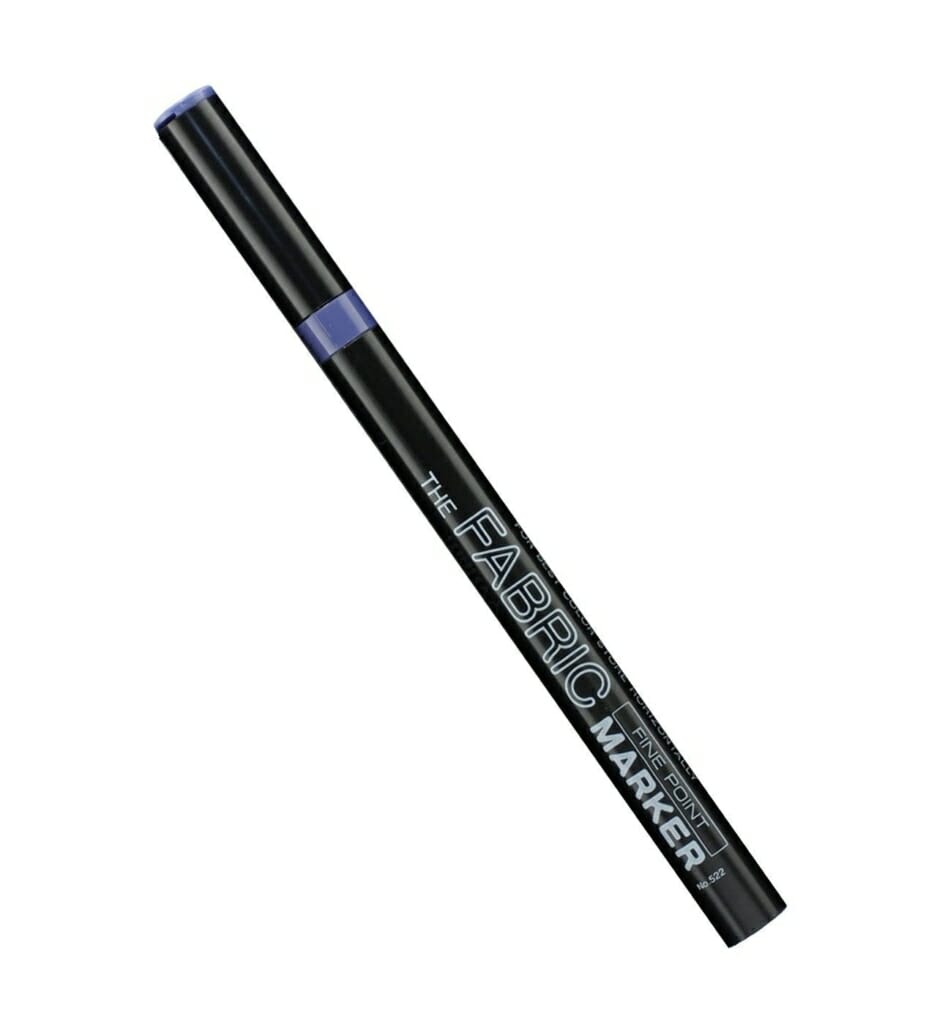
Fabric Pencil
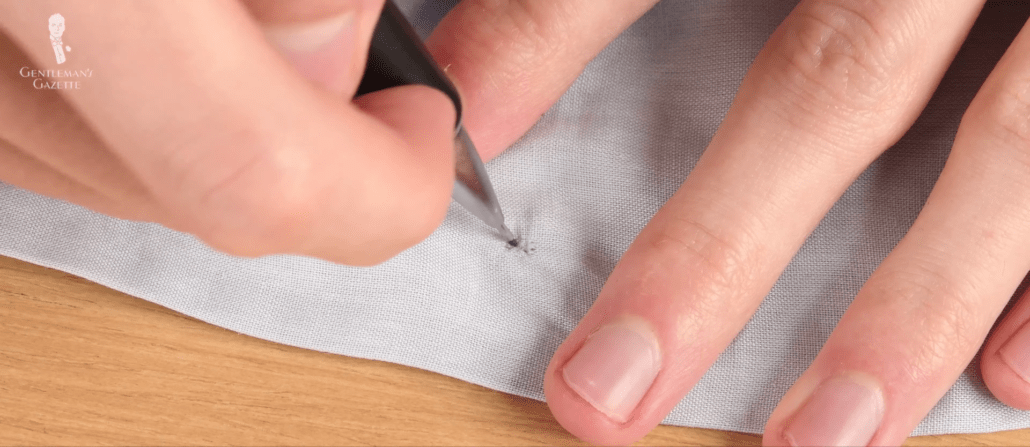
A water-soluble marking pen, fabric pencil, or tailor’s chalk can also be helpful if you want to make a small mark on the fabric of your garment where the button is going to be located.
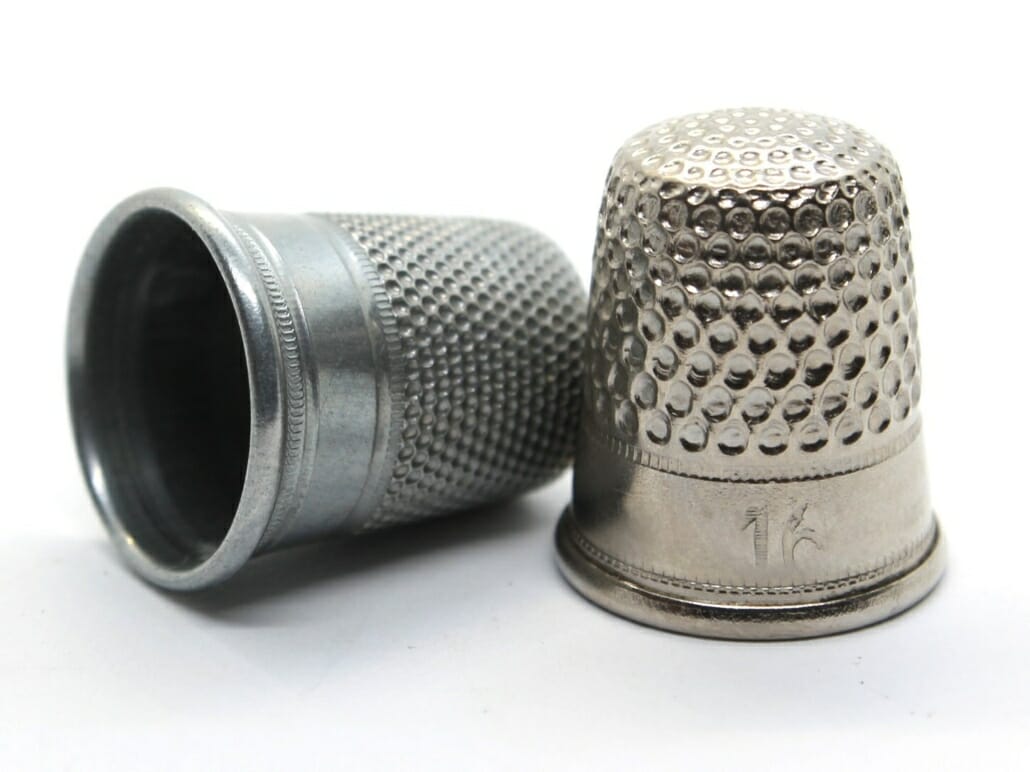
Thimble
An optional tool here is a thimble. If you’ve ever wondered what that monopoly piece is actually for, when you’re working with thick fabric, it can sometimes be a little painful to actually push the needle all the way through. As such, you can wear a thimble on the thumb or finger that primarily does the pushing.
How To Sew On A Button Effectively
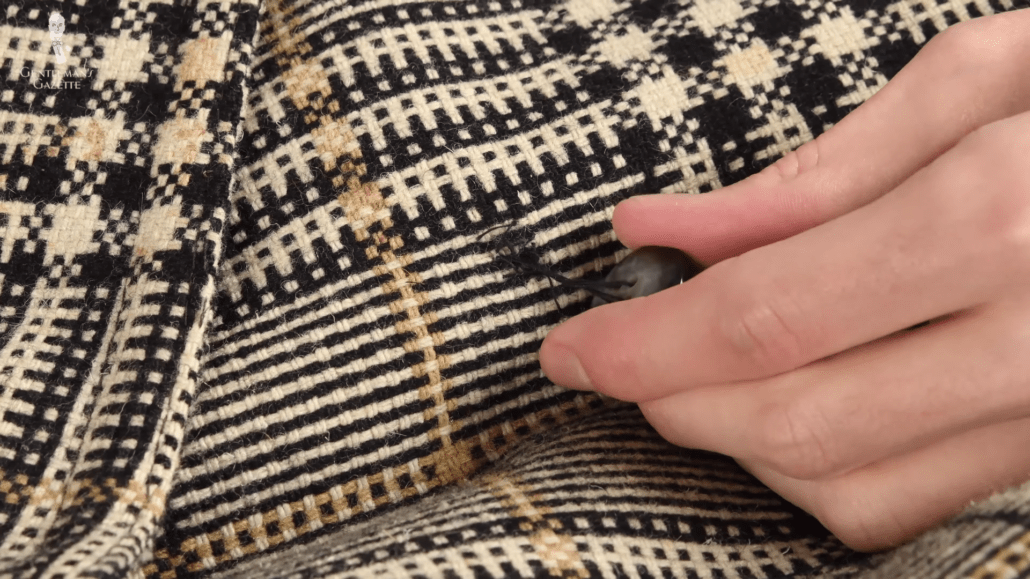
Remove The Loose Button From The Shirt
If your button is loose but still hanging on, you should use your cutting tool to take away the thread that’s still keeping the button on the shirt. A seam ripper will work best for this but you can also use a different type of cutting tool, just make sure that you’re not damaging the fabric of the shirt itself. Next, just use your cutting tool or your fingers to remove any excess old thread that still happens to be hanging on to either the button or the garment.
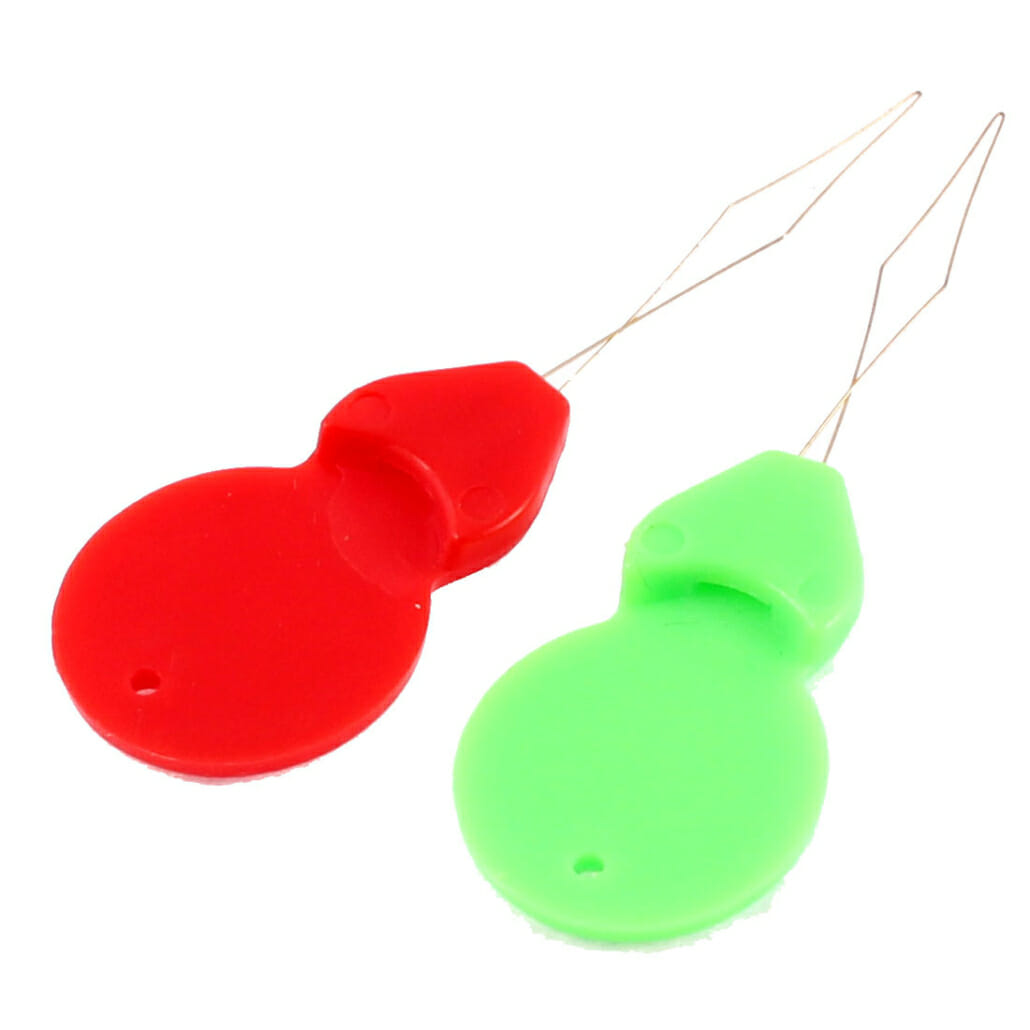
Thread Your Needle & Knot The End Of The Thread
Another optional tool you might want to have handy is a little implement called a needle threader, these will come in some sewing kits and they make the process of threading a needle much easier. If you’re just working with single thread, just pass the thread through the needle and tie a couple of simple overhand knots to make sure things are secure.
If you have doubled your thread over, you can create a knot by wrapping the thread around your forefinger several times, roll the loops that are created into a tight bundle with your thumb, then slip that bundle off of your finger. You can grip the bundled loops with one hand and tug the long end of the thread tight with the other hand, this should pull the loose bundle into a tight knot that you can work with.
Create Your Anchor Point
This is the time to make a small mark on your fabric where the button will be located if you so choose but this is optional. To create your anchor, start by looking at the back side of the fabric, run the needle through from the back side to the front then move a short distance, the distance between holes on your button and run the thread back through from the front side to the back side.
Repeat this process one more time perpendicular to the first small line of thread you created on the garment. This will create a small X where the button is going to be centered. The X is also the anchor for your thread to make sure that that doesn’t loosen up while you’re sewing.
Position The Button
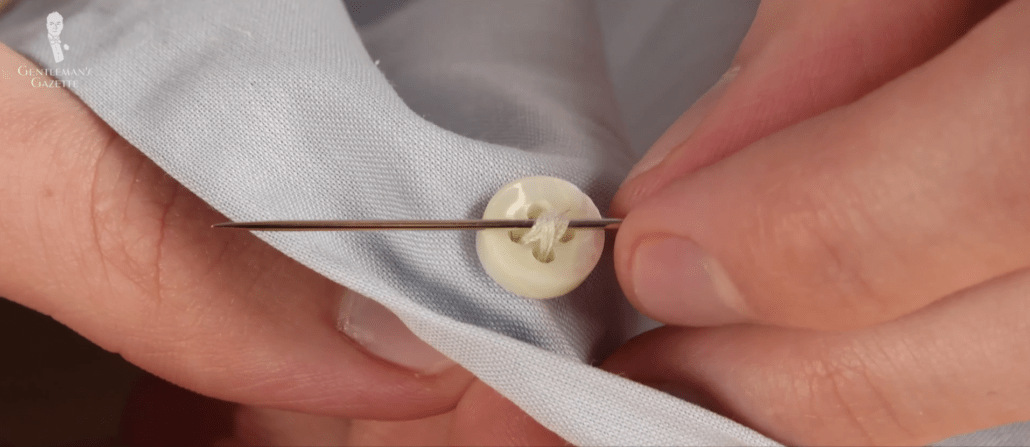
Put your button on the anchor X point and begin sewing by pushing the needle from the back side through to the front side and through the hole of the button. You can place your spacer on top of the button and put the needle through the opposite hole in the button, back to the backside of the fabric. You can put a finger on the button to make sure that things are secure while you’re making your first few passes.
Using the anchoring X on the fabric as a guide, you can alternate between sets of holes or you can do one set and then the other. You can make six passes in total; three for each set of holes on the button. When the button is secured, you can remove the spacer.

Create The Shank
On your final pass from the backside to the front, come back up through the fabric but don’t go through one of the holes of the button. Turn the needle slightly and bring it out from underneath the button. Wrap your thread tightly around all of the threads beneath the button at least six times in total. You’ve now created a shank which will stand the button away from the fabric, this will make it easier to button your garment since the button won’t be sitting directly and tightly against the fabric. Pull to make sure things are secured here and then put the needle back through from the front side to the back side.
Secure The Thread
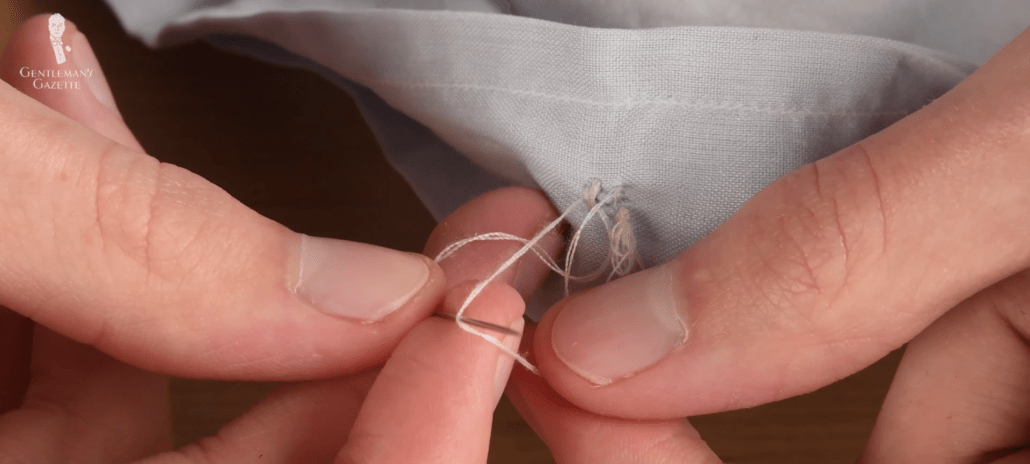
With both ends of your thread on the backside of the fabric, you can use your needle to make a small loop in one part of the thread. You can use the needle to guide the thread through that loop to create a knot or you can snip the thread off of the needle and just tie the knot with your fingers. Either way, it’s key to make sure that your knot is tight.
For extra security, you can always add a few more knots just to make sure things aren’t going to come loose. Cut off the excess thread on the back side of the fabric when you’re done and your button is successfully reattached to your shirt.
For Overcoats & Jackets:
These directions can be used particularly effective on shirts and trousers but jackets and overcoats are going to require some different methods that will work a little bit better.
Overcoat buttons can be sewn on in the exact same method as with shirts or trousers but sometimes, you’ll see this done with another smaller button sewn on simultaneously to the main button on the back side of the fabric. Metal buttons can also benefit from having a stay attached on the reverse, as metal buttons can be heavier or made from more valuable materials so you wouldn’t want to lose them. Also, to get metal buttons to stand up as straight as possible, you can use a waxed thread which is going to be a little bit more durable. Metal buttons are quite often shank buttons, we will cover how to sew on a shank button in a moment.
Sewing Buttons On A Suit Jacket
Sewing buttons on to a suit can be done in the same way that we’ve just outlined for shirts but it’s often done with a slightly different technique so that there’s no visible knotting on the backside of the fabric.
- Here, you can start the same way as before by marking your button placement if you so choose, threading your needle, and making a large knot in your length of thread which should still ideally be 18 to 24 inches and doubled over for strength.
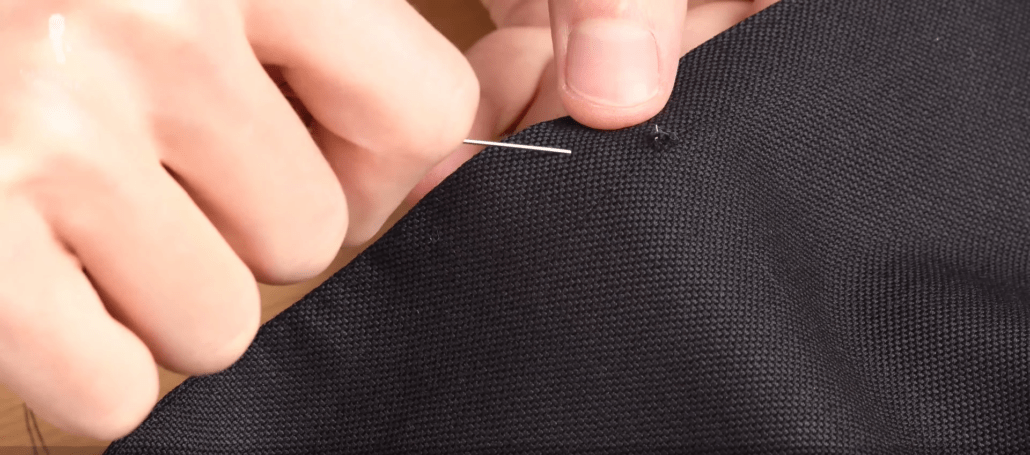
- Next, insert your needle into the front side of the fabric about ¾ of an inch away from your mark but stop the needle point between the layers of fabric. Don’t go all the way through to the backside. Work your needle over to the mark you created and then bring your needle point back out through the front.
- Next, using the loop method we outlined before, create a small knot at your mark just to make sure that things are secured at this point. It’s also helpful to do this another time or two just to make sure that things are absolutely stable.
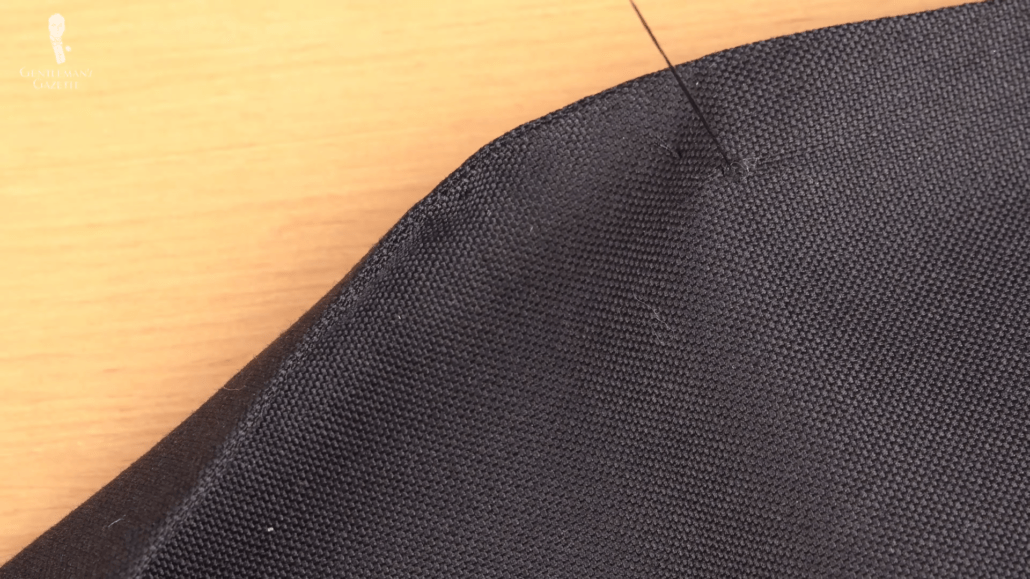
- When knots are secured at your buttoning point, pull on the big knot, the one that you originally created with the thread to bunch up the fabric and expose some of the internal threading that’s inside the layers of the jacket. If you clip off the big knot and then release the bunched up fabric, the tails of the thread will slip in between the layers of the jacket so you won’t be able to see them. In other words, you’ve got a good amount of thread to keep the knots at yourmarking point secure but because it’s neatly inside of the jacket’s layers, you won’t see it.
- Next, insert your needle through one of the holes in the button. Hold the button against the coat and place your spacer over the button as with the previous method. Put the thread through the button and again, in between the jacket’s layers. You’re going to repeat the sewing process without ever exiting out of the back side of the fabric. Each time you make contact with the front side of the fabric in other words, you’re just going to pick up a little bit of that fabric layer. Never go all the way through the jacket.
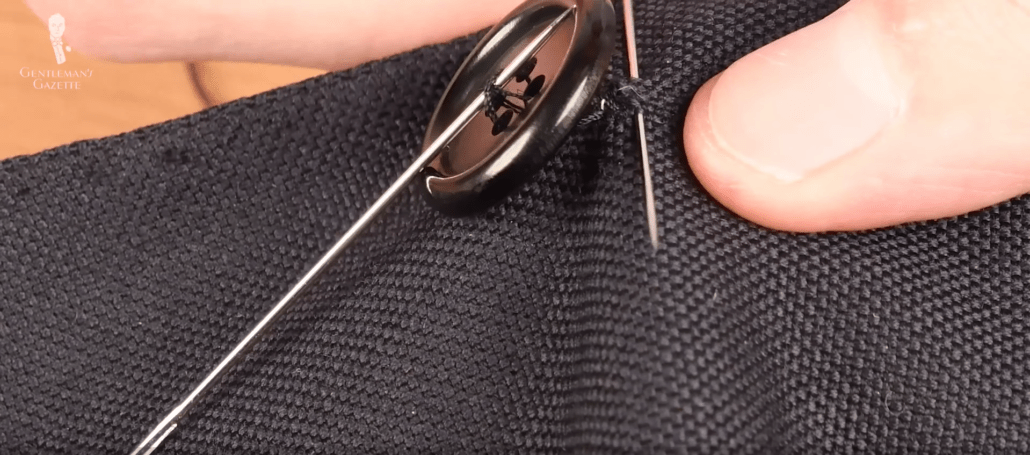
- Make your six passes as before, wrap around to create the shank, insert the needle at the base of the shank, and knot a few times to secure it.
- After knotting, put your needle in between the jacket’s layers again. Work the needle three-quarters of an inch away from the button and come out the front side again. Essentially, this is a reverse of the way we started this particular process.
- Pull tight, clip the thread closely to the fabric and release so that your final tail of thread will also be hidden between the jacket’s layers. Now, you’ve got your button reattached to your jacket with no visible tails of thread anywhere and everything is knotted and secured.
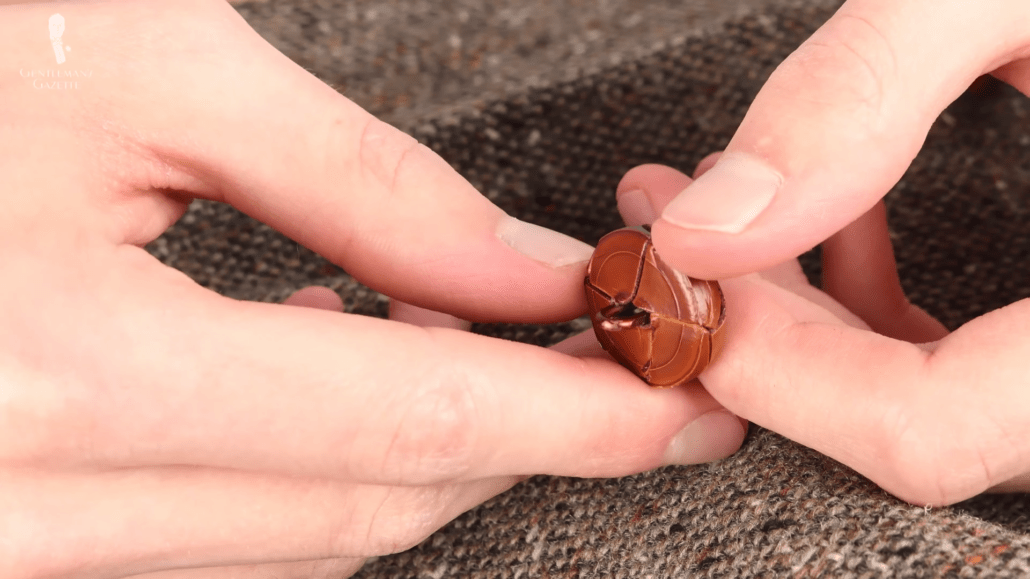
Shank Buttons
As we said, a shank button differs from a standard button and then it doesn’t feature any buttonholes.
- To sew a shank button on to a garment, start as before with 18 to 24 inches of thread, doubled and knotted. You can use less thread overall with a shank button if you wish though, as you won’t have to wrap the thread around itself to create the shank.
- The anchor that you create on the fabric will probably be simpler here as well. Start on the back side and run through to the front.
- Move your needle a short distance only slightly greater than the width of the shank itself and pull it through from the front to the back.
- Move the needle back to your original point on this side and put it through from the back side to the front side. Now, your simple anchor for this style of button is done.
- Next, run the needle through the button shank and then go through the fabric from the front side to the back side. Repeat this process several times until you feel that the button is secure against the fabric.
- With the thread on the back side, use a simple knot or two or more to tie off the thread and then cut off the excess. You can either run the needle all the way through the fabric as we’ve just outlined or you can combine this method of sewing on a shank button with the method we outline for sewing buttons onto a jacket without going all the way through.
- Also, you can feel free to use a stay button on the back side of the fabric with a shank button if you so choose and there you have it!
Armed with these simple sewing techniques, you should be able to attach or reattach buttons to your garments and prolong their usable life. What’s more, you won’t have to depend on a tailor in order to have this done.
Are there tips with any of these methods that you think we missed today? Do you prefer a different sewing method altogether that we didn’t mention? If so, share with us in the comments below.
Some may say this article was only sew sew, but I think it was perfectly tailored to the subject.. The importance of a thimble to protect the thumb helps us avoid the problem “as you sew, so shall you weep.” (Okay, I apologize to everyone).
Thank You,
I’ve been sewing on my buttons for decades and never doing a very good job. I now know the correct methods. Much appreciated.
Cheers
Mal Eccles
The first real-life tutorial in sewing on buttons I received many moons ago from a ruddy-faced sergeant who called us every name under the sun while “teaching” us….
But your video us really informative. The downside of it though: I now no longer have an excuse to shift responsibilty onto my wife…
Hatfield,
-don’t fret…..perhaps your wife will suddenly develop an interest in mowing the lawn or changing the engine oil in your car?
Seriously, buttons are the bain of my life, being a wearer of braces (-suspenders). – and no, clip on braces are not an acceptable option. This means at least 6 new buttons for every pair of new trousers
I’ve found that my local haberdashery has a range of super strong polyester button threads. Luckily, I also have a large reel of old fashioned linen button yarn.
What I can’t find, is a replacement for the excellent one step needle threaders I used to recommend for amputees and hemiplegics. ……. any suggestions?
Yes. I was about to add that thicker, stronger, button-specific thread will often last much longer on a coat or a jacket.
What we saw at 5:25 – yes, I have in mind this terrible knot – looks not really professional.
“While most people would think that it’s a sign to ditch the garment for a new one,”
Seriously? Ditch the garment because of a loose button…what an incredibly ludicrous idea.
Truly an excellently produced video and so very practical. One small tip I would add: When creating a knot at the end of the thread before we begin sewing, I wrap the thread around my index finger just as you did in the video but, I also lick the thread on my finger tip before I try to roll it; this provides added friction and allows you to more easily roll the thread to form the knot.