In our series on bespoke shoes, we show you how a pair of shoes is made by hand from start to finish by one shoemaker, and our fourth installment is all about “trial shoes.” We’ll talk about how and why they’re made, and how different shoemakers approach them.
If you’re joining in the middle of the story, please check out our playlist so you can see the full series!
What is a Trial Shoe?
A trial shoe is a rough mock-up of what the final product will look like once the last is done. In short, it’s a practice run for the final shoe.
Frankly, every shoemaker has a different process. Some make several trial shoes, others make just one, maybe in a higher quality, and other shoemakers skip a trial shoe altogether. At the end of the day, all approaches lead to the same goals. For the customer, that means getting a perfect fit, and for the shoemaker, it means that they don’t have to redo the shoe at the end of the process and that they save as much costs as they can.
On that note, it’s really important to understand that a trial shoe doesn’t automatically guarantee a better fit. In fact, I remember talking to Bernhard Roetzel once, and he told me that his best-fitting shoe came from a shoemaker, who didn’t do a trial shoe, and the first pair fit better than other shoes, where he had multiple trial shoes done. No shoemaker is perfect, and while a shoe may be a perfect fit for a customer the first time around, it may not be for the second or third customer.
Tried and Tested
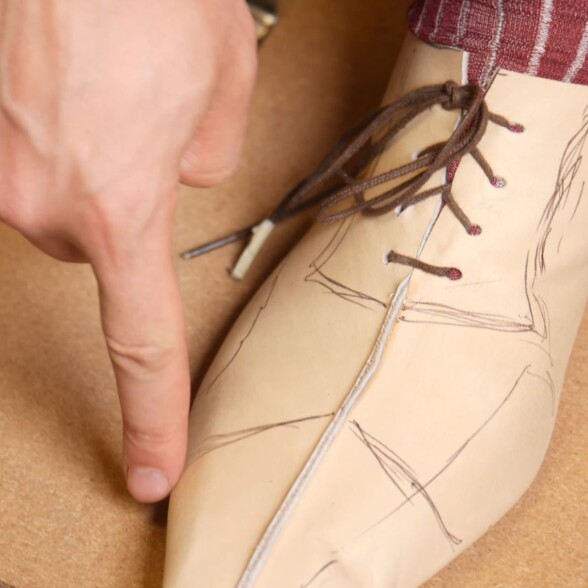
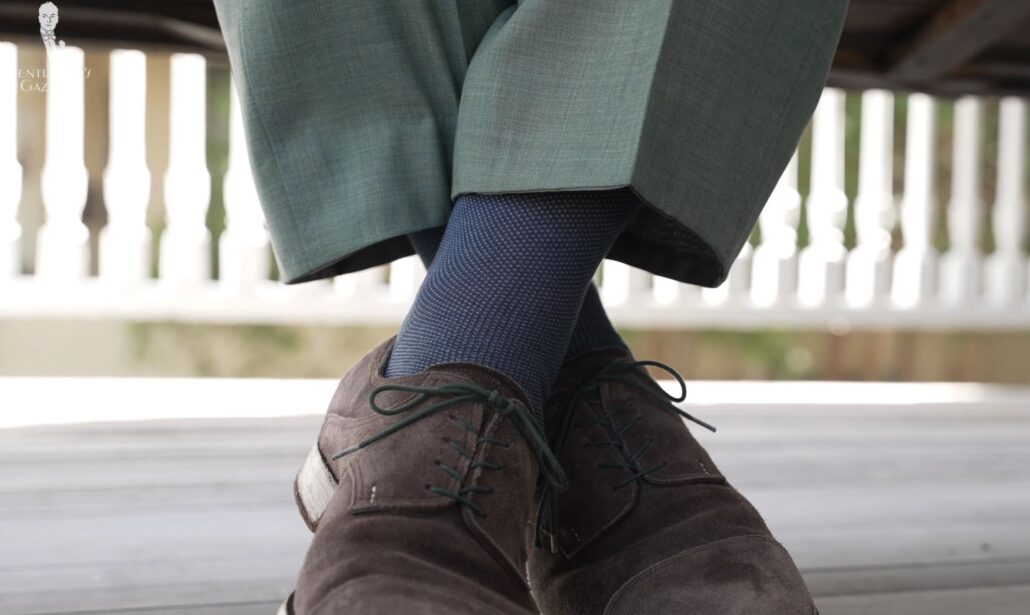
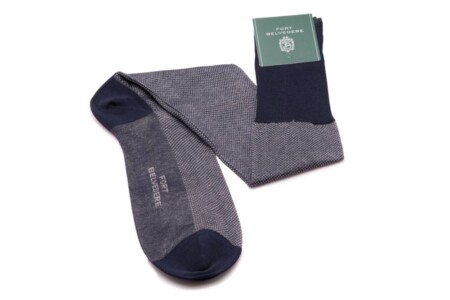
With a pair of trial shoes, you can “test drive” the finished item. Shoemakers have their unique methods in creating trial shoes but they have the same goal of finding and addressing issues early on and saving costs overall. (Pictured: Shadow Stripe Ribbed Socks Burgundy and light grey from Fort Belvedere)
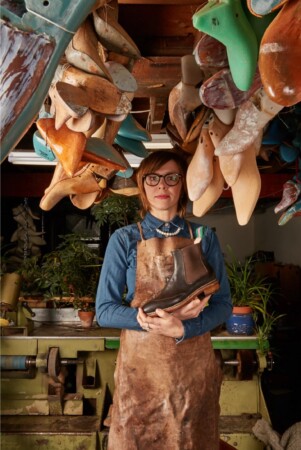
Today, you’ll see how Amara Hark Weber, a bespoke shoemaker from Saint Paul, makes her trial shoe and what her approach is. In fact, she used more than one pair of trial shoes for me just to make sure to get out all the kinks for the final product.
So, first up, what exactly is a trial shoe? Despite all the best efforts and measurements, it is rare that a bespoke shoemaker can translate those measurements into the perfect last right away. A trial shoe is made on the same last the final shoe will be made with a goal of understanding imperfections and issues, especially in terms of fit.
Why do shoemakers use trial shoes? Well, the earlier you find issues and correct them, the less expensive it is overall and the less effort and time it takes to fix. Every shoemaker has a different approach to trial shoes and, as Amara puts it, ask ten shoemakers about their approaches to trial shoes, and you’ll get 15 answers.
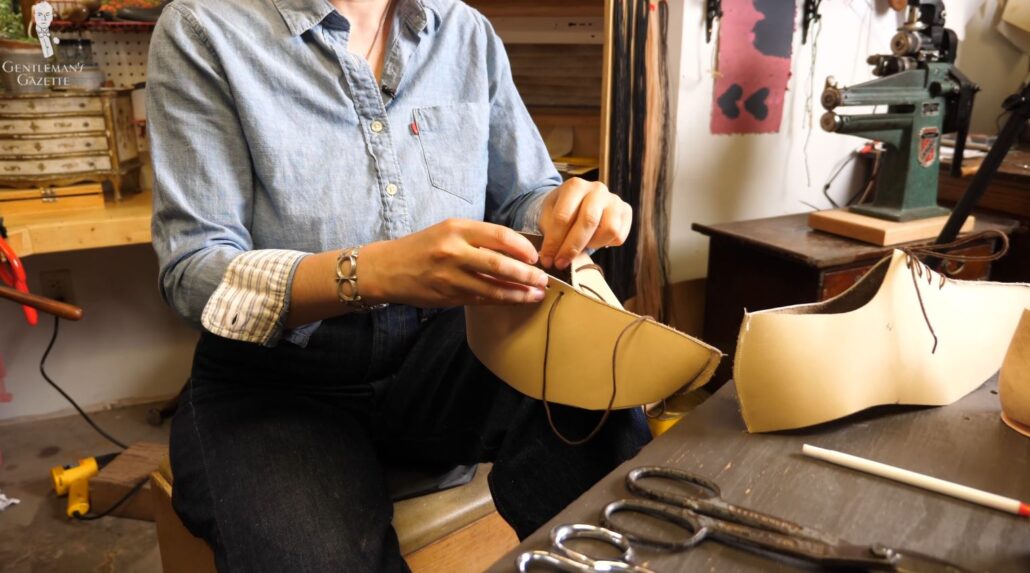
Some shoemakers make a nearly finished shoe that you can actually walk around in for an entire day, and then, you can see where it hurts, where it’s maybe really good, or what the imperfections are that need to be changed. Some shoemakers use inexpensive leathers, scrap leathers, or materials because they just care about the fit. Others swear by using the same leather that they will use for the final shoe, so the customer can really experience what the final product will feel like. In any case, a trial shoe will always increase the overall cost of a shoe, but it may protect the shoemaker from having to redo the shoe again because it doesn’t fit or isn’t the customer’s liking at the very end of the process.
Some shoemakers don’t make trial shoes at all because they say, “Well, 90% of the time, I have to redo the shoe anyways, so I’ll just take my chances and save time and money with the trial shoes in the first place.” After all, there are a few tweaks here and there that a shoemaker can do at the very end of the process to improve the fit. But, of course, if there are major issues, it requires a full redo.
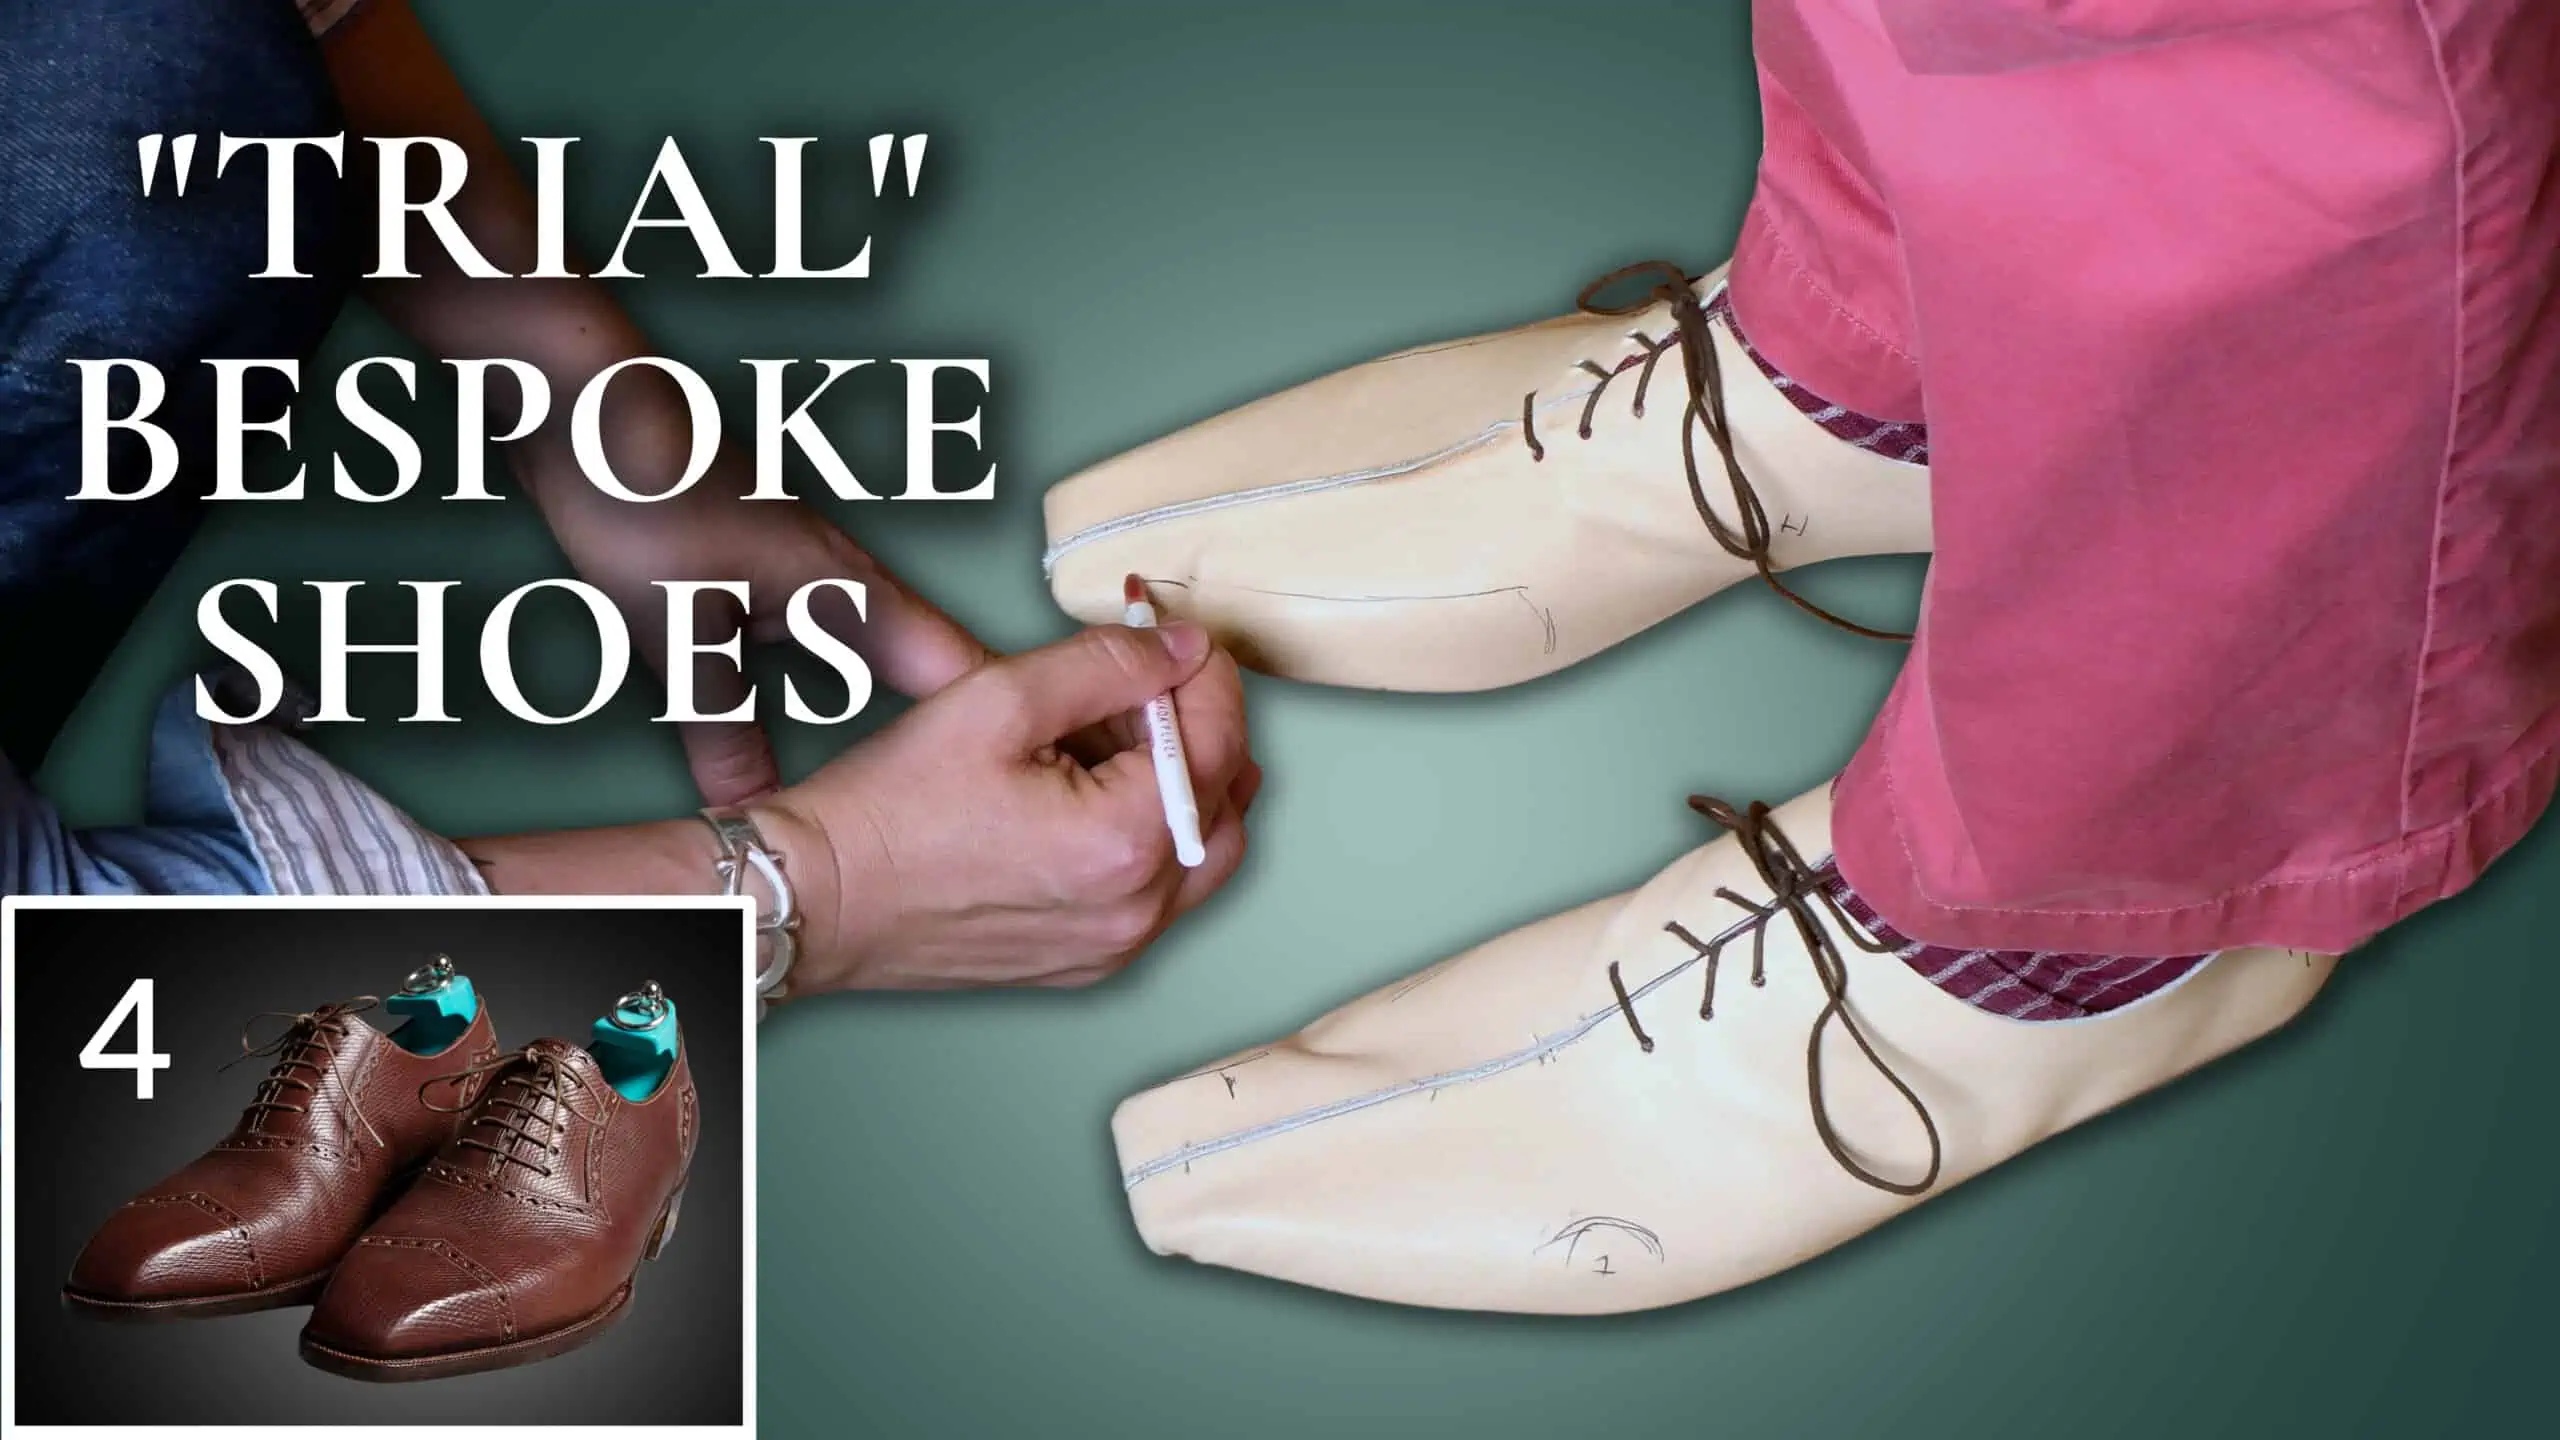
Amara Hark Weber falls somewhere in the middle. She does a trial shoe – in fact, multiple dry shoes if necessary – but she uses very cheap leathers. She doesn’t have a full heel block. So, you can really just stand in it, wobble around, and sit, but not take the shoe and walk around in it for hours on end. The leather she uses is also one single layer, she doesn’t have a lining, so it’s quite a bit different than the final product. She also uses a very cheap insole and no outer sole.
For Amara, a trial shoe is just about fit and comfort.
I call them “fast and uglies”. Because they’re fast and they’re ugly.
Amara Hark Weber on trial shoes
She doesn’t want to spend extra time on making it look nice or having all those layers because it just drives up cost. Of course, as a customer, you may be horrified to see this shoe for the very first time.
You may question yourself, “What have I gotten into here?” Don’t be worried. Your shoemaker may just use it to determine that the last itself has the right shape.
How the Trial Shoe is Made
Step #1: Double-checking the last
The first step is to create a trial shoe double-checking the last. If you compare the original raw last and the one we have now, clearly, you can see a difference. Always keep in mind that the final shoe will look different because the additional layers of leather on top will soften the harder corners and edges.
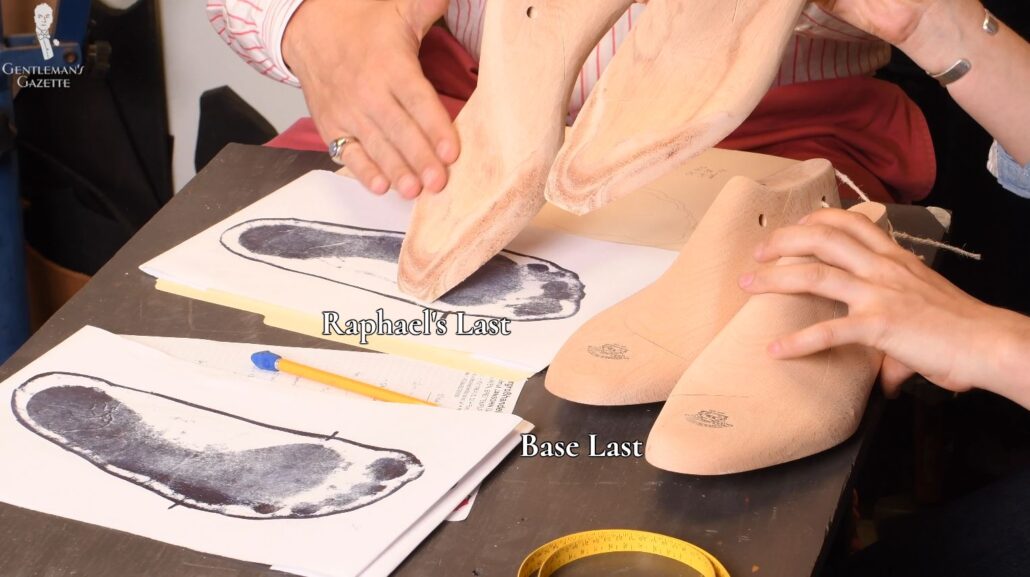
For example, Amara told me that, in the final shoe, the ball will appear wider and the waist will seem narrower. If you’re unsure of the last design, maybe the toe shape or something that you want changed, don’t be afraid to speak up. Now is the perfect time to do that. This is what this whole process is for.
Also, approach it with an open mind. Listen to what the shoemaker has to say because, sometimes, when you add the outsole, and you stitch it and the way you finish that has a huge impact on the overall look that might look different now on this very trial shoe.
So, the last is really the shape of your foot, and then…the look of the shoe is defined by the leathers that we use and how we choose to use them. I don’t totally know what you want your shoe to feel like, so I’m going to do my best to talk to you about that and to use my experience to fit these to your feet.
Amara Hark Weber
Of course, Amara double-checks the pedograph to make sure it’s fine, but ultimately, she’ll rely on my feedback and what I tell her and how it feels. Obviously, a tight fit, a good fit, or a loose fit are very subjective. And this trial shoe process helps Amara understand what it is that I want.
I feel something and I can say yes or no. I can say, “My little toe hurts a little bit. I want more space here. I want less space here. This is uncomfortable. The heel feels too wide,” and so forth.
How A Dress Shoe Should Fit – Guide To Finding Your Shoe Size
Step #2: Making the pattern from the last
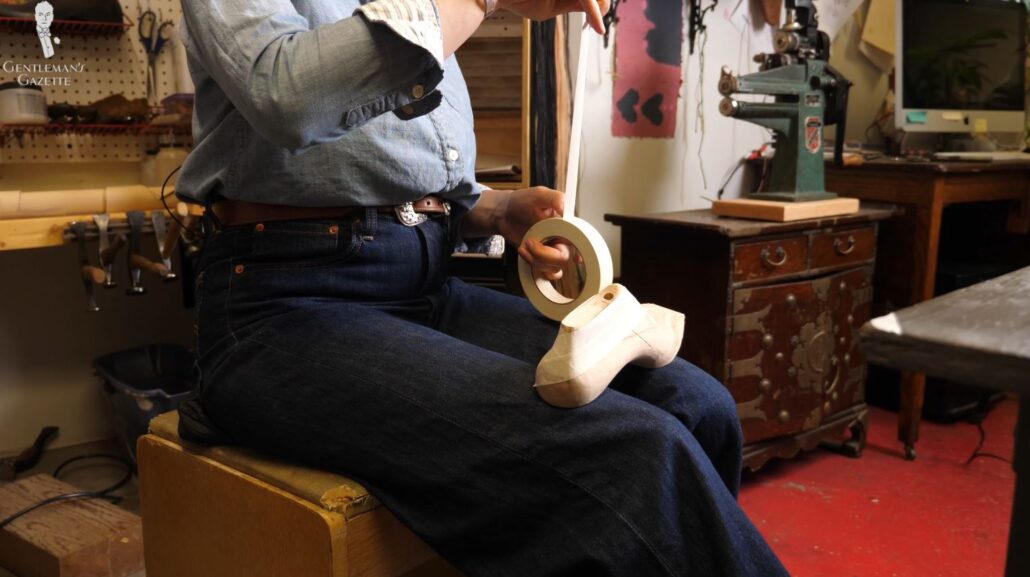
In a second step, we’ll have to make a pattern for the leather from the last. Obviously, a pattern is typically two-dimensional, and the last is three-dimensional, so there’s a problem. In order to get a 2D pattern from a 3D last, Amara uses some stiff masking tape and glues it onto the last. You can see she does this very neatly, and then she crosses over, so there are multiple layers.
Once the last is completely covered in masking tape, it’s cut apart and flattened, so you have a 2D surface, and you have all the curves and forms of the last reduced to that thing you can cut out on leather.
To make a pattern for a shoe, we work off flat patterns. And so, we have to go from round, which is the shape of the shoe, to flat, which is the pattern pieces. And then, those pattern pieces get combined to go around again.
Amara Hark Weber
Amara uses mostly one layer of tape, while other shoemakers may use more. Sometimes, she may use more as well. Each shoemaker has their own approach. While masking the last, Amara shared that she was once at a school where they spent hours on masking the last. She does it much more quickly.
Once the last is masked, Amara removes excess tape with a knife. She also notes which part of the last conforms to the right shoe, so nothing gets mixed up, and the final result will actually fit onto the last. She then scores along the entire length, so she can separate the tape from the last.
Finally, the total of four sections are now applied to paper. It’s not a flimsy paper, but it’s also not too thick. It just helps to later cut the pattern from this paper-masking tape mix. And voila! That’s how you convert the shape of a 3D last into a 2D pattern.
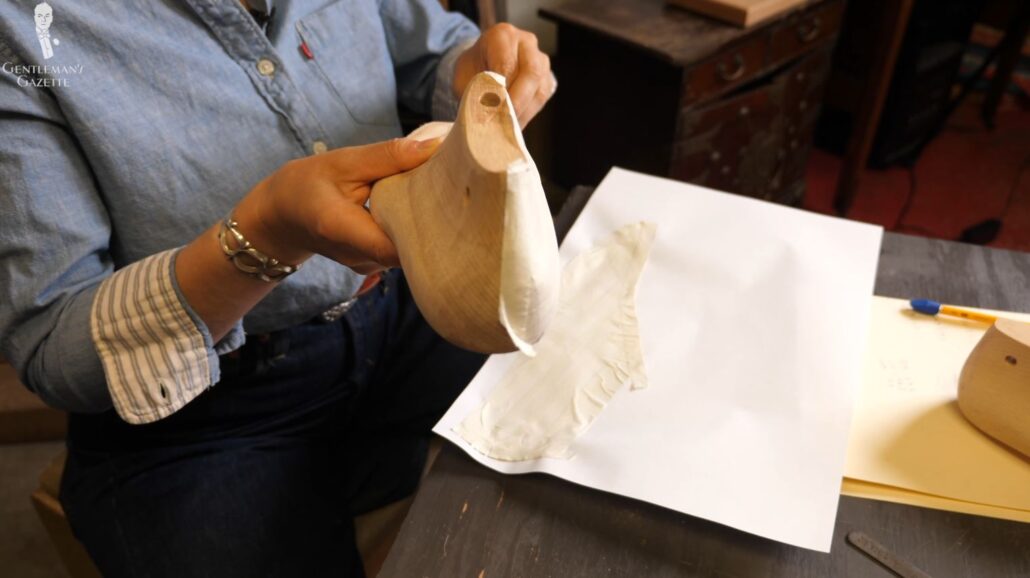
You may notice that the pattern actually has some excess around the edges. That’s not a coincidence or fault. But, later on, the material – mostly leather – will have been nailed in at the bottom of the shoe, so you need access in those areas, and Amara, of course, knows that because she’s done it many times before. This excess around the edges is sometimes also called “lasting allowance.” The masking tape goes to the feather line, and then, you have additional material for the bottom of the shoe.
Step #3: Using the patterns to cut the leather
It’s time to cut the patterns from the leather. Amara typically tries to use a neutral leather for a trial shoe because it’s not about the style, but all about the fit. It’s also easy to work with and, of course, much less expensive than the final leather I chose for the shoe.
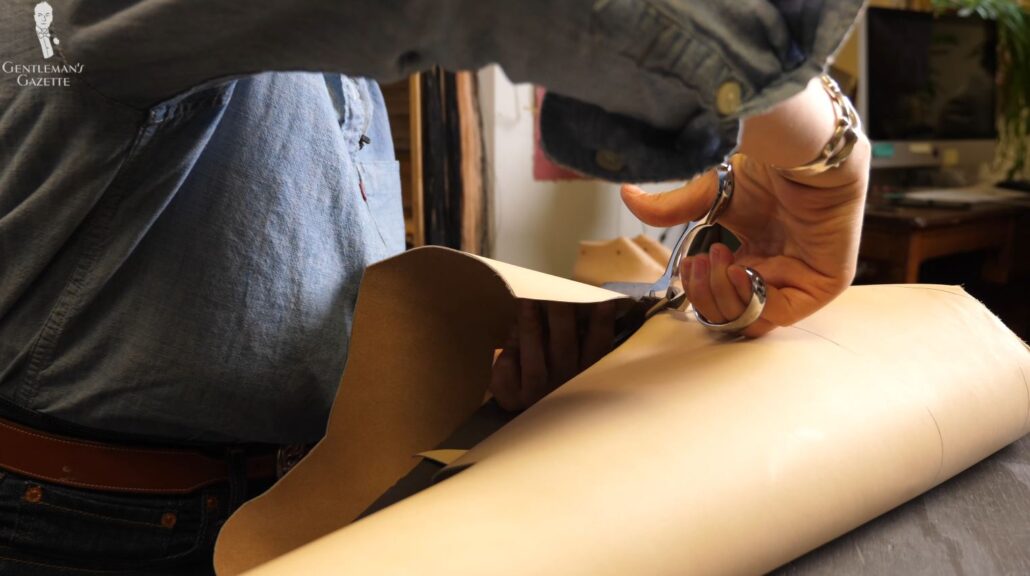
Just imagine the price increase if you would make an alligator shoe and you would use the same leather for a trial shoe. For calf leather, maybe you can still do that. But, even there, it’s expensive if you use the good stuff. Basically, the shoemaker takes a skin or a hide, puts the patterns on them, and then traces around them and cuts them.
Why Are Crocodile & Alligator Leather Goods So Expensive?
Step #4: Sewing the pieces together
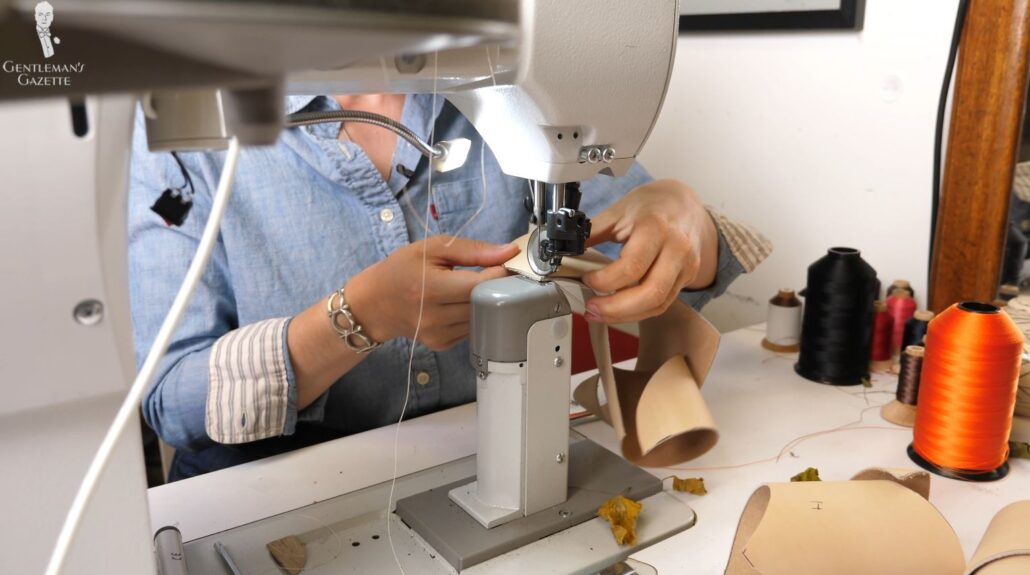
After the leather pieces are cut once again, Amara compares the pattern to the cutouts just to make sure everything is proper. Then, the pieces are brought to a sewing machine to assemble them. And no, it’s not your good old sewing machine. It’s a special sewing machine that has a post in the middle that makes it easier to sew things like shoes.
Because I chose an Oxford model, Amara stamped some eyelets into the leather, so we can put some temporary shoelaces in there, so we get the real feel or something close to it. Obviously, there’s no tongue for example.
Step #5: Assembling the trial shoe
Once the leather upper is ready, it’s time to assemble the trial shoe. First, an insole is tacked onto the last from the bottom, and Amara doesn’t use a high-end leather. It’s a material called Texon, which is like a fiberboard insole. When you buy inexpensive shoes, typically, they use that kind of an insole in the shoe.
The final shoes of course will have a high-quality, all-leather insole. Other shoemakers may use high-end leather, low-end leather, scrap leather, and pressed leather. Again, different people have different preferences.
Next up, Amara places the uppers onto the last to see how it fits overall. Yes, Amara wants the laces in there, but obviously, they are just there to give us the appearance.
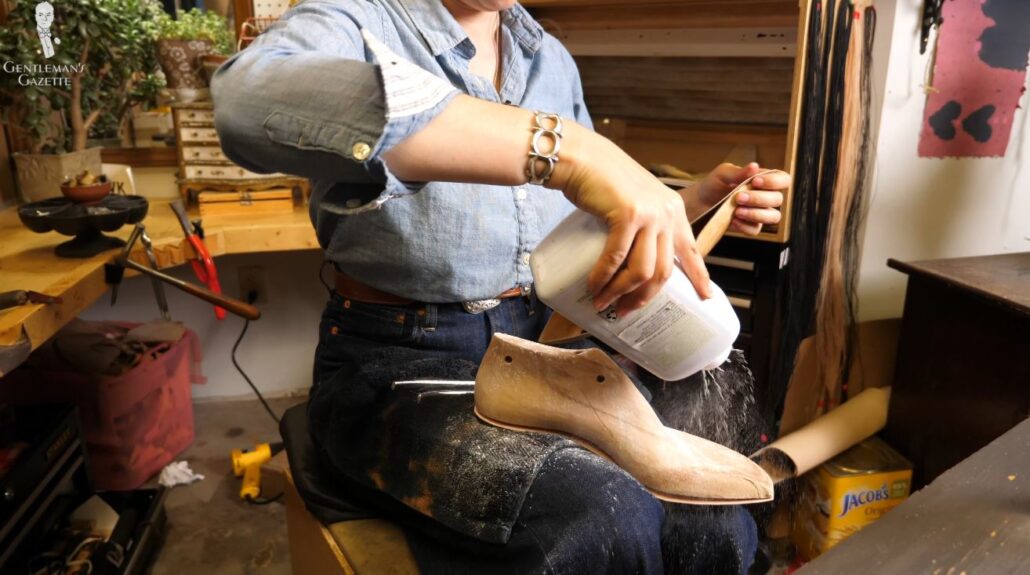
Then, Amara sprays the uppers. Why? Because wet leather is more malleable, and it retains the shape better on a last. Amara also adds talcum powder to the last so it will later be easier to take the last out of the shoe.
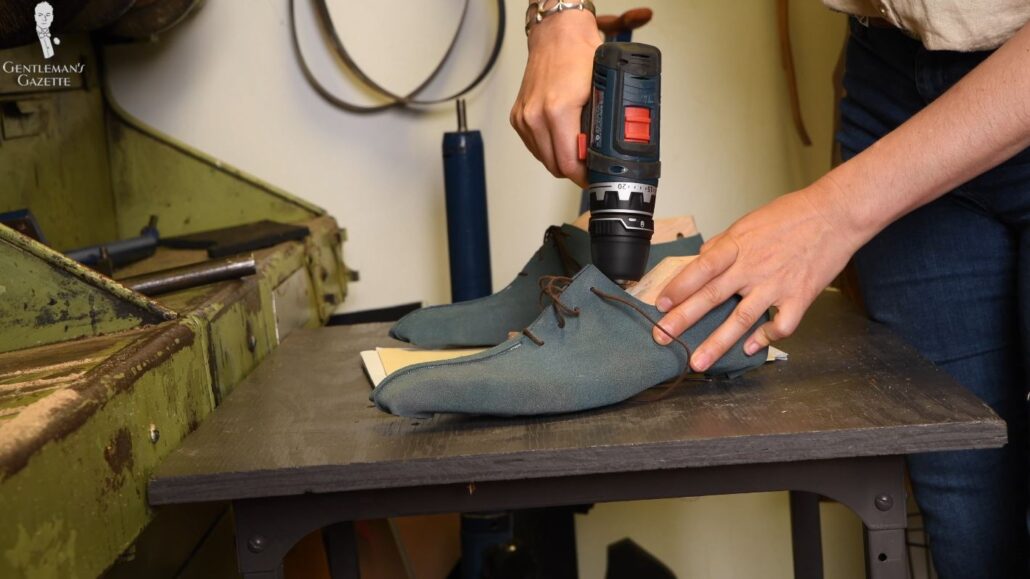
Now that the uppers are on the last and everything is prepared, Amara uses a tool called “pincers” to really pull on the leather from the bottom. Sometimes they’re also called “cobbler’s pliers,” and they combine the pincer with a hammer. So, the shoemaker doesn’t always have to grab different tools during that process.
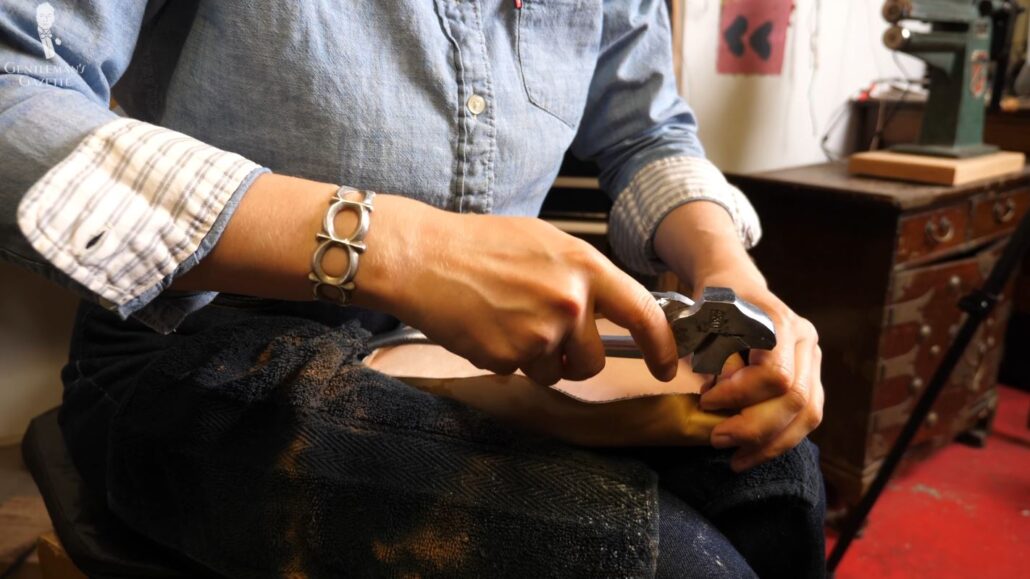
See those tacks Amara is using to secure the uppers to the bottom of the last? They’re made from old pegging awl heads. Pegging awls are used to make the pegs for the holes in a wood. That’s typically a tradition to attach an outer sole to a shoe that’s popular in Austria, Hungary, Romania, and other parts of Eastern Europe. Sometimes, you’ll also see those in a hand-welted shoe, where the waist is reinforced with wooden pecks.
Instead of using tacks, a Swedish shoemaker gave Amara these awl heads, which work really well and do the job because they’re made of hardened steel. I’m sure your shoemaker may have tools that are somewhat misappropriated or items that just help their workflow. On top of that, I’m sure they’ll have a few stories to share.
Amara was also hammering the uppers to smooth it out and to get it that shape of that last. The tacks won’t remain in place, though. They’re just there to help the leather remember the shape of the last and then, eventually, they’re taken out, and everything is glued down to that insole. So, I can step inside of it and see how it fits.
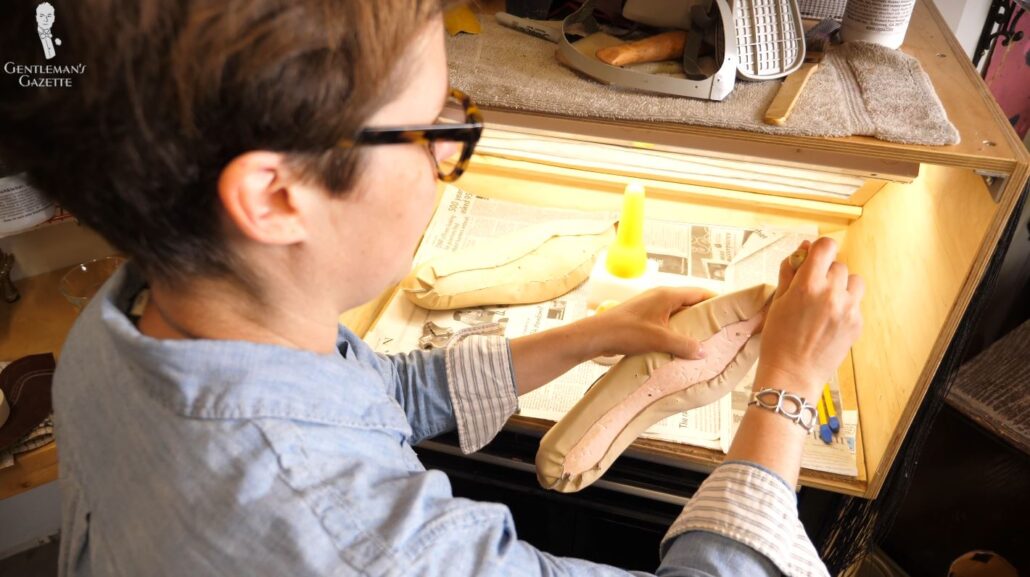
Of course, whenever Amara glues stuff, it goes into the fume hood so she doesn’t inhale all these toxic fumes. And there is reapplying of glue in areas that have more strain, more hammering, and there’s other back and forth. It’s really important that you don’t have any obvious wrinkles in there. That’s why you see her hammering a lot, so everything is smooth.
Finally, Amara’s trial shoes are done. Again, keep in mind, there’s no outsole on there. Other shoemakers may glue one on. There’s no real heel. Other shoemakers may do that, but there’s no one recipe.
Testing the Trial Shoe
It’s time to put in a trial shoe and see what the fit of the last is. Amara takes notes of areas that are obviously too loose or too tight, and she actually draws onto the leather, so she knows where she has to make changes on the last.
The shoe is still on the last and I want to actually test it so we can figure out the imperfections and where we have to improve things. In order to do that, we have to pull out the last from the shoe. You may wonder, “How do you get that last out?” Unlike a shoe tree, there are no coils in there, and there’s no flexibility. It’s also not an elastic shoe tree with a hinge.
Amara has two-piece and three-piece lasts that she holds in place with a screw and assembles and disassembles. By doing that, you create less strain on the leather shoe when you pull the last out of it.
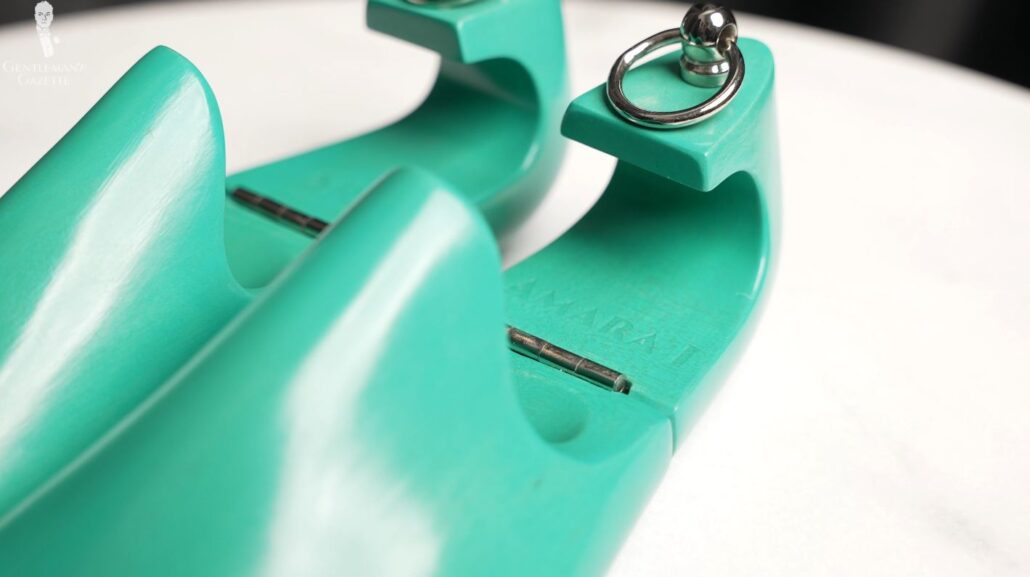
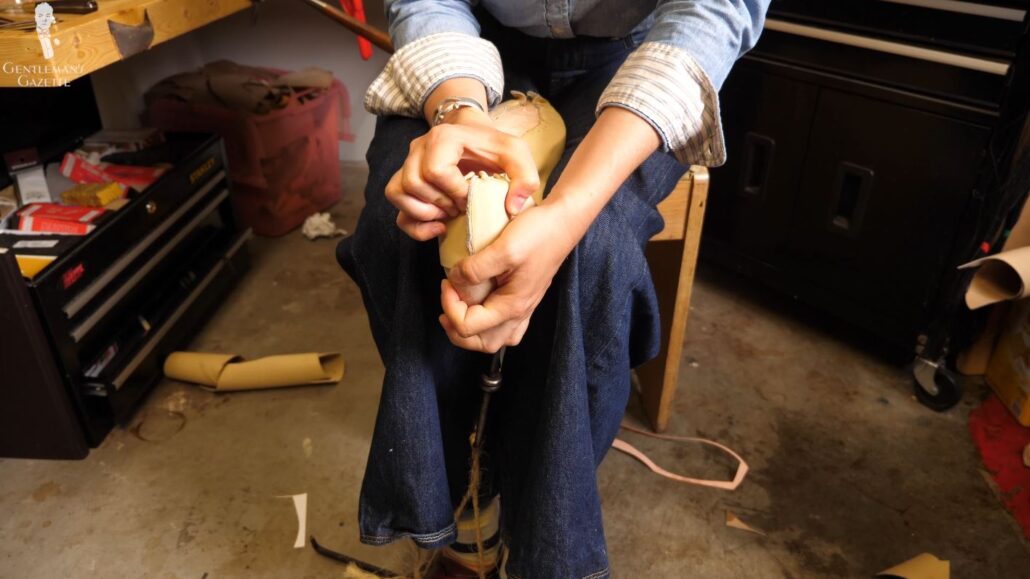
When you make a riding boot, for example, you’ll have a lot more parts because, obviously, you can’t just pull one big riding boot last out of the boot without destroying it.
Once the last is unscrewed, she has a special tool that’s like a hook with stirrups that helps her to pull that last out of the shoe. Amara compares removing the last from a shoe to opening a bottle of wine or champagne. Ideally, it should be smooth and elegant. But, in reality, it’s not always like that. It’s not always graceful and seamless, but actually hard work.
Your shoemaker may have different lasts. Maybe they don’t use screws, so that process will differ. Once the last was out, I was finally able to put my foot in and see how it really fit.
For me, it was an interesting experience because it felt quite soft overall. That was because the leather was soft, and there was no lining. Therefore, I really had to focus on where the leather touched my foot and if I liked that feeling or not. Overall, I would have preferred to have a trial shoe I could walk around. But, at the end of the day, I trust the shoemaker and their process. I’m not going to tell them what to do.
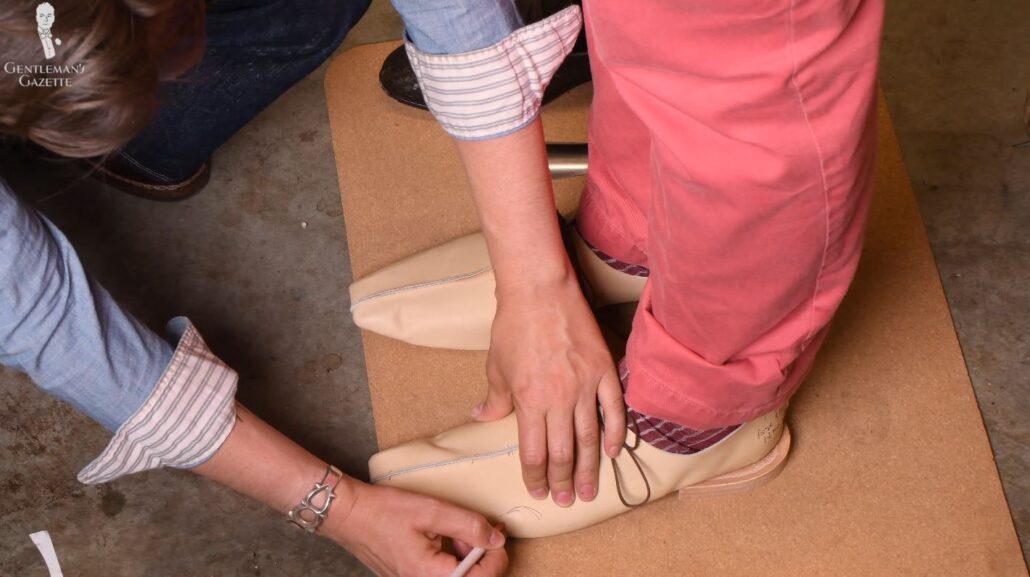
From the get-go, I thought the shoes were a pretty good fit, but then I stood a little longer, and I sat down, and I tried to really pinpoint the issues. And, of course, there were some. Ultimately, we wanted to test all points of contact.
Especially shoemakers have trial shoes that very much look like a final shoe, it may be really painful to watch them cut your shoe apart – maybe in a toe box just to see if the toes touch the sides or if everything is right in terms of the last. Sometimes, they also cut open the sides, where your little pinky touches the leather or your big toe. They may cut open the heel just to see if everything is in order.
Amara prefers not to cut it open. She touches the foot through the leather and talks to you to figure out where she has to make changes to the last. There was definitely some looseness in the throat area.
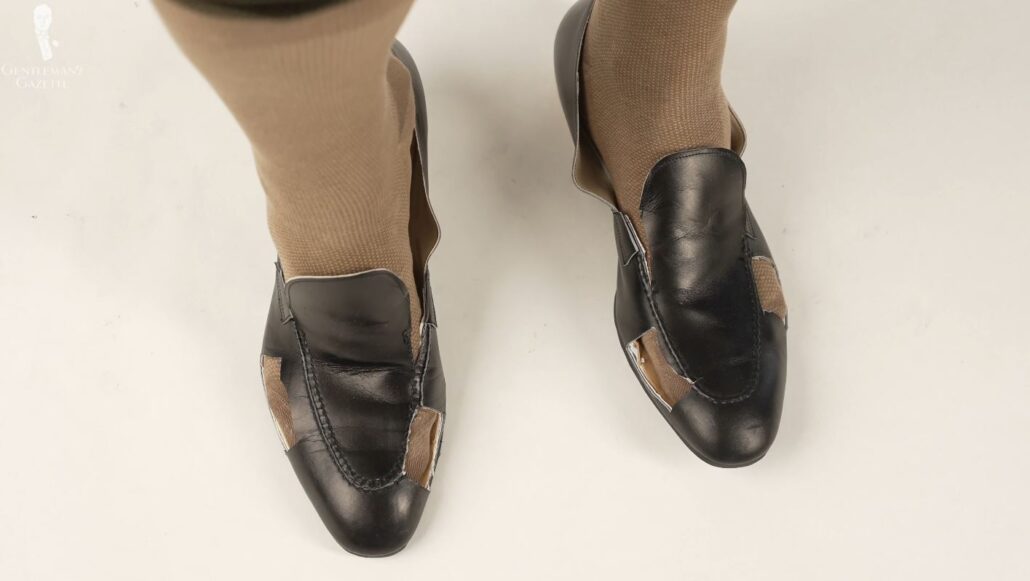
Amara asked how my small toes felt and if I could move them, if I had too much air or too little. And she just wanted an idea of how it felt for me. I could feel some contact by just standing and sitting there, of course. It wasn’t uncomfortable.
With her experience, she knows that this might become abrasive or an issue down the line. So, she took note of that. I also proactively shared with her what I felt. Because obviously, one shoe felt different than the other, and I wanted them to feel the same.
I also felt some looseness in the left heel, which I didn’t want, and a ridge of leather near the big toe of my left foot. Actually, it was caused by pulling from somewhere else on the shoe. I also felt some tightness along the flank of the outer waist. Of course, I like the look of a tight waist, so I talked to Amara to see how tight of a waist we can get without it feeling constricting. She’ll listen to me.
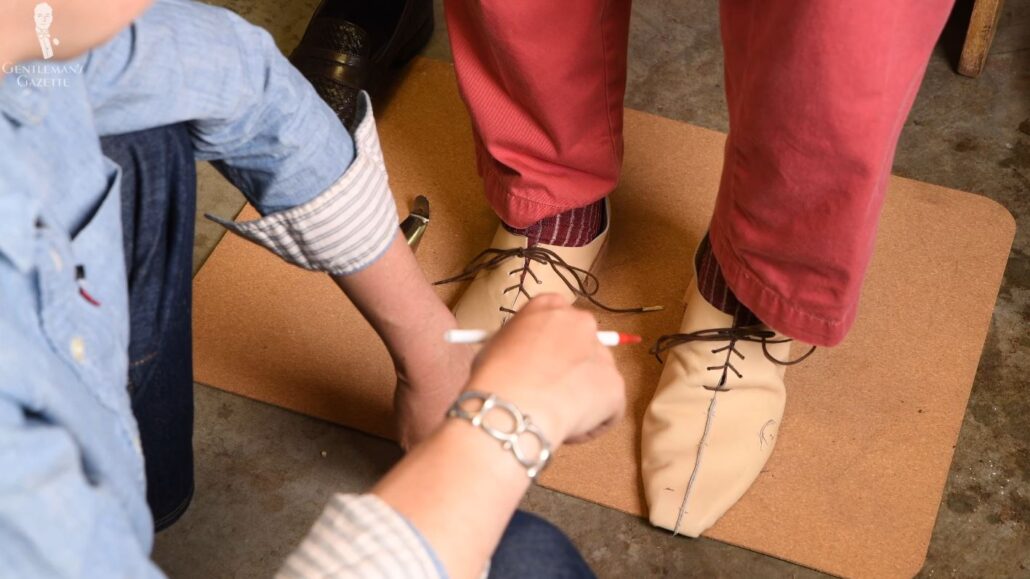
In the end, she made some adjustments in that area – maybe just one millimeter, which is really not that much. It’s 1/25th of an inch. After all, small changes can make a big difference. The toolbox already had a tight fit and, originally, I specified I wanted that. But, realistically, over the course of the day, or if I’m in a hotter climate with my toes swelling, the toe box probably would have been too tight and uncomfortable.
Because she felt the fit of the joint was good, she decided to make the toe box bigger. She should double-check the overall length of the shoe and ask the customer. It can be hard to fully understand everything that goes on and what impact changes in the last will have down the line.
Again, it really helps to trust your shoemaker here and just share what you feel and experience. It’s important to be honest, and sometimes I’ll be a little blunt. Don’t be afraid to share issues you have because they will be there later. So, if there’s something that doesn’t feel right, just say so, and they’re happy to accommodate it. You’re not saying that they did a bad job. It’s just part of the process, and you also have to share the things you feel and the things you wonder about or question.
So, in my case, there were enough changes that Amara felt a second trial shoe was in order.
Second Trial Shoe
For the second trial shoe, I left Amara to make all the adjustments. When I returned, she had changed things on the last and made a new trial shoe that was still on the last. She told me that she brought in the heel, raised the joint, and widened the toe box.
Once again, she removed the shoes with the screws, pulled the last out, and I tried them on. And, immediately, they felt better than the first time around.
When I tried on these shoes, it was summer outside, and it was really hot and humid, so my feet were swollen to different degrees at different points in time. So, that’s something you also have to keep in mind. In the morning, typically, your feet are less swollen than if you sit all day in a hot, humid environment. After all, your shoes should always fit you no matter the time of day or the surrounding conditions.
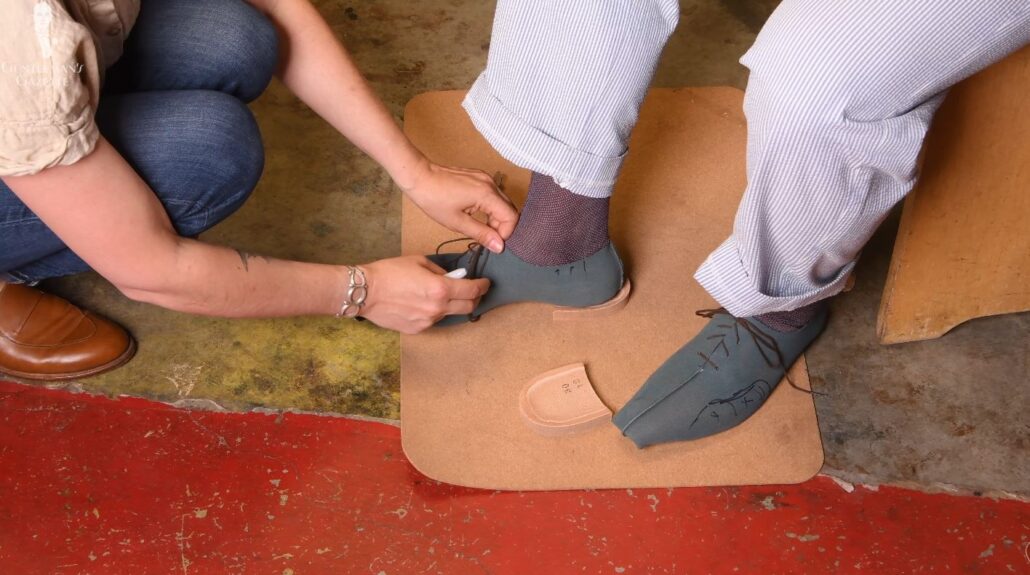
I still felt some pressure on the little toe, and she marked it. She also marked pressure points on my right foot, my right direction. She felt the heel curve and checked and was satisfied. While looking at the waist, I told Amara that, ideally, I wanted my waist tighter. She indicated that bringing the shoe near the top would also help at the bottom.
We also noticed that the throat was still loose aesthetically, which wasn’t very pleasing. But, she told me that the final shoe would be higher than a trial shoe, so I trusted her.
Of course, then it was time again for Amara to make some changes. She applied leather additions to the last, she glued leather into place, then she applied, hammered, glued more leather to the last, she trimmed the leather, and she finished the last on a finishing machine.
“Third” Trial Shoe
So, because even the second trial wasn’t perfect, she wanted to do a third trial shoe. But, in order to save time, she reused the same uppers. The changes weren’t dramatic and drastic, so the overall impact of reusing the uppers wasn’t that big, and I was fine with it.
Of course, the leather was re-stretched in between, re-wetted, re-watered, and leather has this ability to really remember the shape once it’s wet. It’s really quite remarkable. Of course, putting in a third trial shoe was just the same as in the first and the second.
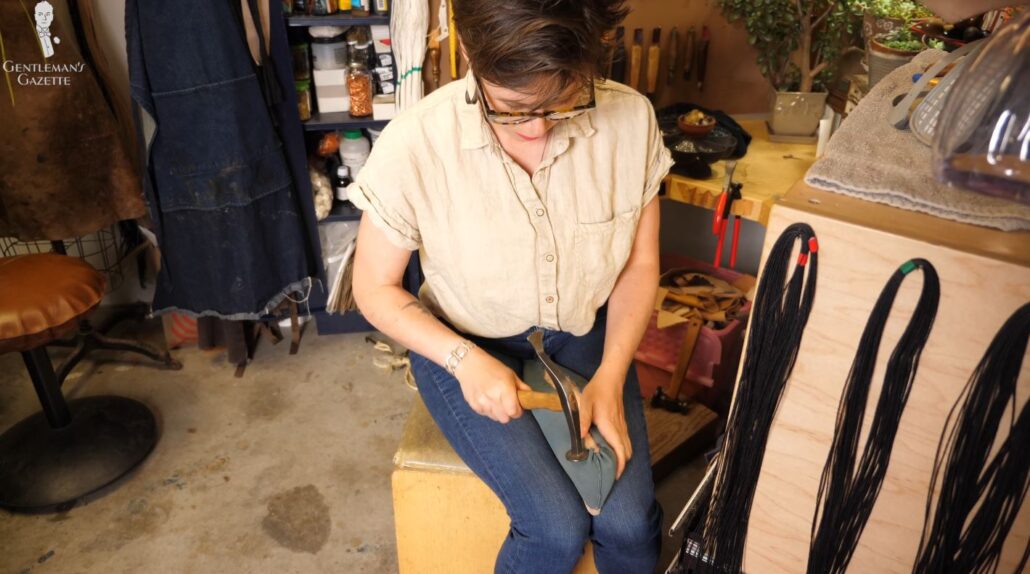
Overall, the shoe was really nice now, it felt really good, and the only thing I wanted to change was a bit of looseness in the heel. But, Amara told me that in the final shoe, it would be different and tighter. Why? Because it would have a heel counter, and that would help with it. So, I took her word for it.
Conclusion
To wrap it up, the most important part of the trial shoe process is for you to understand what feels good, what doesn’t feel good, what hurts, and where there’s maybe too much room or too little room.
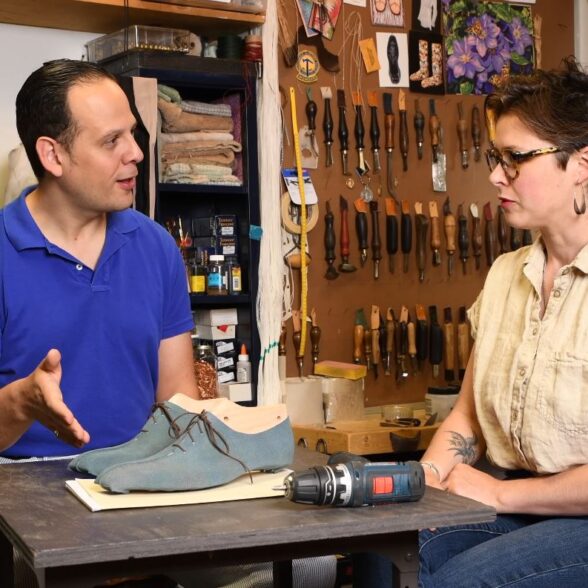
Communication is key
It’s important to communicate clearly and exchange ideas with your shoemaker so you’ll have your ideal pair of bespoke shoes.
The shoemaker will, of course, guide you with their particular questions. But, they literally can’t be in your shoes, so you have to correctly share what you experience and feel. Don’t be afraid, they won’t be offended. They really just want to get it right. Because the last thing they want to do is have to remake the shoe once it’s finalized.
Sven, Sven, glorious Sven
Nothing quite like him for his gentlemen
So follow me, follow,
Down to the hollow
And there let us wallow
In glorious Sven