Learning to tie a bow tie on yourself can be tricky. Most guides make it harder than it needs to be. They use confusing diagrams, tiny images, or just plain text. Who learns like that?
This guide is different.
We’re going to show you clearly how to tie a bow tie yourself. Our instructions will be easy to follow so you’ll get it right the first time. You can follow along with the video below or our step-by-step instructions with text and images in this article.
Ready to finally learn this classic skill? Let’s go!
How to Tie a Bow Tie (On Yourself)
This guide will be the last one you ever need on how to tie a standard bow tie. We call it a “standard” bow tie to distinguish it from other types, like the single-ended bow tie, which often have different construction and tying methods.


We also mean a bow tie with typical dimensions—not oversized or unusually shaped. For now, let’s focus on mastering this classic style. Follow along with me!
Step 1. Start with the Right Length
The bowtie is sitting flat around my neck and is sized correctly to my neck size.

Notice how the side on my non-dominant hand (my left side) is longer than that of my right.


Standard butterfly bow tie
Align the shapes!
If you have a standard butterfly bow tie, you can align the shapes. This lets you know that you’ve got the lengths correct and to ensure the bow tie will have a balanced, symmetrical look when tied.
You will realize why this matters in the next step.
Step 2. Cross and Loop

Cross the longer side over the top…

Bring the longer end under the shorter end through the neck hole
And bring it around the back through the neck hole. Take note of the direction of the hands here.

Tug both ends to balance each side
At this point, if you let the sides hang free, they should be roughly equal in length. That’s what we’re aiming for.

Step 3. Create the First Loop
The side that has come over the top now goes over my dominant shoulder (my right).


With the other hand, insert a finger behind the other end and fold it up to the neck.

Put a finger at the back as a guide

Hold the end of the bow tie with the other hand and fold it up

Bring it to the neck
This creates a loop on my dominant side and a flap on the non-dominant side.

Step 4. Bring the Other End Over
Next, bring the other end of the tie back over the top of the shoulder.

We’re beginning to form the knot now!
Step 5. Find the Hole
Now, take the two sides and clasp them together.

Hold the flap and loop end using both hands

Bring bouth hands together

Using one hand, hold both the flap and the loop end
Now, pull that all to one side. You will see that a hole is created behind the knot assembly.

Step 6. The Crucial Fold
This is the crucial step!

Take the remaining end and fold it

Insert the folded end through the hole
Now, if things are laid flat, you will have a loop in front on your dominant side and another loop in back on your non-dominant side.
This is what it should look like!

Step 7. Tighten and Adjust
To tighten the knot, pull on the loops and then pull on the flat end to re-adjust and re-center the tie. You can repeat this as many times as necessary to get the look that you’re going for.
Step 8. Final Touches
Once you’re satisfied with the knot, fold down your collar and bring the tie out from underneath the collar. Finesse it a bit more to get the desired look.

And there you have it! An elegantly tied bow tie that doesn’t have the overly perfect look typical of a fake, pre-tied bow tie.
Shop Bow Ties Here
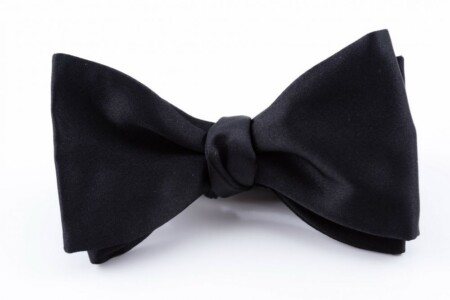
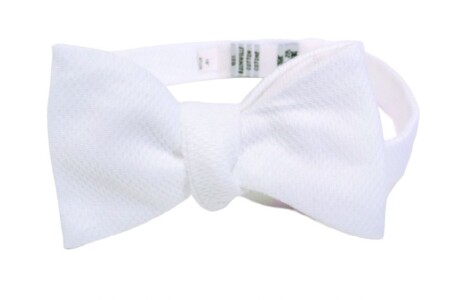
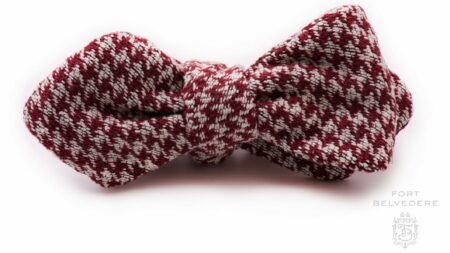
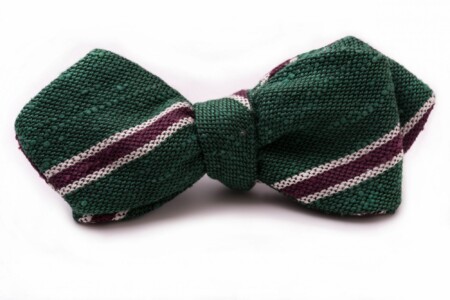
If you are in the market for bow ties, we have over 50 designs in silk and wool, as well as several black and white bow ties for formal wear available in our Fort Belvedere shop.
Want More?
If you’d like to see a follow-up guide on how we style other kinds of bow ties by changing how tight or loose the knot is, let us know in the comments below.
And, yes, long-time readers may know that this is a remake of a guide that we made back in 2015. You can watch it below to see how our production values have changed and how Raphael’s stage presence has improved.
FAQ
Is there a difference between tying a pre-tied, clip-on, or self-tie bow tie?
Yes, pre-tied and clip-on bow ties come ready-made and simply attach to your collar, whereas a self-tie requires you to tie it yourself each time, offering a more traditional and personalized fit.
Why should I wear a self-tied bow tie and not a pre-tied bow tie?
Self-tied bow ties are generally considered to be more elegant and formal than a pre-tied bow tie, which usually appears fake because the sides of the bow tie look perfect and too artificial with the natural appearance of a quality tuxedo shirt. For a Black Tie occasion, a pre-tied bow tie can appear tacky.
This is especially true for events at which you will be the center of attention, such as black-tie weddings for which you are a member of the wedding party or the groom at your own wedding. At celebrations such as these, you want your bow tie knot to be as special and unique as you are.
Isn’t it difficult to learn how to tie a bow tie?
While it does take a little practice to master the art of the perfect bow tie knot, our bow tie tutorial will guide you with step by step instructions that will make the entire process a breeze.
Are there different styles of bow ties?
Yes, there are. Some bow ties vary in how many ends they have: while most are double-ended, single-ended bow ties also exist.
Bow ties also vary in the form that their bows take. These varieties include the batwing bow tie, the diamond point bow tie, the butterfly bow tie, and the oversized butterfly bow tie, also called the big butterfly bow tie.
Are bow ties sized?
Some bow ties are sized and some are adjustable, meaning that a mechanism on the bow tie allows you to adjust the size of the neck that it fits.
How do I determine my bow tie size?
The length of your bow tie should allow it to fit snugly around your neck. You should be able to slide one or two fingers between the tie and your neck.
Most bow ties are sized to correspond to the size of your shirt collar. However, depending on the material of the bow tie and how tight you like it to be, your bow tie size could be larger or smaller than your collar size.
Are all adjustable bow ties one-size-fits-all?
No, they are not. Most adjustable bow ties are designed to fit neck sizes ranging from 14 to 18 inches. Make sure to measure your neck and adjust the bow tie accordingly before attempting to tie it.
How do I keep my bow tie looking sharp throughout an event?
Periodically check your bow tie in the mirror and re-tighten or adjust if necessary. Good quality fabric will help maintain the shape and look throughout wear.
With which dress codes are bow ties associated?
Bow ties are most commonly associated with formal evening events, such as White Tie, worn with an evening tailcoat, and Black Tie, worn with a dinner jacket, also known as a tuxedo or a smoking. You can always wear a bow tie as part of business or casual day attire.
If the dress code for your occasion requires a bow tie, such as black tie events, you should plan to wear one.
Should the bow tie match my suit or shirt?
While there isn’t a strict rule, it’s generally best to choose a bow tie that complements both your suit and shirt. Solid colors tend to be easier to match, while patterns or textures can add a stylish accent if they coordinate well with your ensemble.
Is it acceptable to wear a bow tie with a regular business suit?
Absolutely. While less common than the traditional necktie, a bow tie can add personality and flair to a standard business suit.
Can I tie a bow tie on someone else?
Yes, you can tie a bow tie on someone else, but the process may be a bit trickier than tying it on yourself as you will have to adjust your technique to accommodate the other person’s position. Practicing in front of a mirror can help.


I liked the concept of your demonstration. However, your captions were in front of you demonstration, blocking your name movements. Is there a method of (re)moving the captions?
Captions are something that the user enables or disables by clicking the CC button in youtube.
Thank you Sven! After years of semi-dexterous fiddling about this is an elegant, quick way to perfection.
Glad it helped!
Thanks for the great video sir, what are the rules to wearing a bow tie regarding formality, materials, occasions.
did you already do an article on that if yes please refer
If no pls throw some light on the issue.
Thanks again
In the pipeline.
Great video as usual!
I was wondering if you could show a video on how to tie a single ended bow tie? I have got one, but so far unable to tie it properly.
Thanks!
Yes, we will do that in our advanced bow tie video.
Allow me to suggest that the best way to learn how to tie a bow tie is to stand in front of a mirror and have someone who knows how to tie one stand behind you and tie your bow tie. I have done this for several friends, and I can assure you that it works better than any video or any diagrams, no matter how good they may be.
Most people don’t have that friend when they need him. This video works for sure ;).
So I purchased my first bow tie a couple of weeks ago. I tried tying it according to some directions I found…didn’t work.
I tried this method…voila…it worked just as advertised.
Thank you Sven!
I have been wearing bow ties for a while and never knew about this. I had a chance to use this tip recently and it made a world of difference. I tied the bow more quickly and tied a neater looking bow than I have ever done before. Thank you for this great tip!
Top video, as always. This one is very clear and well explained.
Thank you!
I have always toiled so much to tie a bow tie on my own. It was quite a challange for me. Thanks for your helpful and instructive advice. Many thanks Raphael.
So pleased to hear the guide is useful for you!
Why pop your collar? If starched, next to impossible to turn down.
If wearing a starched collar, then the bow needs to be inserted before putting on the shirt and collar. Granted, the vast majority of shirts both ready-to-wear and bespoke these days are usually made with “soft” or attached collars with interlining.
This is the best video I’ve seen yet demonstrating how to tie a bow tie. I didn’t know about lining up the shapes to verify the length is right. I’ll be using that going forward!