Shoelaces are an element of menswear that are often overlooked and taken for granted. Even well-dressed gentlemen often don’t pay attention to them until they rip. Today, we discuss what shoelaces to pick, which ones to skip, how to lace your shoes depending on whether it’s an Oxford or a derby, and finding the right knot for you that is easy to tie but never comes undone.
The type of shoelace you use, the way you lace your shoe, the way you tie it, and the color and shape you choose can greatly impact your outfit’s overall look and feel. For example, a brown pair of Oxfords will look a lot more casual if you add a pair of green laces, a pair of blue laces, or maybe tan laces compared to a matching brown pair of shoelaces.
In another example, straight bar lacing gives you a more formal look than cross-bar lacing, and even the same color shoelace will look different depending on whether it’s round or flat. Yes, it’s that important an element to cap off a classic menswear ensemble, so getting it right critical to your overall look.
Choosing The Right Shoelaces for Your Dress Shoes
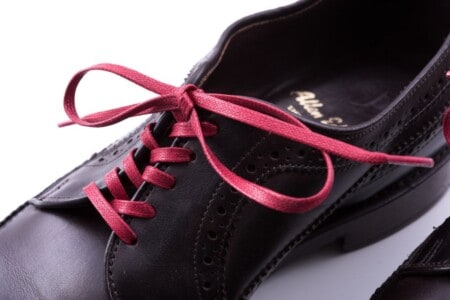
On the one hand, picking a pair of shoelaces is a personal decision. On the other hand, the narrower and rounder or finer the shoelaces, the more formal it is. Sneakers and tennis shoes, for example, tend to have rather thick and wide laces because they’re more casual. If you put those same shoelaces on a pair of Oxfords, it just looks weird. But, if you take out the round laces from your Oxford and exchange them with flat, wider dress shoelaces, that may actually look quite dapper.

Yes, traditionally, an Oxford had round thin laces, but you can easily have a nice pair of flat wide dress shoelaces on your Oxfords and still look the part in this day and age.
If you want to take it a step further for your evening shoes, either your patent leather, capless Oxfords, or if you go with a cap toe Oxford, you can put in evening laces that match your bow tie. So, if you have a satin bow tie, you can get satin laces or a velvet bow tie with velvet laces.

As you know, in classic menswear, it’s all about those fine details. If you like to have boots, you typically have more eyelets. And so, you want shoelaces or, better, boot laces that are longer.
Most traditional dress shoelaces tend to be anywhere between 75 and 80 centimeters, which is about 29 to 31 inches. A typical classic Oxford has around five rows of eyelets or ten eyelets, and Boots, typically more.

Because most laces that come originally with the dress shoes are round, adding a flat pair of laces that is made for dress shoes can really change your appearance.
Should you go for a cheap or an expensive shoelace?
The Right Shoelace Color
As alluded to earlier, the color of your shoelaces can have a huge impact on the overall appearance of your shoes and your outfit. Generally, the closer the color of your shoelace is to that of your shoe, the more formal and unassuming the whole ensemble will look. Think about black Oxford with black shoelaces and brown derby with brown shoelaces.
Of course, there are many other colors out there, but if you work in a very conservative office environment, adding a pair of red shoelaces to your red Oxfords or, maybe, pale pink may earn you weird looks. We still support you, though, even though your clients and co-workers may not. Why? Well, colorful shoelaces are great for more casual environments when you want a new look without spending money on an entirely new pair of shoes that you’re not sure about.
For example, it can look great to match the color of your shoelace, maybe, with your tie, your shirt, or your pocket square, because it creates a cohesive look. Also, it just costs a few bucks to exchange your shoelaces, but it feels like a new pair of shoes.
Obviously, you can go super bold with your contrast laces, but you don’t have to. For example, a slightly lighter shade of brown on your dark brown shoes can be nice without being too in your face. Or maybe try a reddish color. Best of all, this look is reversible, and you can put your shoelaces in and take them out, and you can put them on different pairs of shoes, and nothing is forever.

Also, if you’re just starting and you have maybe two or three pairs of shoes in your arsenal, having a range of, let’s say, 20 different shoelaces will make it look like you have 20 different pairs of shoes.
If you’re unsure if you’re on top of your shoelace game or you’re not quite sure what to buy, we have a shoelace selection on our website, and I’m sure you’ll find something that will work for you and your wardrobe.
Types of Lacing: 1. Straight or Bar Lacing
Once you’ve settled on a pair or two or three or twelve, it’s time to lace them. Many higher-end shoe manufacturers don’t put the laces in the shoe because they can leave stretch marks, and it’s up to you to decide what you want in your shoe.
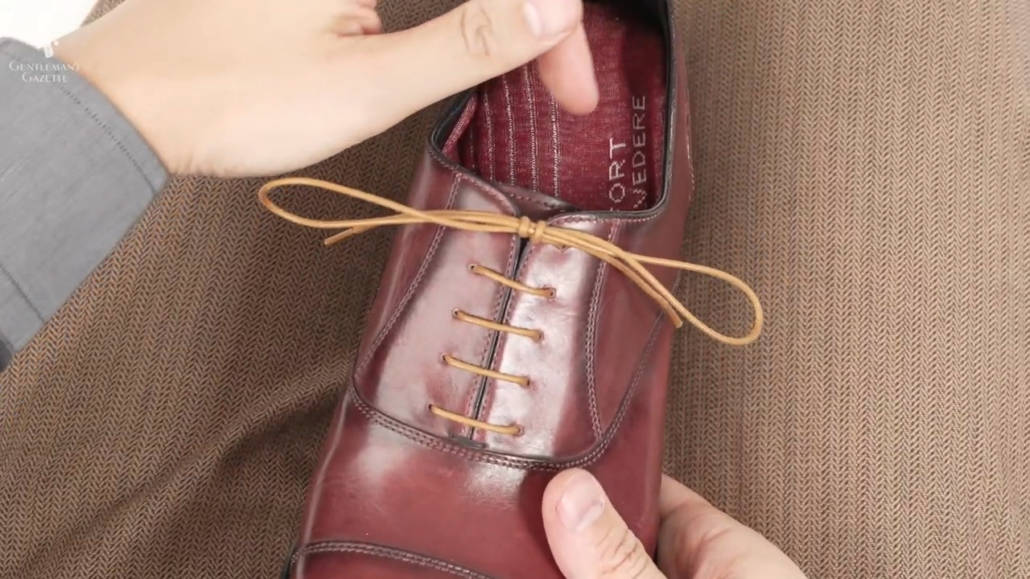
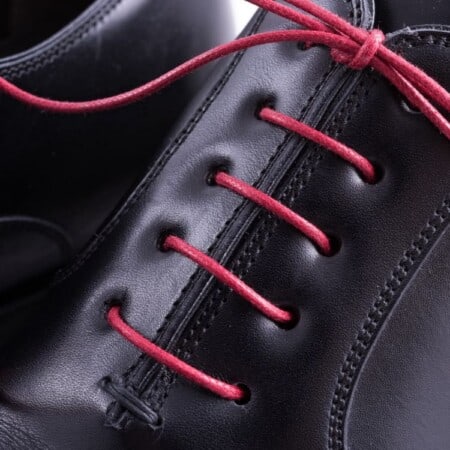
The most traditional choice of lacing is “straight lacing,” also known as “bar lacing.” Traditionally, this is the best choice for Oxford shoes with a closed vamp. But they also work on derbies. These shoes could look similar, so we created a guide to help you tell the difference between those two styles.
*Note: Be sure to watch the companion video for this post (embedded above) for detailed visual instructions on lacing & tying!
Straight Lacing Method #1: Classic Straight Lace
First, the classic straight tries to minimize any cross-angled lacings in the back to give you that ultimate clean look. It also provides you with slightly longer lace ends, but you can just pull from the shoelace ends. You also have to tighten in the middle to get the proper fit.

The classic straight lace is also great if your shoelaces are on the shorter side for your shoes and you want that clean look.
How do you lace it?
- You first put the lace through both of the bottom eyelets. You want to make sure both tips are approximately equal in length if you have four or six rows of eyelets or eight or twelve eyelets overall.
If your shoes have three rows or five rows or seven rows of eyelets, you want one side a little longer than the other. Why? This is because the odd number requires a little more lacing from one side to even it out. - I start putting in the shoelace at the bottom, straight lace it over, pull the other end in through the other side.
- Now, I want to make sure they’re roughly the same length. I want one side to be slightly larger. It’s easier to adjust it when you pull out the middle a little bit, so you can get the exact length that you want. And then, you pull it through.

Adjusting The Straight Lace
So, how do you make adjustments? You do this by loosening up the level of eyelets below the tying point and pull on the shorter end until it evens out. Keep in mind that this is considered the most formal way of lacing a pair of dress shoes. And because of that, it won’t draw very much attention to itself.
If your Oxford has four rows and a total of eight eyelets or six rows in a total of twelve eyelets, it will work out perfectly, and you will have no cross-bar lacing in the back.

However, if your Oxfords have five rows of eyelets or 10, which is very common, then you have to cross from one side to the other at one point in time. Why? With an uneven number of rows, you would end up with the laces on the same side if you wouldn’t cross at some point in time.
Depending on the size and shape of your foot and shoe, on an Oxford, you may see a v-shape on the tongue. Ideally, you never want to see that v, but if you buy ready-to-wear shoes, chances are you will eventually see it on one foot or the other or in both. Also, keep in mind that leather stretches over time, so if there’s a little v in the beginning, it can disappear.

If you buy a pair of Oxfords and there is no v, over time, the leather will stretch, and the rows of eyelets will overlap, and it will look terrible. For bespoke shoes, they’re typically made to have a little v in the beginning, so with the letter stretching over time, it will line up perfectly, and you will have no v visible.
So, where should you, ideally, cross? If you cross on top, which I used to do, it becomes a lot more visible, but you have a bit more leverage to close and tighten the shoe. In my mind, this looks particularly bad when you have a large v area, and even in a small v area, it’s visible.

On the flip side, if you cross over right at the bottom when you just start lacing, it may not ever be visible, especially if the v is not super broad. Remember, this is only true for an Oxford shoe because it has closed quarters, and you don’t see the crossing at the bottom very much.
On a pair of derby shoes with open quarters, you always want to cross at the very last bit of the very top because that can be covered by your trousers when you wear the shoe. If you cross right in the beginning, at the bottom, it will always be visible and look odd because there’s a lot of area that is visible of your tongue.
Method #2: Cross-Bar Lacing
It crosses more in the back, and because of that, it eats up more of your shoelace. So, you have shoelaces that are too long. This may be the right option for you. It’s also a little easier to tighten. But, on the flip side, unless you have no v showing, you see all those cross laces, and it just looks weird.
How do you cross straight lace your shoes?
- Here, you start the same way as the straight lace. Then you cross the laces underneath. It is easier to tighten as it gives you more leverage. Start on the right side from the outside in and take it to the other side, outside in. Make sure they’re about the same length.
So, I start on the right side, from the inside out. You see, I’m crossing over at the very bottom. I go to the left, outside in, at the bar lace.

So, which style do I prefer?
For Oxfords with a little v showing or for derbies, I prefer the first method of classic straight barrel lacing. For Oxfords with no v show, I prefer this second method because it gives me more leverage, it’s easier to tighten, and you can’t see the crossings.

If I had a pair of shoelaces that was too long from any given pair of shoes, I’d also use the second method because it would shorten and eat a little more up of that shoelace.
2. Cross Lacing
Aside from straight bar lacing, the other popular method is “cross lacing.” Traditionally, it’s not used for Oxfords. But, some people today even wear it for Oxfords, Kyle being one of them. Personally, I use cross lacing sometimes for derby shoes, but I prefer the cleaner look of the straight bar lacing. At the end of the day, it’s each to its own.
Cross Lacing Method #1: Inside Out
- Once again, you’ll need to line up the bottom row of eyelets (starting inside out this time) through the lace and get them to be about even on both sides. I cross it from left to right, the outside in.

Method #2: Start with the Outside In
Next up is also cross lacing, but it starts out different. You want the bar at the very bottom row on the outside. It’s basically like an Oxford.
You start the same way, but now, you cross, and the underside comes up, and it is pushed through, outside in. So, you have a bar lace that is straight at the bottom, and then the crossing starts, but all the laces are always visible on the upper of the leather.

So, here we have the left side over the right. I’m going to continue that. Always left over right. I like to do them at the same time. You can do it not at the same time. It looks good, though, and it’s easy to do.
And, again, in the last row, I make sure I’m consistent. Push through from the outside in. Like with the other cross lace, I can tie the knot, and it’s over the tongue. It’s a little more hidden, a little lower, which is nice still because you see more of the bow. This style of lacing is considered to be more casual and will be what the majority of modern shoe buyers only know how to do.

Personally, I try to avoid lacing the bottom in the beginning from the inside as it looks inconsistent and, therefore, off. Also, pay attention that when crossing the shoelaces, always go into the eyelets from the top. If you do it once from the bottom and then once from the top, it looks off and inconsistent.
Types of Knots: 1. The Basic Knot
Once you’ve decided how to lace your shoes and lace them, it’s time to find the right knot. Let’s look at four different knots, but I only recommend two of them.
If you’re anything like me, you probably learned how to tie your shoes as a kid, you thought you mastered it, and you’ve never thought about it ever since. However, we’ve come to find that not all knots are created equal, especially for dress shoes.
The ideal knot is quick and easy to tie, it looks very pleasing and harmonious to the eye, it is at a 90-degree angle to the long axis of the shoe, and it doesn’t come undone even if you walk all day extensively.

The knot that I learned and the one you probably learned and mastered is called “the basic knot.”
Tying the Basic Knot
- First, tie a half knot and then make a loop or a bunny ear on the right side and hold it in your right hand.
- Take the long end on the left and wrap it around that loop. I learned in a way that if you look at it from the side, I will create that counter-clockwise.
- Once I have that loop, I would just pull it through and pull on the loop ends.

The pros of the basic knot are: it’s really quick and easy, and you don’t have to think about it. The cons are: it comes undone frequently, and as you walk and you pull on the leather, the knot aligns itself with the center axis of the shoe and just looks odd.

The latter issue can be fixed by simply tying that long left hand clockwise around the loop and pulling it through. If you pull on the edges and you walk, you can see the knot stays at a nice 90-degree angle to the long side of the shoe. The problem this doesn’t solve that it will still come undone when you walk a lot.
2. The Tennis or Double Knot
to solve the issue of the basic knot, most people resort to “the tennis knot” or “double knot.” Really, all you do here is to take the loop ends or the bunny ears and tie another knot on top of your existing basic knot.

The cons are if you look at it, you have this really bulky knot, and if you want to untie it, you have to fiddle with it, and it’s just not a smooth, elegant knot that’s appropriate for a dress shoe.
3. Parisian Knot
A better knot for dress shoes is the so-called “Parisian knot,” and here’s how to do it:
- It begins with creating a half knot, and if you want extra tightness, you can loop it around once more.
- Then, you start as you do with a basic knot. You create a loop on the right and wrap the left end around not once but twice.
- After creating the first loop, I hold the shoelace between the index finger and thumb of my right hand to create that second loop more easily.
- When I’m done with the second loop, I let go with my fingers and pull the end through both.
- Now, I gently adjust the knot by pulling on the loose ends or in the loops simultaneously. This is a pretty stable knot, and if I pull on the side and walk, you can see it stays at the right angle. To untie it, you simply put on the long ends at the same time.

Remember, when you wrap around the loose end clockwise or counterclockwise will affect how the knot will align once you start walking. For the best look, you want to wrap it around clockwise when looking at it from the left side.
Also, keep in mind where you should loop clockwise or counterclockwise depends on how you orient your original half knot at the beginning; left over right, or right over left.
You should experiment to see what feels more natural to you and adjust your tying accordingly. Remember to test by pulling on the body of the shoe to see where the knot sits at the proper 90-degree angle to the long axis or if it shifts improperly. Practice makes perfect.

The pros are it’s almost as quick as the basic knot, it’s just one more loop, and it hardly ever comes done. But, if you look at it closely, it’s also not the most attractive knot. Likewise, if you’re all about the details, you will sometimes notice that the knot is not dead center, and, especially on a pair of oxfords, it may look off slightly. The problem is you can’t adjust it once it’s tight. So, you have to untie it and redo it to get it dead center.
4. Berluti Knot
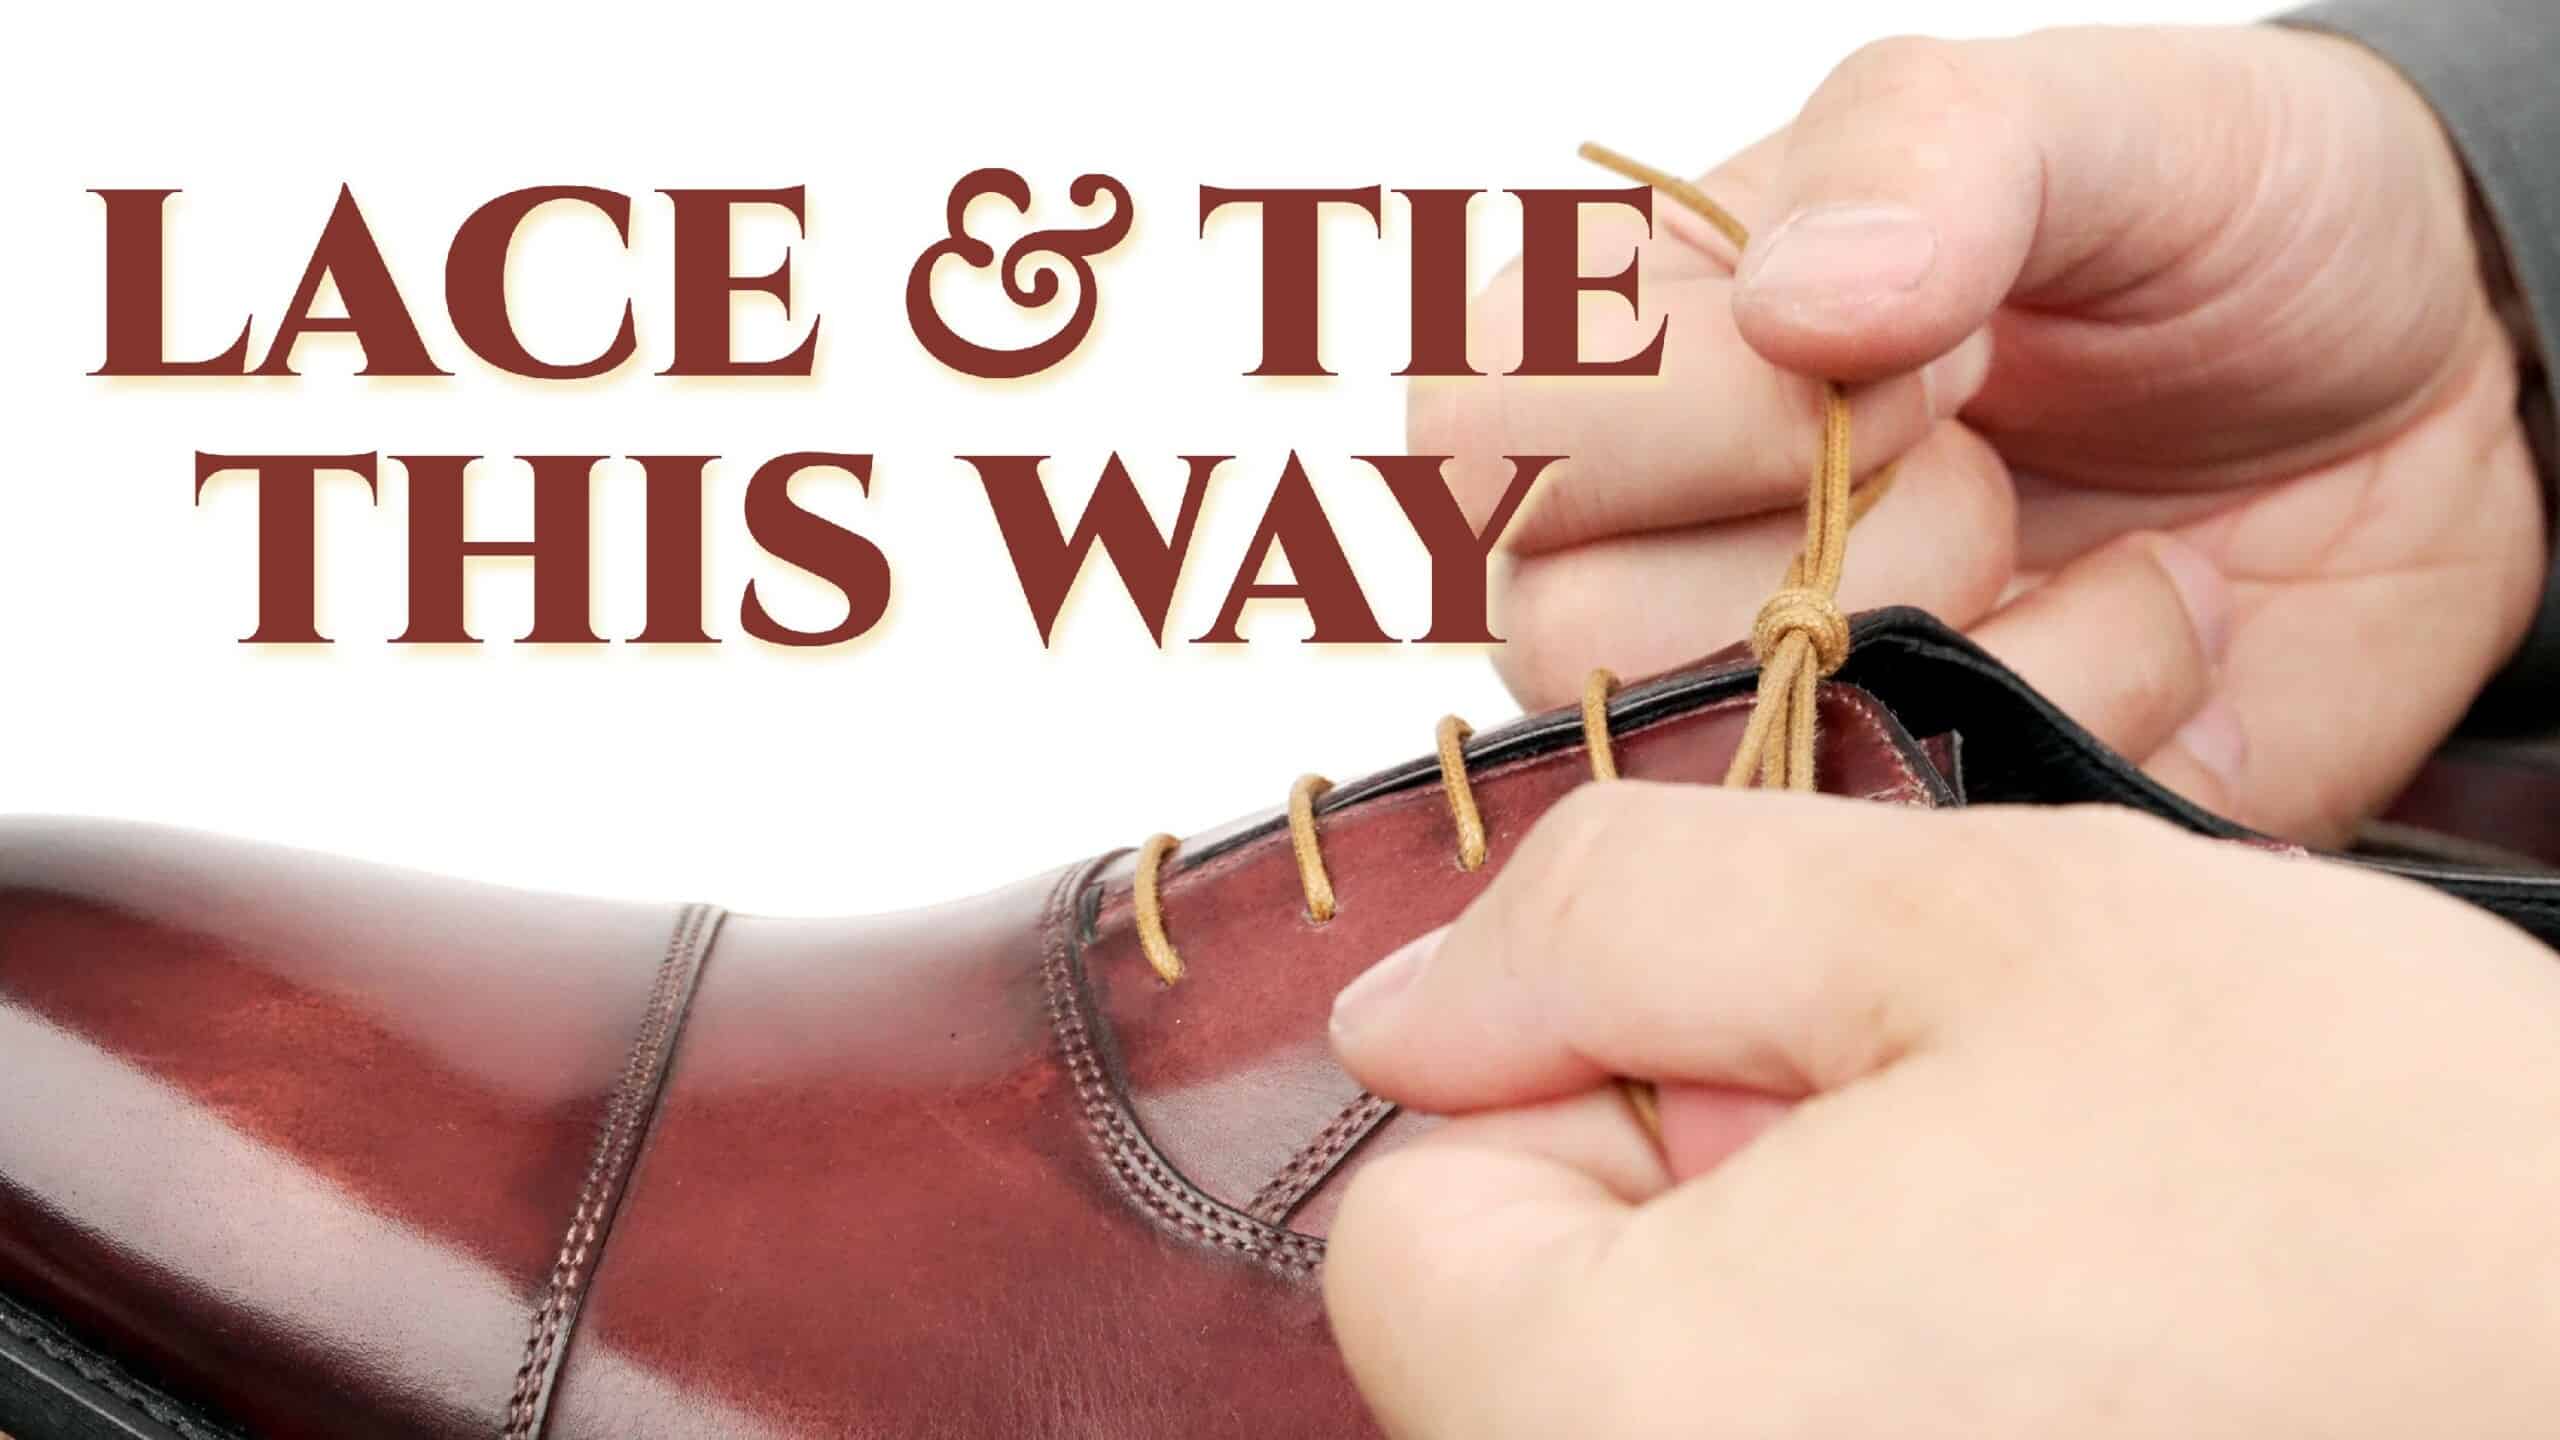
Next up is the so-called “Berluti knot,” which is named after Olga Berluti. Berluti is a famous shoe brand known for their patinas. The pros of the Berluti knot are it’s really tight, it’s centered, it lasts all day, and it looks very elegant. The cons are that it’s a bit more unusual to tie and needs a bit of practice and maybe a bit more time, especially when you’re just learning the knot.
Trust me, though, once you’ve done it a few times, it becomes second nature, and you won’t think about it anymore.
So, here’s how to do it:
- You start just like with a basic knot by creating a half knot.
- Form a loop or a bunny ear on both sides. And it may be a bit awkward at the beginning with your non-dominant hand, but you’ll get there. I suggest you start with your non-dominant hand, so your dominant hand can assist, and then you do it with your dominant hand.
If you’re having trouble, you can use your thumb and your middle finger and then just make the loop larger with your index finger. Now, you’re holding your left loop between your left thumb and index finger and your right loop between your right thumb and right index finger. - The next step is crucial. Put the right loop on top of the left loop. Not the other way around. You want to the right over left, not left or right. I’ll explain why later.


You can then see a beautiful knot will form, and it is very, very tight. You can still adjust it by pulling on the loop ends, and the long ends simultaneously.
In my mind, this knot is nicer looking, and it really doesn’t come undone unless you want it to.
Remember, in the beginning. I said not to put the left loop over the right. Why not? Well, if I put the left loop over the right and then bring the ends through, this time the opposite way, and I tighten it, the knot looks the same. But, as you walk all day, you can see the knot aligns itself in the axis of the shoe and is not at the 90-degree angle to the long axis.

On the flip side, if you do it the way I showed you to do it, the knot stays in place all day long, always at the same nice 90-degree angle to the long axis of the shoe.
To untie the Berluti knot, you simply pull on the long ends at the same time. As I said before, the trickiest part is putting things through the hole. If you find that difficult, I suggest making smaller loops further up, so you create a much bigger hole. Again, right loop over left. Pull through on the right. Pull through on the left. And then, pull on the loop ends or the bunny ears and tie the knot. Voila! The perfect Berluti knot.
Conclusion
Now that you know everything you need to know about dress shoelaces and how to tie them, you may want to check out our guide on how to combine shoes, socks, and dress pants for the perfect look.

If you need quality shoelaces and boot laces, the Fort Belvedere selection is available in our shop. We designed them specifically for men’s dress shoes. We chose a high-quality, long-staple cotton. We waxed them in exactly the right way, so they should last you for years to come. We also offer a happiness guarantee, have easy returns, and offer free shipping if you hit the threshold of $75 within the Continental US or $325 internationally.
Outfit Rundown
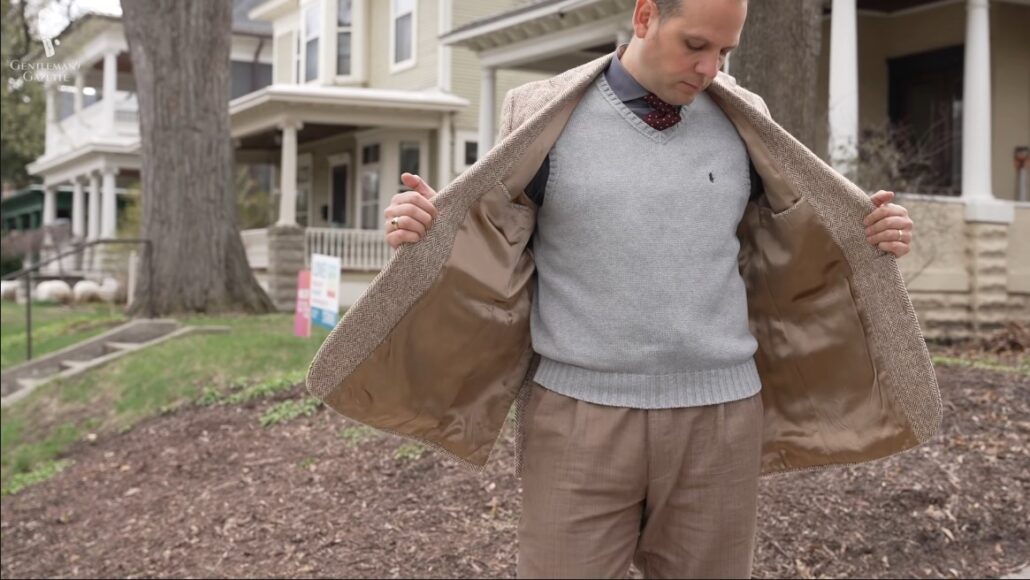
I’m wearing a nice brown and oatmeal Harris tweed jacket, which is single-breasted and has side vents that I bought at Golden Pearl Vintage Store in Minneapolis.
Unlike most vintage stores, everything they carried was just in pristine condition. I built the outfit around an unusual gray shirt by Eton. Typically, I choose shirts that are lighter in color than my tie. But, today, I want to try something different.
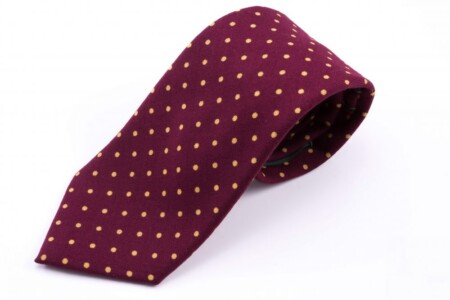
So, I chose this wool challis tie from Fort Belvedere, which is really nice and soft with printed orange polka dots on a burgundy base. Otherwise, I wanted to keep things in a gray and brown range, so I chose a sweater vest from Ralph Lauren in cotton.
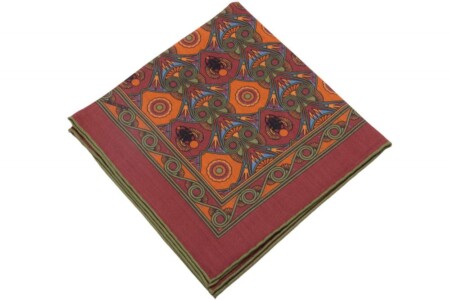
The pocket square has tones of orange, burgundy, green, and blue, and picks up the tones of the tie. It is from Fort Belvedere. It’s a nice scarab pattern and you can find it in our shop here. Just like the tie.
The pants are from Polo Ralph Lauren. They have a small herringbone pattern, which is distinctly smaller in scale than that of the jacket, which is why it works together. From afar, you would have mistaken it for a solid pair of pants.
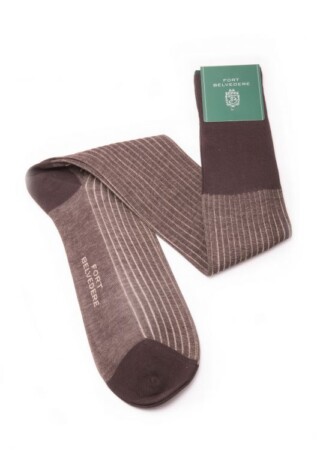
My shoes are caramel brown Oxford suede from the Italian brand Velasca. To tie it all together, I chose a pair of shadow stripe cotton socks from Fort Belvedere in dark brown and beige, so they pick up the browns and the beiges of the rest of the outfit. But, from afar, it also looks gray. So, it just plays with that color palette.
Last but not least, I’m wearing a tiger’s eye ring in golden brown, which picks up the warm tones and brown tones in the outfit. The shoelaces on these shoes are stock from Velasca.
I may exchange them with the ones from Fort Belvedere.
Since there’s no visible, I could use both bar lacing methods. But, I’d probably choose the crossbar lacing, because this gives me more leverage and the most beautiful knot we’d have is the Berluti knot or the basic knot.


Terrific article, very informative. Many details. Thank you.
Thank you, Robert!
Although a son of a boot and shoe repairer, I have been tying my shoe laces the wrong way for 76 years. The Berluti method you have so wonderfully demonstrated is marvellous.