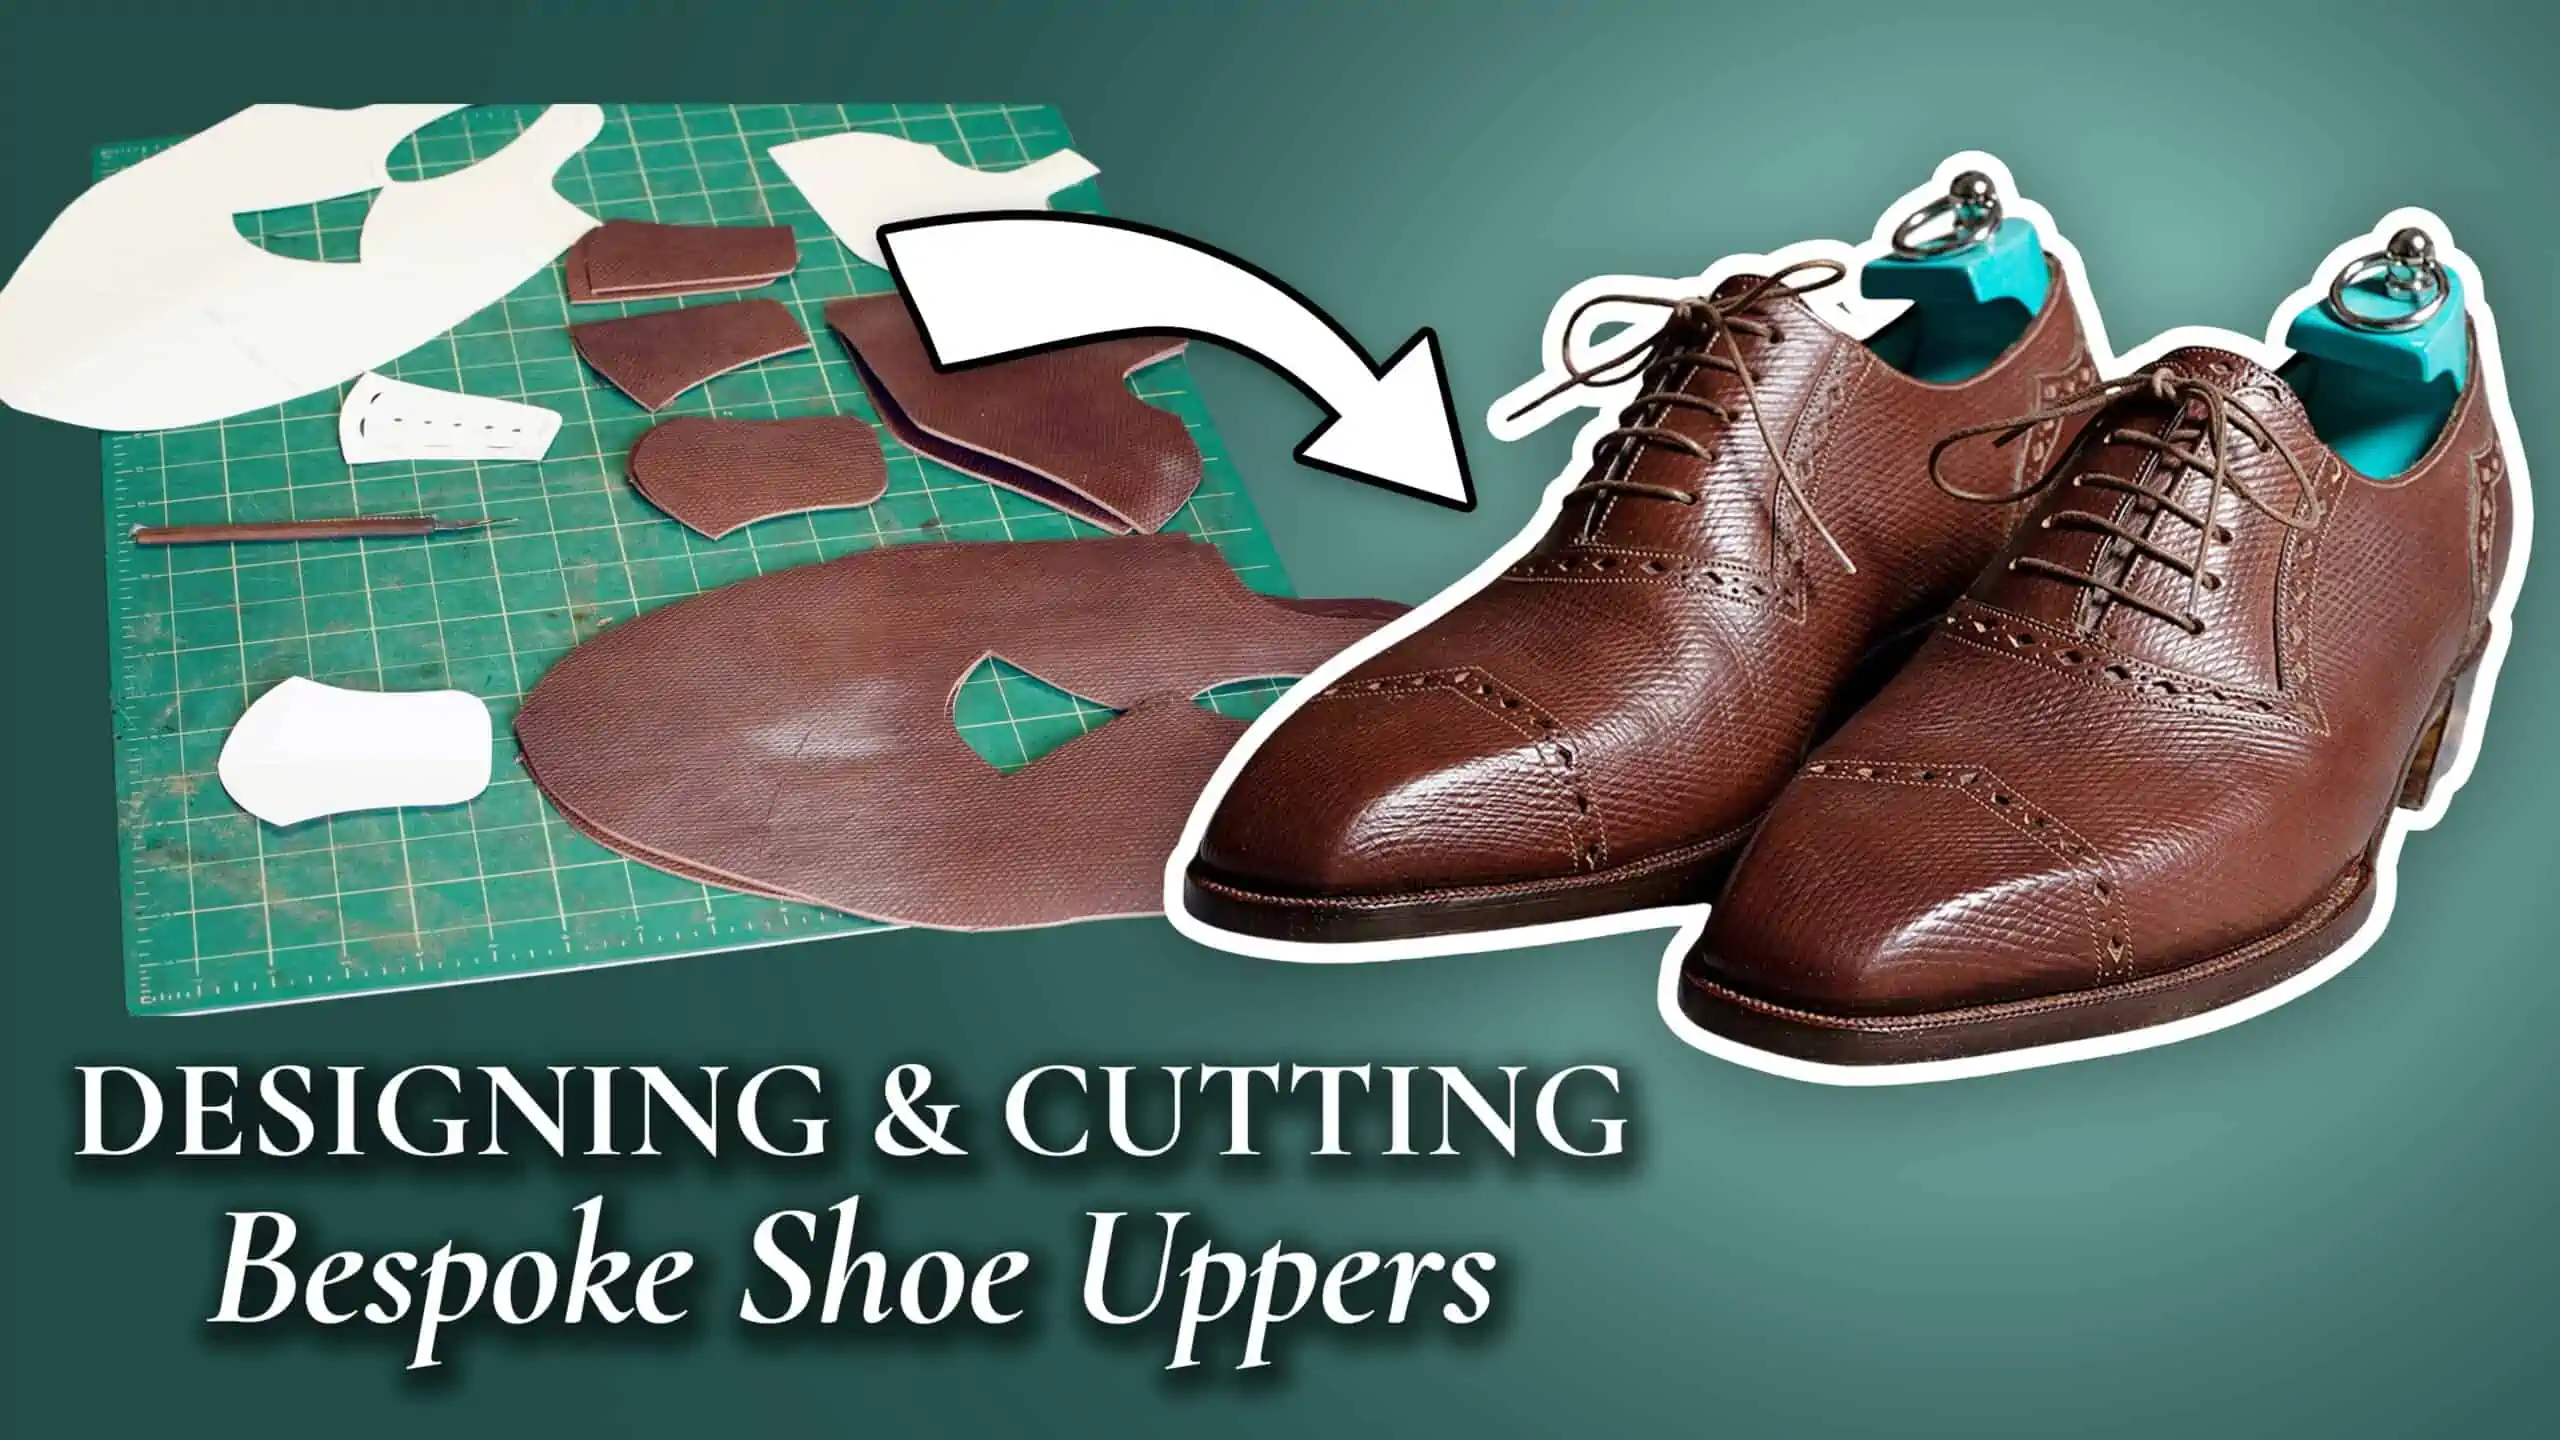
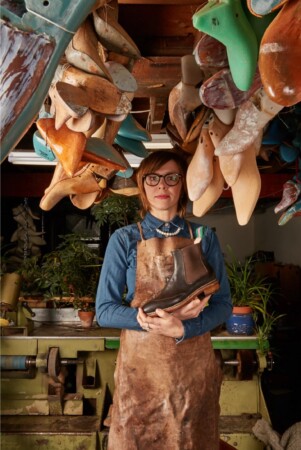
In episode five of our series on bespoke shoes, where we show you how a handmade pair of shoes is made from start to finish by the shoemaker Amara Hark Weber, we talk about how the uppers are made, which is quite a complex process.
- Creating Bespoke Shoe Uppers
- Necessary Tools
- Pattern Making
- Designing Pattern and Broguing Details
- Pattering the Tongue & Lace Holes
- Constructing the Pattern
- Patterning the Lining Leather & Structural Support
- Crafting the Tongue
- Cutting the Leather – Clicking
- How the Leather is Cut
- Selecting & Cutting the Lining Leathers
- Conclusion
Note: If you’re joining in the middle of the story, please check out our playlist so you can see the full series!
Creating Bespoke Shoe Uppers
The uppers of the shoe are what you actually see. That’s what covers your foot. The shape of the uppers dictates the style of the shoe. Of course, there are a lot of details such as stitching and broguing, but, most importantly, it’s about the shape. At the core, you create a 2D pattern and a 2D upper that will be used on a 3D last to make a final three-dimensional shoe.
Necessary Tools
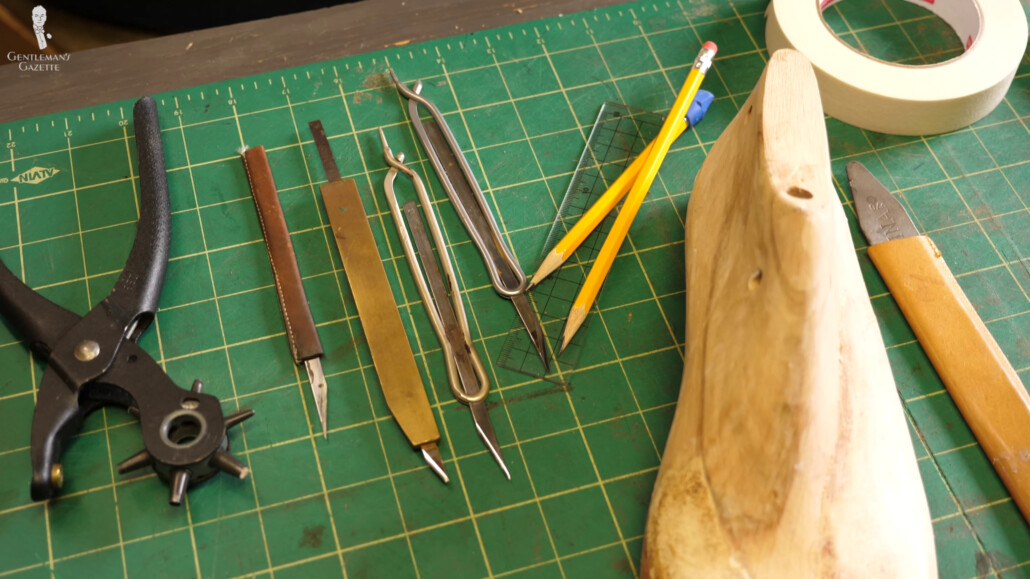
In order to create the uppers, we actually need quite a few tools; the most important ones, according to Amara, are really sharp knives. Sometimes they look like an X-Acto knife without the extensional blade. Amara often sharpens them on her own. Also, she doesn’t just have one knife but multiples, so she doesn’t have to interrupt her work just because the knife has become a little dull. Of course, she also uses lots of awls to pierce holes.
Pattern Making
Next up, she needs a pencil for notation and a clear ruler. She also utilizes division makers or spacers to ensure that distances are kept and that everything looks neat in a final product. You also see a paddle or a honing strip to keep the knives sharp. Then, there are a number of plastic templates – also known as “French curves” – which make it easier to create a pleasing line on the patterns on the leather. Now, that being said, Amara typically likes to do freehand work, so she doesn’t rely on those. But, I would certainly need those.
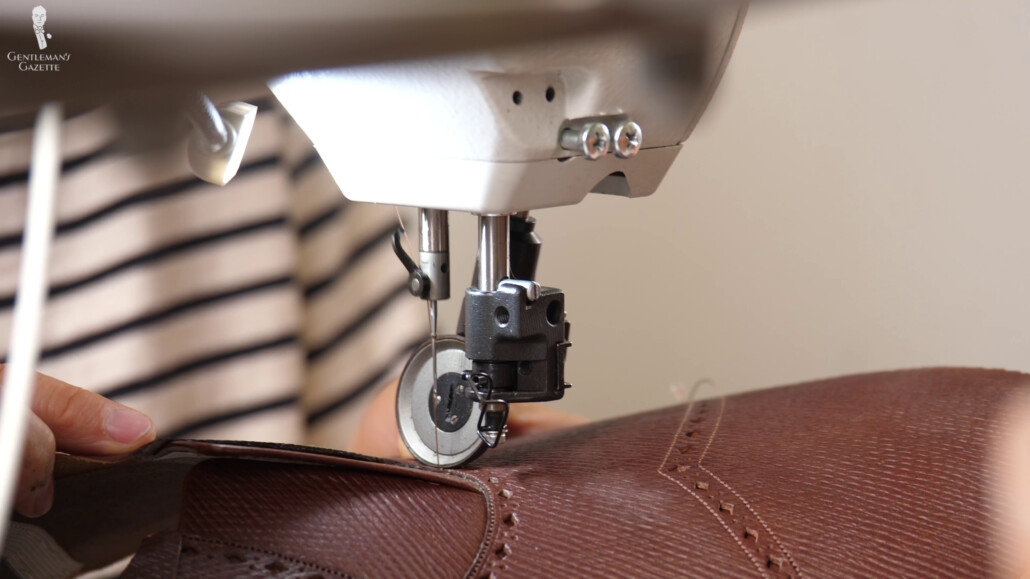
If there’s any type of broguing, you’ll also need a hole punch and, later on, of course, you need a sewing machine because hand-sewing uppers is not something you want in your shoe. It’s too irregular, it’s not strong enough, and so usually it’s all done by machine. But, there’s actually a lot of handwork involved. I’m sure your shoemaker of choice will have a very similar toolbox, although every shoemaker has their little specialties and special tools, so I wonder what others have in their toolbox.
So, before you can sew the uppers together, you’ll have to make a pattern, and it all starts – just like with a trial shoe – by taping off the last. A good beginning makes the entire process easier, and because of that, Amara rubs the entire last in paraffin wax, making removing the tape easier later. It also prevents the last from absorbing any fluids that may impact the shape. Because of that, Amara applies extra wax to the bottom of the sole because that sole will be quite wet and we don’t want the water to get in the wood.
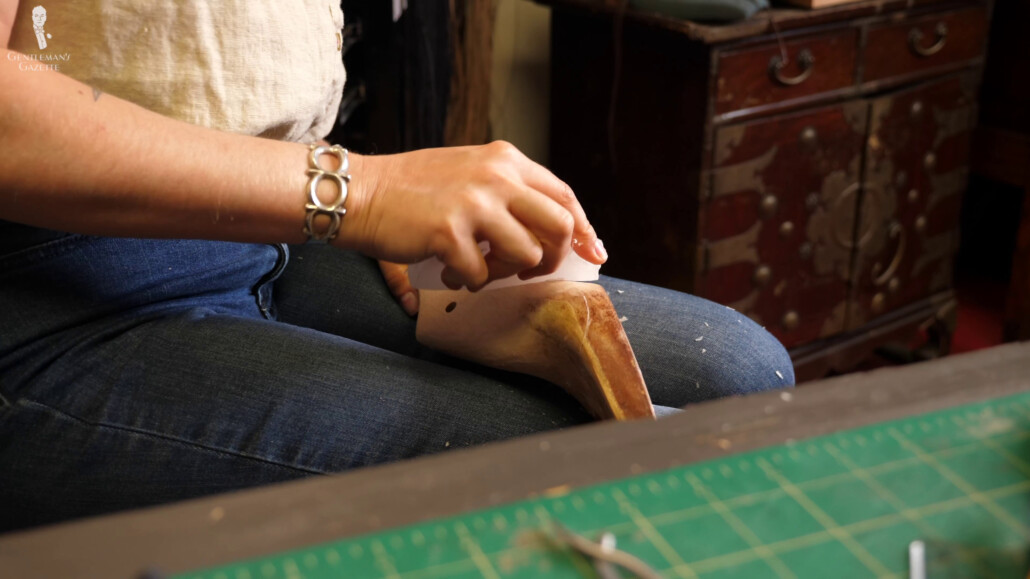
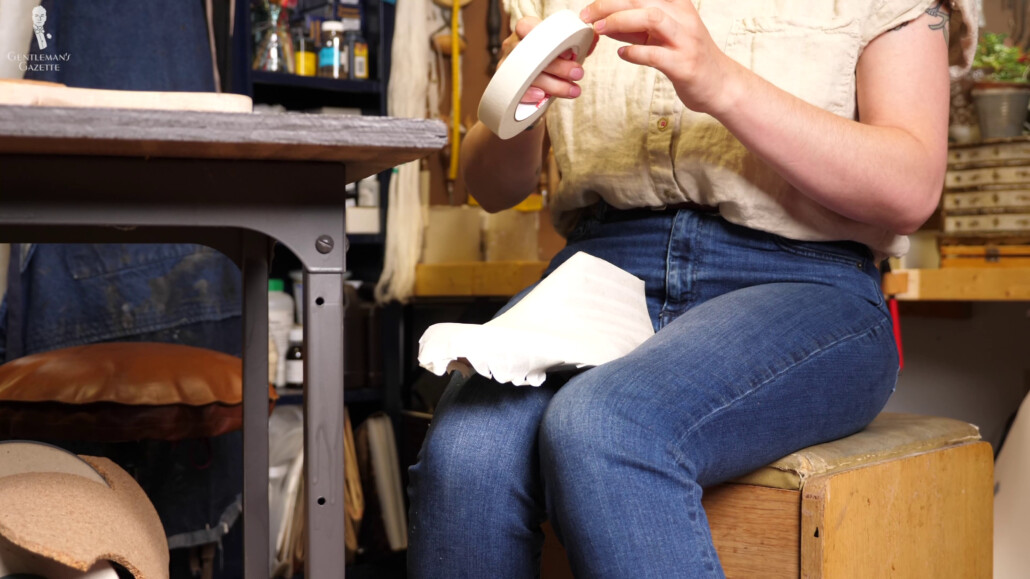
Amara uses two layers of tape, and she applies those in different directions to prevent any kind of shifting, movement, or shrinkage between applying this to the last and taking it off. Once taped in, Amara removes the excess tape along the feather line because, later, the insole will get onto the last from underneath.
Shaping Bespoke Shoe Lasts by Hand & Machine
Once the tape is on the last, Amara begins to sketch out lines of the patterns that the final shoe will have later on. I really like sketching directly onto the tape on the last because it gives you a visual idea of what the final product might look like.
Keep in mind, the last is more extreme than the final shoe, but still, it is a much better visual understanding. Some workshops may have standard patterns, especially if they have a standard black cap-toe Oxford or maybe a full brogue. But, Amara likes to create unique patterns for each customer because there are always different ideas, designs, and needs.
Drawing freehand directly on the tape also has the advantage that you can accommodate any kind of special curvature of the last and it won’t look odd, but you can always adjust. Therefore, a pencil is good because you can just use the eraser and start over. Yes, there are other methods like geometric patterning, which relies solely on measurements. But, every Shoemaker has their own take on it, so it’s each to their own.
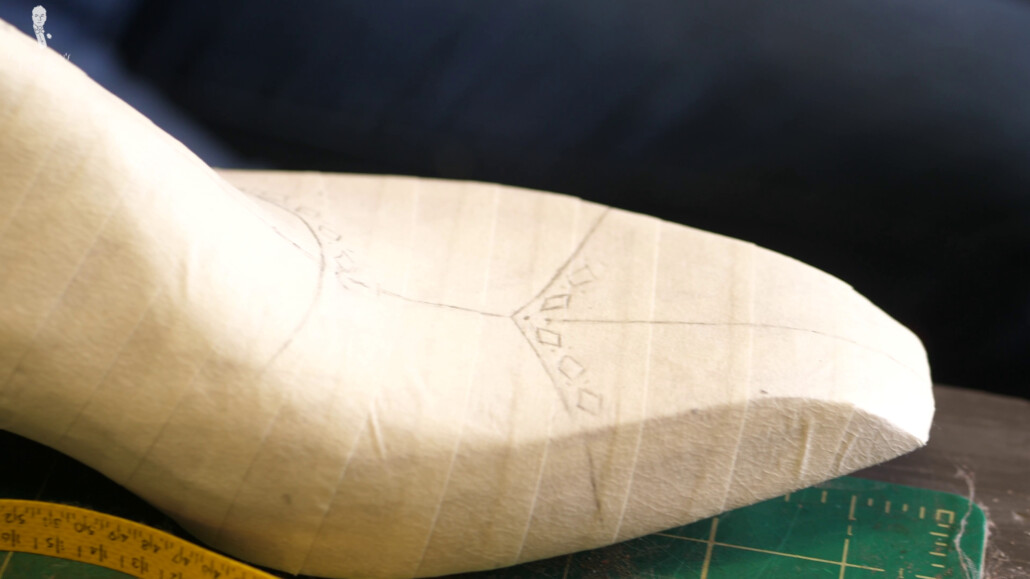
To better orient herself, Amara marks reference points, including the center line of the last. This center line is actually really important because the entire shoe is oriented around it. If the upper is more pulled to the left or more pulled to the right and is not aligned with the center line, it will be a flawed shoe.
The other really important reason to have a center line is the design because it is mirrored on the center line. I was totally stunned to learn that the actual pair of shoes is just designed on one-half or 25% of the shoe. But, if you think about it, it makes perfect sense. First, you have the right side of the design that is mirrored on the left. So, you have consistency on your shoe, and then you mirror that in the same pattern on the other shoe, so both shoes look the same.
All this is obviously only true if the design is not asymmetrical, but most classic menswear shoes have a symmetric design. It doesn’t look like it because the last is different, but ultimately, the upper and the design and how it’s made are symmetrical. Later on, when the uppers are on our last, the central line also really helps to make sure everything is aligned properly.
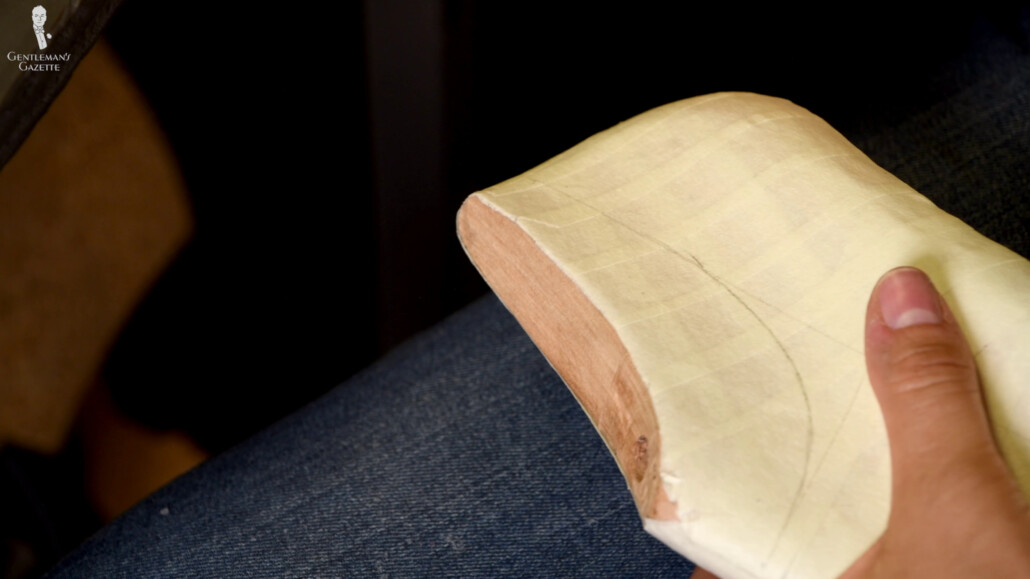
Apart from the center line, there is a top line, which is important to ensure the shoe doesn’t interfere with your ankles. Typically, on the outside, the line will be lower than on the inside, and even though the design is just mirrored and consistent, you can hold it on the last, so the inside is higher than the outside. Typical factory shoes have top lines that are even on the final shoe. Most bespoke shoes will have one that is higher on the inside of the foot. Overall, it gives a more fitted and elegant appearance that way.
Obviously, Amara is drawing the top one by hand, but she references measurements just to make sure everything is proper. When it comes to actual pattern design, you might be tempted on a bespoke shoe to go all special and unique because, after all, you can.
Frankly, it’s easy for a design to get out of hand and to end up with something that, in the long run, you might not quite enjoy as much. At the end of the day, you want something that fits your personality but also something the shoemaker is comfortable making. Otherwise, it may end up in a disaster.
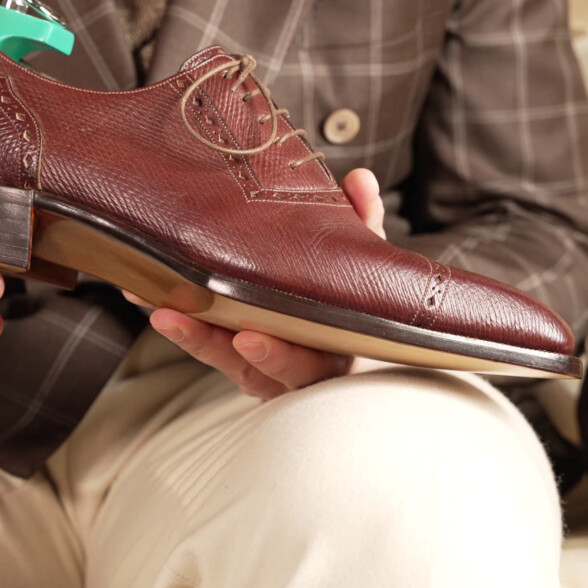
Personality and Comfort
Get something that fits your personality and, at the same time, something that your shoemaker will be comfortable making.
As Amara said, “Like when you see a shoe that, like, works, you’re like, ‘I like that.’ But, then, when you stop to think about how all the details are lining up or like what it is about it that you like, it’s really hard to answer that question. I mean, if you find something attractive and you stop to think like what about it is attractive – is it the curves, is it the lines, the intersection, the leather, the broguing, the heel shape, you know – there’s just so many details that all have to add up into something that you like.”
In my mind, a good shoemaker understands all the individual pieces, and they will guide the customer with options and listen to them to help them find the final shoe that really works for them.
Frankly, most clients never have the opportunity to be part of the process of the upper making. They just talk about it before, and then they go home while the shoemaker is working on it, just referencing the notes. In my case, I was able to be there and go back and forth with the shoemaker while she was working on it. I’m sure it was more stressful for Amara that way, but it was really great and insightful for me to see how all the steps work, and I had more time to think about certain aspects or challenges that I hadn’t foreseen.
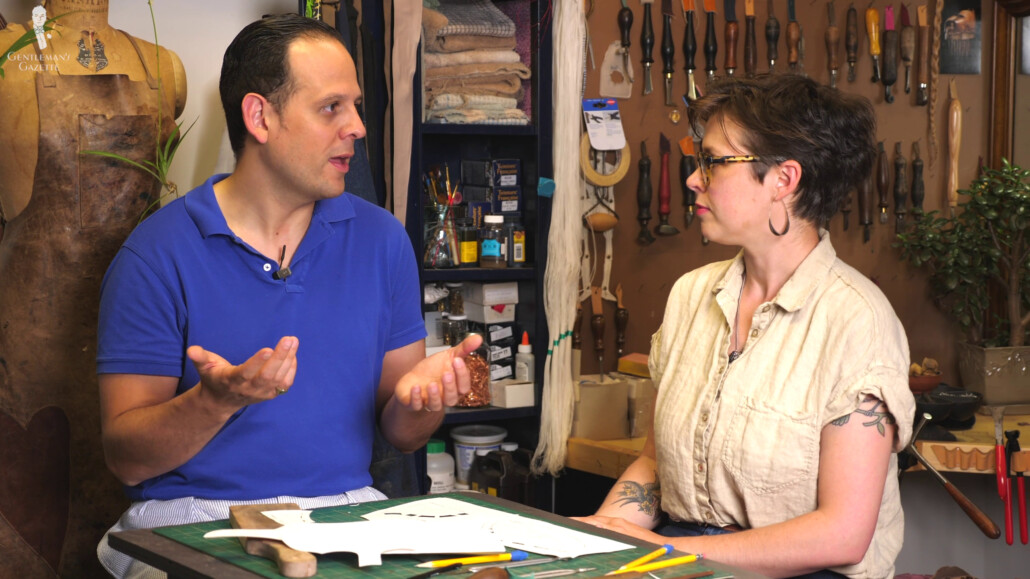
That being said, many bespoke shoemakers don’t actually make their own uppers, but they outsource that portion. So, likely, they don’t want you to be present when the uppers are made.
In any case, it’s really important to have a trusting relationship with your shoemaker, so they understand what it is that you want. They can maybe show you photos or things that they have done, so you have a better understanding of what to expect.
Some may argue that the final result is better if you have one specialist making the upper, another working on the insole, another doing the sewing, another doing the lasting, and so forth. But, I personally really enjoyed the process of working with one person, knowing all the steps of the shoe, how they all come connected and relate, and seeing that process from start to finish. It was overall much more satisfying to me than if I just had multiple people working on that same pair of shoes.
Designing Pattern and Broguing Details
Similarly to tailoring, before you actually start cutting the leather, you create a pattern first. How much time you actually spend discussing the individual pattern depends on the complexity of your design and your ideas. Personally, I didn’t have too much broguing on my shoes, but I wanted something special.
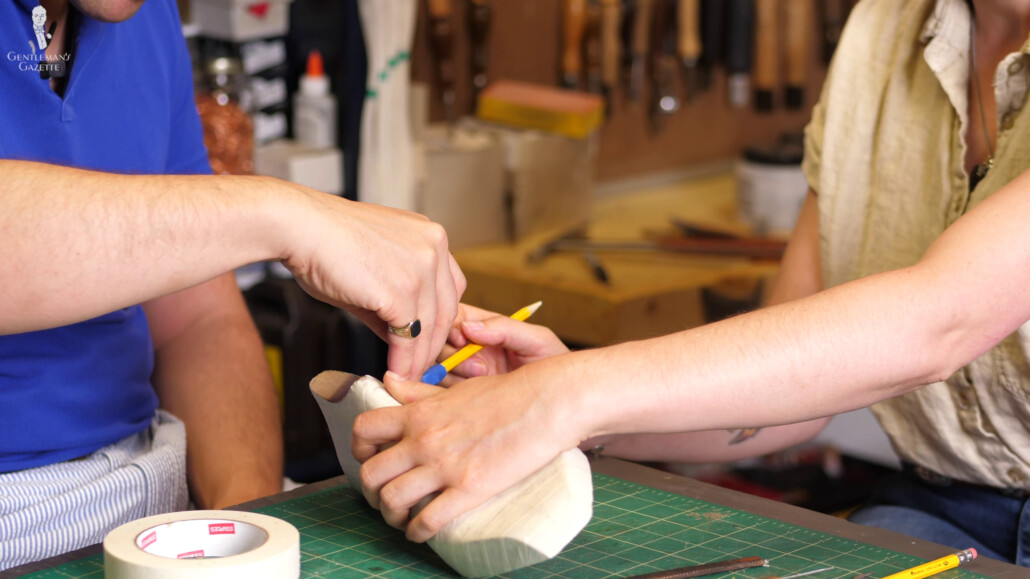
On Instagram, I had seen shoes that had broguing holes that weren’t round, which is what you typically see, but square. So, I talked to her about that, and we found a nice diamond shape that I enjoyed and liked.
At that point, I didn’t realize that using the diamond brogue would make things much more complex than if I had just chosen round holes. Why? Well, with a circular hole, you can use a stamp wheel or other tools that allow you to punch out things much more economically and efficiently. But Amara, being a bespoke shoemaker, was happy to oblige and do something that takes more work just to get exactly the result I want as a customer.
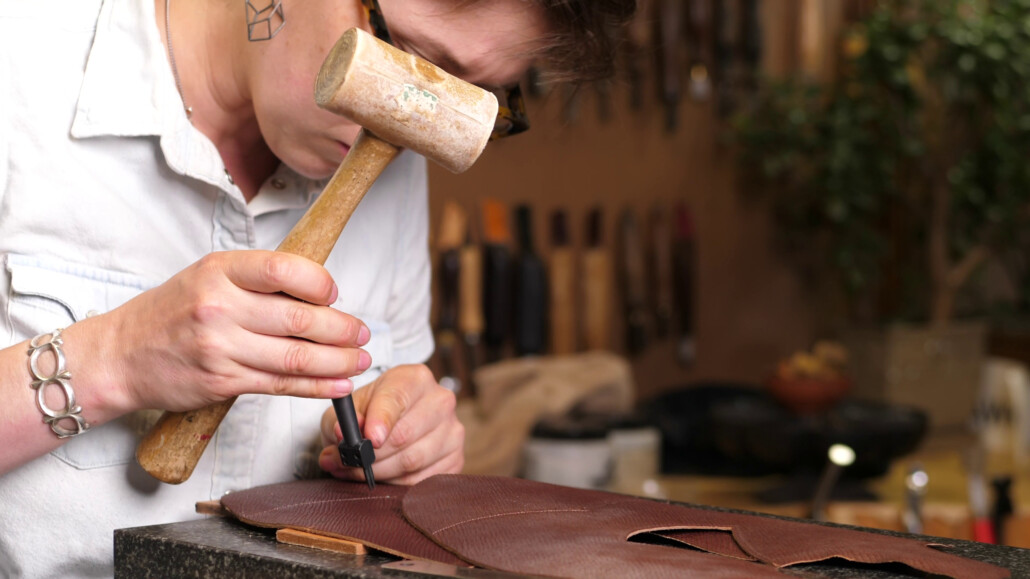
For the diamond punch, each hole had to be made individually, and it had to be aligned, so chances for error are much higher. So, as you can see, sometimes going with a more classic design increases the speed and reliability of the outcome. If you go over broguing that’s an excess of a typical full brogue, chances are you won’t enjoy it down the line.
Just keep that in mind. Also, your shoemaker may be fantastic at making shoes. But, stylistically, he may not be on the same wavelength as you. You may have a very different understanding of what you want, so by looking at the shoes they produce and the designs they choose, you get an idea of what the range of capabilities of your shoemaker is.
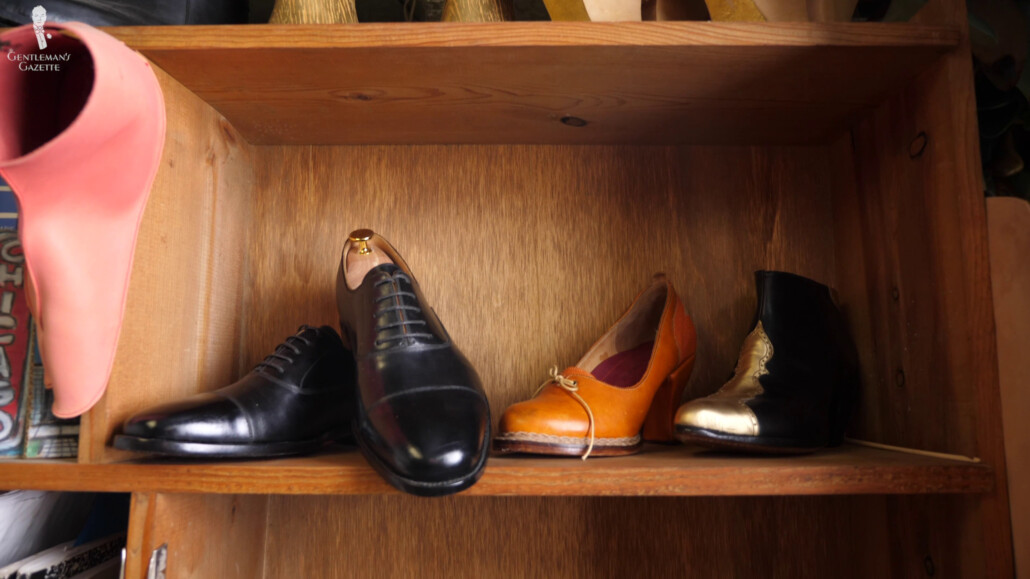
If they only ever make cap-toe Oxfords and full-brogue Derbies, chances are they won’t be very artistic if you ask them to do something that Prince wore.
Brogues & Wingtip Shoes Guide for Men
Again, pictures help a lot in this situation. When I looked at Amara’s pictures, at first, I saw she had a very broad artistic bandwidth in her upper making, and I personally was really attracted to it because it told me that whatever it is that I wanted, she could help me out. Amara acknowledged that her artistic brain worked really well with imagining new patterns or out-of-the-box things. And as a classic style enthusiast, I didn’t want anything out there, but I certainly had very detailed requests.
For example, let’s talk about the cap toe. In fact, many toe caps are just that; they’re separate pieces of leather that are sewn together. I like the fact of a faux toe cap, which would be entirely flat and just visually look like a toe cap by the use of stitching.
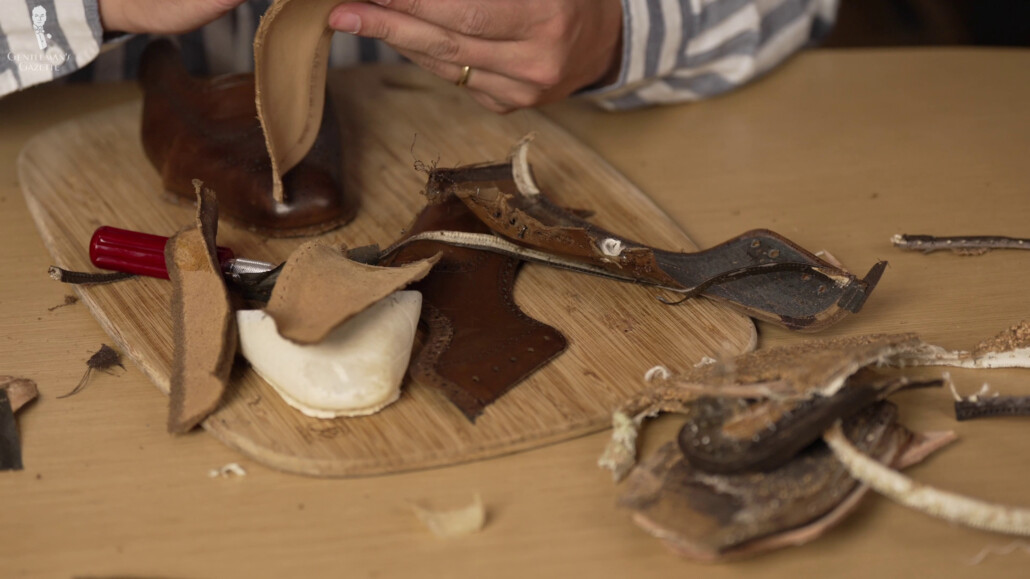
Also, I saw a pointed toe cap, which is rather unusual, and I had ready-to-wear shoes. Why? Well, you have to align the point exactly on the center line, which is more difficult in the factory setting than for a bespoke shoemaker. Aside from the increased difficulty, I also liked the look.
So, now that I chose the pointed cap toe with the diamond broguing, the question became: how do we actually align it, and what does that broguing look like in the middle? Again, with a round brogue hole, it doesn’t matter. You don’t have to think about it. With a diamond, all of a sudden, it becomes a challenge.
So, at that point, I questioned my decision of a pointed toe cap and had played with different options; something that was maybe half round and imitated the line of the Adelaide further up on the shoe. Then, I thought about the wing cap. But, then, after lunch and some thought, I realized that the pointed toe cap was the right way to go forward. It seemed like aligning the diamond along the center line looked the most pleasing to the eye.
As you can see, bespoke sometimes it’s not all roses. You start questioning yourself or the project and the design. But, overall, it was a very satisfying experience.
Another challenge with a diamond brogue is the corners. We eventually settled on setting it at 45 degrees so that it would be a nice transition between both straight lines. Typically, on a brogued shoe, you see pinking or gimping, which are these little triangle zigzag patterns along the brogue edge.
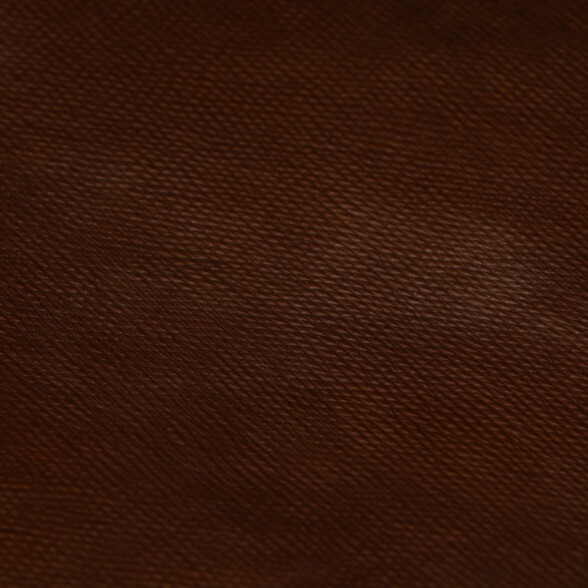
Hatch Grain
Leathers have this hatch grain, and having a triangular element on the shoe would be too much.
Because the leather already had a hatch grain, I felt having an additional triangular element would be too much, so I decided to skip it. I was really glad Amara threw out all the different options so I could decide because, at the moment, even if you come prepared, sometimes you may forget something because you’re not familiar with making shoes day in and day out.
For example, she mentioned that many brogued shoes often feature a second sewing line, and I also opted against that because I felt like it would have been too cluttered overall. But, if she hadn’t mentioned it, I may not have thought about that at the time and maybe later regretted it.
The heel cap also inherited extensive discussion. If you know from a whole cut, for example, from a true whole cut, there’s no seam on the leather at all. Because of that, it’s typically something you find in a bespoke shoe. Obviously, mine wasn’t a true whole cut because it was an Adelaide, but I was still tempted to ask for them in the back. I said she was uncomfortable doing that, and so we decided on a heel cap design that incorporated the seam lines, so there was no center seam line in the back of the shoe.
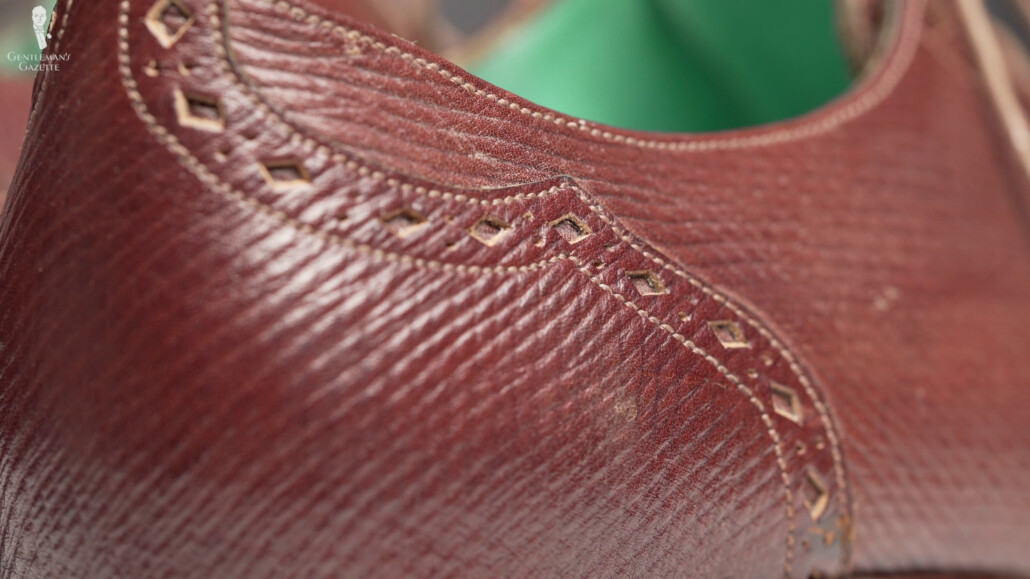
We worked together extensively to make the design work in the exact shapes, and, at the end of the day, you’re always wise as the customer to listen to your shoemaker and their limitations. Otherwise, chances are it just won’t work out. Honestly, it took a while but finally, we settled on a design we both liked, and she felt comfortable creating.
As you can see, there’s a great amount of detail in the uppers that most people will never notice. Experts may notice it but, personally, I was thrilled to know that my shoe was special to me and all the thought that went into that product. I think, because of that, I enjoy wearing those shoes more than maybe an off-the-rack shoe because, every time I put them on, I know everything that went into it.
But, hey, we aren’t even close to that in this process, so let’s move on.
Pattering the Tongue & Lace Holes
I showed her a particular tongue design, and she noted that it was quite wide, and then, it worked for a derby shoe, but maybe for an Oxford, it was not quite the right design. However, she understood what artistic vision I had and tried to accommodate it so it would look good on the style of shoe I had settled on.
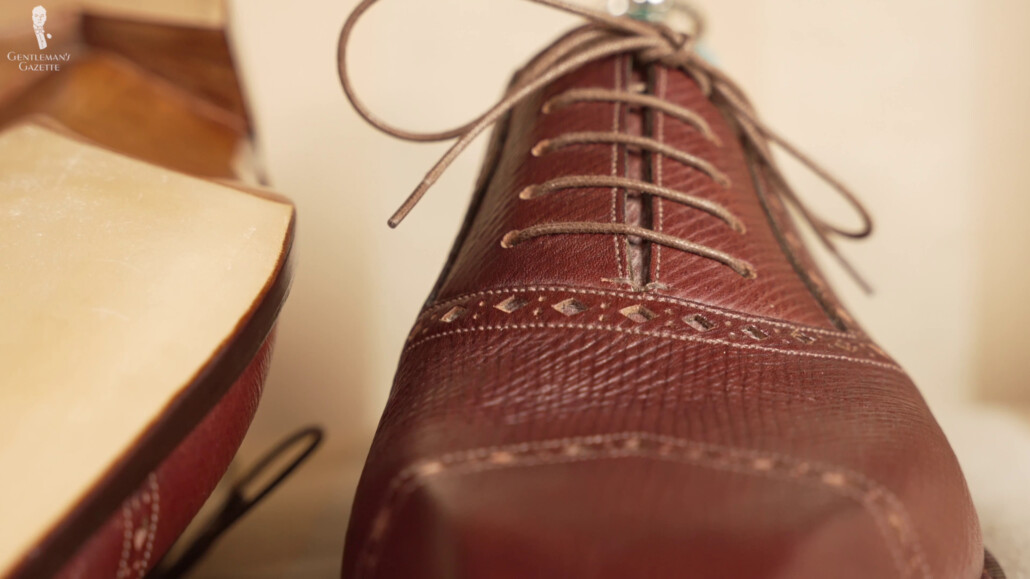
Another element most people don’t really think much about are the lace holes on the shoe facings. You could have straight lines that run parallel to the cut edge, or you can have some space in a different way. In recent years, making the space between the bottom holes wider than the top ones has become quite popular. Because I chose the Adelaide design, I wanted the holes to be aligned to that shape, and so, they got progressively slimmer towards the top, but they also had to make sure that the lines were pretty much parallel to the shape of the Adelaide cutout.
So, with this process, Amara helped me to keep track of the different angles, designs, and cutouts, so we could make sure the shoe overall was consistent. She also pointed out that even if we made one small change in one layer of the shoe, we would have to consider all the other decisions we’ve made because it may impact them.
“I mean, it’s so amazing, isn’t it? It’s like two millimeters. This is less than a millimeter, and it’s going to make a world of difference. Yeah, I mean, shoes are so small. I mean, that’s what makes them hard and that’s what makes good shoemakers hard to find.”
Amara Hark Weber
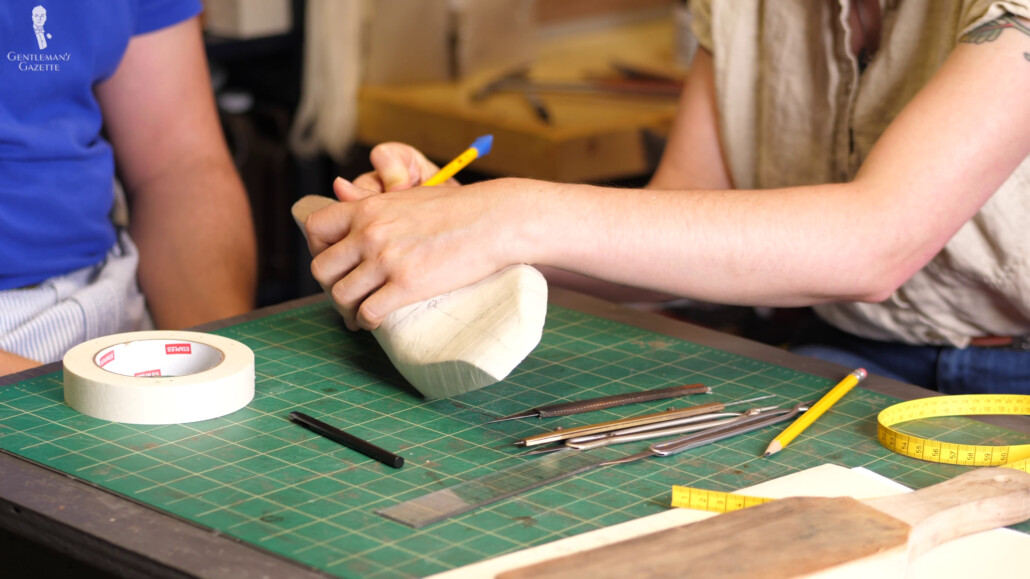
Just like the bespeaking process in episode two, this pattern-making process is all about communication and the honest and open flow of the vision with your shoemaker. Tell them what you want to have, but trust their experience and let them guide you.
Constructing the Pattern
Once we had finished the final design on the last, on the tape, it was time to make the patterns that would allow Amara to cut it on leather.
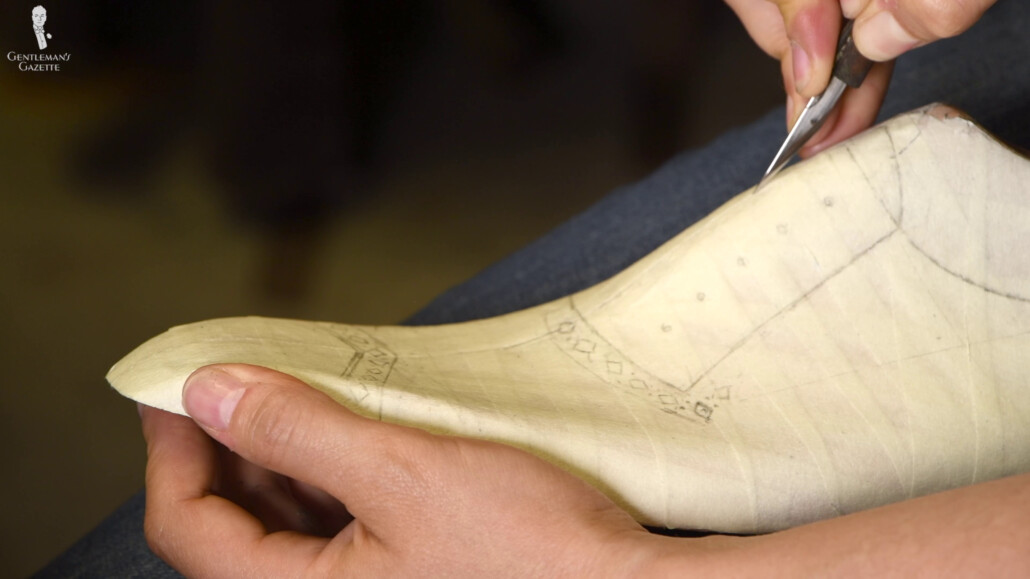
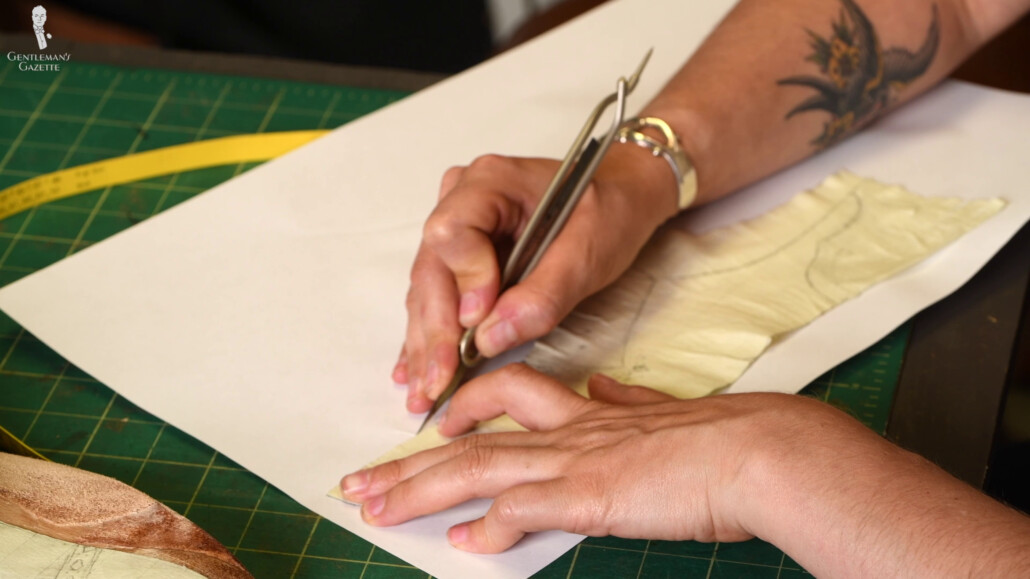
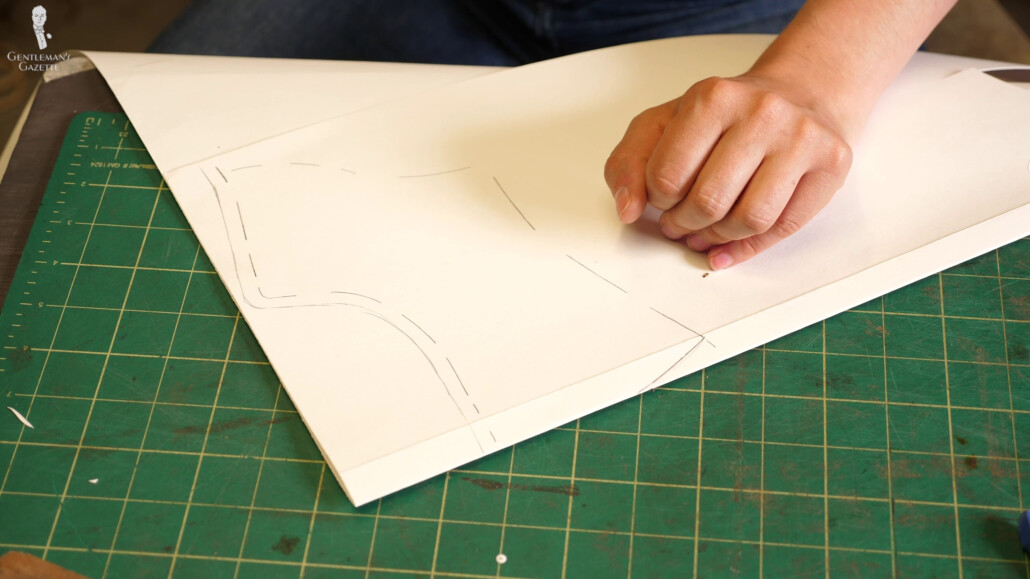
First, Amara cut off the tape from the last just like with a trial shoe, and then, she applied a paper backing to it to prevent any type of distortion. She also cut the edges to help everything lay nice and flat. Amara also pricked guide points in the pattern that allowed her to always easily line them up. Remember, even though the uppers will be symmetrical, the lasts aren’t.
Trial Shoes: The Key to Perfect Bespoke Shoe Fit?
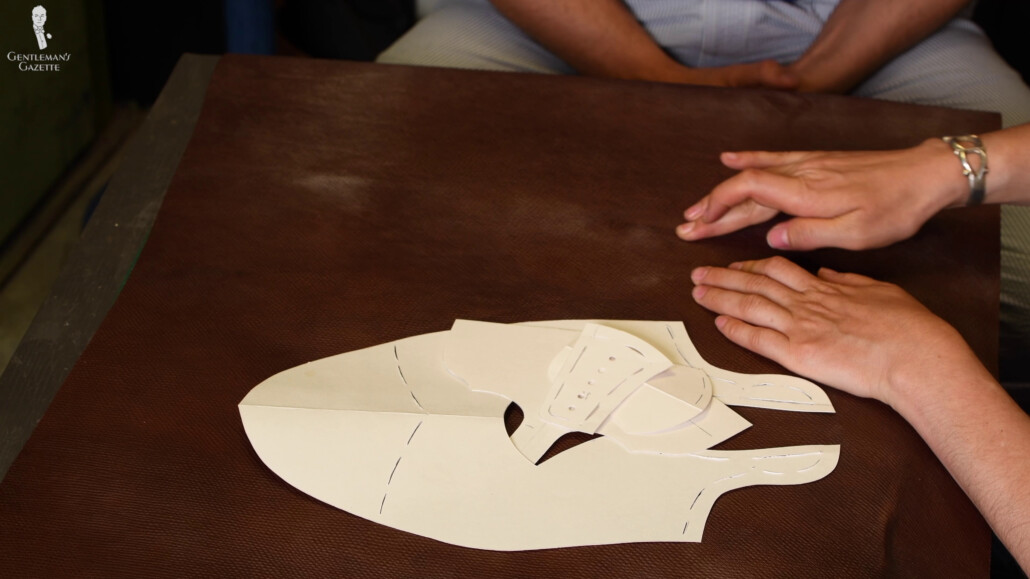
You could assume Amara would just work off the tape with a backed paper but, instead, she made a master pattern, drawing it on a much thicker piece of paper. A master pattern is, generally, a pattern that is used to make all other patterns, thus ensuring that everything lines up perfectly in the end. Amara used the pattern wheel to accomplish that transition.
Frankly, this step is more than just tracing. Amara uses her experience and expertise in leather work, understanding how leather typically stretches in certain areas to accommodate it into that master pattern.
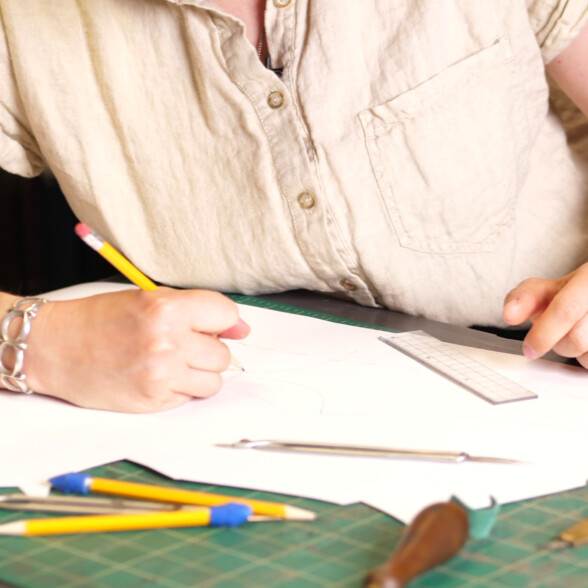
It’s more than just tracing.
Amara uses her experience and expertise in leather work, understanding how the leather stretches in certain areas to accommodate it into the master pattern.
For instance, how much lasting allowance is left depends on the thickness of the leather you’re actually going to use. Because the shoes are Oxfords and they have closed quarters, Amara left a gap of about seven millimeters, which is a little more than a quarter inch, between the closed facings because leather, over time, stretches and will come together. If she wouldn’t have done that, over time, the Oxford facings would overlap and look really ugly.
The standard is cut out. The seam lines are only partially cut to ensure the pattern holds together. Amara cut straight on one side and curved on the other to remind her which one is inside and which one is out. She also uses spacers to score particular details and cutouts.
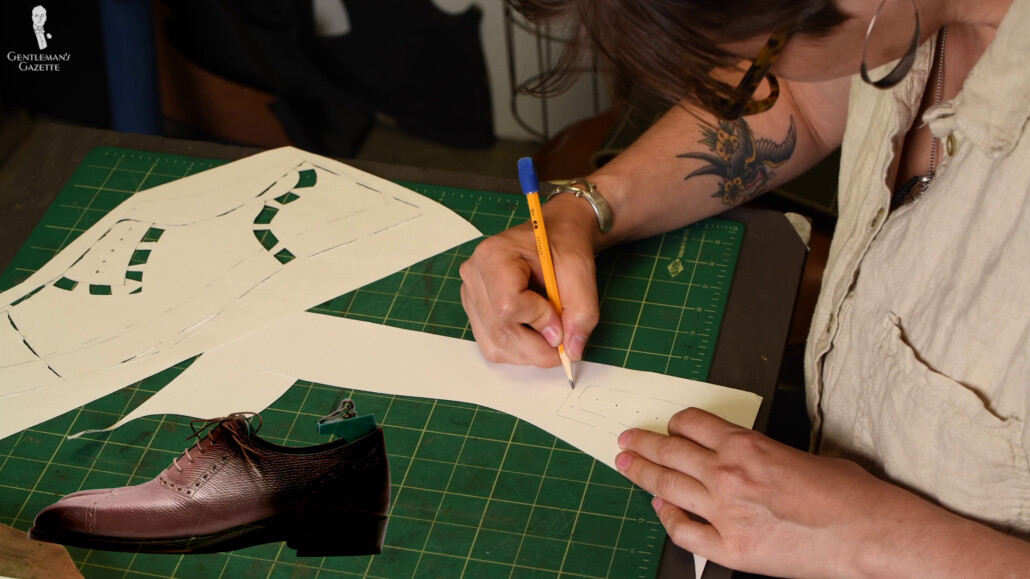
With this standard, Amara will make other parts of the upper pattern now, which makes it better for the block, the facings, the toe cap, the tongue, and the heel cap. Frankly, it looks kind of like Batman.The heel cut pattern is once again made with a folded piece of paper to, later on, assure symmetry for the final heel cap. Next is the vamp, which was not made of a single piece but two pieces because Amara was more comfortable and didn’t want to mess up an expensive piece of leather.
As I mentioned before, we didn’t want a centerline in the back, so we just incorporated it into the pattern so it looks like part of the broguing, and you don’t even notice it. The Adelaide pattern was made with a folding-like cap. The figuration and lines are added with an awl.
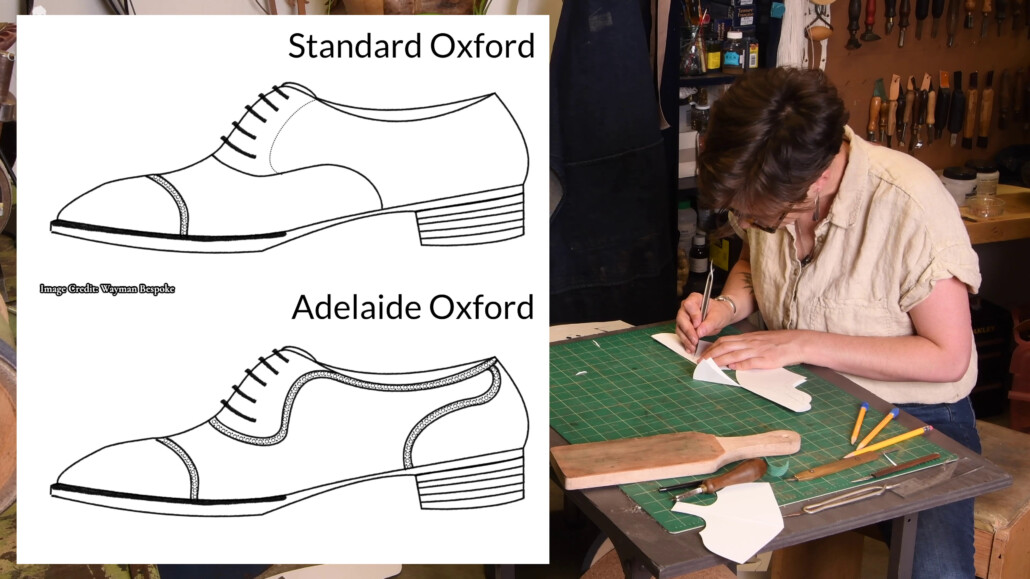
By the way, an Adelaide pattern is this particular cut out, typically on an Oxford. Now that you’ve heard me say it and I’ve pointed it out, chances are you will see it much more frequently in other Oxford shoes.
Then, of course, there’s also the tongue, which is always cut separately. And eventually, all these individual pieces have to harmonize together in one neat upper. Therefore, during this entire process, you can see Amara comparing holding things against each other just to make sure it will all work out eventually.
Frankly, at this point, I was just in awe at looking at her constantly checking things, but I couldn’t quite follow and understood what exactly she was doing; until, later on, I understood when everything came together. You can see that she made notations in the pattern and she scored slashes. All that stuff helped her, guide her into the final product. Eventually, she would use those to score the leather itself, to help her align everything neatly.
Alright, done, you might think. But, it couldn’t be further from the truth. You also need a pattern for the lining leather, which is different from the pattern for the upper leather. And then, you also have structural inserts that also need a pattern.
Patterning the Lining Leather & Structural Support
Amara prefers an all-leather lining because it breathes, stretches, and molds in a particular way that she enjoys. Personally, one of my early good pair of dress shoes from Church’s had a linen lining in the forefoot, and I always felt they were particularly comfortable in the foot climate. It’s also a very durable fabric.
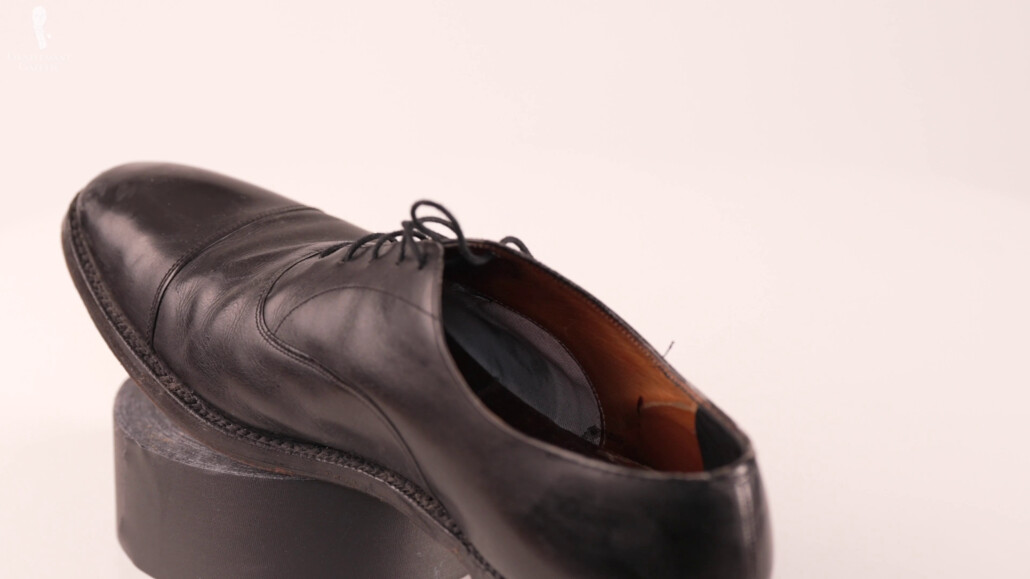
But, since Amara really preferred to work with leather, I didn’t talk her into anything else. A structural support leather in a shoe is typically not something you find in most ready-to-wear shoes except more higher-end ones like Edward Green, for example.
Edward Green Shoes – A Factory Visit
For this shoe, I wanted a really tight bespoke fit and a more chiseled toe, so the structure layer underneath would have to be a little stronger just to support that more extreme shape. On the flip side, if you want a lightweight summer shoe, probably go for a little structural interlining and more of a soft feel.
So, you have to decide what you want the shoe for and then, of course, it depends a bit on the shoemaker. Maybe they always have very structural interlining, but you want something soft or the other way around. So, you have to figure out what that is for you.
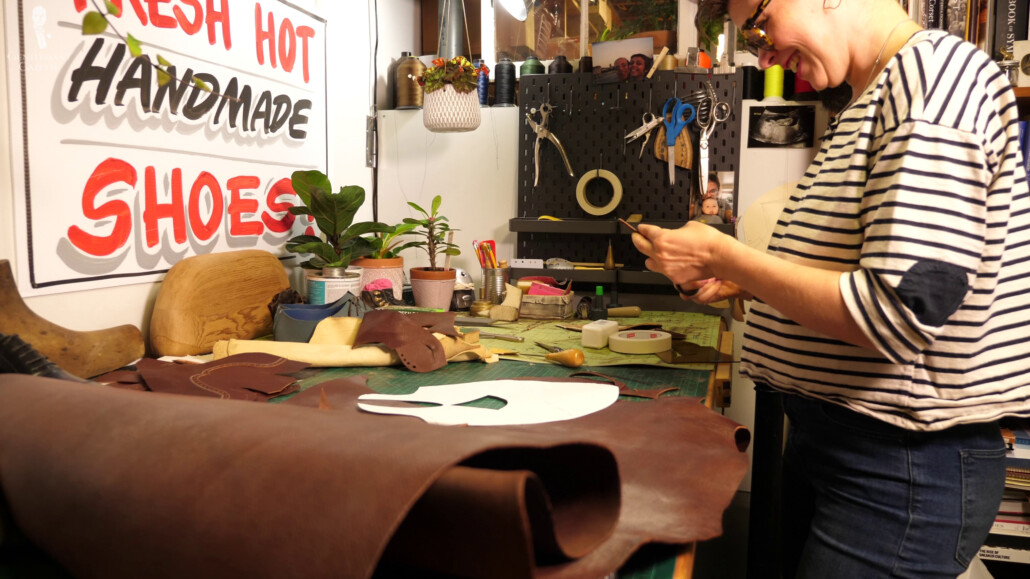
Frankly, I was surprised by how many structural pieces Amara used in her shoe. Basically, it covers the entirety of the shoe.
First, you have the side counters run along the sides of the inside and the outside of the shoe to help keep the shape and smooth lines and support your foot. Then, you have the heel counter, which is between the lining and the uppers in the heel, and it’s supposed to help you keep the shoe on your foot. That is typically a much stiffer leather.
Some people may also use thermoplastic that molds to the last and then keeps that shape once it cools down. On the other hand, Amara used all-leather – both for her toe cap, heel cap, and all structural layers.
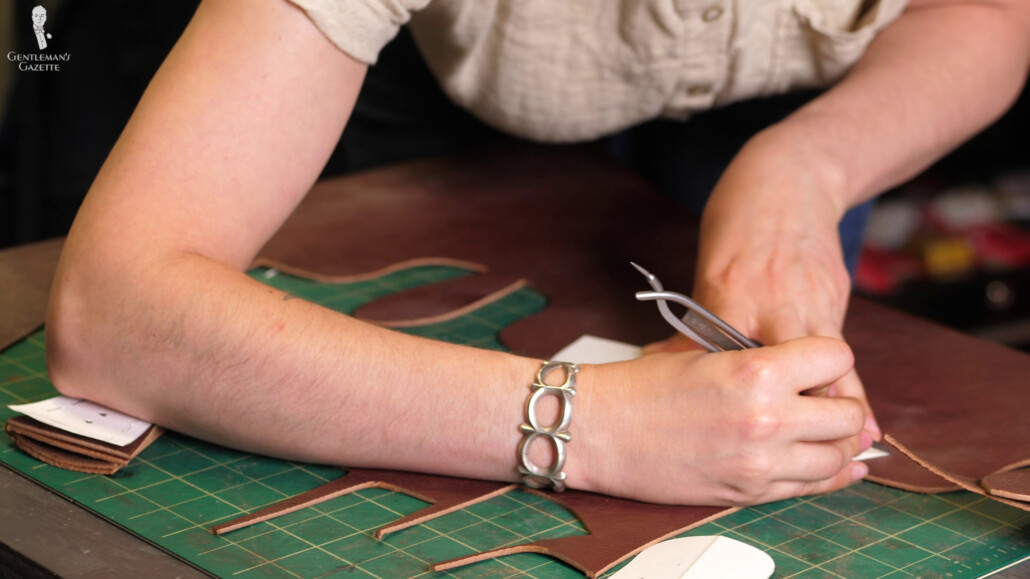
For the toe box, again, I wanted a chisel toe, so somewhat of a stronger structural layer, not something really soft.
Crafting the Tongue
While working on a tongue pattern, Amara mentioned two methods. First, she could make it as a separate piece and then, later, stitch it in, or she could cut it out as one piece with the rest of the section. That might cause distortion in the leather, but it’s usually smoother on the inside. The shoemaker will generally have a good idea on what works for you.
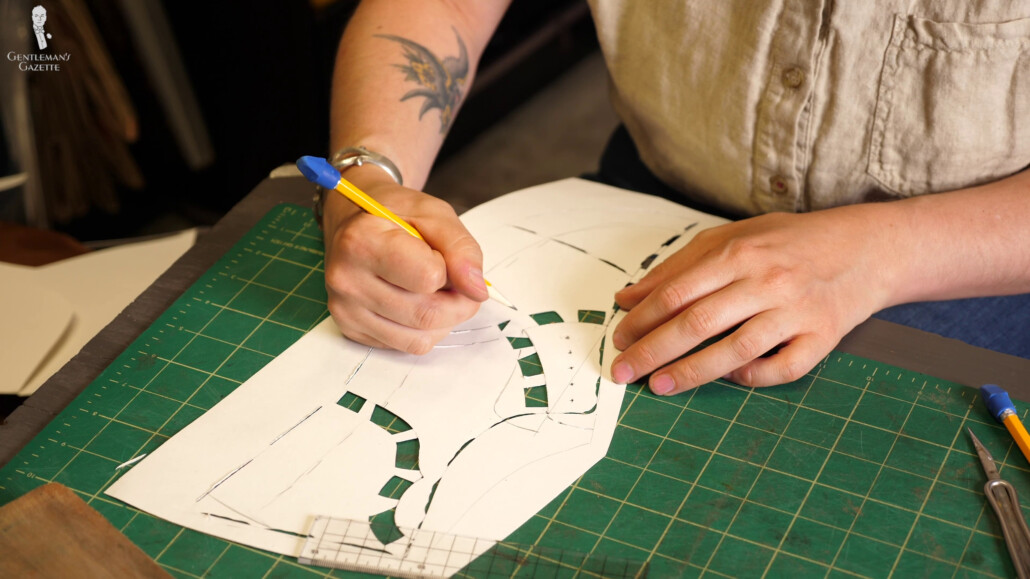
Amara mentioned the “mystery of the shrinking tongue.” What she means by that is that, sometimes, after you cut the tongue, it always seems shorter. Therefore, she was keen to double-check the tongue’s length to ensure it was not shrinking.
Cutting the Leather – Clicking
Now that you’ve spent all that time on pattern making, it’s finally time to cut the leather. Historically, it has been called “clicking” because there’s a clicking sound the knife makes when it leaves the leather after cutting it. In the more modern times, you may also hear a click sound of the presses when they put pressure on the die, and it hits the leather.
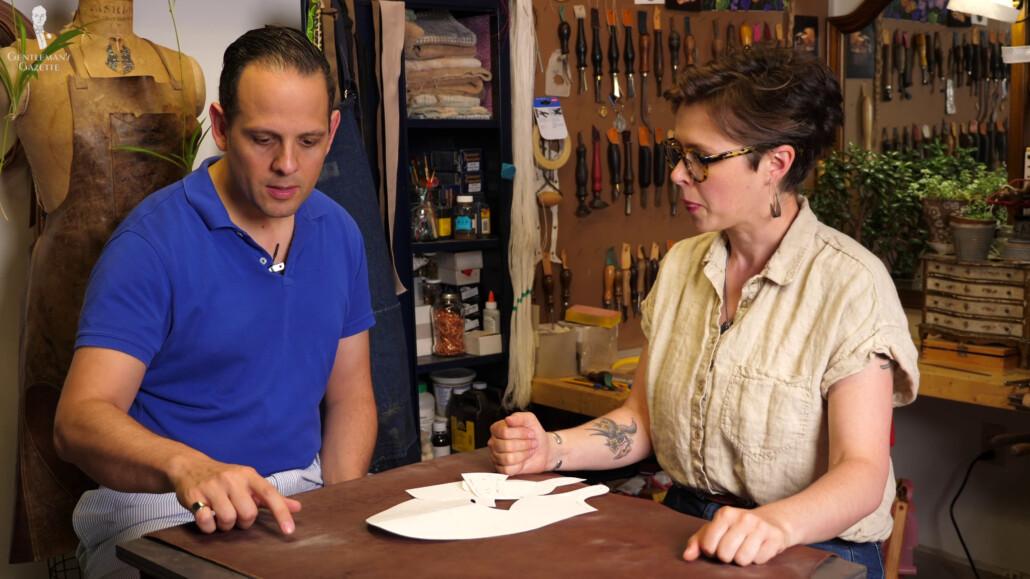
For a bespoke shoe, the leather is inspected much more thoroughly than for a ready-to-wear shoe. In a factory, the goal is to have a high yield and cut as many shoes as possible out of a hide or a skin. Versus the bespoke shoe, the material cost is usually relatively small compared to the labor cost. So, the goal of the bespoke shoemaker is to get the very best pieces of leather for that pair of shoes.
There are even some shoemakers, who just cut one pair of shoes from one entire skin because they say, “I only want the very best if I spend all these hours making that thing.”
So, when it came to leather selection, I settled on a hatch grain, and I fell in love with leather from J&FJ Baker from England. It had this wonderful smell, but it was an imitation Russian reindeer leather. It was more expensive than other regular calf leather options but often less expensive than the original Russian reindeer or, let’s say, alligator.
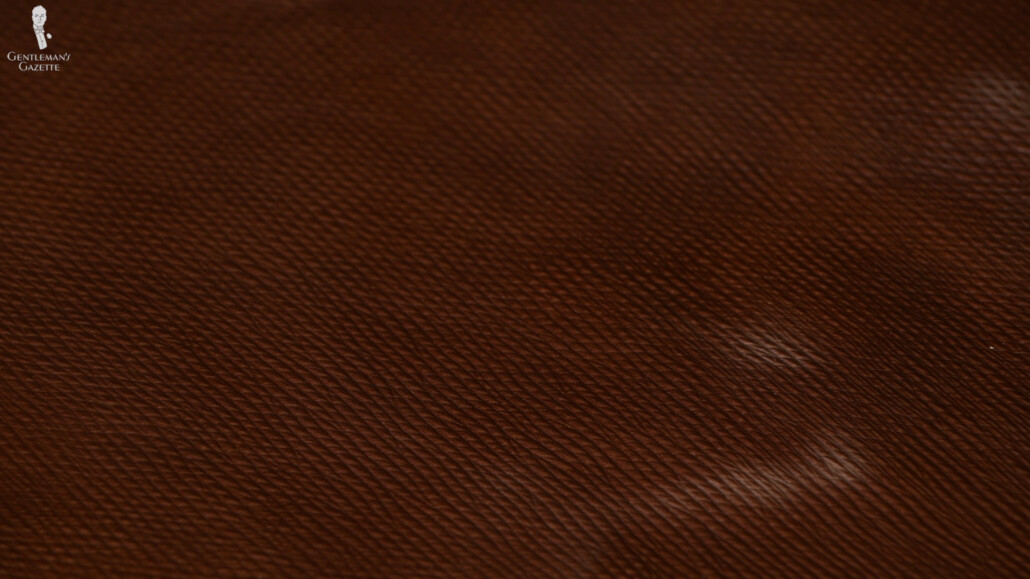
So, why wouldn’t I get the real thing? First of all, it’s quite expensive and difficult to get, and similarly to Sea Island cotton or cashmere, it seems like a lot more people claim they have the real thing than they actually could have based on the original output. But, aside from a performance point of view, old leather often has issues getting drier and brittle. And I wanted a shoe I could wear for years to come. I also looked at other options from different makers, such as Horween, but the Baker was really the one I loved the most.
Why Are Crocodile & Alligator Leather Goods So Expensive?
How the Leather is Cut
After closely inspecting the leather for bug bites, scars, or stretch marks, Amara split the hide down the center because she said you should never cut a piece of upper across that center line. Why? She argued that it stretched in a different way and that, overall, it wouldn’t be good for the final product.
In general, the best leather is typically the belly area of a bull. So, why the bull and not the cow? Well, bulls normally don’t give birth and so there are no stretch marks. And most people don’t like stretch marks in their shoes. So, that’s why they prefer bull leather rather than cow leather.
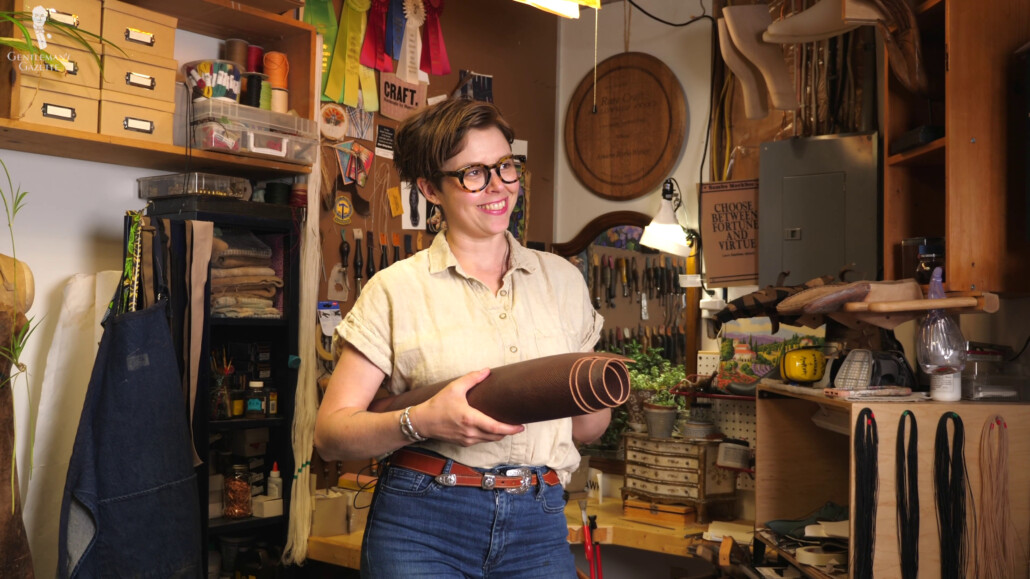
Amara likes the belly area leather because it has lots of movement, but no underlying bone structure, so it is very thick but also flexible, which she thinks makes for a great shoe. It’s important to know what you want to do. For example, the leather grain and the backbone is really good for belts, but not for shoes, so you use it for that.
Typically, Amara tries to always work with what she calls the “structural grain,” which is 90 degrees to the center line. Amara tries to avoid working on diagonals with leather to fully control the stretching and prevent creasing. It’s actually very similar to the fabric. If you pull a diagonal of a fabric, it’s much more stretchy and flexible than if you pull in the direction of the weft.
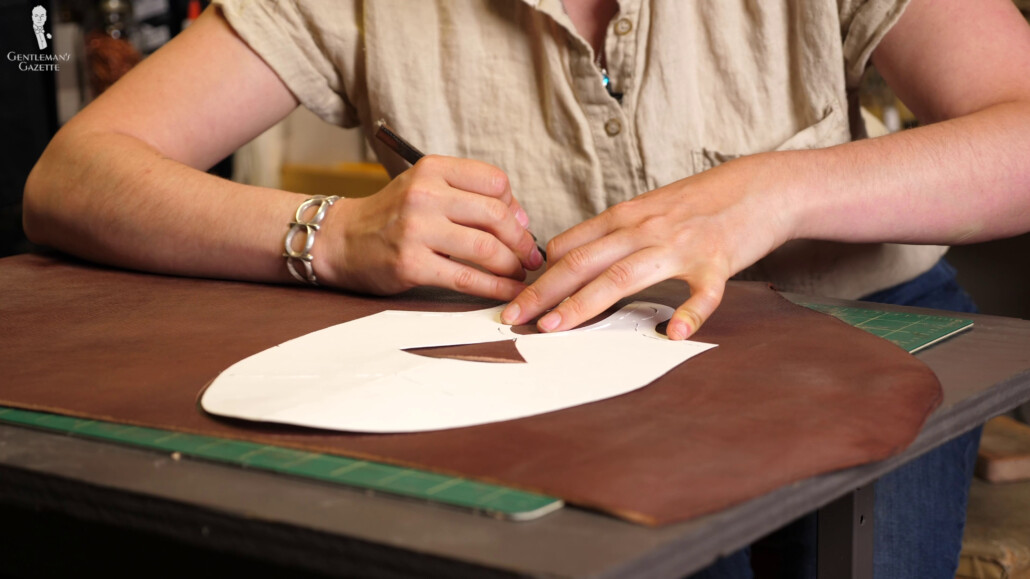
I thought it was interesting that Amara always kept the toe facing the center line, but she did that to ensure both consistency and shape retention. Think of it as a center line just like the mirroring line, like in the other parts of the shoe. Pretty cool to see that kind of consistency throughout the process. Obviously, here, very different thought processes going on in ready-to-wear versus bespoke to truly get the very best stuff in a bespoke shoe. But, it also costs a lot more.
Here in this Russian reindeer leather, you may see some white spots. But, it’s not a defect; these are just oils and waxes that have settled, and once you rub and polish a shoe, they will come out and everything will look smooth in terms of color.
All right, now it’s time to start cutting, and as a bespoke shoemaker, Amara prefers to cut everything by hand rather than using die cuts. Typically, the pattern can be traced onto the leather with a silver pen that shows you exactly where you have to cut.
In this instance, the silver pen didn’t really work because of the hatch grain, so Amara cut directly from the pattern. Of course, it’s really important that the pattern is kept in place, which, frankly, I was concerned about, but she did a fantastic job.
Remember those slits in the pattern? Amara is now scoring overlaps with her awl. It tells her where the other pieces of the uppers will be attached for a precise fit. Amara cuts some larger sections. The section inside Adelaide is particularly important. Why? Well, it features the lace holes, and if it doesn’t look symmetrical, everything looks off. Moreover, everything has to line up perfectly for it to be functional.
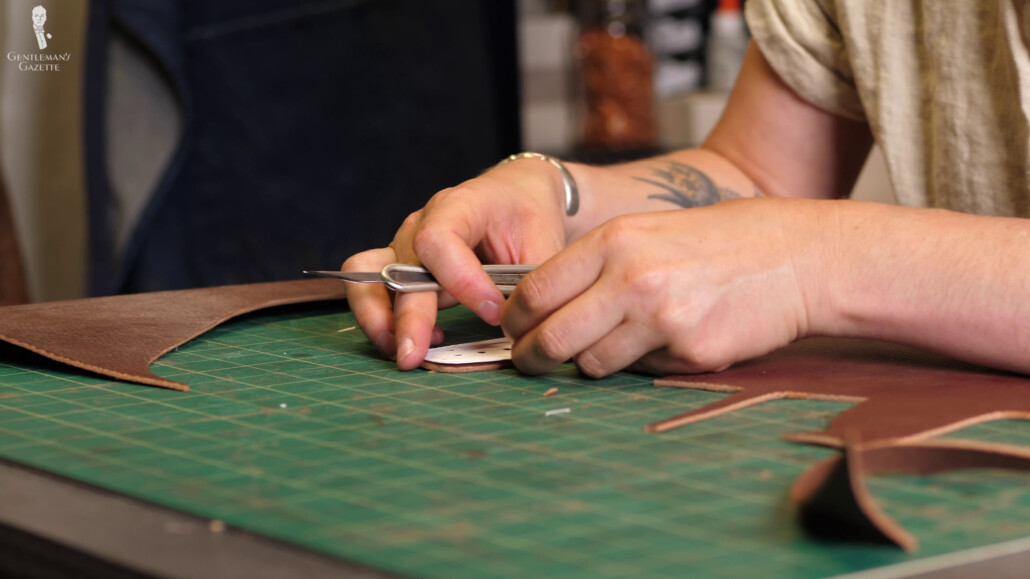
Next up are smaller sections like facings or the heel cap. Amara was particularly careful cutting around the Adelaide edges because, in the final product, that would be the only area where you could see the final cut edge.
Everything else would be folded, and it wouldn’t be as big of a deal. But, here, it was particularly important. Of course, it’s not just hitting the right lines, but also the angle you’re cutting at.
Selecting & Cutting the Lining Leathers
Finally, we’ve got all the leather pieces cut, but we’re nowhere near done. Why? Well, now it’s time for the lining, then we need the structural pieces, and then it all has to be assembled. Man, I really didn’t think of uppers as being so complex. But, now that I think about it, they actually are really time-consuming.
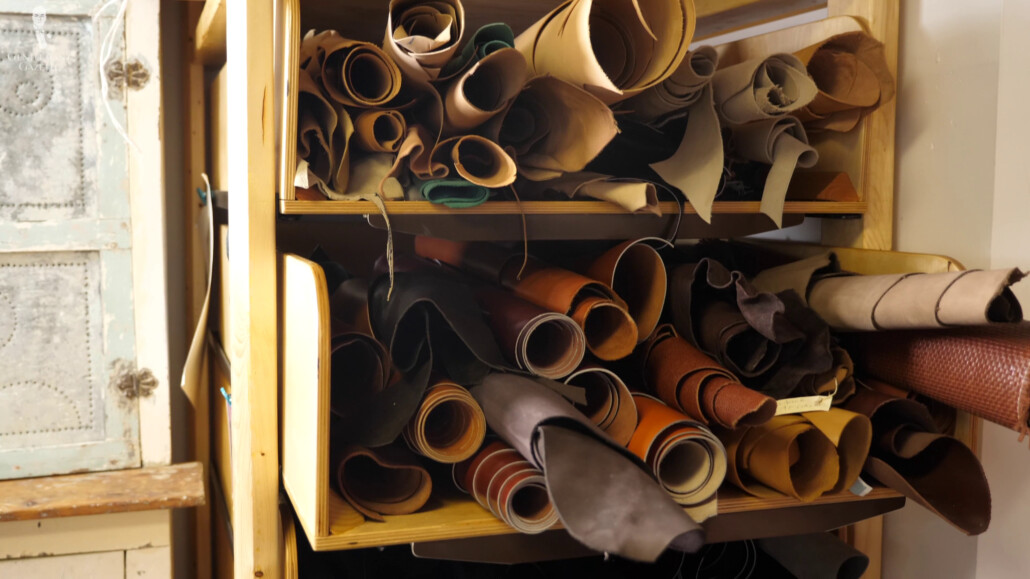
So, for the lining, I wanted something fun and bold, and Amara had different leathers that I could choose from. I think now she has a whole array of different lining leathers and all the colors you can choose, so you get exactly what you want.
It’s not just the color when it comes to the lining that’s important, but also the texture. I saw some smoother leather somewhere with an open pore and, of course, there’s also suede, which is typically only ever used in the heel area. Otherwise, it’s not advantageous, you just stick inside your shoe, and it’s not comfortable.
Of course, the tanning of the leather is also important. Amara often prefers a veg tan leather for lining for various reasons. For one, veg tan leather is typically quite absorbent, and that’s what you need lining leather for. It’s also typically the least reactive leather, so it’s good for something close to your skin, such as your foot. A neutral color will also mean there is no chance of it coming off your socks. That being said, modern lining leathers are very good in the color science, and they hardly ever come off on their socks.
The Burn Test
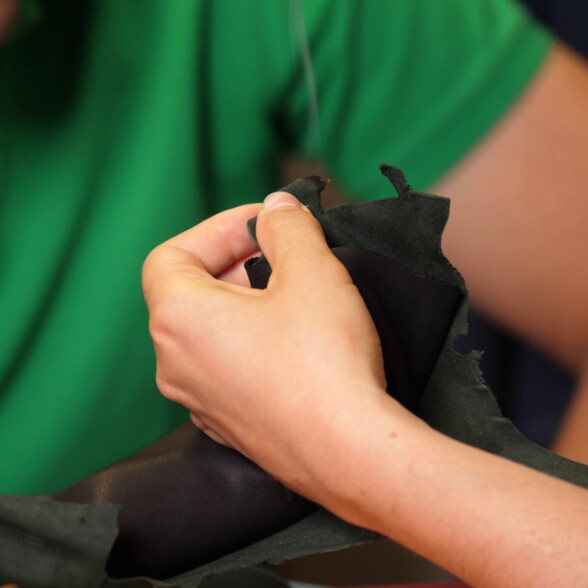
The burn test will help you distinguish between veg-tanned and chrome-tanned leather.
Not sure how exactly you can distinguish between veg-tanned leather and chrome-tanned leather? Well, the easiest and quickest way to do it is to do a burn test. A chrome-tanned leather typically emits a bluish smoke. The flame is blue or green, and the ash has a bluish tinge to it. It typically also has a strong, unpleasant odor as the chromium salts are burning up. Veg tan leather, on the other hand, will typically have a yellow flame. It will have brown smoke and white ash.
Chrome Tanned vs. Vegetable Tanned Leather, Explained
Of course, you can also use different leathers for the lining in different parts of the shoe. As I mentioned, suede is sometimes used in a heel area, but nowhere else. Amara also likes to use a thicker, more structured leather around the heel. Why? Well, movement there is not needed. On the flip side, in the front, where there is much more movement, she likes to use thinner leather, so the shoe is more comfortable. Initially, I liked the idea of a yellow lining. Eventually, I settled on a turquoise lining because it’s fun, and you don’t find it in ready-to-wear.
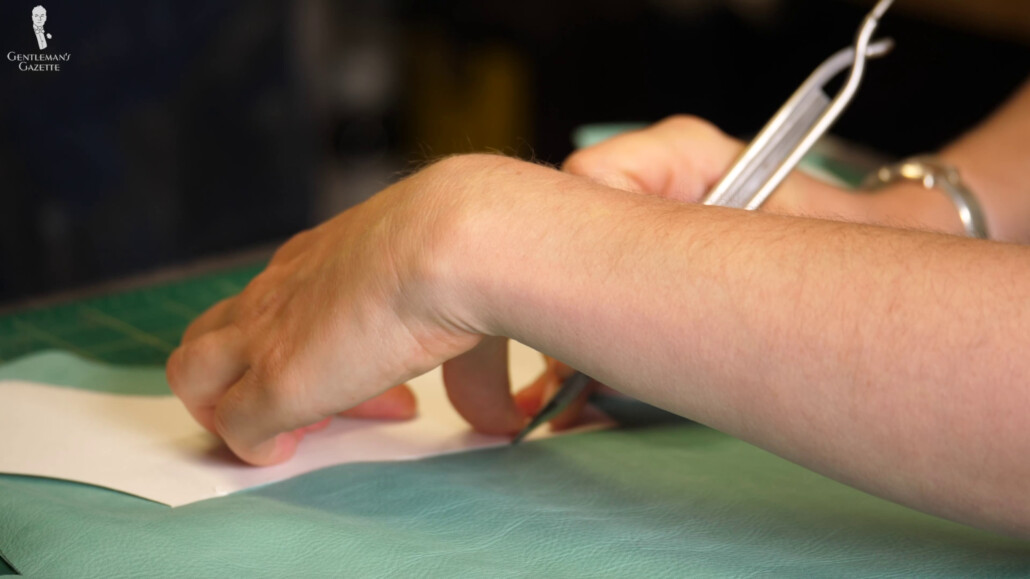
Even though the lining in the uppers are very similar, Amara creates a different pattern for them, so the seam lines don’t rub on top of each other, therefore breaking prematurely. Very smart. I would have never thought about that. Also, if you had two seams on top of each other, they would bulge up more versus if they’re offset, everything looks smoother in the final shoe.
Conclusion
I think having witnessed the entire process, I have a much higher appreciation for the level of detail and craftsmanship that goes into such a shoe. Because the lining doesn’t really show on the outside, you don’t need the ultimate precision needed for the upper leathers. There’s also more excess that is then later trimmed off.
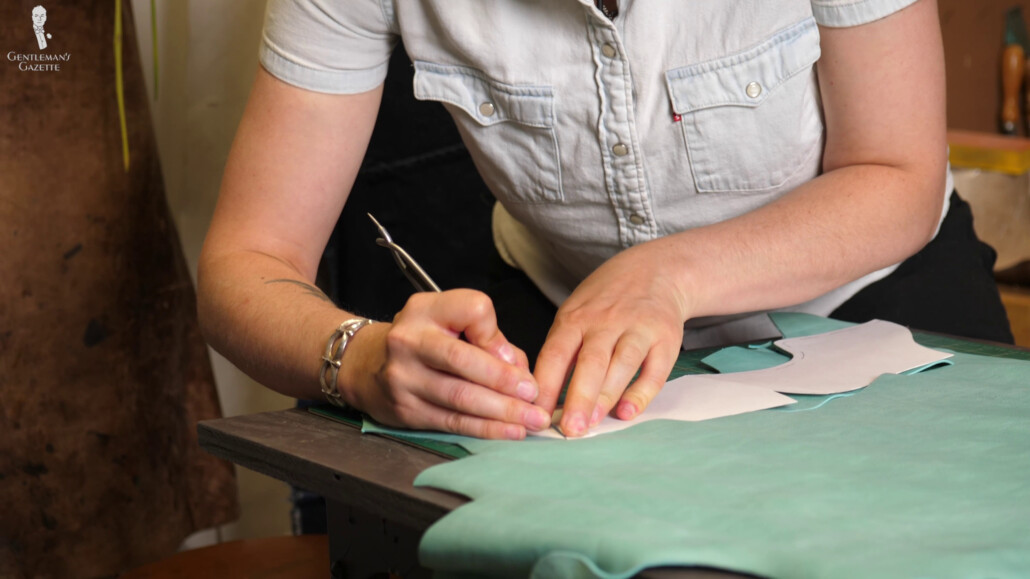
Overall, making and cutting the linings is quicker than the uppers by a long shot. So, now that the leathers are cut, they must be sewn together. So, stay tuned for episode six. And keep in mind that sewing leather is much more tricky because it’s irreversible, unlike with fabric, where if you make a mistake, you can just open a stitch again. With leather, you have to redo the entire process.
How do you like your bespoke shoe uppers to be designed? Share your ideas in the comments!
