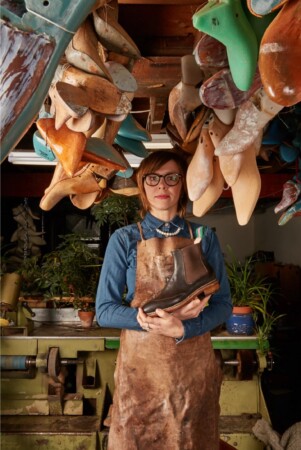
Today, in our series on bespoke shoes, where shoemaker Amara Hark Weber makes a pair of bespoke shoes from start to finish, we’ll talk all about the little gritty details that make bespoke shoes so unique. It’s about dying the sole edges, waxing the soles, hammering in the last little nails, and so forth. In a word, it’s all about finishing, and how you finish a shoe makes a unique difference.
Today’s installment in our series is the last of the shoemaking process, and then, we can see how they fit and what we do in a try-on stage. If you’re joining us middle of the story, you can find the complete playlist here.
“Everyone is really self-conscious about their finishing because there’s like a zillion ways of doing it, and, you know, I’ve tried to learn all these different ways, thinking like there’s one way that’s better. There’s not.”
AMARA HARK WEBER
Initial Smoothing and Glassing
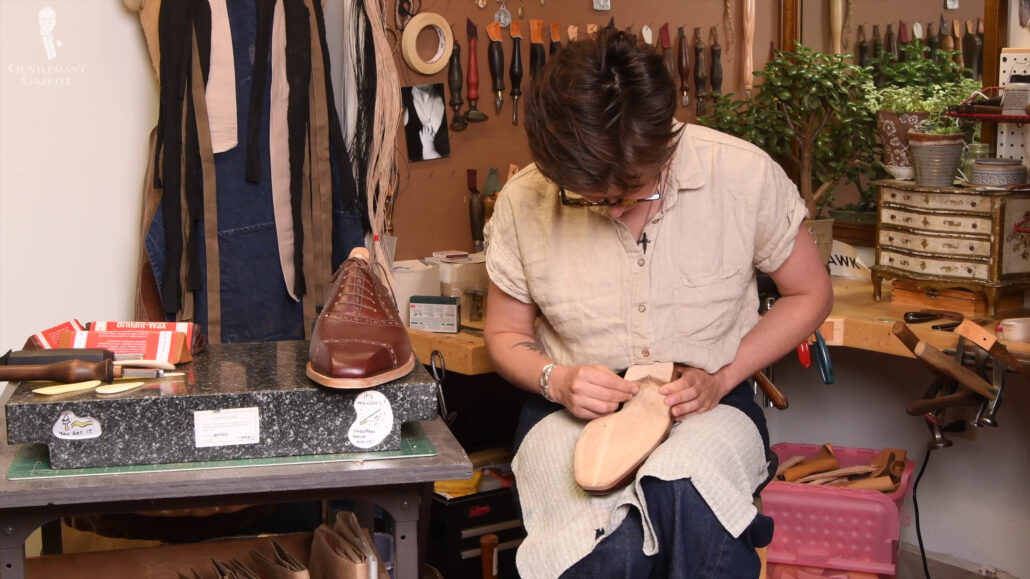
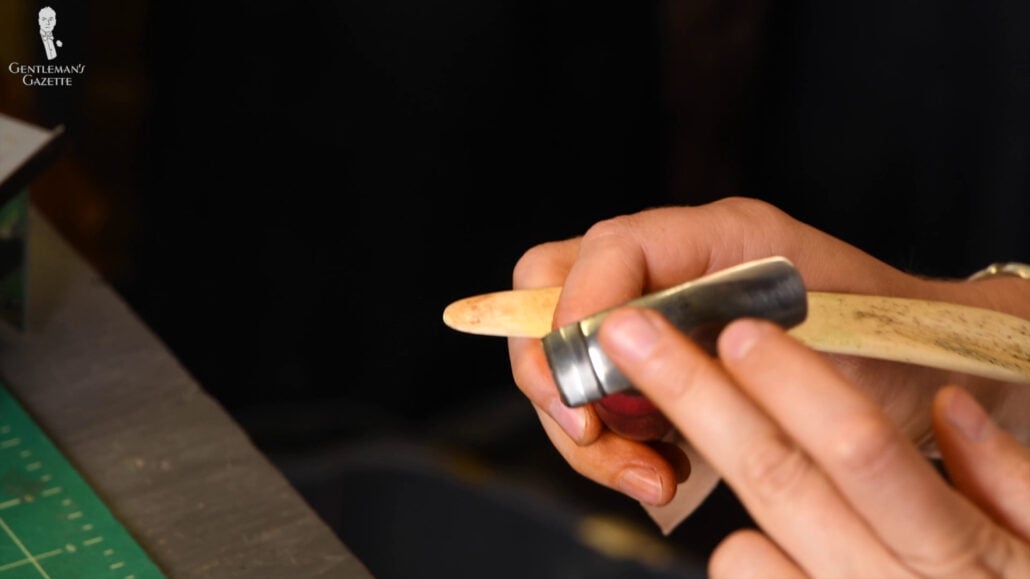
So, to kick off the finishing process, Amara smooths and glasses the shoe. Leather is glassed before applying dyes because it opens up the leather fibers, which take the die better. It also helps to scrape away a thin layer, thus making it smoother all around.
Bones, such as elk bones, are also used in the process to really create a more dense leather surface and create a certain sheen that is desirable. Of course, you can also add water and burnish, which is the process of applying heat, friction, and pressure to get a darker area.
Dyeing the Sides
Once the surface is all prepped, we’re ready to dye the leather edges. Basically, that’s the heel and the sole edges. Bespoke shoemaker Amara Hark Weber uses an alcohol-based pigment dye. There are also water-based ones and oil-based ones, and your shoemaker may choose whatever they prefer.
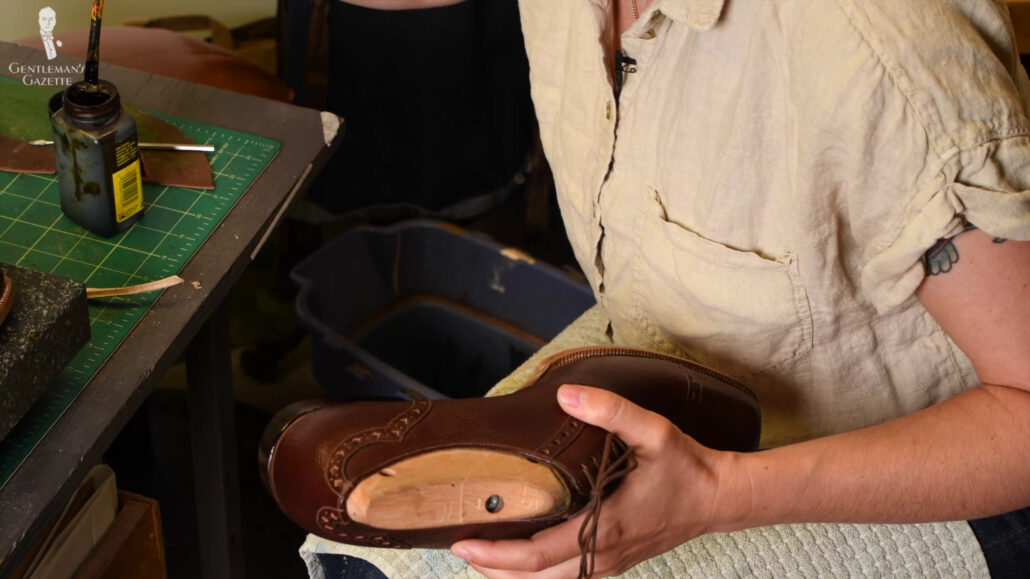
Amara prefers to use alcohol dyes because they have a strong adherence to the leather from the pigment. It also dries quickly and evenly because, as you know, alcohol evaporates much faster than water. Moreover, the color intensity is not affected by water, which is why she really loves it.
Can you mix a different type of alcohol, water, and oil-based stains? I don’t think so. As Amara said, “For me, it’s like a system. So, either it has to be alcohol-based or water-based or oil-based because, if you cross them, then you get irregular results.”
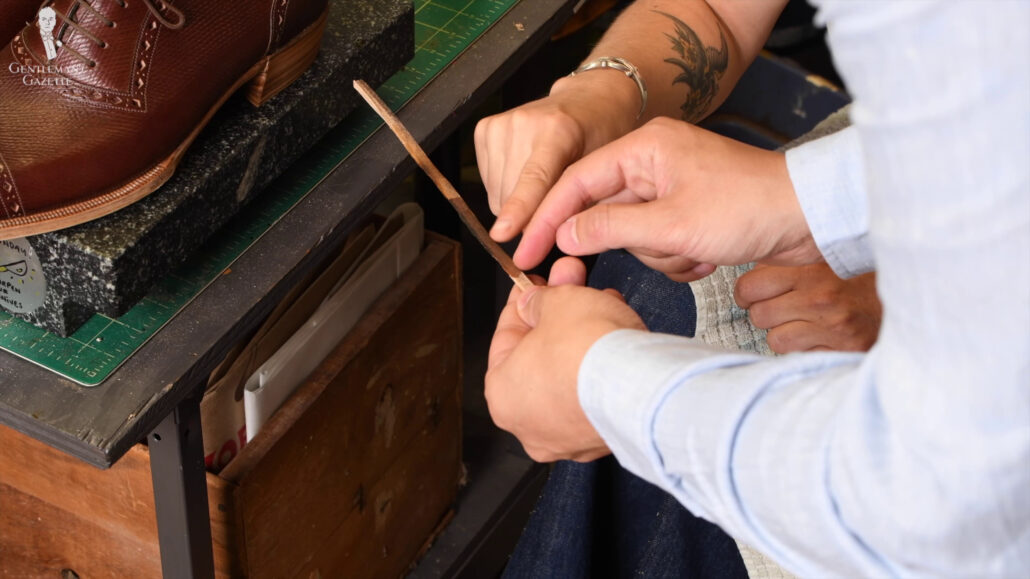
Before trying it on a live shoe, Amara uses a scrap piece of leather. There are two tones. One is a little bit darker than the other. Amara has different dyes, and she can mix them up, too, to get different shades. You can also add a bit of alcohol to change the color.
When she applies it on a scrap piece, you have to actually let it fully dry before you see the real color. Because while it’s still wet, they may seem darker than they actually are.
In this case, I could choose something that would work well with the dark burgundy, brownish upper leather. I wanted something that was a bit darker, but I didn’t want it to be too dark. So, it’s always easier to make something darker. It’s not so easy to make something lighter. So, when in doubt, always start lighter and then get gradually darker.
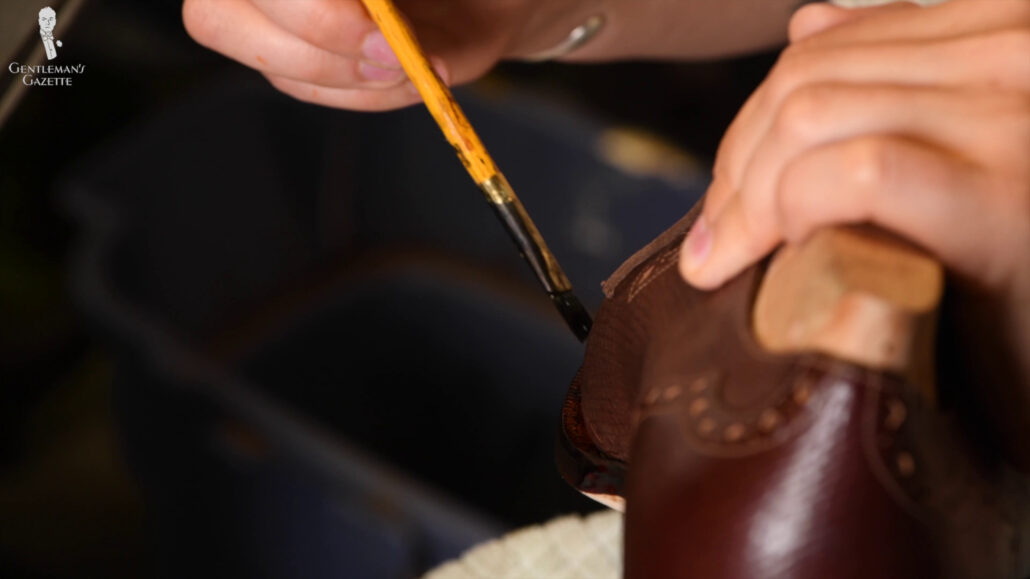
Amara uses a brush to carefully and evenly spread the dye on the heel while preventing any forms of drips. This process can also be done with a cotton ball but, at this stage, a brush is quicker as it covers more surfaces, more quickly.
Subsequently, Amara dyes the edges and then the welt. Notice how even the dye is, and you can even admire the fine welt stitching. Subsequently, they’re put in front of a fan or maybe a heat gun can be used to dry it more quickly.
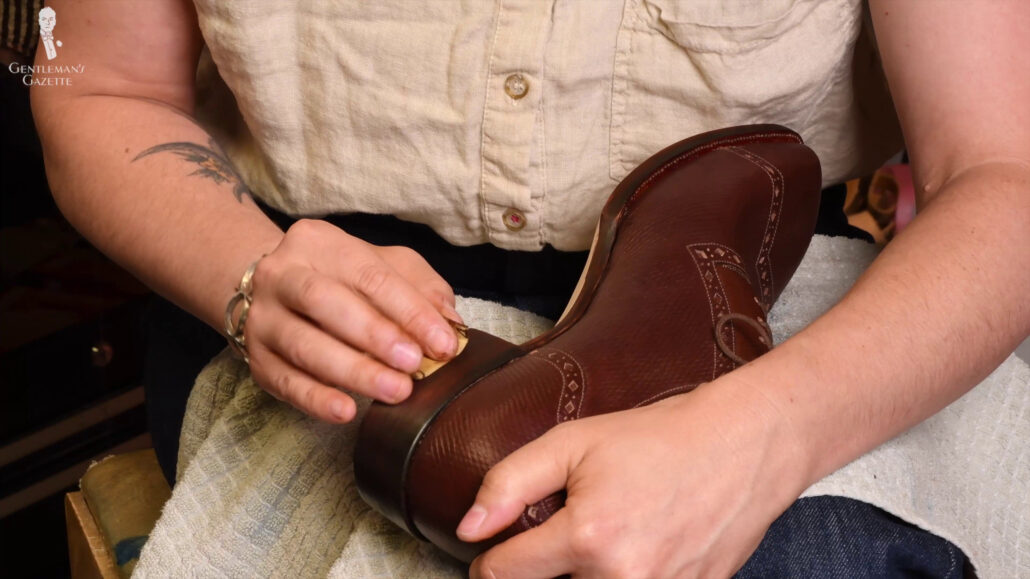
She first tests the dryness level with her finger, and then, uses a bone. Basically, she’s burnishing the leather and removing excess moisture that way. Also, everything will get smoother.
Before a layer of wax is applied. She sands everything again just to make sure everything is truly smooth.
Amara said, “If that surface isn’t perfectly smooth, then the shine is not going to be reflected in an even manner.”
Nailing
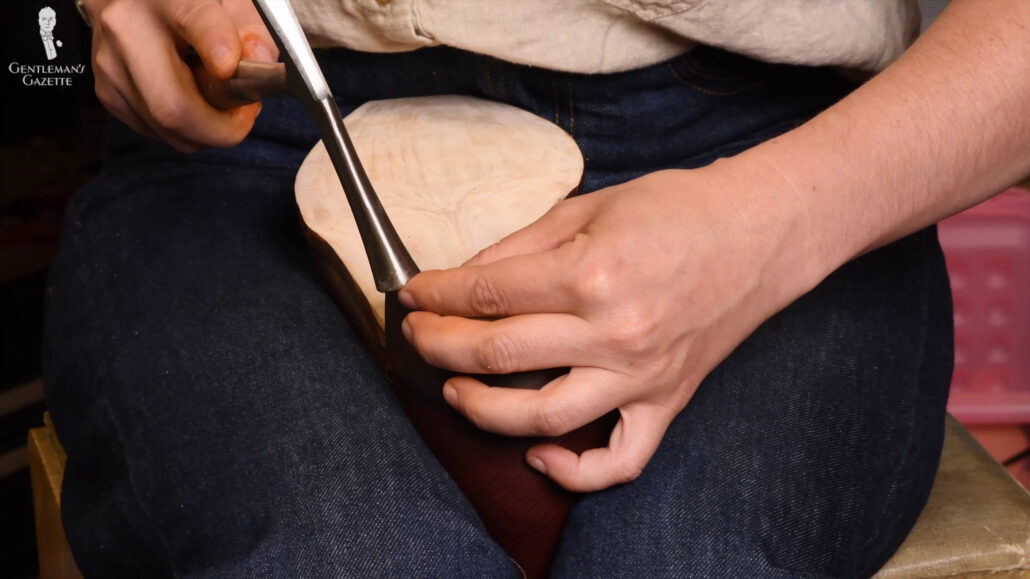
Before applying the wax to the sanded areas, Amara hammers in all her nails because, sometimes, the hammering of the nails can cause the wax layer to crack. So, by hammering the nails before you apply the wax, you don’t run that risk. The nails or tacks that are being used have both functional and aesthetic value.
Shiny brass nails with a T-shaped head definitely draw more attention. Smaller heads, on the other hand, look finer and more elegant to me. It took Amara a while to find genuine brass tacks without any heads that are very fine and elegant. They actually come from Slovenia.
“It’s so magical to open a box of these glittering, beautiful nails. I don’t know why. Just, these brass tacks are just so extremely lovely to me. Well, because they’re glittery. I mean, who doesn’t love shiny, glittery stuff.”
AMARA HARK WEBER
These tacks are also cone-shaped, and some shoemakers may prefer the traditional t-shape of a nail. You can discuss with a shoemaker what works best for you. I definitely was all for the finer cone-shaped tacks.
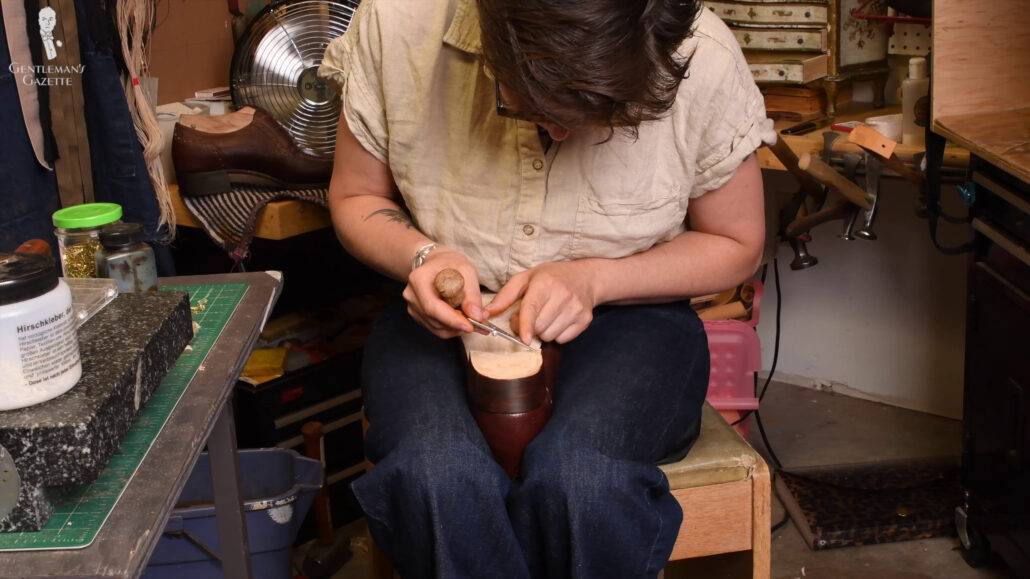
To make sure the tack ends up in the right spot, Amara uses a compass-like tool. It helps with spacing, so the nails are the same distance from each other but also from the edge. Originally, I would have been okay without any nails, but Amara was encouraging and so, we got this kind of horseshoe shape and some accenting nails in the corners and around the tip.
Of course, I would have also asked her to become creative and maybe put it in there or whatnot. But, considering I’m going to add a rubber piece to it, I’m glad we didn’t go to all that extra work.
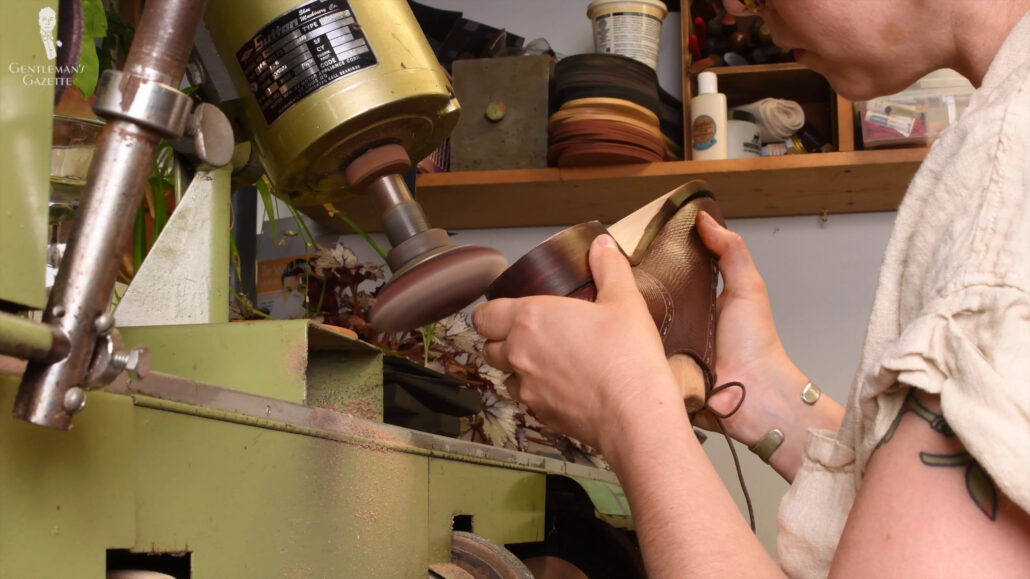
Amara marks where the hole is going to go, uses an awl, and then hammers in the tacks. Amara is particular about where she puts nails because she definitely doesn’t want them to work their way through the sole. Frankly, I don’t want nails in my feet either.
So, to ensure overall smoothness, Amara grinds everything down by machine before a layer of dye is applied. With each layer of dye, the dye penetrates less, which is a good sign because it means we’re inundating the leather with the dye. This also means that the leather basically becomes sealed up.
Waxing
Once one shoe is done, she can move under the other while the first one is drying. Now that leather is dyed and the decorative nails are hammered in, it’s time to apply wax.
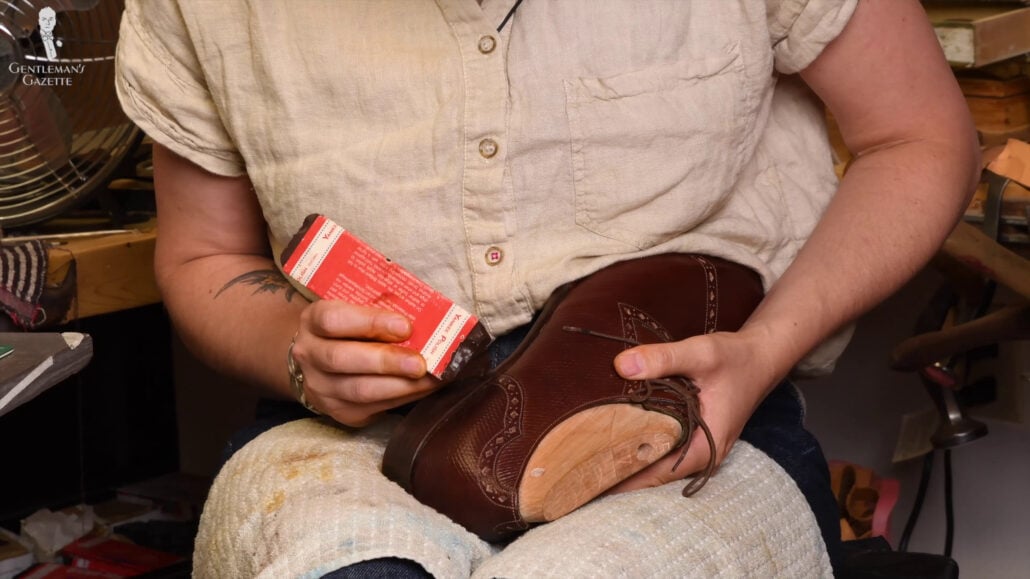
Now, not all waxes are alike, and you want the right wax for the shoe to ensure the right color, shine, and reflection comes through. For example, a clear wax shows the unobstructed original dye color, but it’s typically prone to cracklings. Therefore, Amara typically chooses a wax that is similar to the original dye color, so the two harmonize well together.
For this shoe, two types of waxes were used for finishing and sealing the edges. The first one is called “Yankee wax.” It has more pigments and is used to establish the base color. And with a name like that, it is, of course, from Germany!
The next one is called “Columbus wax.” It has fewer pigments and is shinier.
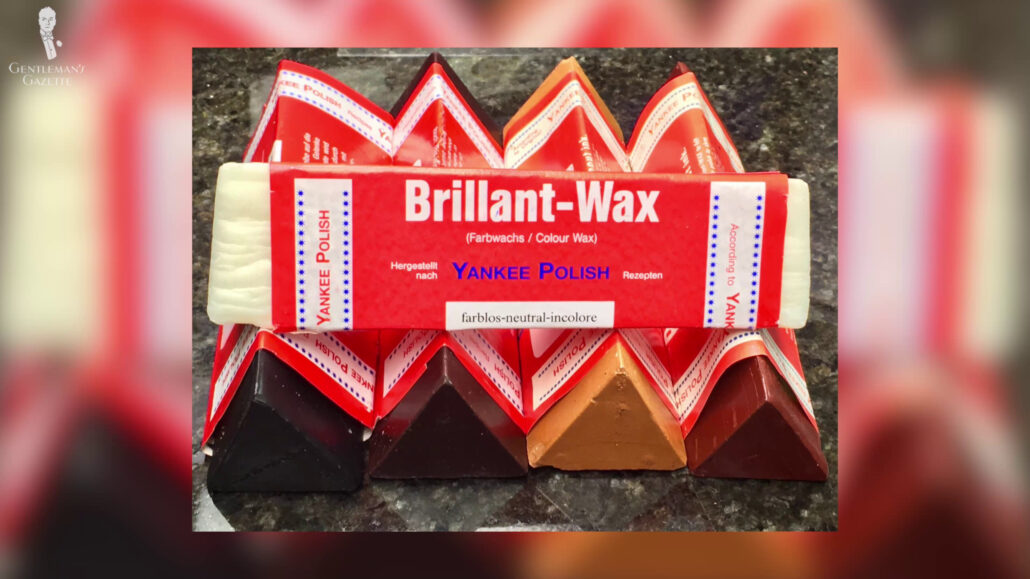
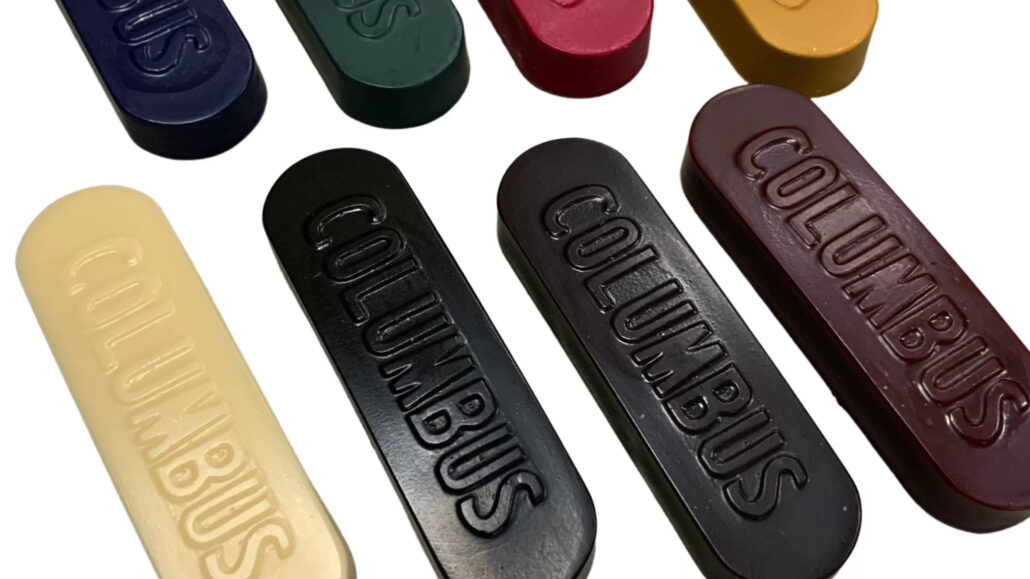
Slovenian tacks, German and Japanese waxes, English and Italian leather, all made in the US – you can see globalization is alive and well even in bespoke shoemaking.
Before Amara applies wax in the welt area, she uses a special tool, which is chisel-like and helps to accentuate the stitches on the welt. This is really just done for visual appeal. Again, one final light sanding, a bit of burnishing, and now, we’re ready to wax.
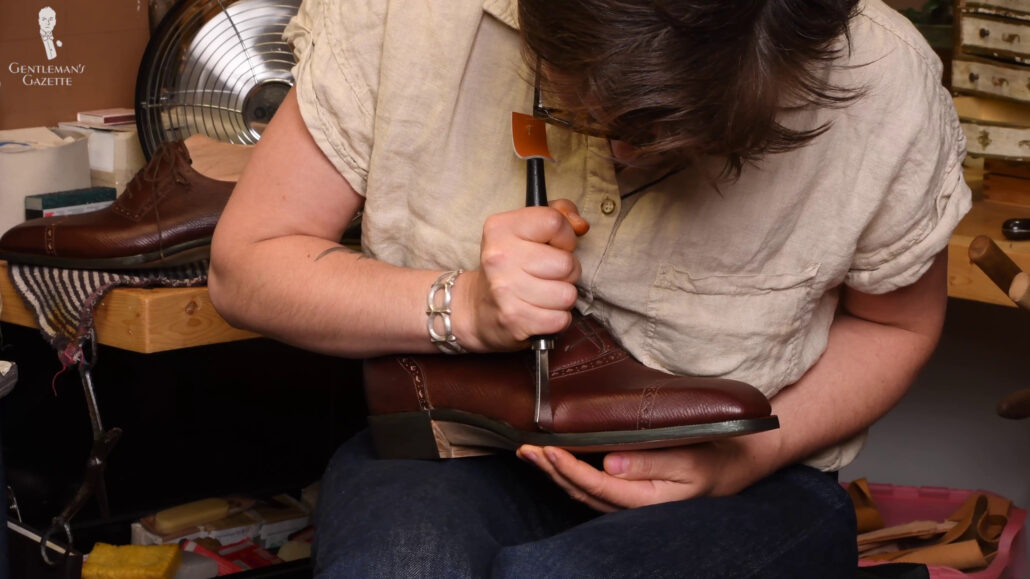
Amara warms the wax with an alcohol lamp. But she says, “Honestly, you can use a heat gun. It’s less beautiful and dramatic, but it’s just as functional.”
Amara applies the wax with a hammer-shaped iron. There are other ways to apply it, including using a machine, but Amara prefers this way.
The hammer tool has to be heated up to the exact right temperature. If it’s too hot in temperature, the wax will just burn off. If it’s too cold, the wax will be useless. Of course, she tests the right temperature with her finger.
Here, you can see her apply more pigmented Yankee wax to the heel in rubbing motions. Some shoemakers press the iron directly into the wax to heat and apply it that way. That method doesn’t work for Amara though. Instead, she follows the Goldilocks Principle, which means not too much, not too little; just the right amount.
The iron is then wrapped over the wax to be applied to the heel. Everything is evenly heated and distributed that way. This helps to, on the one hand, shape the soles, but also to keep the wax layers in place.
The wax is burnished into the heel with a cloth. This ensures smoothness and a good shine. The Yankee wax layer is applied a second time, then ironed and burnished. And the third time’s the charm; applied in the same way again.
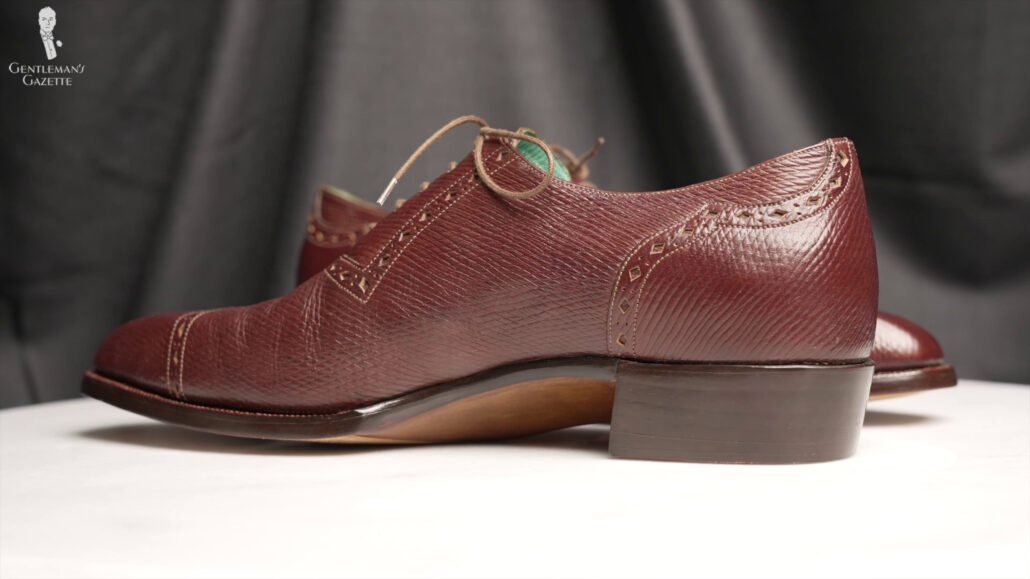
Having three layers of wax not only ensures that the leather is protected but it also gives this visual depth when you look at the shoe. If there are any minor blemishes, Amara tries to touch them up.
Here, she just uses some dye with a fine brush. Having finished with the Yankee wax on the heel, Amara then applies the Yankee wax to the rest of the sole in pretty much the same process; except that she uses different tools for different portions.
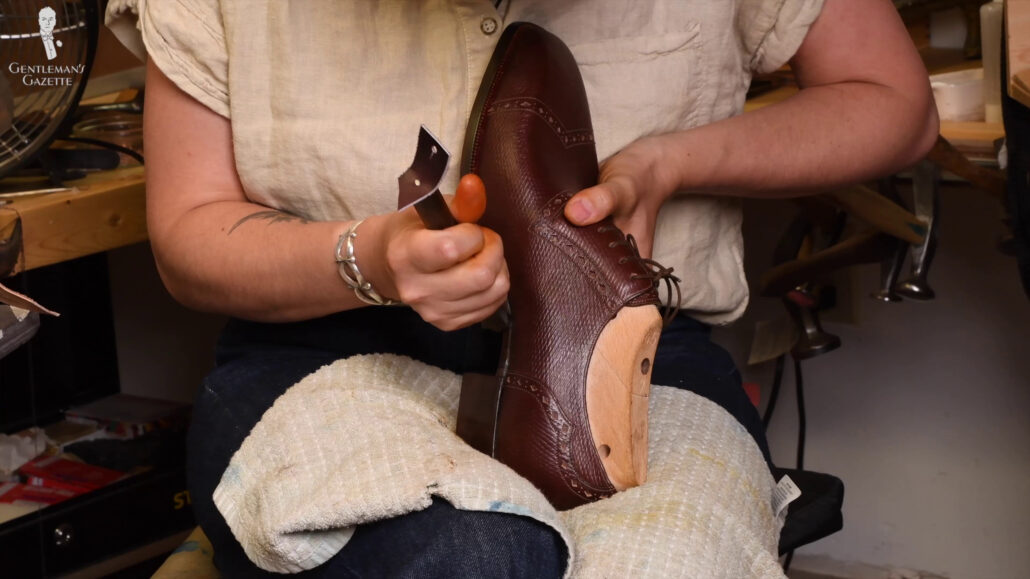
The iron shapes were slightly different. Ideally, the shape of the tool conforms with the edge that she is waxing. For example, here, you can see the edger iron in action.
Amara has a treasure trove of different tools; some she got as a gift, others she bought, and sometimes, she didn’t even know what exactly they were for when she got them.
“We have several boxes of tools, and, at the time, I didn’t know what they were for. And so every little while, I go through and find new treasures, and this was a treasure that I just found.”
amara hark weber
So, after applying multiple layers of Yankee wax, it’s time for the Columbus wax. Unlike the Yankee wax, Columbus wax doesn’t have to be heated. It’s just there to provide shine.
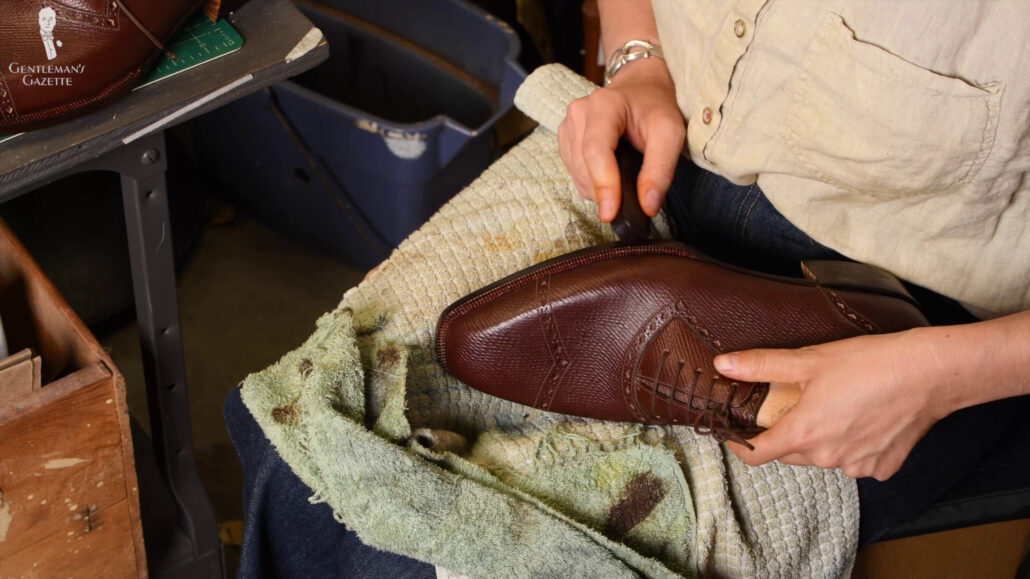
Amara applies it directly to the edges in just a single layer because, if you use too much of it, she says it can crack. Amara polishes it with a cloth and, interestingly, she uses only natural fibers.
Finally, the heels and edges are all finished – they’re dyed, they’re Yankee-waxed, Columbus-waxed. Shiny in all their glory. I think Amara is happy, too.
Finishing the Soles
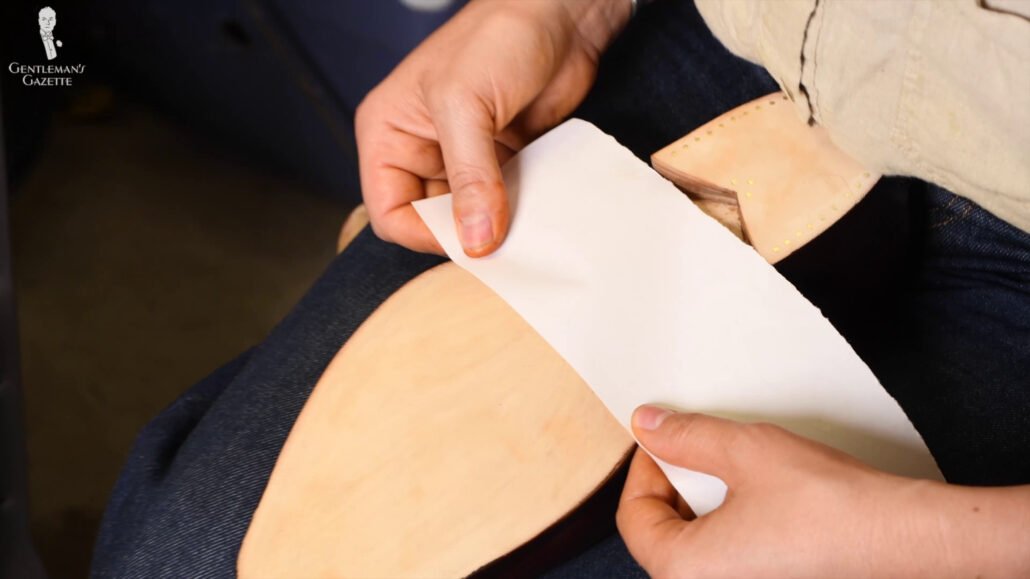
With the heels and edges finished, it’s now sole time. For this shoe, it meant a nice fiddleback waist.
Amara first creates a template that separates the sole area from the waist area. I think it helped that I had sent her some images of sole finishes that I liked. She looked at the pictures and then, applied lines onto the shoes.
You can see how she’s tracing everything and how she compares the template to what she traced. Here, you can see her tracing directly onto the sole in comparison to the templates with the actual sole.
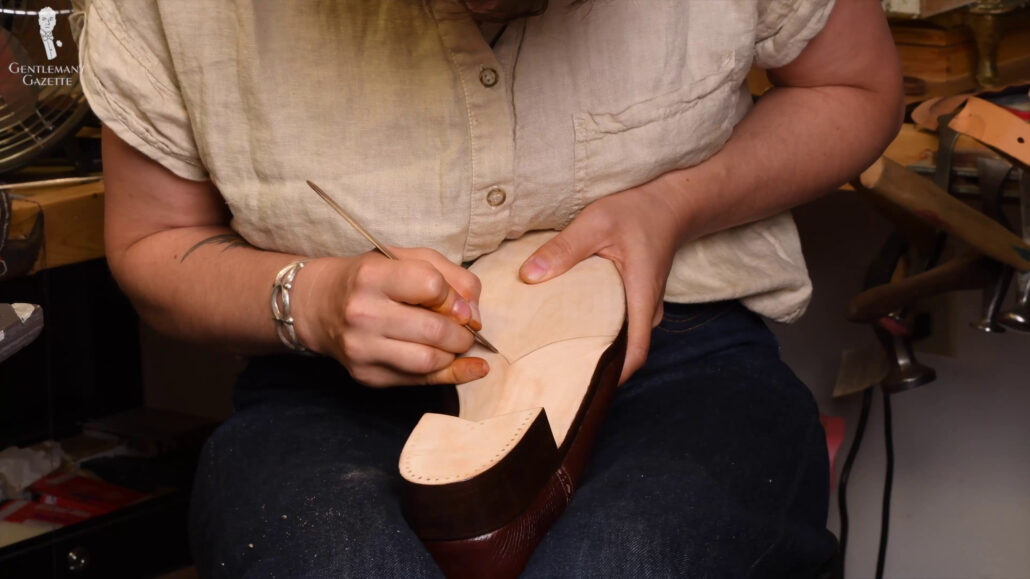
The template helps her to give her the lines where she has to apply the dye. Of course, first the sole waist has to be glassed to make everything smooth and receptive for the dye. She also creates distinct dividing lines that are scored into the leather, so there’s a clear dividing line. It’s clear where the waist ends and the sole starts.
After selecting the proper width and slant of the paintbrush, it’s time to apply the dye. As she’s working, Amara realizes that she forgot a small step.
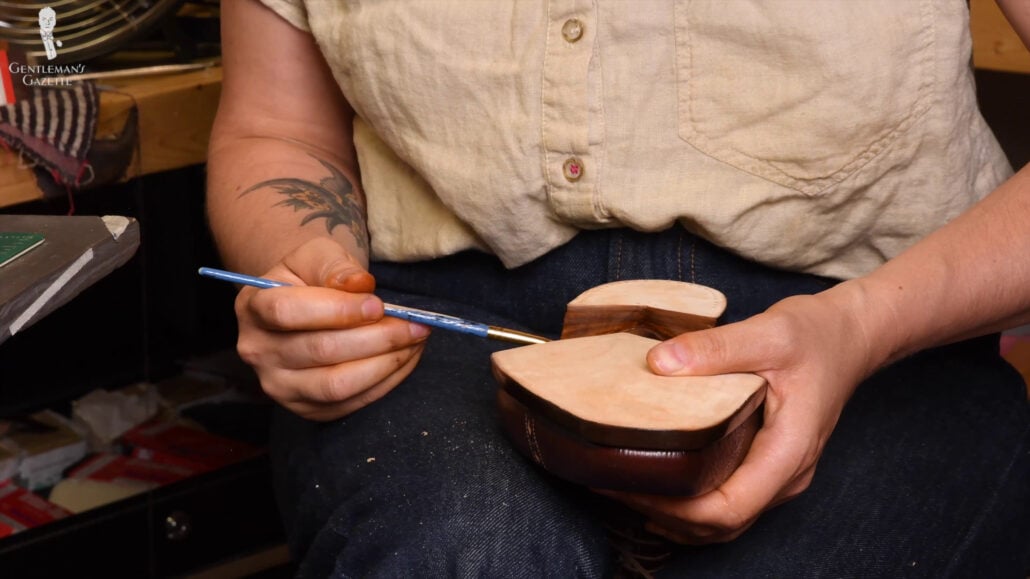
She says, “So, I burnished this leather on the inside of the heel. I forgot to break it open. On the bottom part, the fibers are all loose and fuzzy. It’s more absorbent.”
Here, Amara is able to compensate for this misstep but, in general, it’s better to break the leather before dyeing it, so fibers can take up the dye more easily. I’m glad that Amara is the kind of shoemaker who’s very upfront and open about the mistakes, but then also has solutions in her repertoire to fix them.
Once someone is happy with the dye consistency, she cleans up any areas where there may have been some bleeding of the dye.
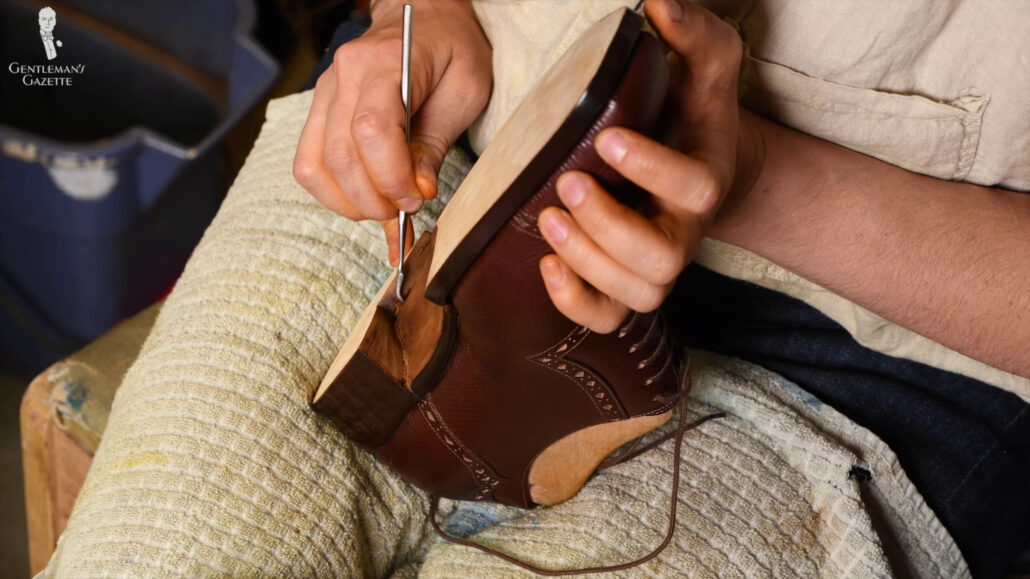
Ultimately, what she wants is a sharp, clean line. First, everything is sanded, then glassed, and she uses a scraper to clean everything out around the heel area. The crowning machine is used to finish the edges.
Amara uses a dye pen dipped into the dye color to create about a millimeter-wide line around the edges of the soles and heels. Yes, one millimeter is really small. It’s about 1/25th of an inch wide, but that small line really helps define the lines, and it makes a difference in the overall look.
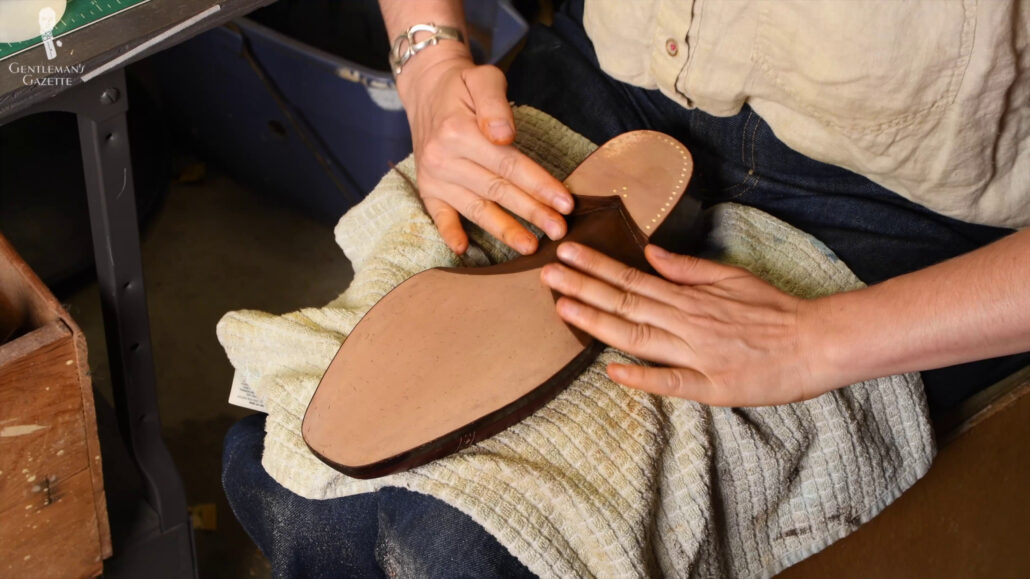
Last but not least, water is sprayed onto the bottom of the sole, which is then massaged by hand like Japanese Wagyu cows. This ensures a smooth and even texture of the leather. Again, I’ll be walking on them, so I’m not too concerned about that part.
I mean, who doesn’t love a good massage? Before Amara works on the next shoe, she lets the first one dry, then she spot checks again; maybe a little dye pen, and makes everything evened out the way she wants it to.
If you take a look at the color and of depth and the finish of the fiddleback waist, I asked Amara to emulate that of a violin because a fiddle is a violin, and so I thought it was an ironic twist to have it colored in that same way.
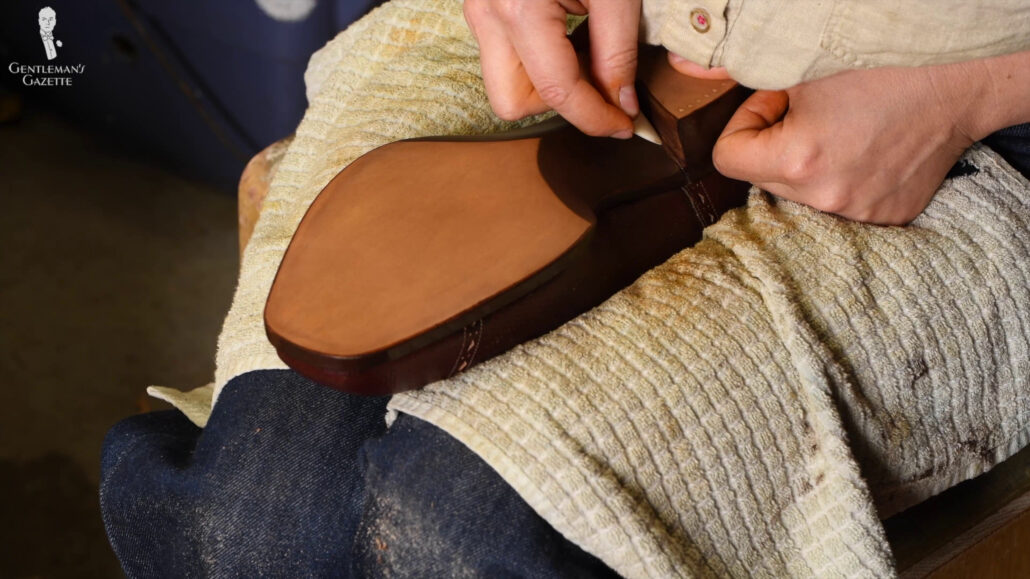
Obviously, as a very creative person, she tried different things and I think she really succeeded in the finishing of the waist. You could also see that she uses the elk bone once again to evenly distribute the dye in the leather and to smoothen everything out.
On the waist, you can also apply wax, but Amara waits with that until the shoe is completely dry. Why? Well, otherwise, water can be trapped inside the leather, and it’s never advantageous in organic material because it may mold or bacteria may grow or whatnot.
Conclusion
With that, we are finished with finishing. Now, the last has to come out, the shoes have to be tried on, and the shoe trees have to be made. With that being said, stay tuned for the next installment.


