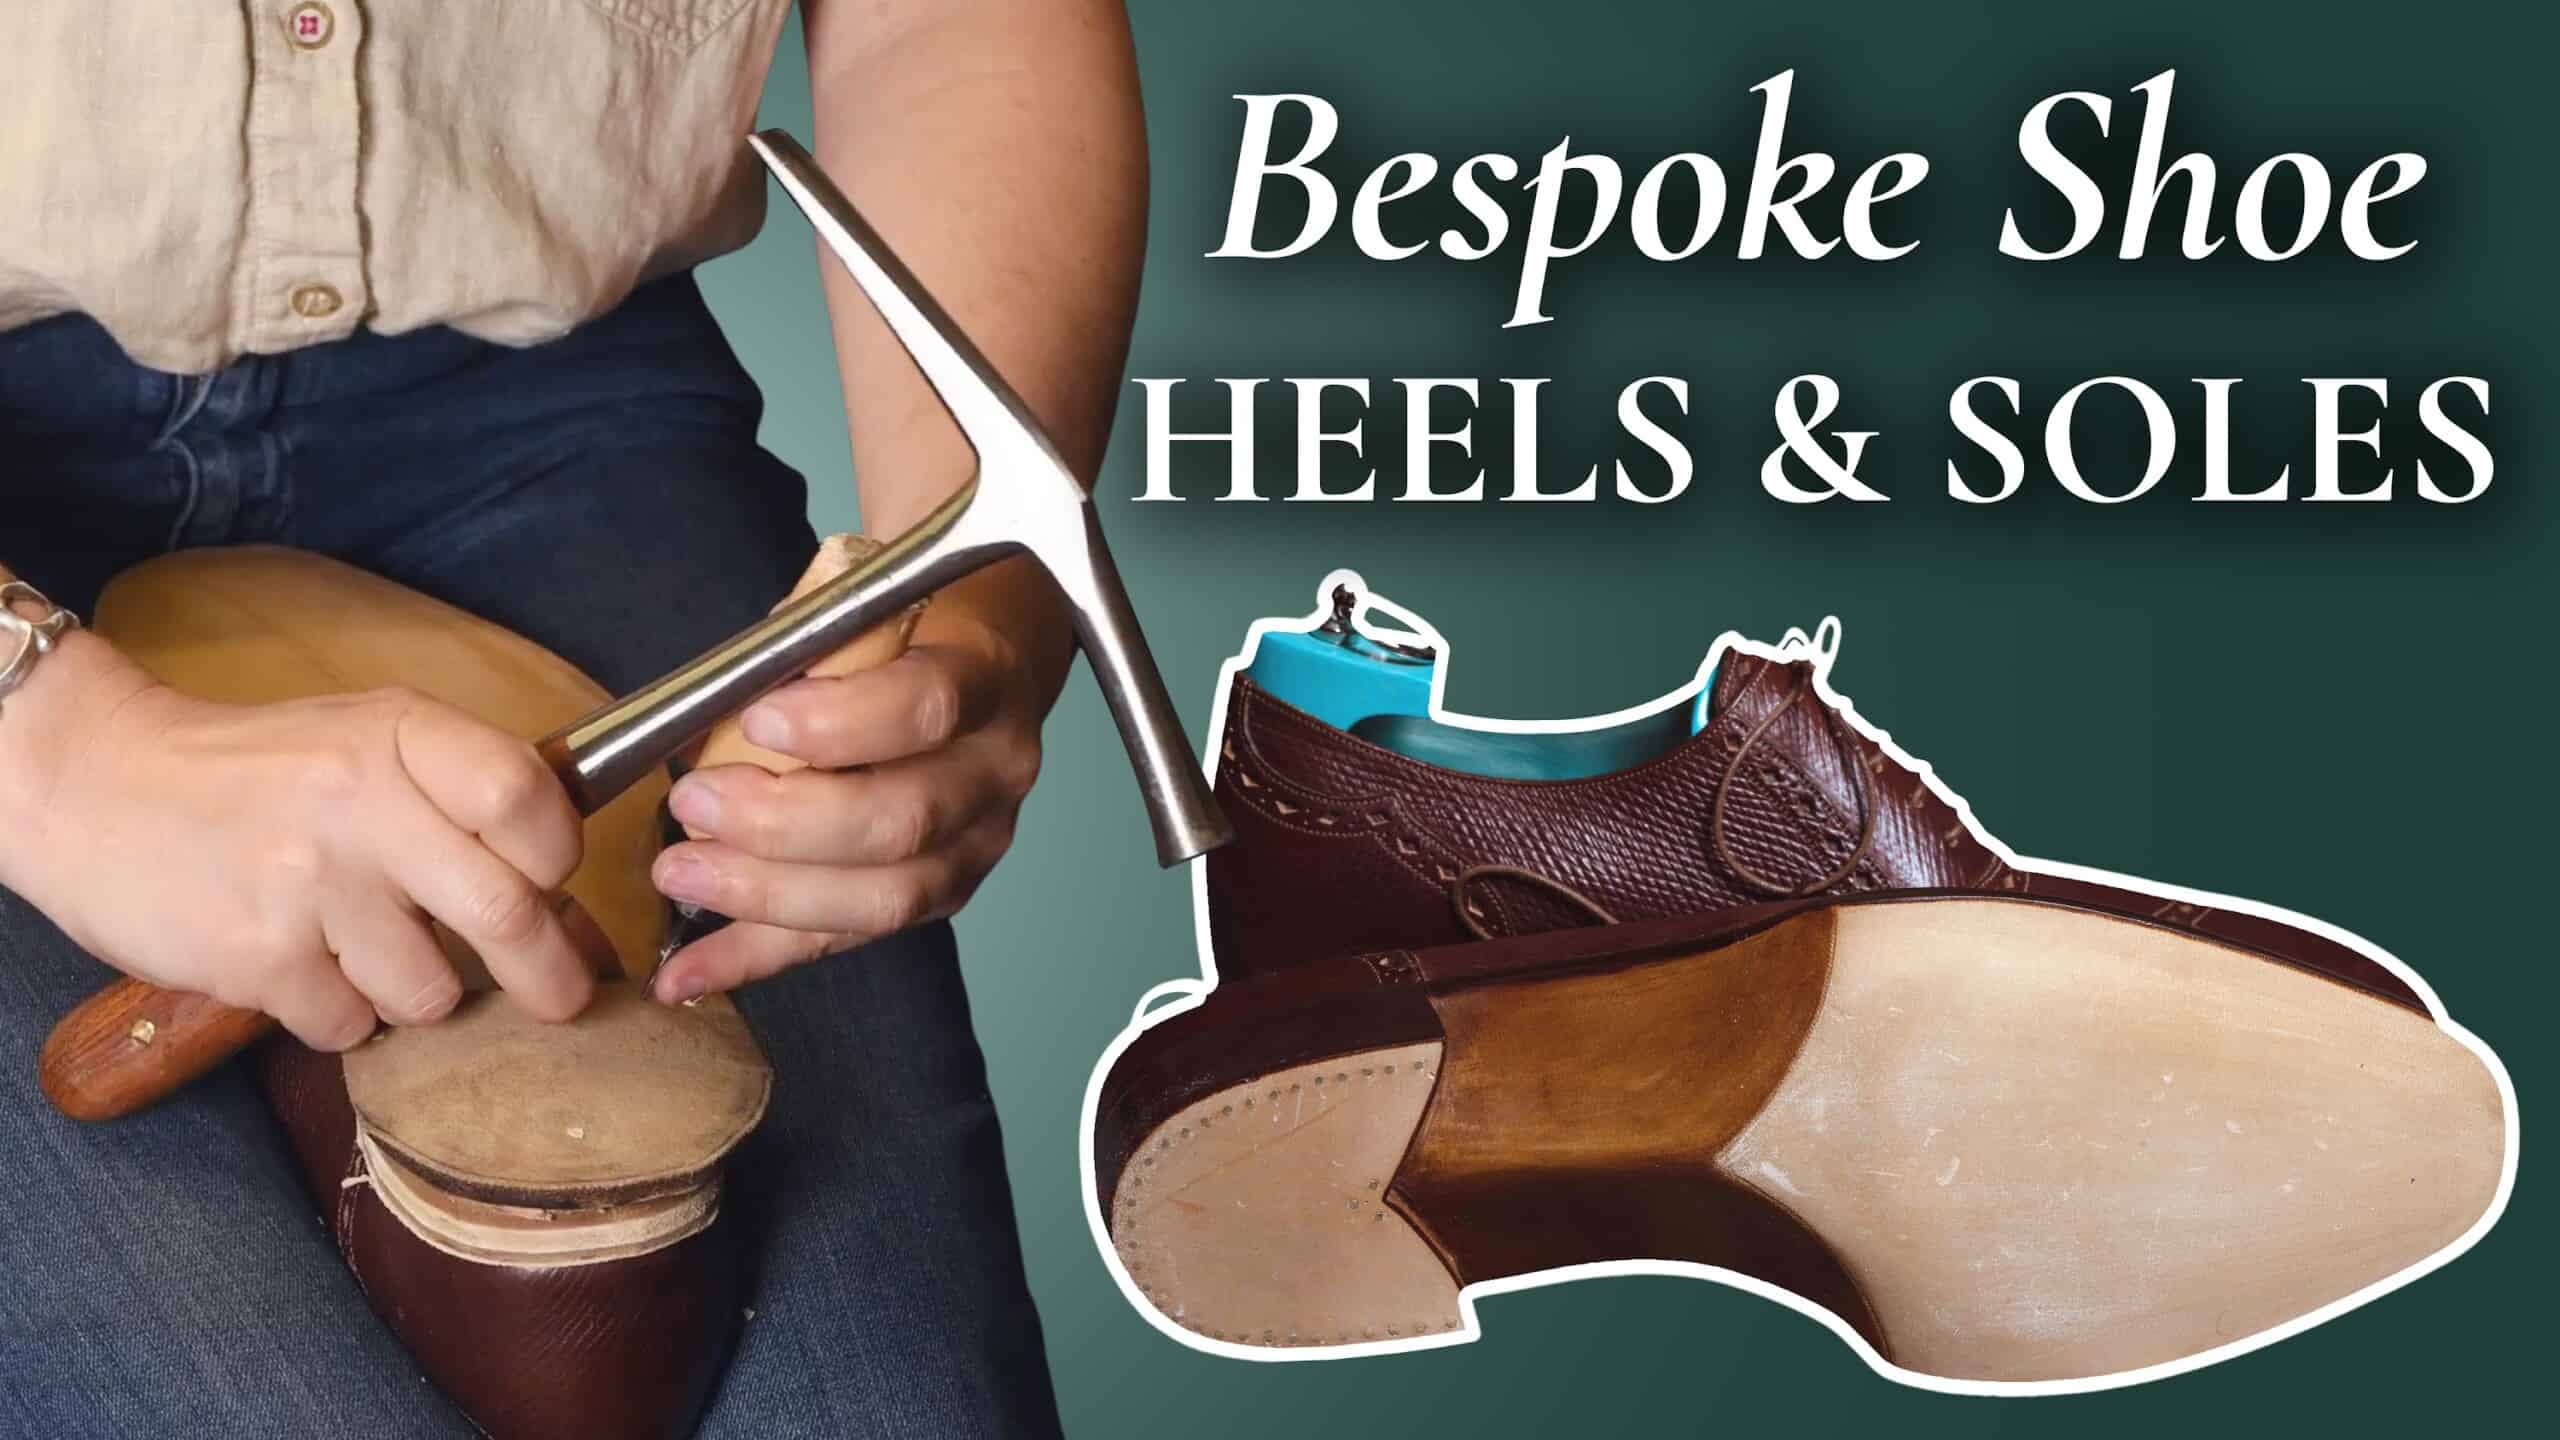
In today’s installment of our series on bespoke shoes, we talk all about building heels and shaping the soles, which doesn’t sound sexy at all; but actually, heel building is one of the most fascinating parts of bespoke shoemaking, as we don’t just use a heel block, but it’s actually built layer-by-layer!
If you’re just joining mid-series, you can find the rest of the videos here.
How To Build-up Heels
In the last installment, you could see how the outsole was added, cut to shape, and wooden packs were added in a heel area. When you go to your cobbler or even at shoe factories, typically, the heel comes pre-made as a block. Sometimes it’s made of all leather, leather fiber, or some kind of leather product.
In bespoke shoes, the heel is typically not just stacked layer-by-layer out of high-quality leather, but it’s also shaped in a much more elegant way. Also, for example, it’s tapered a little bit; sometimes, that’s also called a “Cuban heel,” depending on how far in you go. A more extreme version you can see, for example, in cowboy boots.
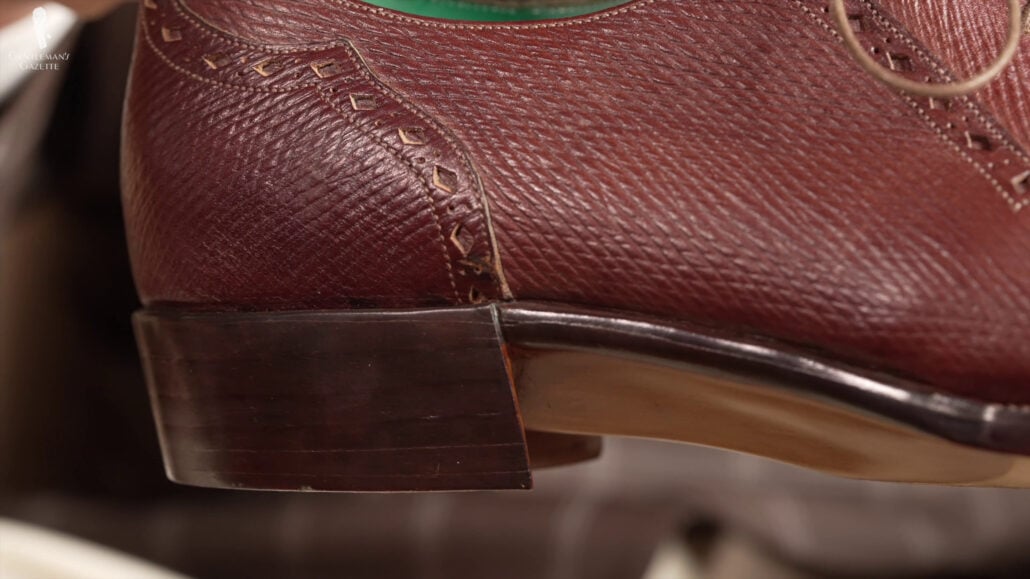
Most people will never notice the heel, while bespoke shoe aficionados really can recognize and see a lot in the heel. Why is that?
According to Amara, “It makes a big difference, but usually, you can’t quite figure out what it is about the shoe. But, frequently, it’s the shape of the heel that really just makes it look great.”
I’ve also had slippers that used a wooden heel, but leather is better because it dampens it, the sound is nicer when you walk, and it’s just a traditional material of choice for heel building.
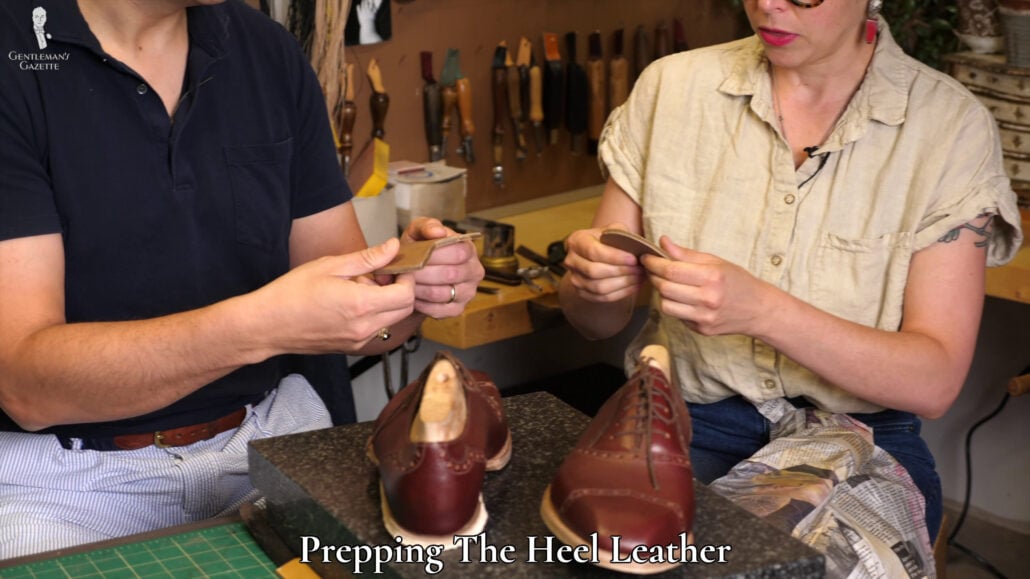
St. Paul shoemaker Amara Hark Weber especially treats her leather before she starts building the heel. First, they’re pre-cut into a rough shape. The quality of the leather is pretty much outsole leather, and you can also see it reflected in the thickness. Once the heels are pre-cut into a rough shape, they are sanded to break down the surface, which increases the glue adhesion capability.
In order for the leather to be malleable, Amara wrapped them in damp newspaper for about 48 hours. That way, the leather is not completely soaking wet, which wouldn’t be ideal, but it’s also not dry and a lot more flexible than the dry state. So, obviously, it increases the pliability and flexibility, but it also helps leather to remember the shape of the final heel better.
“It’s amazing how this, you know, all of these leathers that are fairly stiff really become malleable when they’re wet.”
AMARA HARK WEBER
This process can be done by machine or by hand, and Amara Hark Weber fitted it by hand. Probably 99.99% of all men’s dress shoes have the typical crescent-moon-shaped heel. Now, this was a bespoke shoe, and so I talked to Amara and was like, “Would it be cool if we copied the design of the faux toe cap with that point also to the heel to create somewhat of a consistent detail that is unusual?”
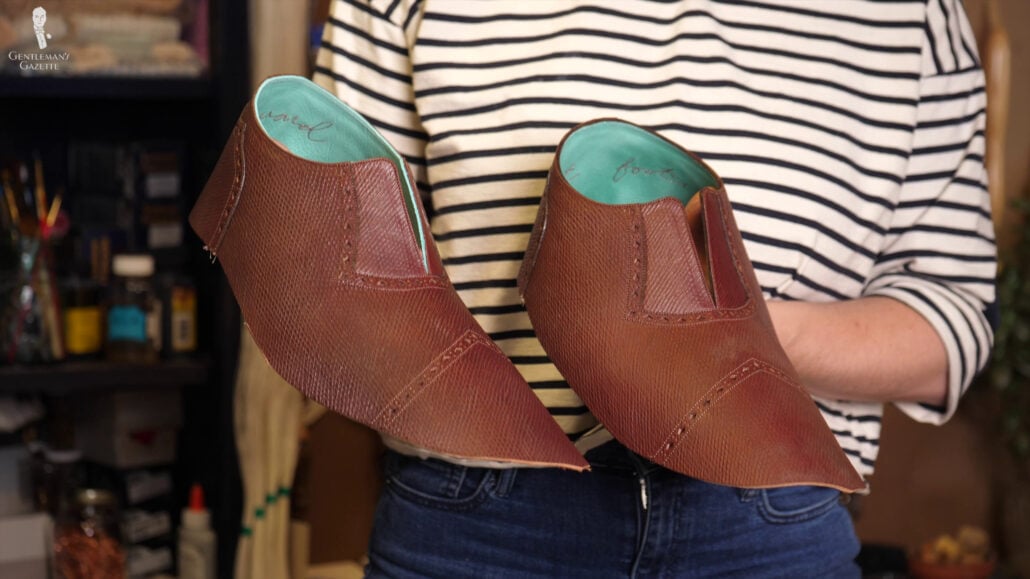
At first glance, it may not look like they’re the identical shapes because, on the toe cap, the leather and the last is just a little different; but, in fact, these were the exact same patterns.
When handling the heel leather, I was surprised how malleable and pliable it had become, even though it wasn’t fully immersed in water. But, it was even more surprising to see how hard it dried later on. If you haven’t noticed yet, a bespoke shoe project comes with lots of decisions.
Rubber Cap vs. Decorative Nails
So, for the heel, you have to decide if you want a rubber cap, no rubber cap; if you want decorative nails or maybe a little metal plate or maybe a triangle that keeps the heel from wearing quickly.
Rubber Caps
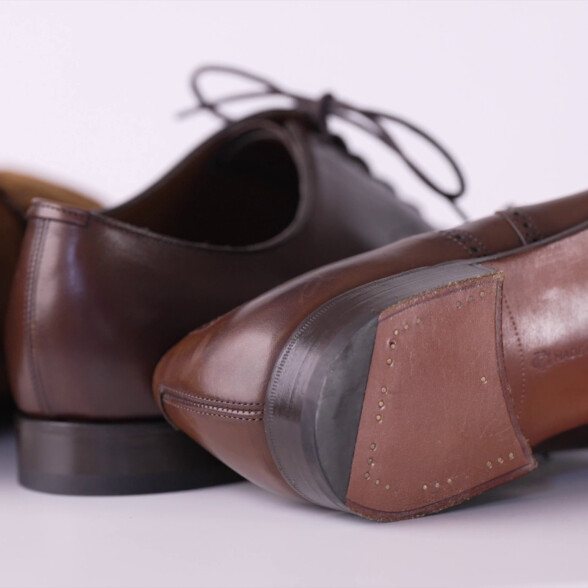
Most men’s dress shoe has a diagonal rubber cap that maybe cushions the spine a little bit and also prevents the heel from wearing prematurely.
Most men’s dress shoes out there have the black rubber cap – something that’s diagonal. It helps to maybe cushion your spine a little bit when you walk, and it also prevents the heel from wearing prematurely.
For bespoke shoes, they come in different colors. It’s actually something like brown, so it’s not so obvious that there’s a non-leather element in your heel. Frankly, in most cases, it makes sense to have that rubber cap because your heel will last longer and you’ll have to repair it less often.
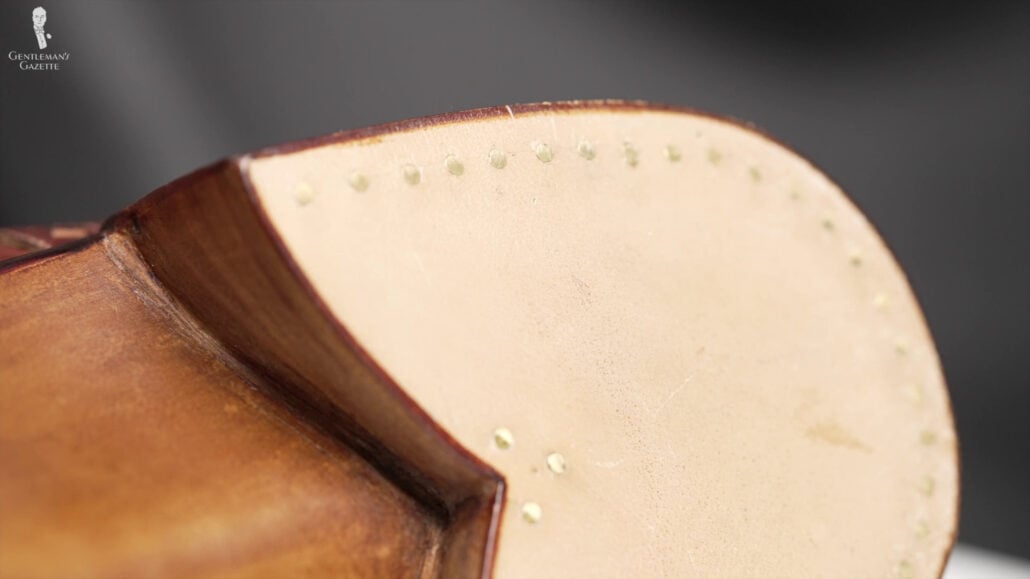
Of course, I and my infinite wisdom wanted to do something special and opted against one for this pair of shoes because I thought, “I already have so many other shoes. I don’t wear them a lot, and it’s not that big of a deal.” It turns out, I was wrong, and I bring those shoes back to Amara to add a rubber piece back on. It’s a little bit of work, but I’ll also have her work on another pair of shoes. Honestly, it will be an interesting project and different than this one. So, stay tuned.
Positioning the Heel and Attaching the Heel
Before building the heel, it has to be positioned in the right way. Some makers position to heal outwardly and then shave it down. Amara prefers to do it in a different way. The location of the heel is also known as the “heel breast,” and Amara likes that there is a smooth transition from the heel cap into that heel breast. Because of that, she uses a pencil to mark the start and the end of the heel breast. Then, she plays the first layer of heel leather called “rand” and traces its outline.
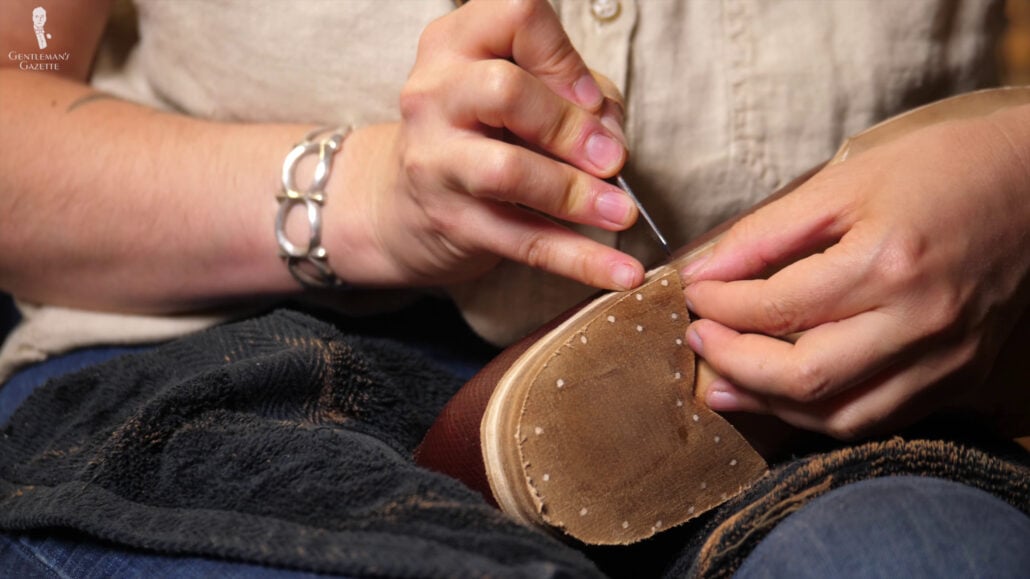
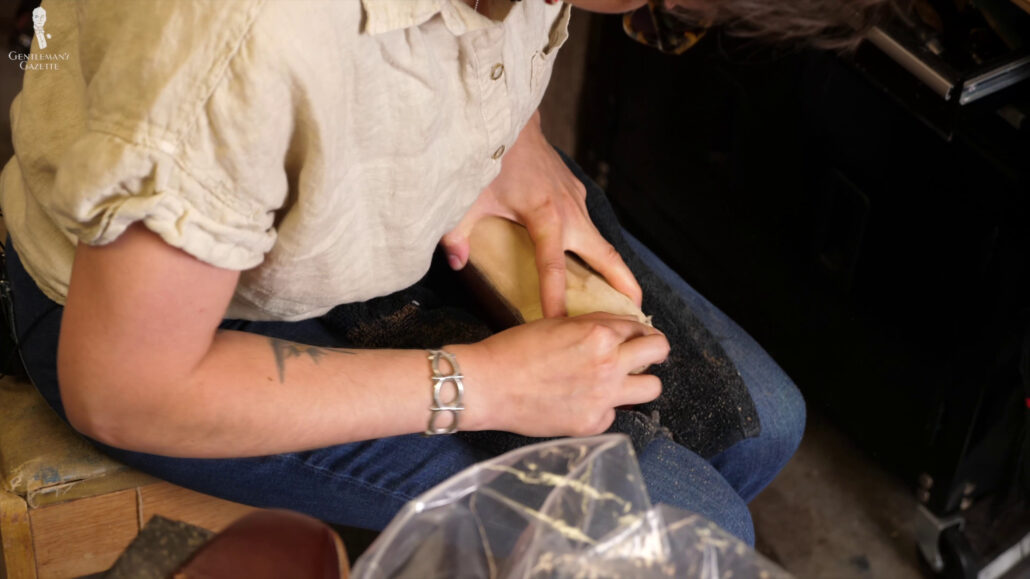
She breaks the surface with sandpaper because there’s a smooth finish that she wants to get rid of, so the glue adheres is better. The special glue she uses here is called “Hirschkleber,” and it’s non-toxic and dries really hard. It’s also fun to say! “Hirschkleber!” It means as much as “buck glue,” hence the logo.
Once the rand is glued on, Amara presses it firmly into place, assuring that it’s exactly where she wants it to be; that’s why she traces the lines.
Layering Heels
The next step is the layering of the heels, and to do so, Amara uses wooden pegs instead of nails because the advantage of pegs is that you can even hammer them in on top of each other without creating any issues; whereas, metal nails, you can’t do that. And no, you can’t just hammer the peg in.
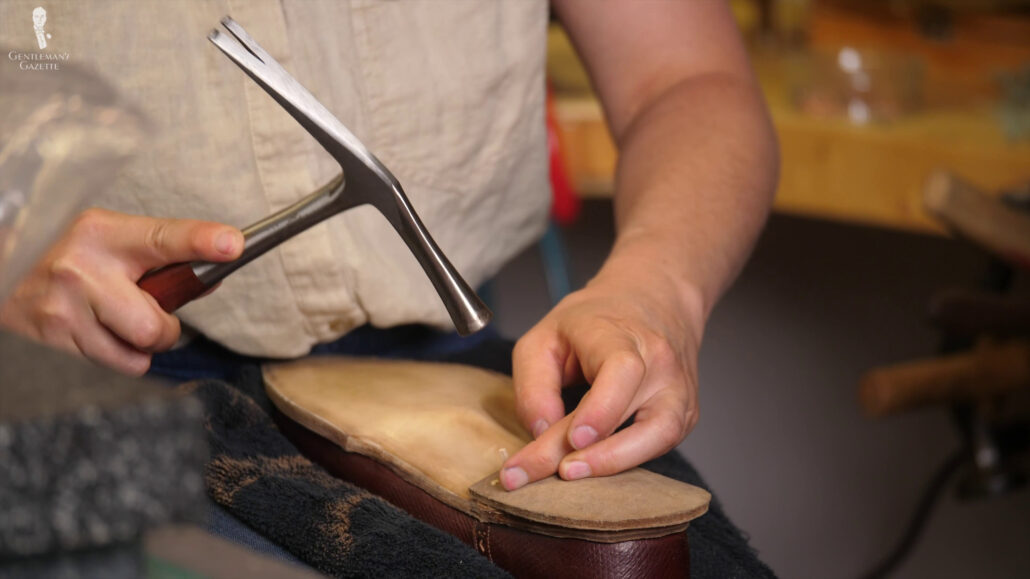
First, you have to use a pegging awl, and then you hammer in the peg. Where the pegs go may seem random, but there’s a strategic method behind it. Basically, Amara wants to achieve a very secure fit, and that starts with the first peg. You can see Amara even cutting down the heel a little bit, so the peg most closely follows the edge.
Part of the shoemaking process is having some cuts here and there, as well.
“When you start talking to shoemakers about their wounds, it gets really grisly, really fast. People take a perverse pride sometimes and battle scars and — This job is no different.”
Amara Hark Weber
Once all the pegs are in, Amara used to use a special hammer to ensure the layer is fully flat and adhered to the way it should be. And again, Amara sands down the rand to make sure it’s ready for the next layer, and a glue can adhere here, too.
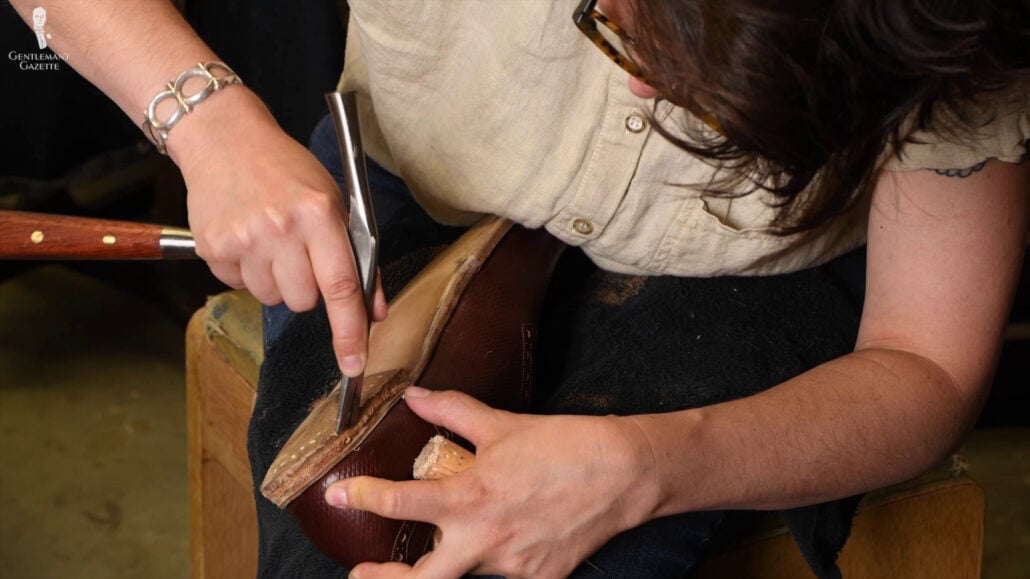
You can also see Amara using a pin hammer to flatten and neaten the edges of that layer. Because, earlier, I wanted this really pronounced fiddleback, which she had built up, and then we also went for the pointy shape where the fiddleback would meet, the outside layer of the heel would be thicker than the inside, which will result in a really nice fan pattern down the line.
Frankly, I’ve never seen this done before, and it’s certainly not something you’ll encounter every day. As you can imagine, she should check many times to ensure everything is flat the way it should be.
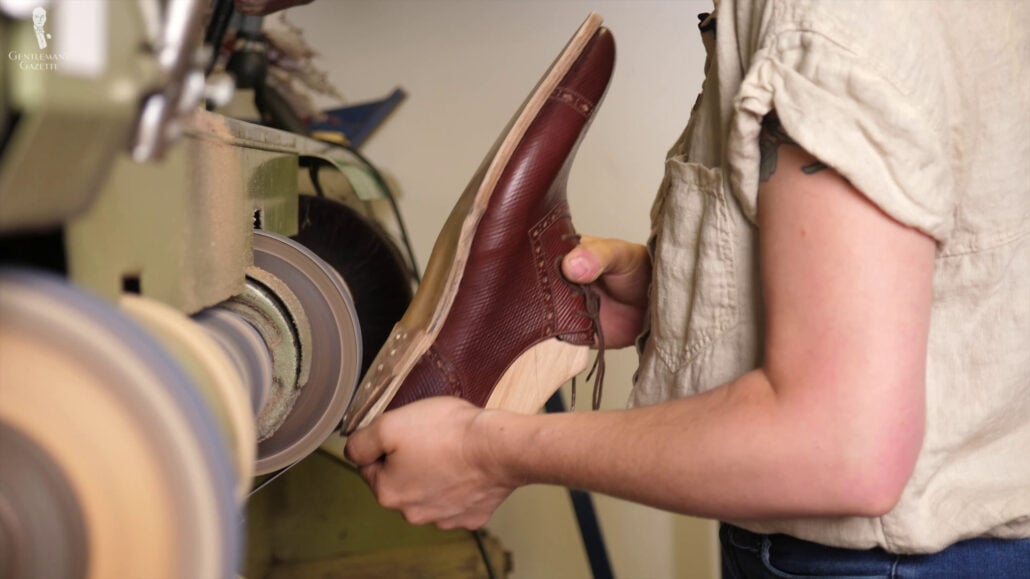
Once she gets there, she uses the next layer and uses it in the same way as the rand. It is first shaped, then glued into place, and then awled and pegged. Amara is really careful to keep everything properly aligned because, if one line is out of whack, the following ones will be, too. And then, of course, the second layer is flattened and treated, and neatened in preparation for the third layer.
The third layer is applied in the exact same way as a second layer. But, since shoes come in pairs, Amara constantly compares the heels between the shoes because, if you have uneven heels, you will walk unevenly.
Also, for the fourth and penultimate layer, Amara wants everything to be super flat. The difference with this layer is that the pegs she uses are quite a bit longer because they go through more layers of leather. The extra length of the peg gives each peg more grip, so you can have fewer peg at this stage.
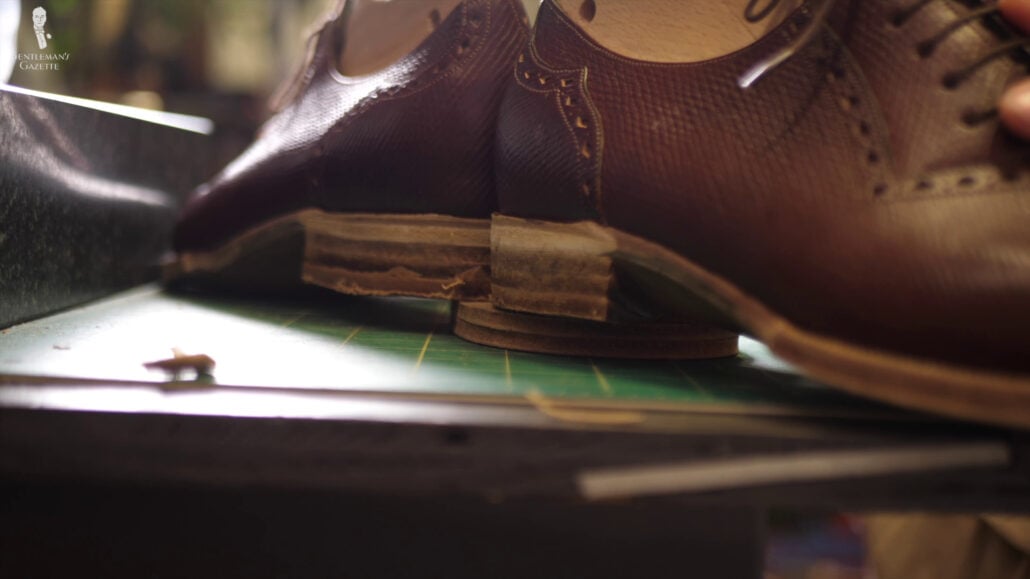
Now, for the fifth and final layer of leather, Amara put them on and looked at it from all angles because she wants the shoe to stand in a certain way; just to account for the effect of all the layers above and how the final product will look like.
Amara said, “As I say, I see heel. That is a sassy heel.”
I assume that’s a good thing. Amara now uses the grinder to thin out and smooth the previous layer. In this case, she reduces the height to make sure she has a desired height after the final layer is added. Basically, she wants there to be one millimeter of space on the heel breast, which is the front of the heel when you don’t stand on the shoe. Once I stand in them, it will perfectly flatten out.
“I need to make both of these heels the same heel height. I want there to be just like one millimeter of space at the heel breast, and I want to be even on both ones. And I can see right now there’s a little bit — it’s a little uneven.”
Amara Hark Weber
Amara proceeds to go back and forth on the grinder, ensuring that she gets it just right without taking off too much.
“Oh, man! Building heels is hard. This is one thing I start — like building heels is hard for me. I don’t know why. There’s just so much back and forth.”
Amara Hark Weber
When she’s satisfied with the height of the previous layers, she traces the fifth layer. After achieving her desired shape, she now adds nails to the heel block. This starts from the bridge between the block and the last layer. She also doesn’t hammer the nails all the way down, so they can be cut off and become invisible once the final layer of leather is there. And then, once again, she applies the glue, adds the leather, shapes it to perfection, and hammers it on there.
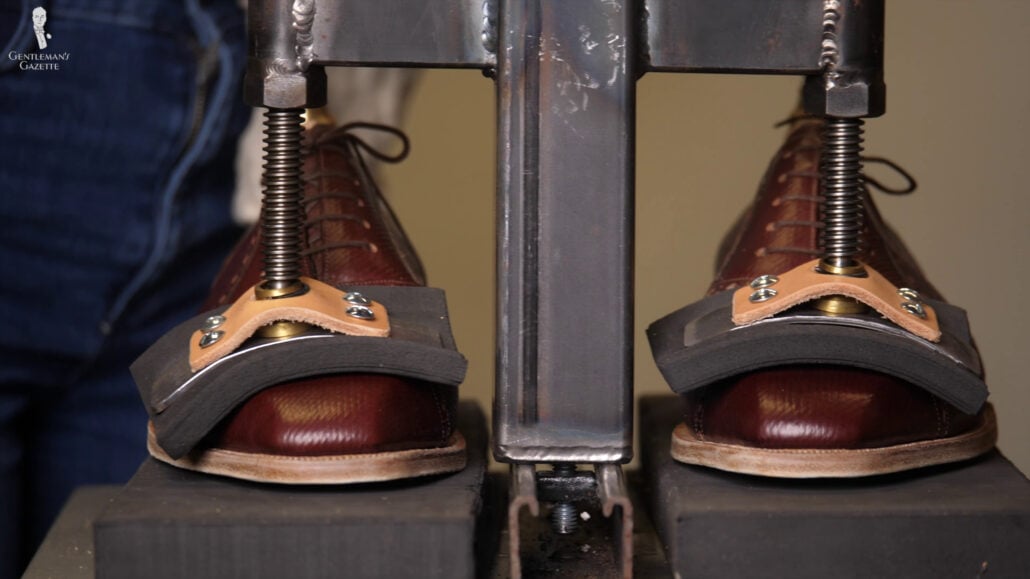
Now that all five layers of heel leathers are built, Amara puts the shoes under a press, which she likes to call the “smoosher.” As you can see, the shoes are pressed down in the vamp area to keep the shoe in place, then also pressed down into the heel area to really compact that heel. Of course, the uppers are protected so as to not leave any marks or nicks in the upper leather.
The shoes are left to dry in the press for about 15 minutes.
Shaping the Heel, Waist, and Fore
After the heels have fully dried, it is now time to shape the heel, waist, and fore. First, the inner part of the heel is shaped and evened out. Amara uses very special knives like this rounded head knife and a rasp. She also uses various kinds of sandpapers and glass – all in pursuit to create a smooth surface that looks the part. Also, any excess leather on the outside is now being cut away.
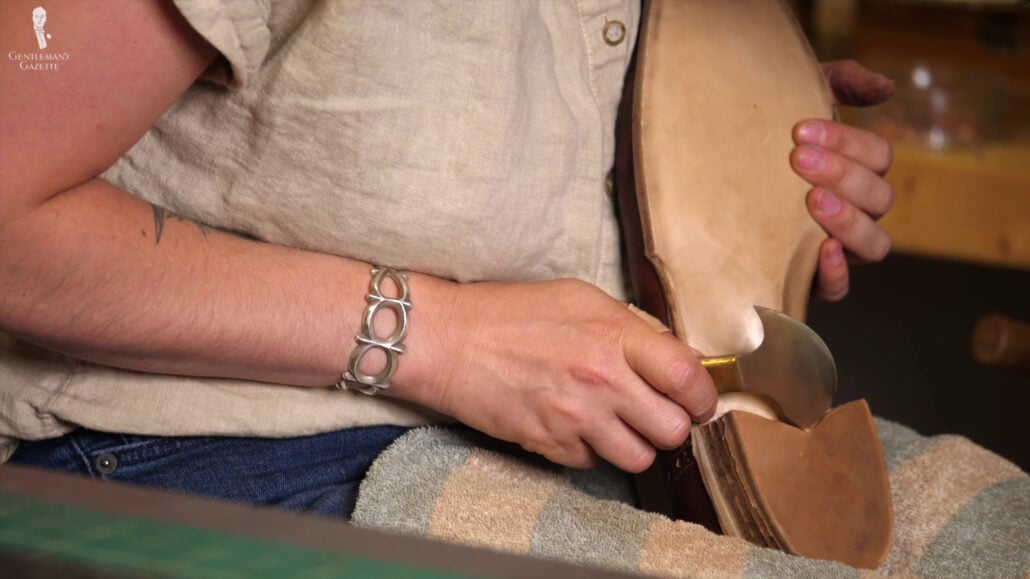
I mean, just look at this: how the fiddleback waist centerline aligns with the center point of the heel and at flare fan pattern. Not something you see elsewhere. But hold on for a second, we’re not done, yet.
Amara will shape the waist and the fore – in other words, the front of the shoe. But, why is she doing that? Amara explains the process:
“So, now we’re going to shape a little bit more in the fore before we move back to the heel because I want to make sure that things are proportionate to each other and that the heel doesn’t somehow end up smaller than the waist; or, you know, every time that we change one aspect then it changes the proportions of everything, so we’re going to work a little bit back and forth. But, yeah, the next step will be to move into the waist area.”
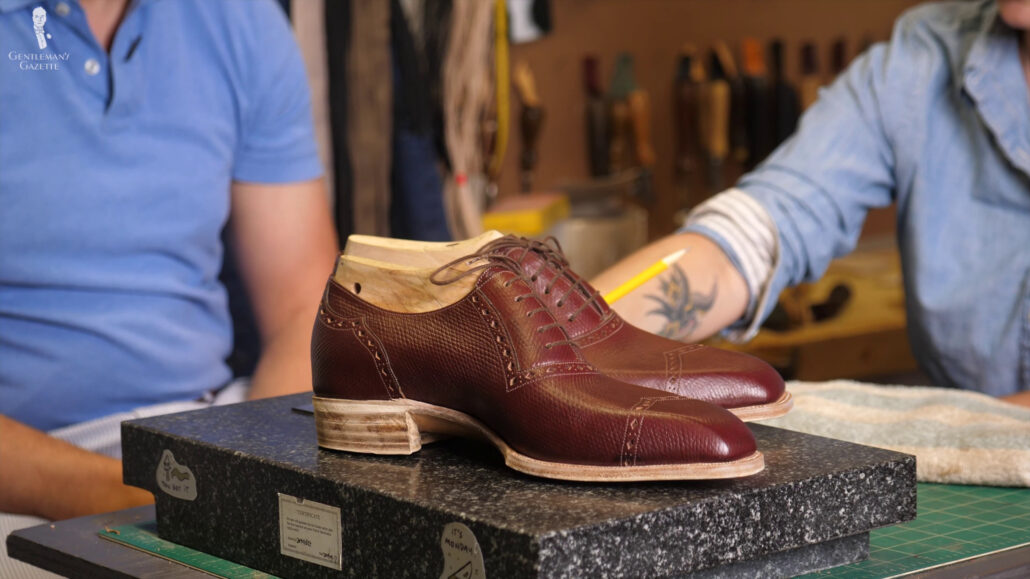
At this stage, Amara will go back and forth between both shoes to ensure they will match in a final look and result. Amara allowed the heels to dry overnight, so she really knows what the final product looks like. In this case, my pair of shoes looked somewhat high up or floating because the middle area was higher in the front. Amara did this intentionally because it helps a wider foot get into a smaller area and it’s not necessarily visible outright. Don’t worry, I won’t look like a ghost floating above ground while wearing those shoes.
Adjusting the Heel Height
Now, at this stage, the lines roll straight, and Amara was ready to cut everything at an angle and, as it was a bespoke shoe, I could be part in determining this angle. As the dried healer is now very tough, Amara had to work with really sharp knives and be really careful so she wouldn’t cut herself again.
After she got the angle exactly right, it was time to finish up the area again. Again, she has special knives, sandpaper, and a rasp. In the end, everything looked smooth and elegant; but to ensure that the angles are the exact same on the different shoes, she used some cardboard to help her with that. It’s basically a cardboard guide.
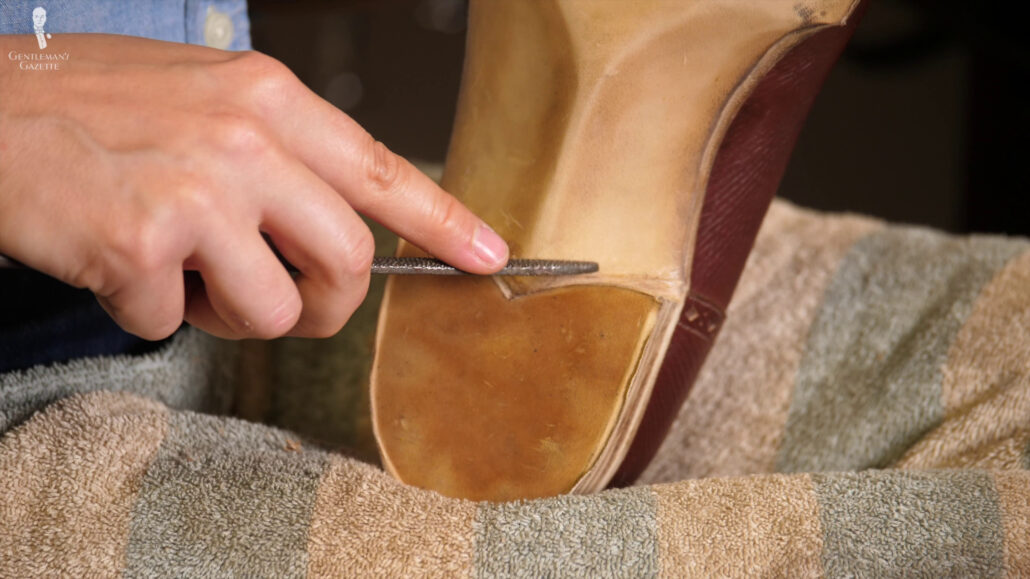
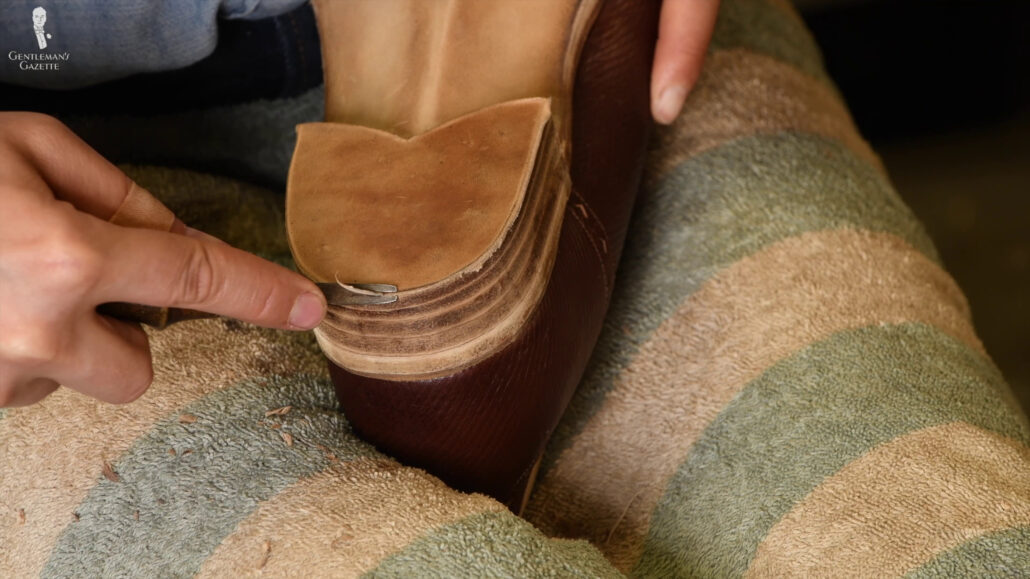
Next, she used an edge trimmer to slightly bevel the bottom layer, so there’s no harsh corner. You might notice lots of terms are being thrown around here; not all are industry terms. For example, “smusher” is something Amara just came up with. But, I think it should definitely be an industry term.
During the entire process of shaping the heel, Amara repeatedly puts the shoe back on a flat stone to ensure she gets the balance and the height and everything just right. She checks the shoe individually, but also the two shoes in relation to each other.
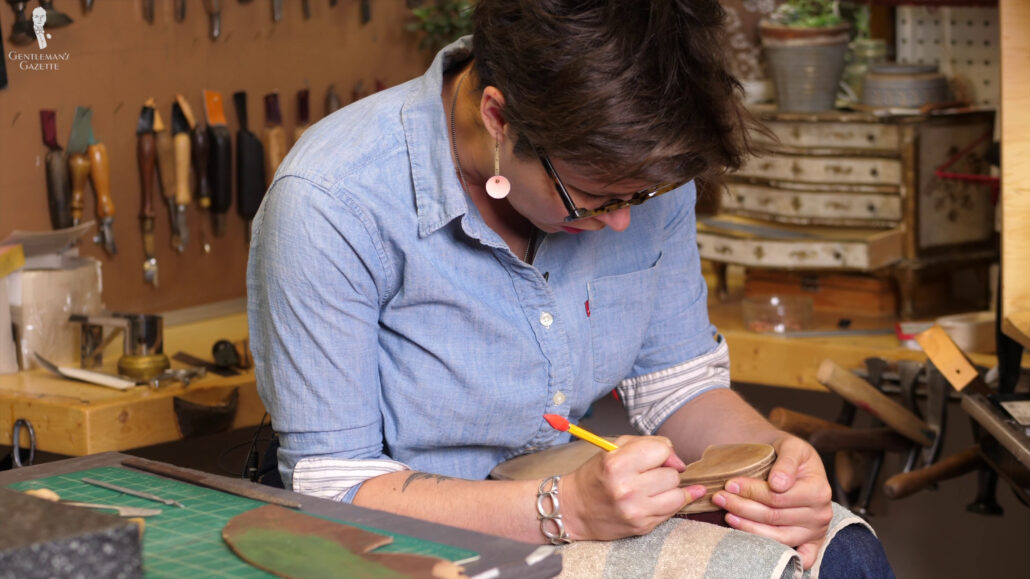
As you can see, he’s used a pencil to freehand draw a line on the heel about one millimeter in, and she didn’t use a compass because she felt like, freehand, she could more accurately be in line with the natural shape of the heel. But, once she had a line there, she used the grinder to basically grind things down.
Making Further Adjustments to Heel Height
Since I was present when all this happened, I could give real time feedback. We went back and forth and discussed it. She told me what was possible and what wasn’t. And ultimately, we decided to increase the height by three millimeters. That’s about an eighth of an inch.
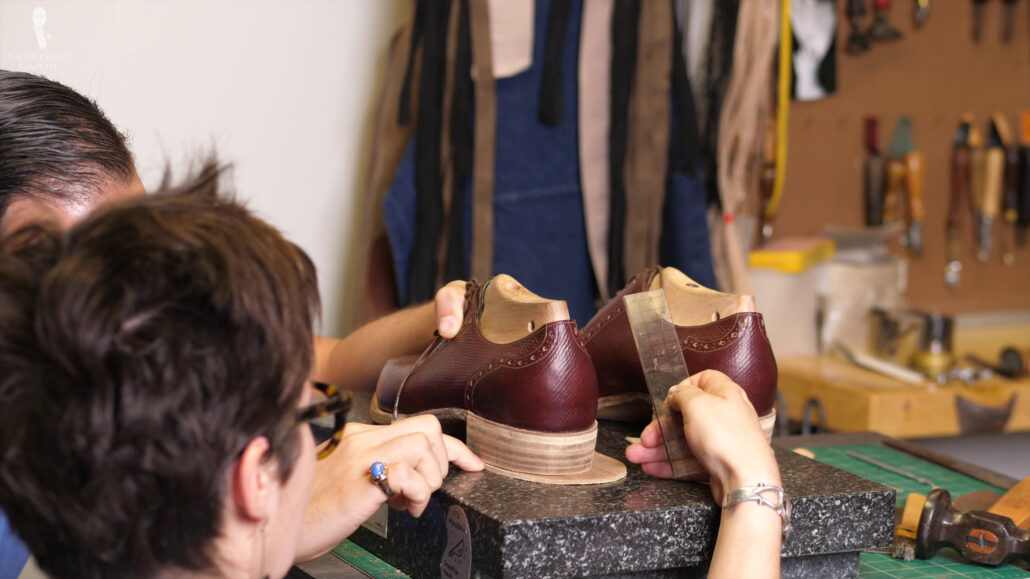
When you change the heel height, you also have to make sure that you’re not impacting things like the toe spring too much, and, as a professional, she, of course, understood everything in that process.
As a skilled shoemaker, she really helps me to find the aesthetics I want without sacrificing comfort.
Adding a New Rand
In order to get those additional three millimeters, we needed to add a rand. So, in order to get there, the final layer has to be taken off. Nails that we’re already in were just cut off; everything was smoothed.
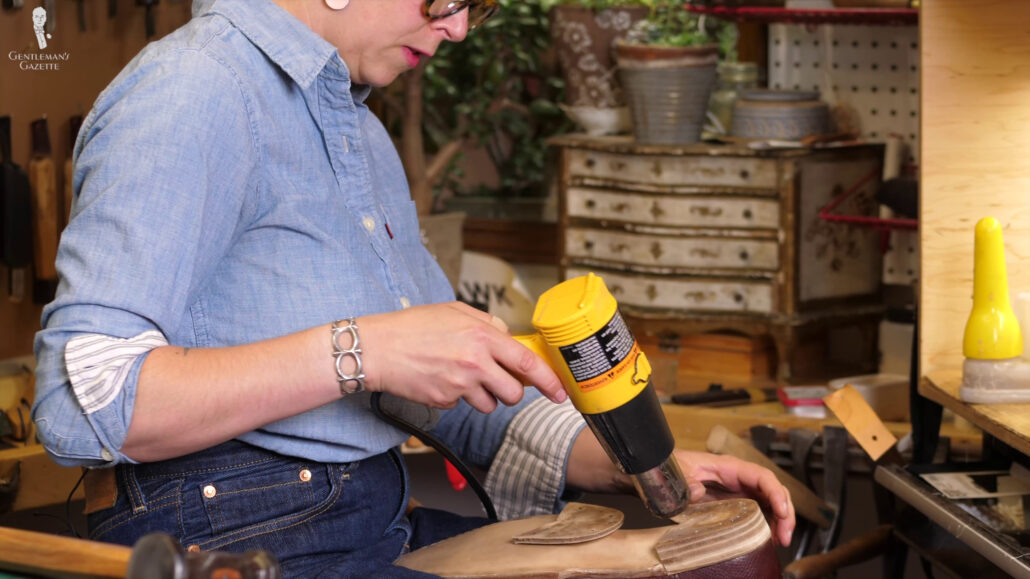
Again, the surface of the last rand is roughened up and blow-dried to help with the glue and allow for the braking or the sanding. So the glue can once again adhere well. So, then the new rand is glued on; the new rand is pegged, and everything is smoothed down with a grinder. And then, of course, you have to check for the proper height because the only reason we’re doing this step is that I wanted three more millimeters.
Final Shaping
So, it’s time to add the last extra layer of the heel, the area is blow-dried, roughened, attached with glue, hammer to attach to the formed heel, and sanded to shape.
Just like before, various tools are used to achieve the final result. The exterior of the leather is trimmed and cut, and Amara shapes the heel with a grinder, rasps, scrapers, awls, sandpaper, and glass.
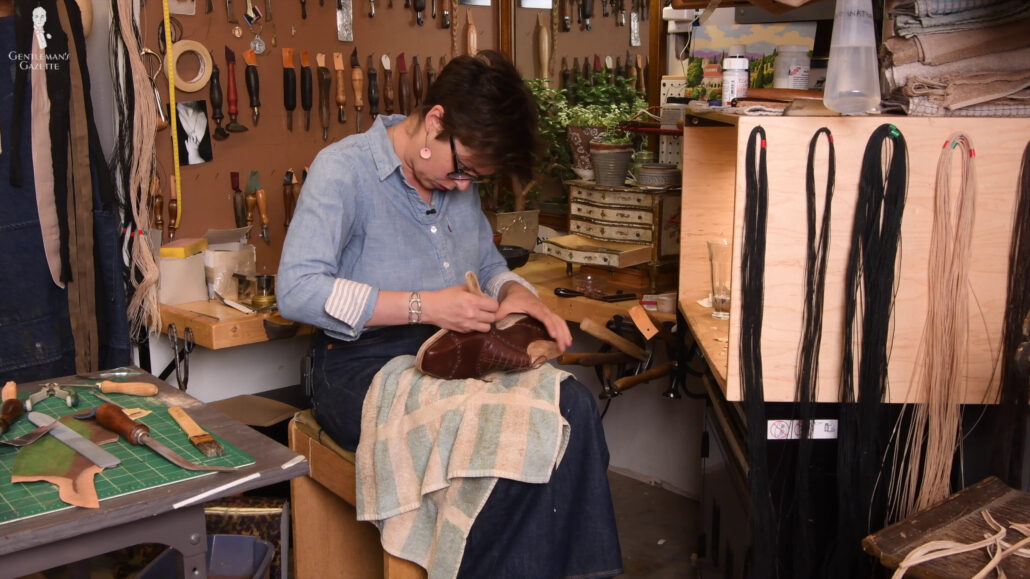
She even uses elk bones. Why is that? Well, the texture of the bone and the friction against; it helps provide a nice finish. Apparently, the bone structure impacts a leather fiber in a certain way. It’s also all about the right finish shape and gloss.
“You’ll see, once the bone runs over this finished leather, it really brightens up. It really almost starts to sparkle. And so, especially in the areas of the heel breast, it’s hard to get sandpaper in there. It takes a lot of effort to make things look effortless.”
Amara Hark Weber
With modern means of communication, it’s very easy for shoemakers, even if you’re not there, to keep you updated about the status of where they’re at, and more importantly, if decisions have to be made. For example, when Amara was working on the stain for the heel, she could send me pictures; just so we get an idea of what the final result might look like.
The other thing I noticed, oftentimes, water is involved quite a bit. Using it helps to reduce dust while working on the shoe. It also makes it easier to shape the heel leather because it’s softer.
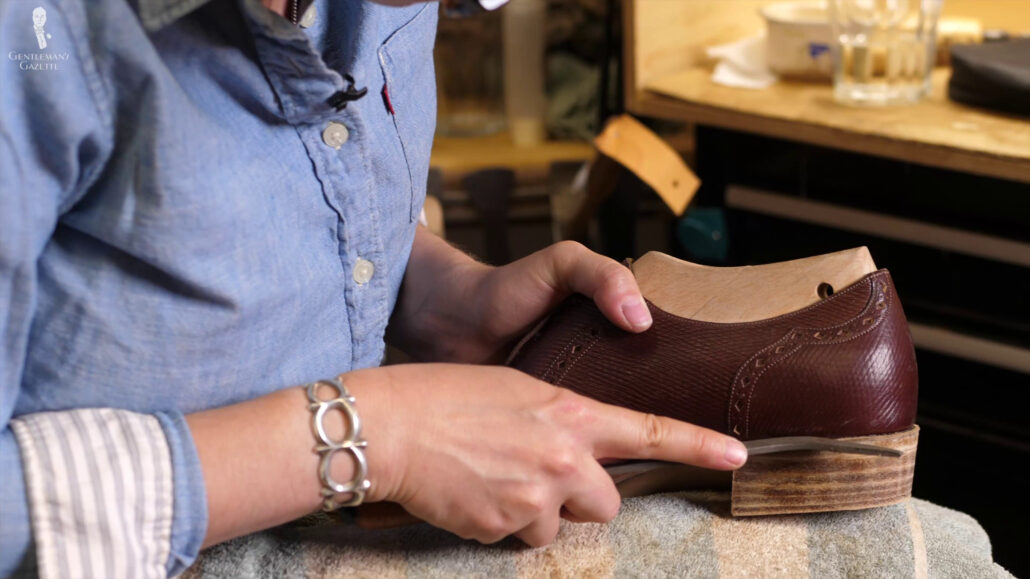
Last but not least, it also helps the leather fibers expand, and it improves compression. The top of the heels were straightened with a special kind of file, also known as “rahn file.” Frankly, it may seem like the heel is done, but there is extensive sanding, glassing, and rasping going on back and forth to get the desired outcome.
Once it seems like everything is in its desired shape, Amara lets the shoe sit for 24 hours. To compare the finishes, Amara glassed one side and sanded the other to see the difference. I felt the glass would look beautiful, and so everything would be glassed eventually.
You can see a lot goes into it, but we’re not done. So, stay tuned for our next installment, where the finishing touches, like wax, are applied to get that final end result.

I don’t understand why this site is constantly showing the construction of a shoe.
Has this site run out of topics?
There are many intricate stages that go toward the construction of a pair of bespoke shoes. By showcasing this in a greater level of detail than ever before, readers may gain a deeper appreciation for the craft as well as the potential price paid for artistry at this level.
You have shown this topic over and over again with one with a guy cutting himself while opening up the sole.
.
Okay. Bespoke shoes have a lot of intricate stages. Understood.
It’s a subject that doesn’t have to be emphasized over and over again till everyone who watches all the video are capable of becoming a bespoke cobbler.
Read Alan Flusser’s book and get some ideas in there to focus on instead of how to dissect a bespoke shoe.
Thank you for this latest instalment in this treatise on the intricate art of bespoke cobbling. It is a solace to witness the passion for her craft of this skilled practitioner.
Thank you for reading! Very pleased to hear that you’re enjoying the series.