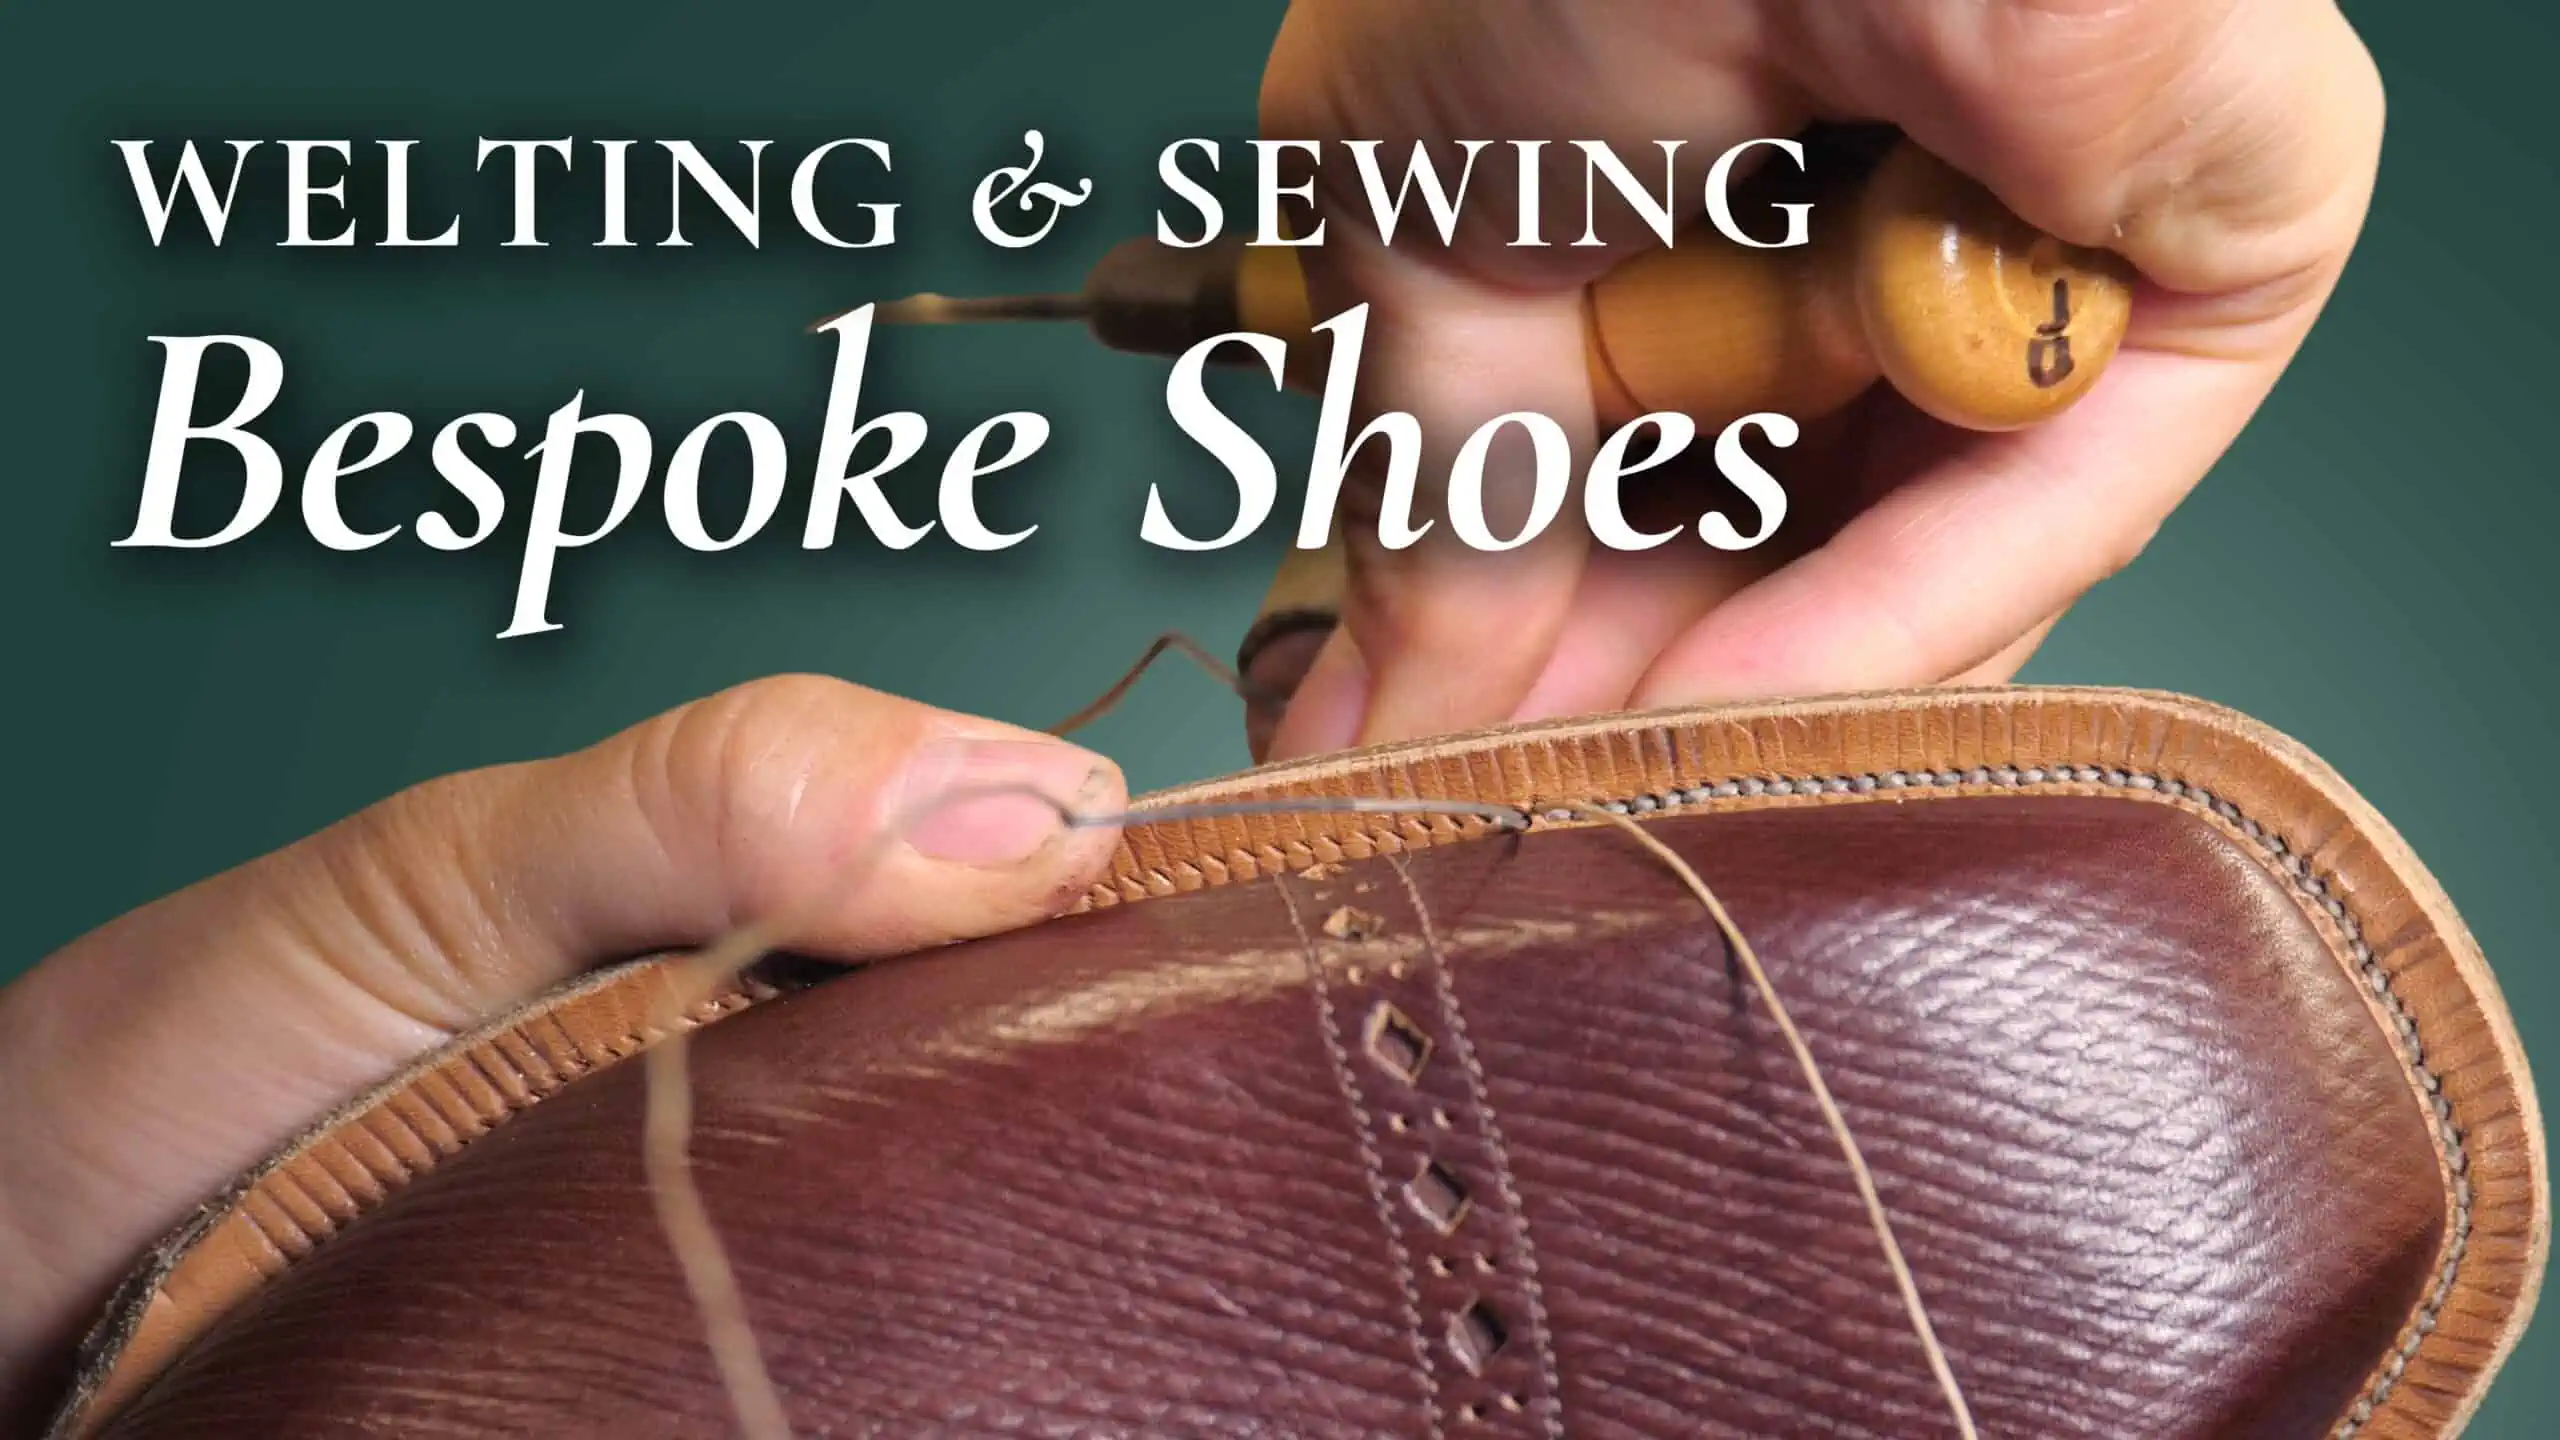
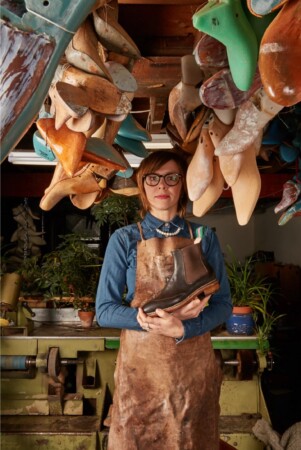
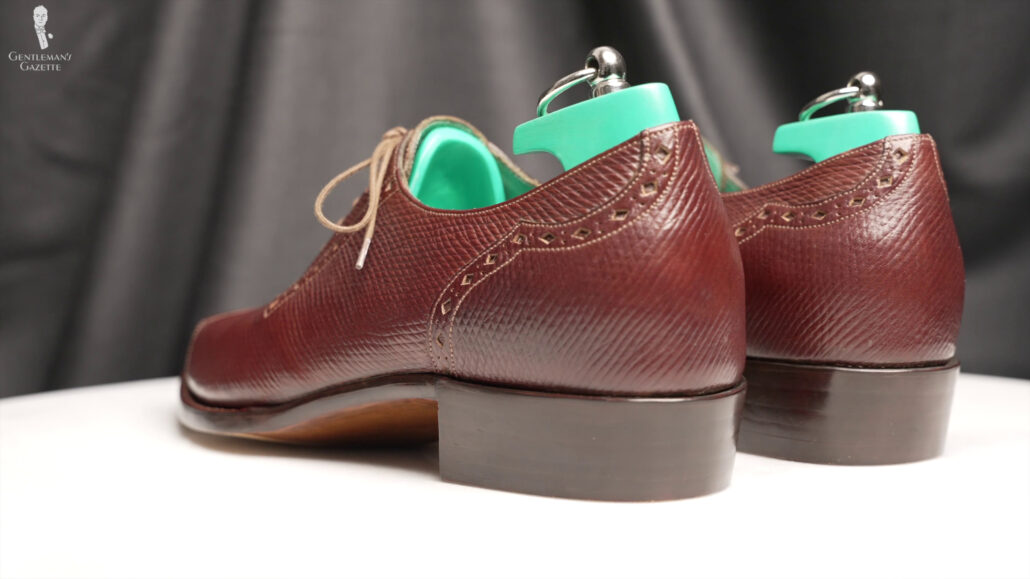
In this ninth installment of our series Bespoke Shoes, Start to Finish, we’re whimsically wandering in the wonderful world of welted shoes as shoemaker Amara Hark Weber stitches the welts to the uppers, adds the shank and the cork filler, and attaches the insoles.
What is A Welt?
Basically, a welt is a strip of leather or sometimes also plastic on lower-end shoes that follows the perimeter of the outsole, typically around the entire outsole. It is also stitched to the uppers. In general, welted shoes are what you find in classic menswear. They’re typically more water-resistant, more comfortable, and easier to resew.
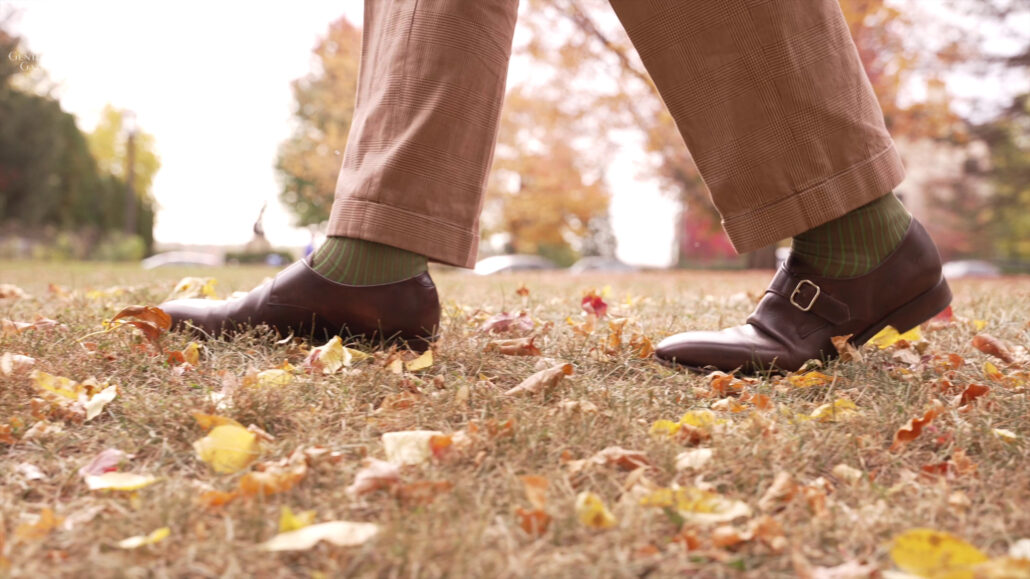
The most well-known welted shoe is probably the Goodyear welt, which is a staple in a classic-style gentleman’s wardrobe. Then, there are also hand-welded shoes and Norwegian welts, so there are many different types of welts.
A welt can be made in two basic ways. One way is to have a straight welt that is then added to the shape of the shoe. The other part can be a welt that forms the outline of the shoe from the get-go.
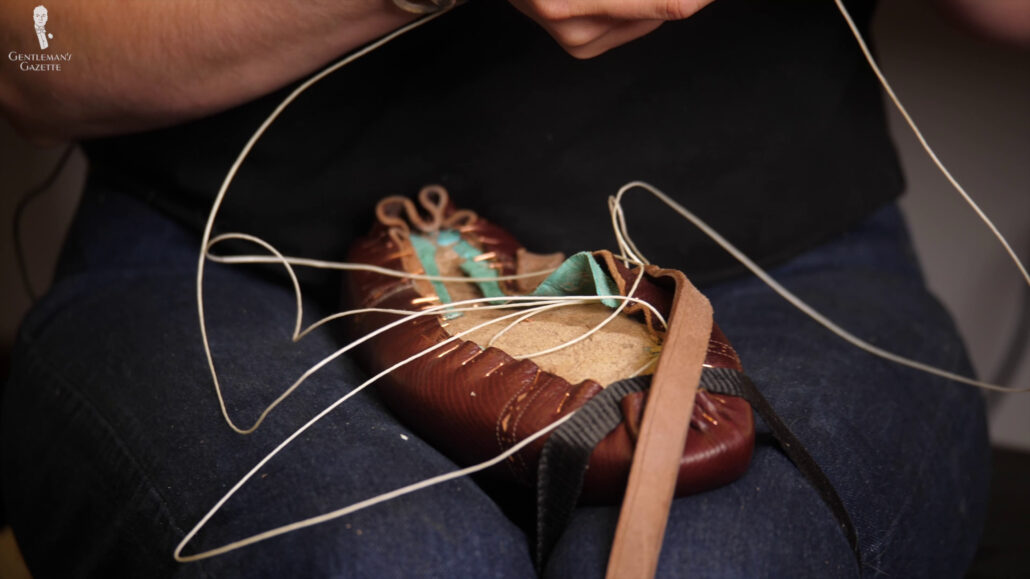
Bespoke shoemaker Amara Hark Weber has found that a curved welt takes more time to produce and also wastes more leather. For her, straight welts work just as well and are more efficient, so that’s what she used for this pair of bespoke shoes. So, she starts out with a straight welt, which she then makes wet, so it becomes much more malleable, and she can form it to the perimeter of the outsole. Really, you can see how the welt molds into the desired shape, no problem.
Amara said, “It’s amazing how this, you know, all of these leathers that are fairly stiff really become malleable when they’re wet.”
In a factory, they work with pre-made welts. Amara actually made that welt out of leather. When she did so, she left a groove that will later serve as a reference point. It also protects a thread.
“As we stitch here, it’s gonna… We’re gonna hit that groove. If I do my job well, I should be coming out through that groove. And also so that the thread will lay flat inside there and be protected within the leather,” Amara said.
Welting & Sewing the Soles: Applying the Welt
So, how is the welt applied? Amara roughly measures the welt by laying them next to the shoe. Basically, she’s checking for the right size. She then skives the ends of the welt. Why? Well, that way, they’ll feather or transition very smoothly into the heel block.
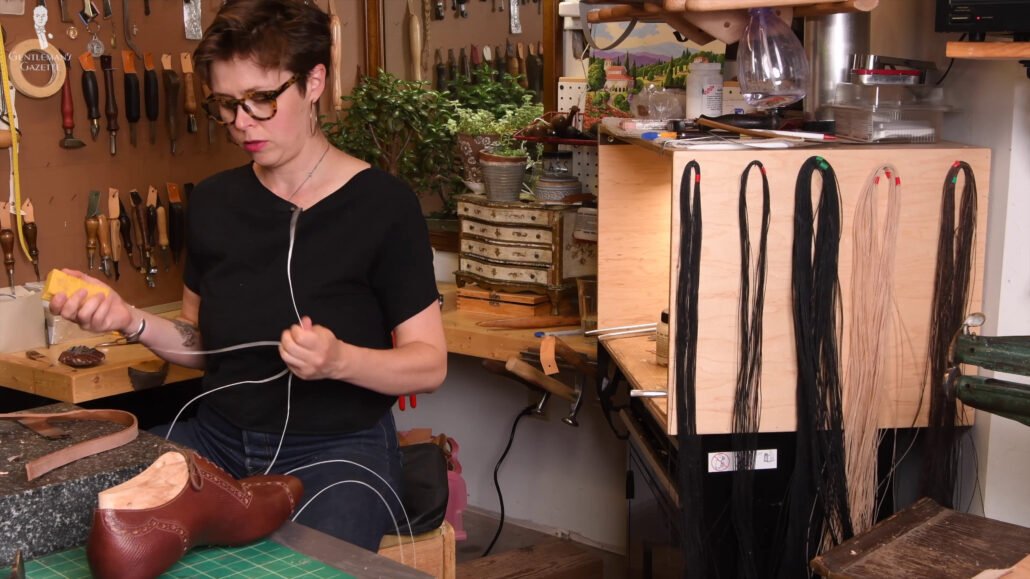
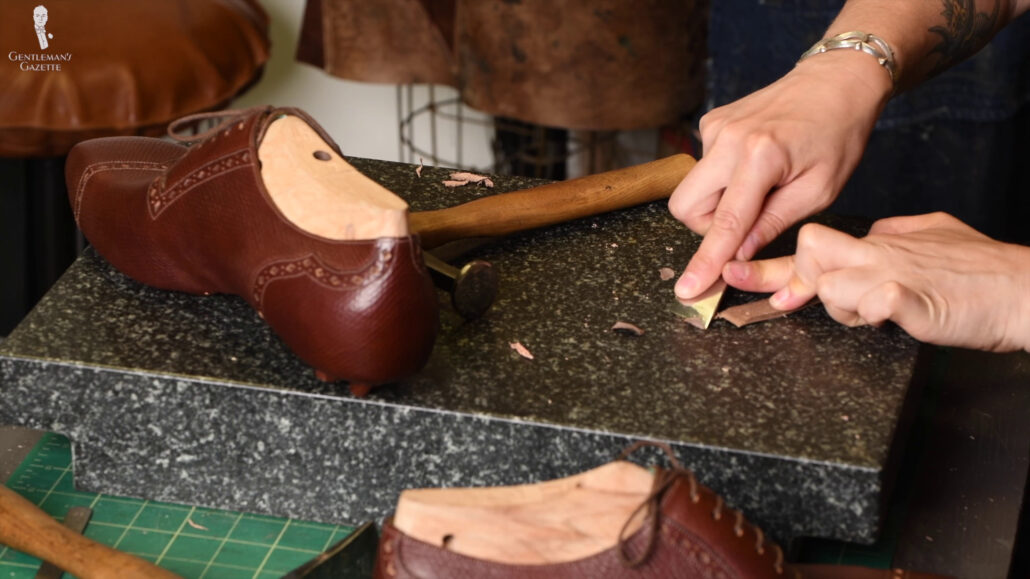
Obviously, it’s pretty hard to sew without a thread. So, Amara readies the waxed thread, and she actually waxes it, which is quite cool. The thread that she uses is pre-waxed, but she even adds more wax. Some shoemakers also make their own thread.
Why wax a thread in the first place? It makes it more water-resistant, more durable, and less prone to stretching. It’s also pretty hard to sew without a needle, and Amara goes with needles that are designed to be used for cowboy boot-making. The needles are actually made by a cowboy boot maker out of Los Angeles.
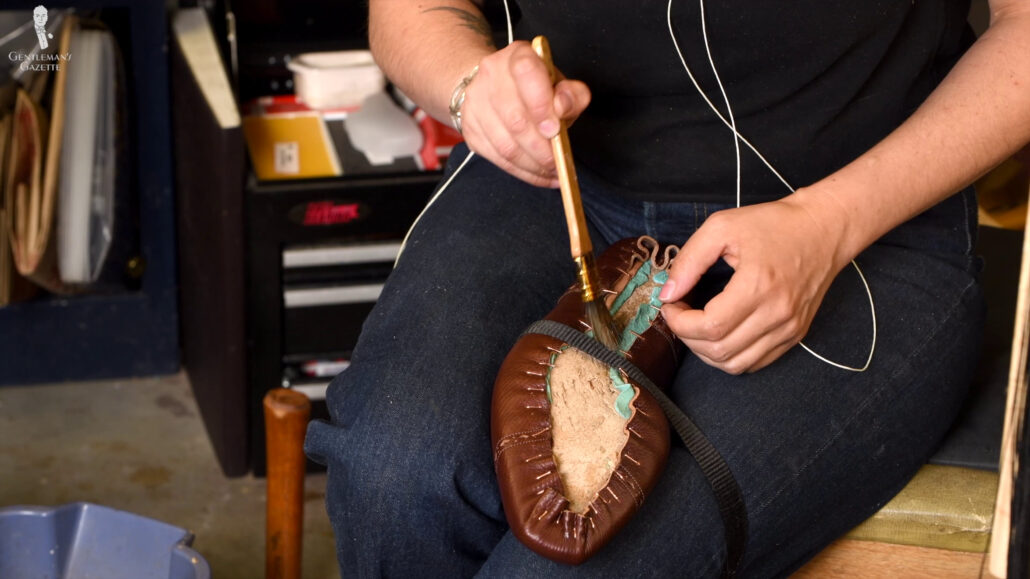
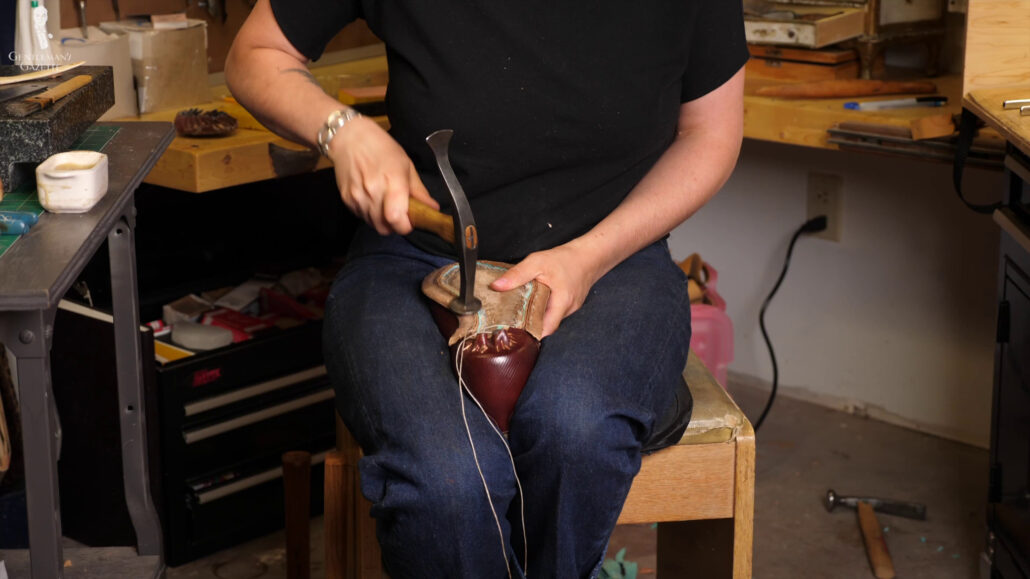
To maximize control while sewing, Amara holds the shoe between her knees, and she makes everything wet so it becomes easier. Amara begins at the back of the shoe and then makes her way around, kind of in a horseshoe shape.
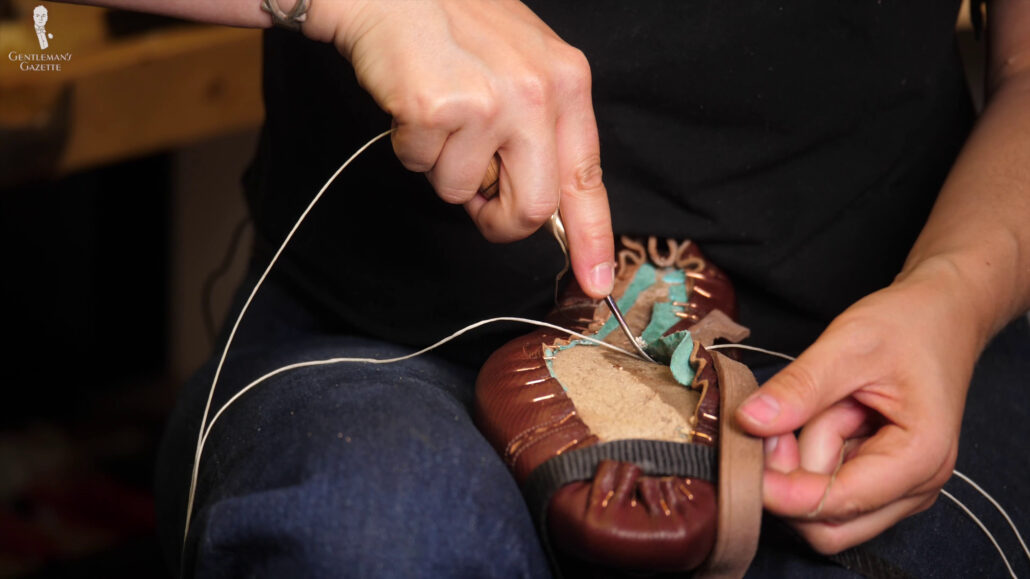
Because the leather’s so thick, Amara can’t easily pierce it with just a needle, even though it’s a tough cowboy boot needle. So, because of that, she uses an awl to pre-poke the holes so the sewing is much easier that way.
Just because it’s easier to use an awl, it doesn’t make it easy at all. Because the awl is curved, this leaves more of a tapered hole in the leather. It can be difficult to pass the straight needle through them, Amara sometimes swaps out the needles based on the thickness and the point shape because some are easier than others. Amara said she even makes her own needles to get the right curvature that she needs to make the process easier on her and her body.
The insole with a raised ridge, which is called “holdfast” and which we showed that was made in the seventh installment of the series, is wet. Again, it softens it and makes it all easier to work with.
Creating Insoles, the “Backbone” of Handmade Bespoke Shoes
While working, Amara wraps a slack thread around the handle of the awl. She pulls to tighten the thread, which ensures a tight seal. She also uses the hammer to keep everything tight and secure. It really helps to shape the welt fully to the bottom of the last. Eventually, once you’re done with the first shoe, you’ll have to work on the next one.
The welt doesn’t go completely around. Some shoemakers like Allen Edmonds have 360-degree welts in their marketing as a hallmark of quality. In reality, the presence of the heel block negates the need for a 360 welt. You can go ahead and discuss the benefits of a 360 welt with your shoemaker, but I suggest you go with their lead because they’re probably more comfortable doing it that way, and you can decide for yourself what you find visually more pleasing.
By the way, to learn more about Goodyear welting, which is done by machine and different from what we do here in hand welting, check out our other guide.
Myth or Magic: Are Goodyear Welted Dress Shoes Overrated?
Amara uses all sorts of tools, such as pliers, to press down the welt. She also presses an inseam around the welt to ensure there is a clear channel. After the welt is attached, Amara trims off the excess upper leather and lining leather because more is not better. You want to have as little as needed, so you don’t have any bulging leather and irregularities there.
Whatever voids are left are later filled in with cork. Before she does that, though, she hammers everything down so everything is compressed and the surface is as flat as it can be.
As Amara starts working with the welt on the second shoe, it becomes obvious that the welts are not quite the same. After all, they’re made out of this natural material, which is called “leather,” and so the welts stretch and behave somewhat differently. So, the variable stretchiness of the leather pieces caused the shoe to sit differently on the lasts. It definitely changes the shoe lines a little bit, and this was the first time that Amara was working with this kind of upper leather, so she was new to it and was learning.
She said she maybe could have done more temper tests beforehand to understand how the leather would behave. But, sometimes, you have to work with leather to fully understand how it behaves in shoemaking.
To me, it was an interesting part of the project to see that she was upfront about things that she wasn’t 100% happy with. I knew she already had one upper because her leather behaved differently, and, after all, the main goal of this shoe was to produce this series.
Of course, it’s nice to take home a wonderful pair of bespoke shoes, but I also did not want to take advantage of her in the sense that I wanted to have her redo the shoe over and over and over again, thus leaving her with very little profit.
“I am learning on every pair and every pair gets a little bit better. But, that means that there’s room for improvement as I go on.”
Amara hark Weber
I like that attitude. If you think about it, with every pair, a shoemaker gets better. So, as they progress, they have more experience and more knowledge; you get a better final product, and, therefore, the price also goes up, which makes perfect sense.
Preparing The Heel Area
Once the welts are done, it’s time to prepare to heal areas. That means the heel is repeated for pegs that will eventually help to keep the heel block securely fastened to the shoe. That also means she has to remove all the nails with a tack pull. Otherwise, the shoe would remain attached to a last, and it would be much harder to get the last out later on. Also, any nails left behind could interfere with subsequent work, so it’s better to remove those.
So, of course, there’s some more loose excess leather which is then glued down so Amara can work more properly with it. As Amara builds up the heel in layers of leather, which is a traditional way to build a heel, she uses wooden pegs to hold everything together, not nails. Some people use metal tags instead, but Amara likes to use the peg because, if one peg ends up on top of each other, it’s not a problem – it still works – versus with metal and metal, it’s not usually a good idea.
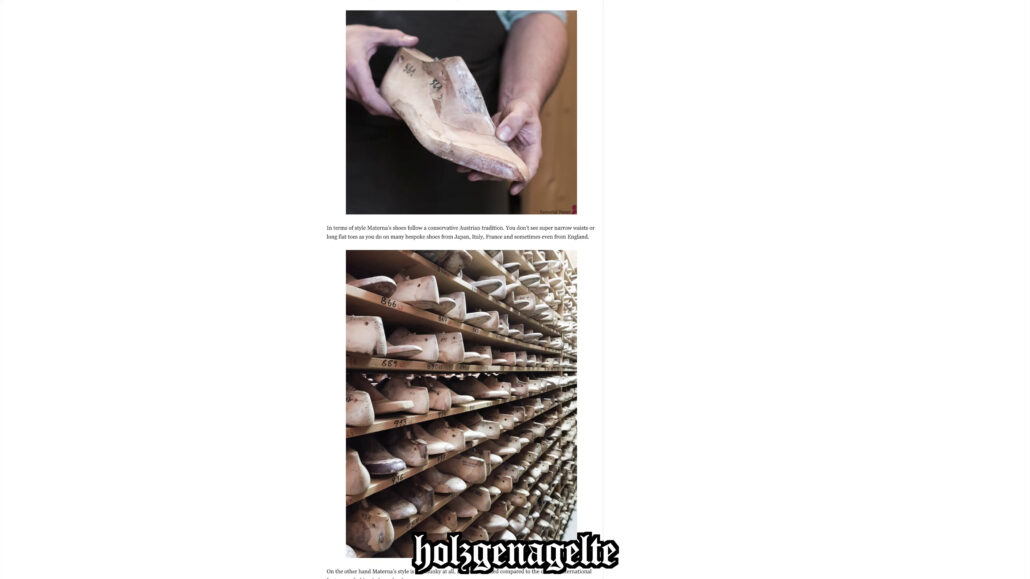
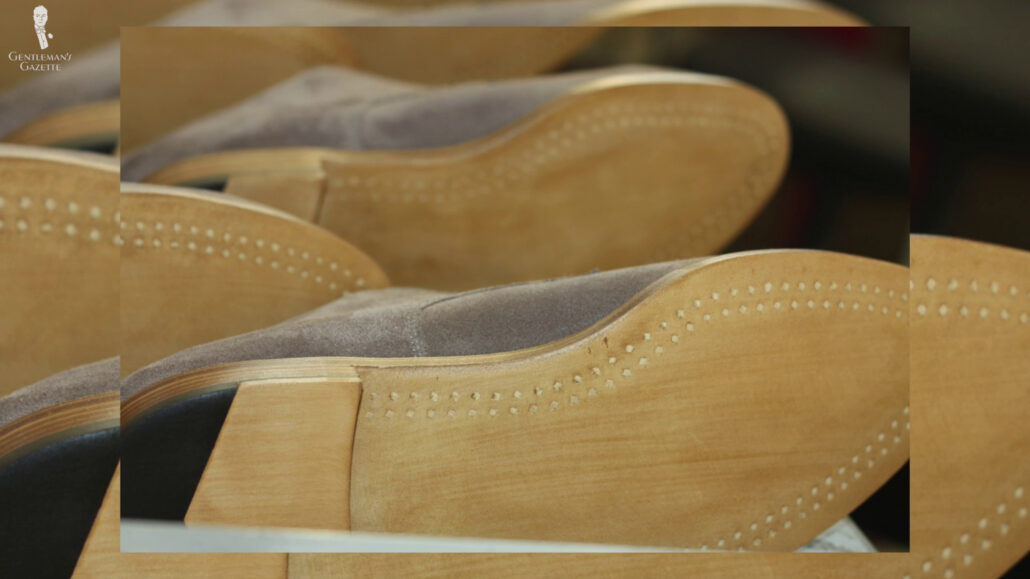
Before Amara can hammer in the pegs, there needs to be a peg hole, which is made with a pegging awl. Well, most shoes today are sewn and glued. Pegged shoes have traditionally been a very popular method to make shoes. In fact, the holzschuhladen wooden-pegged shoe is a popular model in Austria to this day. Some other shoemakers use wooden pegs often in the whole midsection of the shoe to create a strong, supportive area there. Also, when shoe production was first industrialized, shoe pegging machines predated shoe sewing machines. Today, wooden-pegged shoes are definitely more exotic than, let’s say, Goodyear-welted shoes.
As Amara makes the peg holes, it’s really important to have a good feeling of how deep the hole is. If it’s too deep, it goes through the insole and leaves unsightly marks. If it’s not deep enough, the peg doesn’t really hold it together so it has to be just right. If any pegs do protrude, they’re removed so the wearer doesn’t feel them.
Adding The Shank
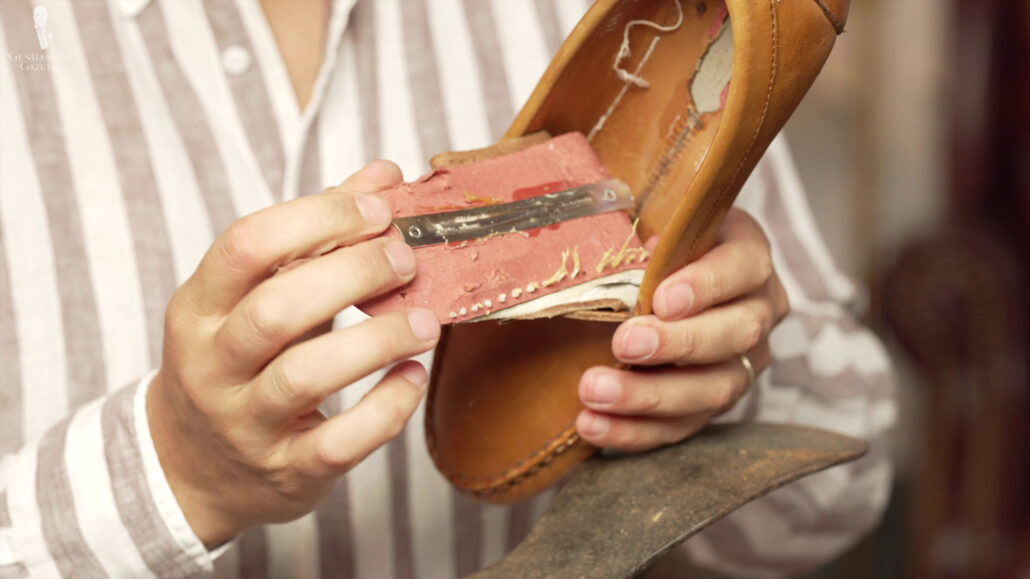
Now, the shank has to be added. The shank is a material in the midsection of the shoe in between the insole and the outsole. It supports the foot and structures the lower portion. The idea is that the shoe doesn’t flex in the area where the shank is inserted. There’s some shoes that don’t have shanks but, typically, they end up being rather flexible, and I definitely like to have a shank in my shoe. I like the added stability of it.
In cheaper shoes, oftentimes, the shank is made out of plastic. They can also be made out of wood or very stiff leather. Sometimes, also metal. Every shoemaker has their preference and reasons why they will use one over the other.
Amara likes steel because she feels it’s the strongest. The disadvantage is that it’s slightly heavier than, let’s say, wood and, chances are, you will more easily trip the metal detector at the airport, for example, if you have your shoes on.
At the end of the day, work with the shoemaker and figure out what’s best for you, your lifestyle, and their area of expertise. Finding out exactly where the shank has to be is important because, if it’s too far forward, it interferes with regular walking. If you look at the factory videos, you can see the shank is applied much more quickly.
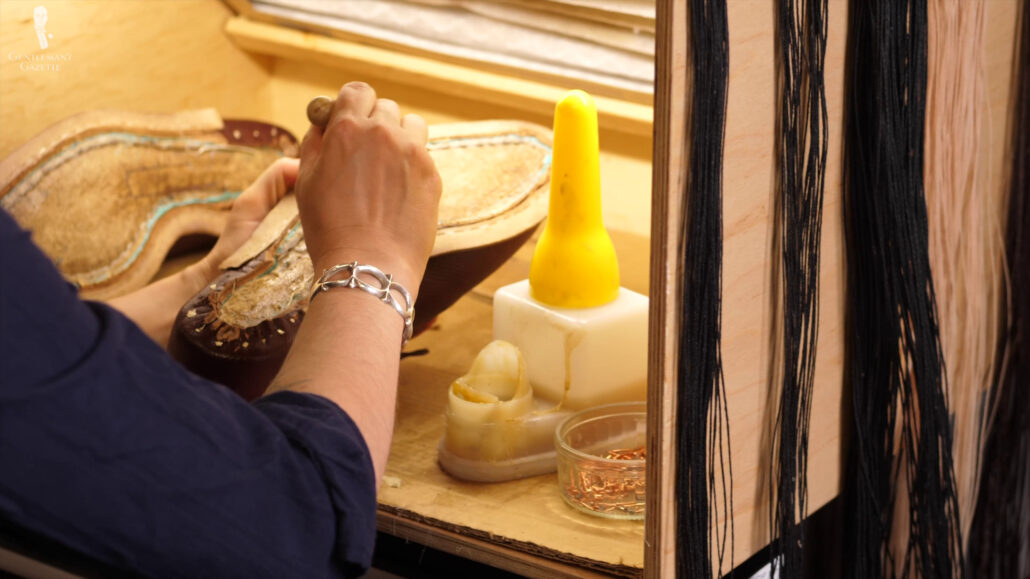
Here, the bespoke shoe, Amara is very careful. She works at a groove and makes sure the shank is positioned perfectly. Some shoemakers nail down the shank.
Amara has found that gluing it down works just as well.
Shank Cover and Filler
On a factory shoe, now, you typically just add the cork filler. Amara, on the other hand, adds a shank cover, which is just another layer of leather. Sometimes, it’s also made out of cork.
In this case, Amara opted for leather because she knew she wanted to make a fiddleback waist, so having a stiffer material there made it easier to create a pronounced fiddleback shape later on in the shoe.
Of course, how do you get the size and the shape right off the piece? You work with a pattern. So, after Amara creates the paper pattern for a cover, she presses it into the cavity to see if it’ll be right.
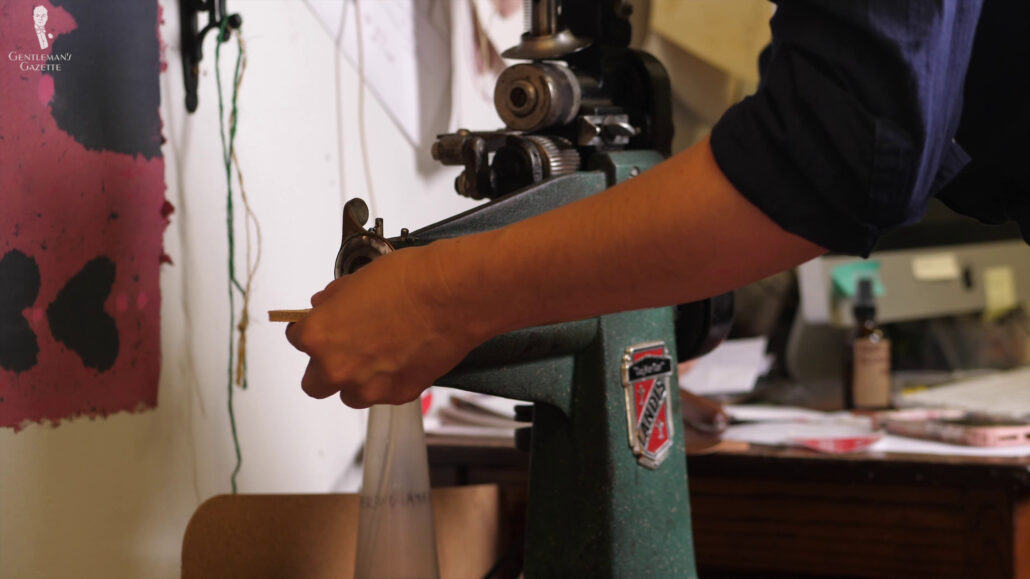
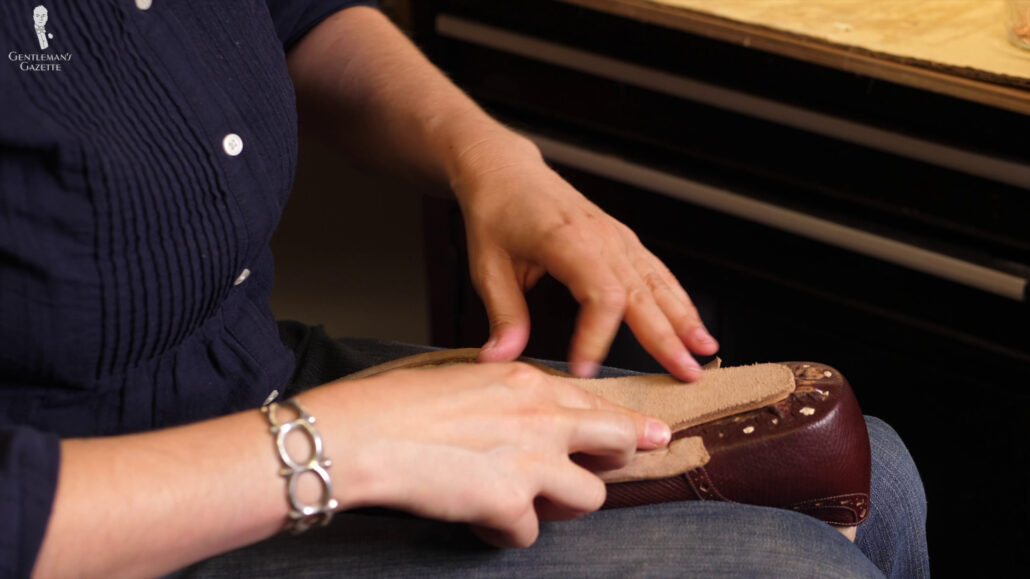
Because we want that fiddleback waist, she uses outsole leather for this shank cover. If you weren’t interested in a fiddleback waist, you could also do it from a softer leather, such as the insole leather. Some shops use pre-cut planks, but Amara prefers to make it bespoke so it fits exactly the way she wants it to.
To glue the shank cover, the leather is roughened up, then glued, added, trimmed, and made sure that everything looks neat.
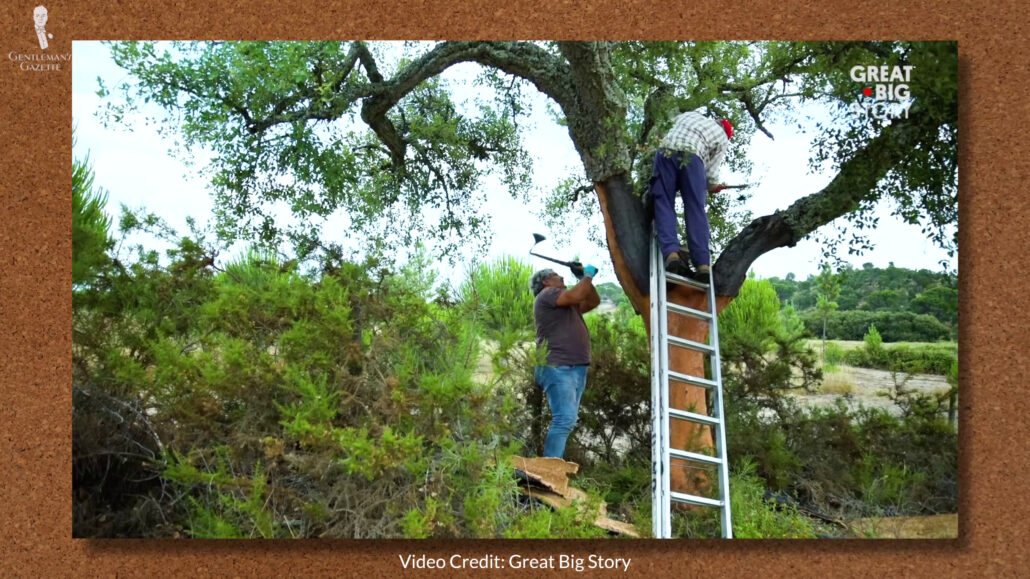
It’s time to add the filler later, which is typically made out of cork. Why? Well, cork is a wonderful, natural material that comes from the bark of trees. I’ve once seen it harvested in Portugal, and it’s a very interesting process. Not only does it naturally cushion the foot, but, over time, your foot will also push its shape into the cork, which will make it feel much more custom, so to speak.
There are two ways to add the cork. One is to have an actual corkboard that is cut to size or you can use a mixture of fine pieces of cork that are held together with glue. It’s called a “paste.” Some people also call it “spreadable cork,” and Amara has worked with it in the past but didn’t like it too much, so she decided to go with a corkboard. Typically, hot cork filler paste or spreadable cork is what you find in a factory shoe. I’ve never seen factory shoes that had corkboards. I have seen bespoke shoes that have corkboards.
All you Trent & Heath fans would love to see her spread that oatmeal, but at the end of the day, it’s each shoemaker to their own. In my mind, I like using the more expensive corkboard for a bespoke shoe. And no, this is not just any corkboard but something specifically designed for shoes and shoemakers. The density is apparently just right.
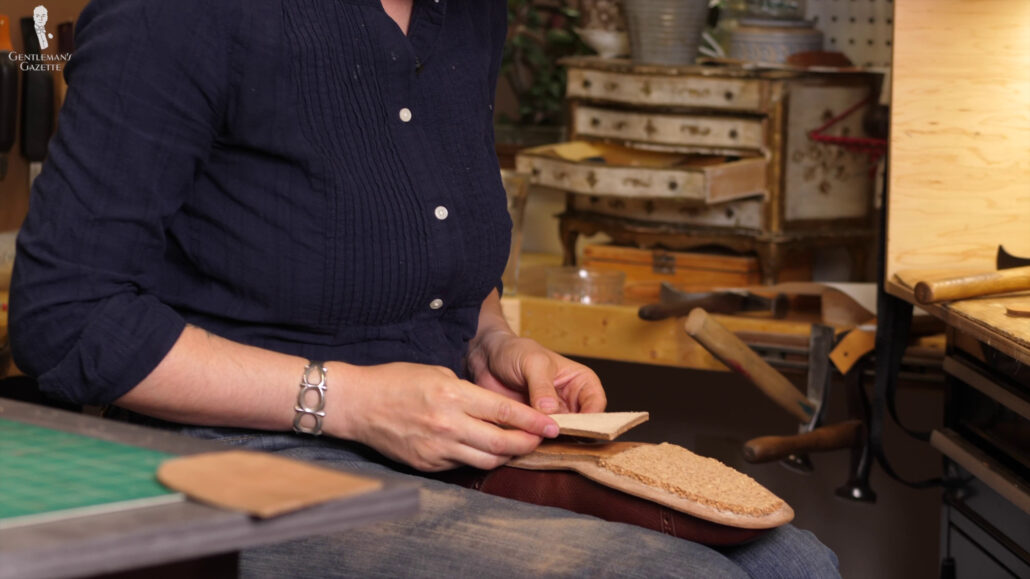
Again, if you’re really lightweight or really heavy, maybe you love to adjust it, but your shoemaker will have an idea of what works. Interestingly, Amara just cut the cork into a rough shape, then glued it at the top, hammered it in, and trimmed off the excess rather than trying to get it just right from the get-go. This way, she ensured that we definitely have enough cork, especially with a fiddleback waist area, and we don’t come up short enough to redo the entire thing again.
Again, because of the fiddleback waist, she glued in and hammered another filler layer around that shank area, so it comes really down, and you have that more pronounced fiddleback area.
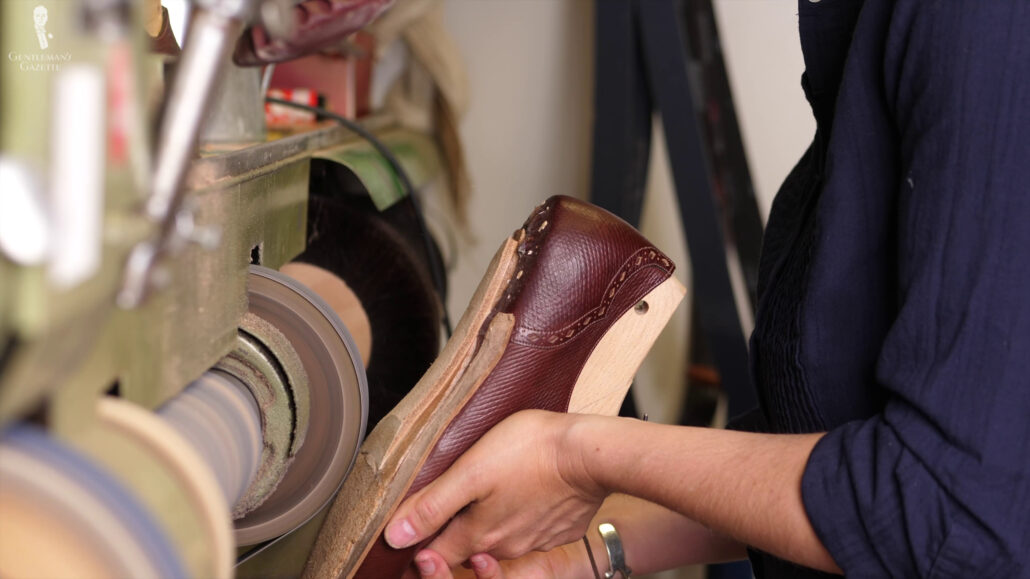
To create smooth, attractively-styled areas for the outsole to sit on, Amara works the cork and leather layers on her sanding machine again. Back to daily grind of the finisher. And, afterwards, she even does some more fine hand work to make sure everything is the way she wants it to be.
Adding Heel Seats
Because my shoes don’t have a 360 welt, Amara uses something called “heel seats” to fill in that area around the heel. Heel seats basically cover the area before the heel block is attached. They level everything out because, obviously, the last is rounded and not straight up. Just creates an overall better look. And the heel seat will sit very close to the upper leather.
Heel seats also help to give a really smooth, crisp edge. I was looking for a particular angle for the heel, and I wanted the kind of detailing that allowed the welt to sit further into the heel.
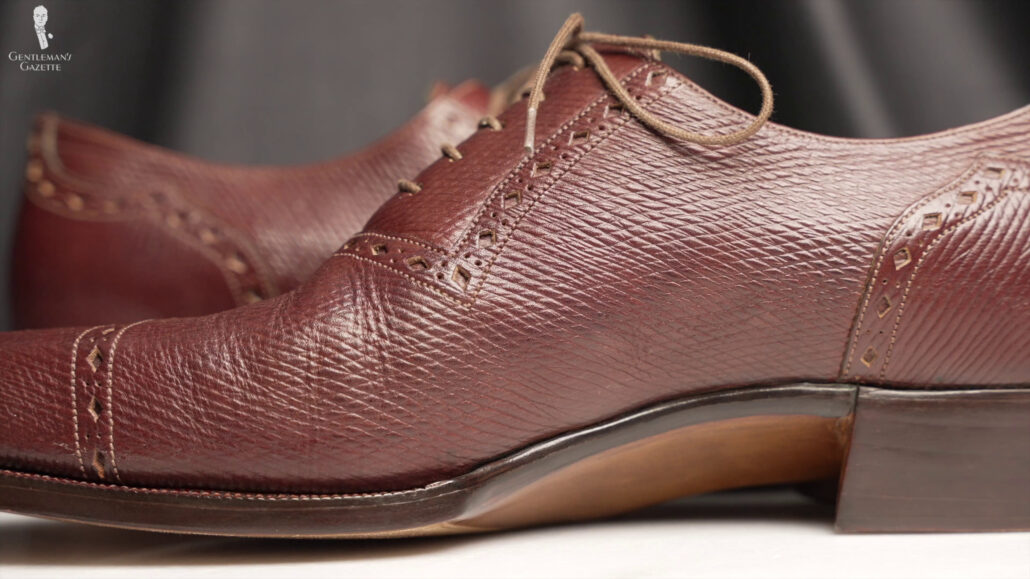
So, with that goal, Amara devised this work plan. First, she attaches the heel seats. She’s marking their approximate size, roughing them for glue, skiving them for fit, and then gluing them into place. She’s also hammering it to be tight and have the desired curvature. Then, the excess is cut off, and then Amara will mark where the pegs will go eventually.
Again, use the pegging awl to make peg holes and then add the pegs. Again, with wooden pegs, you can add them on top of each other. With metal pegs, you have to ensure everything is offset because you can’t have the metal on metal.
Preparing The Outsoles
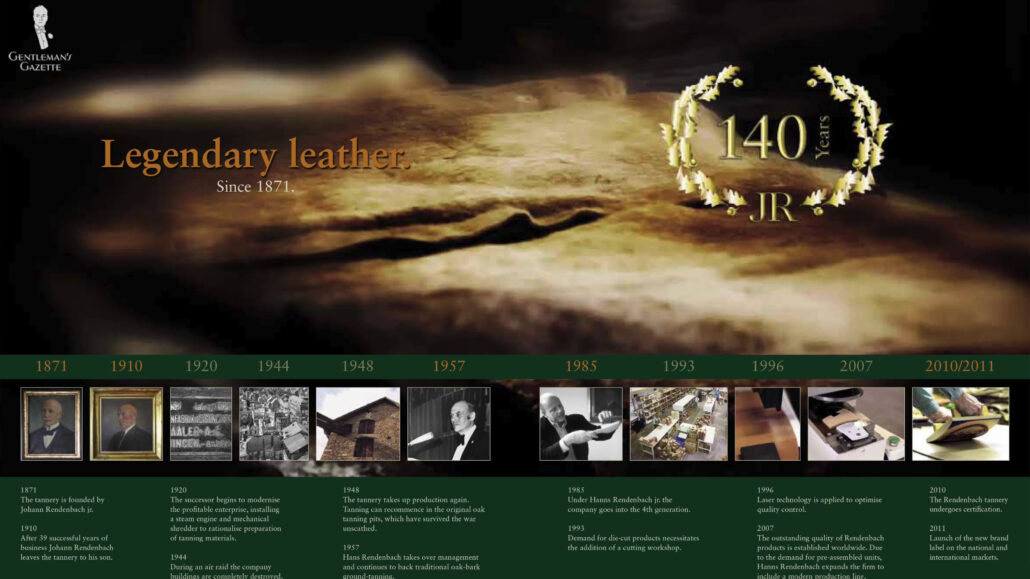
Now, Amara has to prepare the outsoles. First, she refines the bottom of the shoes so it will all work for the outsoles; and I hate to disappoint all the fanboys of JR or Johannes Rendenbach outsole leather because, for this shoe, we didn’t use them. I mean, she had it there in her shop, and we were talking about maybe we’ll use some leather from Baker because the upper was English, a little bit more English, but she also said she had this wonderful Italian oak-bark-tanned leather that she really likes to work with and has really good experience with, so I said, yes, let’s use that leather.
Frankly, Johannes Rendenbach makes great leather. There are also other German manufacturers who make great leather but are just not as good in the marketing department. Obviously, if you swear by Rendenbach leather, go for it. Personally, I was more interested to get feedback from the shoemaker to understand what she thought was best for this particular shoe.
At the end of the day, it probably doesn’t matter that much, and if you wear down the outsole, you can always replace it. And typically, bespoke shoemakers are happy to replace the outsoles and work on the shoes that they made themselves. They’d probably be horrified if you just bring them to any cobbler to do that kind of work.
Again, with the fiddleback, you can’t just use the full outsole in its thickness, but you have to thin it out in the right areas to get the desired look.
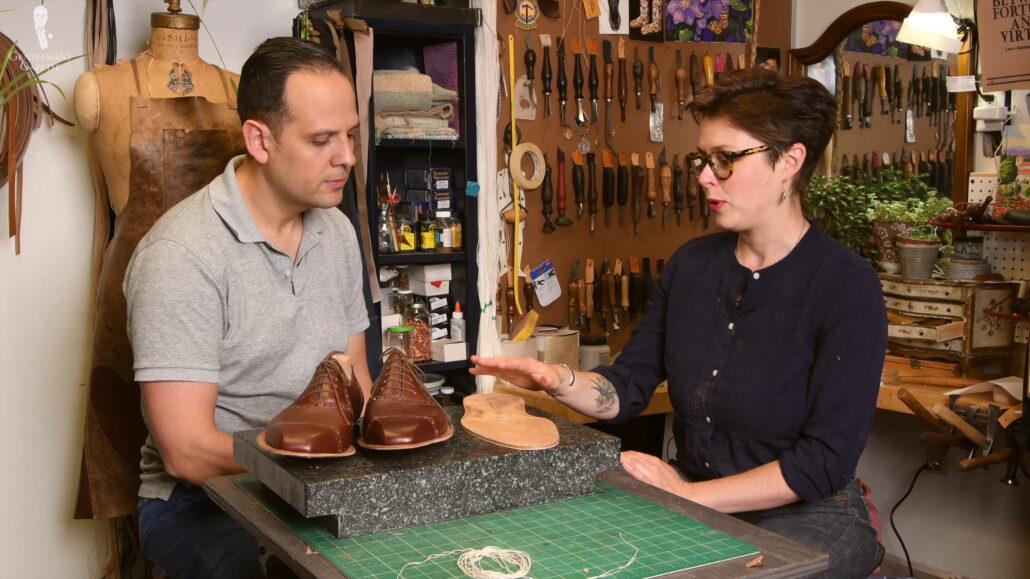
Amara shared about her process:
“What I do to prepare the sole is, if I want to do any carving in the waist to thin it down, I do that for first, and then I put on a layer of permanent cement, and that cement goes on while the sole is still dry because the cement doesn’t want to stick to a wet sole. But, it’s important that the sole is wet in order to sew it, so I put the glue on dry and then I soak the whole sole for a couple of hours then I wrap it in newspaper, wrap it in plastic and let it set overnight. And so the water is absorbed into the fibers, it becomes a really nice, malleable, and easy, relatively easy for stitching.”
Stitching The Sole
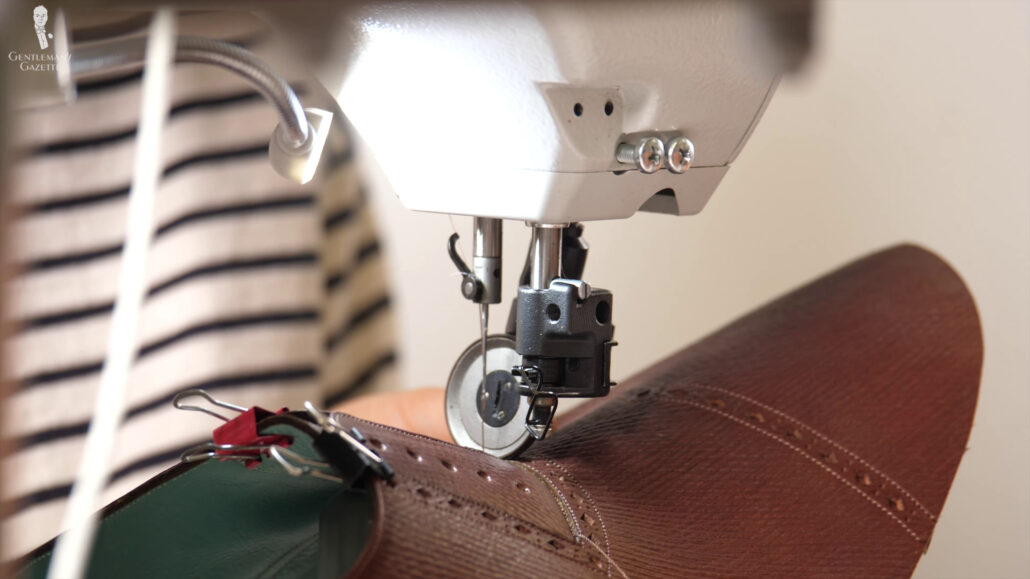
It’s time to prepare the stitching. Welts can either be stitched from a machine or by-hand. Almost all bespoke shoes are hand stitched. Maybe, sometimes, if a customer wants to save some money, it may be machine stitched.
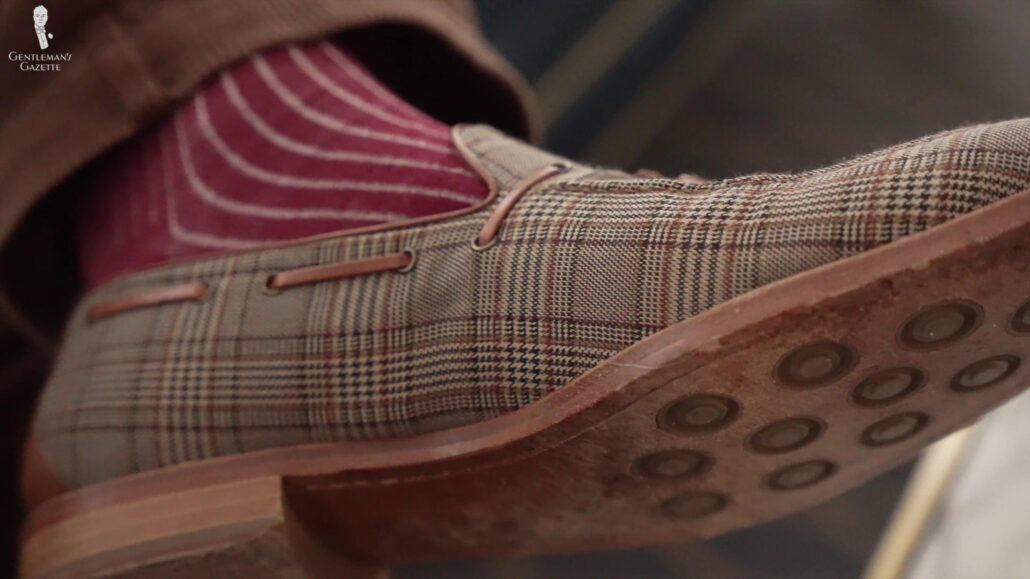
When stitching in a shoe factory setting, typically, you see the stitching exposed at the sole of the shoe. For example, most Allen Edmonds or Crockett & Jones all have that visible stitch.
With higher-end factory shoes or with bespoke shoes, you typically have invisible stitching. There’s one of two ways to achieve that. You can have a closed channel, which is cut up straight on the surface of the sole, or you can have a closed channel that is cutting from the side of the sole, so when you look at it from the bottom you don’t see any line or any channel or anything at all.
Amara has experience with both the closed channel and the hidden channel. While the closed channel leaves a noticeable line, it wears rather evenly. The hidden channel has no line and looks really nice new, but the edges, because it’s cutting from the sides, are a little thinner and, sometimes, they kind of fold over time, and that doesn’t look particularly nice, and they may have to be glued down again.
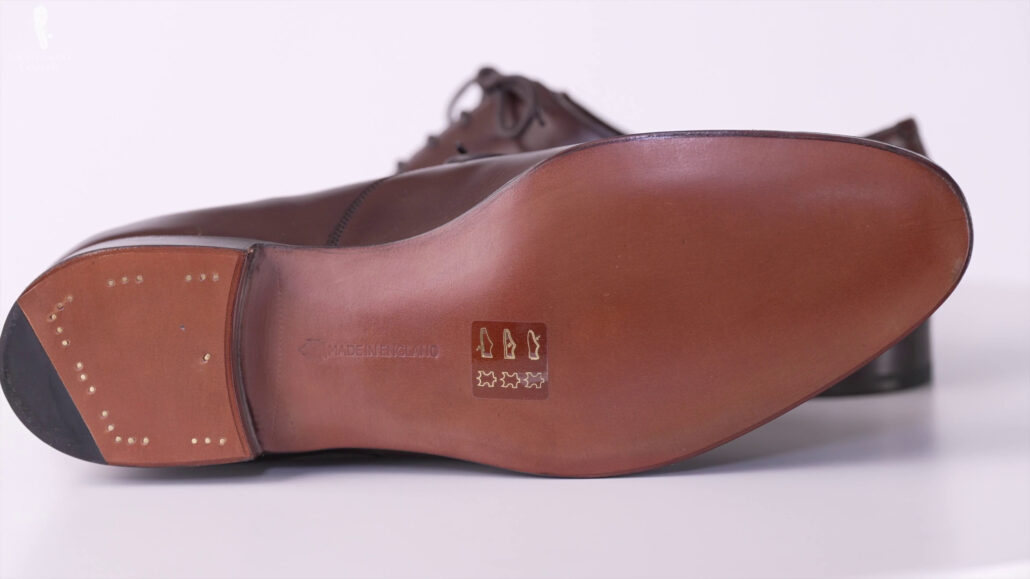
She just told me about the pros and the cons, and I decided to go with a hidden channel because I thought it looked neater, at least to the final product, and I live close to her, so if I have to have anything re-glued or redone, she can help me with that. Also, I’m fortunate enough that I have a large number of dress shoes, so I don’t have to wear this shoe all the time and subject it to extremely hard wear.
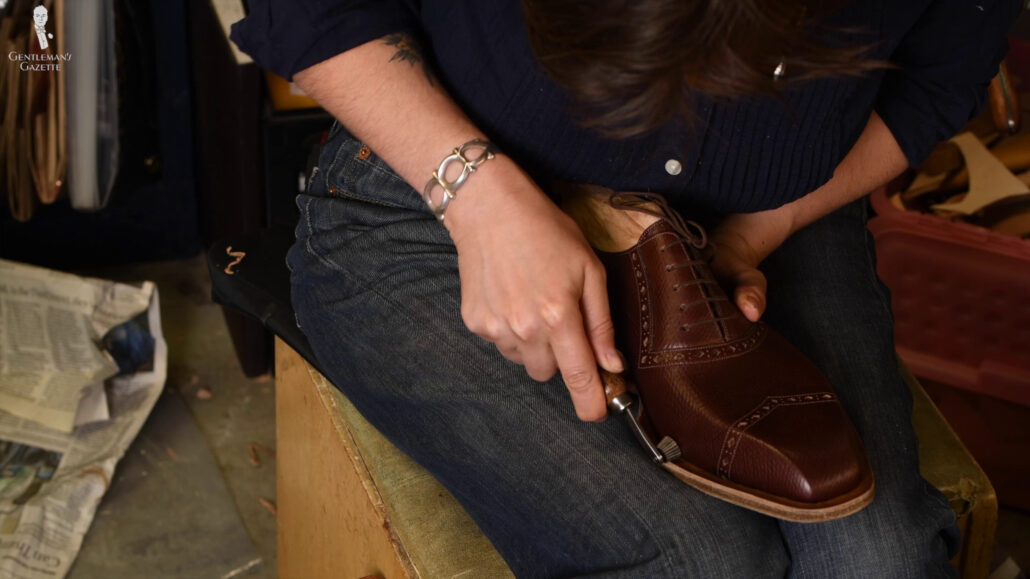
The holes for stitching vary based on where they are at the shoe. For example, behind the ball area, the curve of the shoe will hide certain holes, so she uses the awl to poke them.
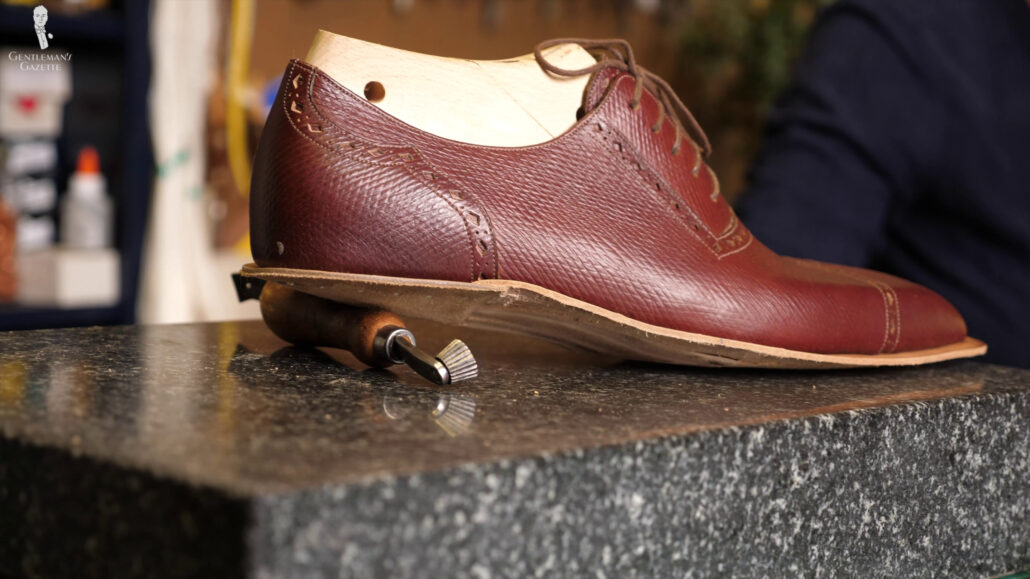
Elsewhere, she will use a stitch marker, also called a “fudge wheel,” which rolls along and marks the stitches, so you ensure they’re even and consistent. Usually, Amara does eight to ten stitches per inch. I asked her if she could do twelve because I was going for this old-school aesthetic where they had a higher stitch density and finer, smaller stitches. Obviously, extra work increases the price, and some shoemakers charge more, others don’t. Just talk to your shoemaker and see where they’re at in terms of stitches and stitch density.
Refining & Attaching the Outsoles
Before the stitching can begin, the outsole has to be attached to the shoe. Of course, Amara returns to the vent hood to not inhale all the glue fumes. She also uses a hand roller to make sure there’s no air and everything has properly adhered. She pays particular attention to the waist area because you don’t want anything to come undone and look unsightly. She also used the pliers to pinch the edges tight, which I thought was interesting.
Once everything is glued on, she then cuts off the excess leather with that five-in-one machine that she has. Of course, it’s just a start. She then more finely refines it by hand. Then, the sides and bottoms are wetted again for malleability and softness. Otherwise, it’s much harder to get the needle through. Water is a shoemaker’s friend.
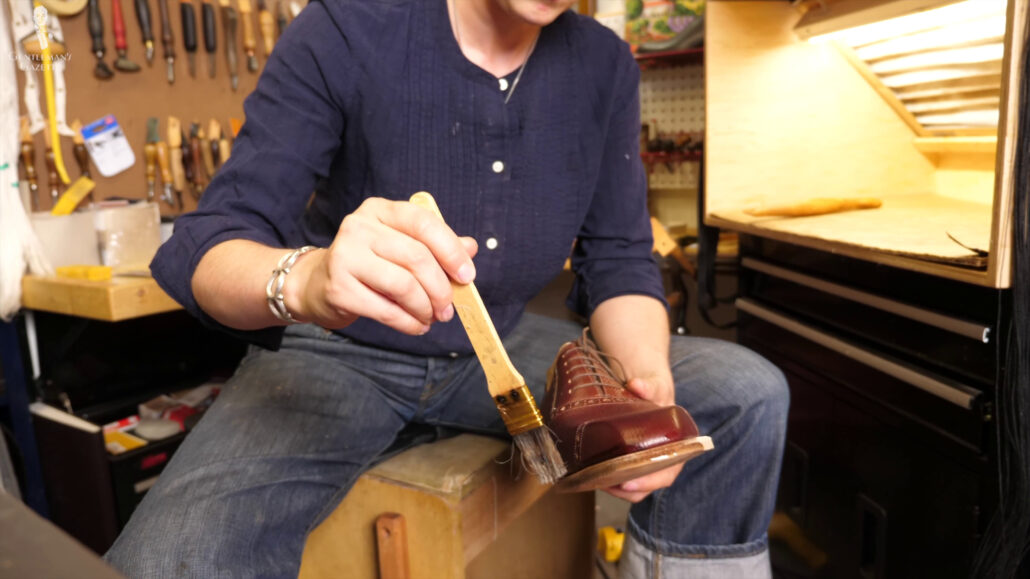
Finally, it’s time to stitch. This is the time when you see the shoemaker is sitting there with two threads, long and wide. To mark the stitches, Amara uses the fudge wheel and, to make it more efficient, she heats it up so you can really see the marks.
She also lays in stitch markers and then makes slits for stitches for the invisible stitches. She wets them again before opening the channels and then cutting in a groove. She uses her awl to double-check where everything will come out and that it will work. With a thimble to protect her finger, Amara begins the stitching.
Stitching
For stitching, Amara uses a synthetic thread that she waxes. Other people also use hemp or linen. She has found it’s less expensive and more durable. I’m sure other shoemakers have their own thinking on this. For me, as a customer, I just wanted to go with something that she was happy with because I don’t have strong feelings one way or the other. If it’s more durable, though, that’s a good thing.
When stitching, the awl is used to pierce the holes so it’s easier for the needle to go through, and the holes also serve as a guide to where the stitch is going to go. It also ensures that everything looks proportional and neat.
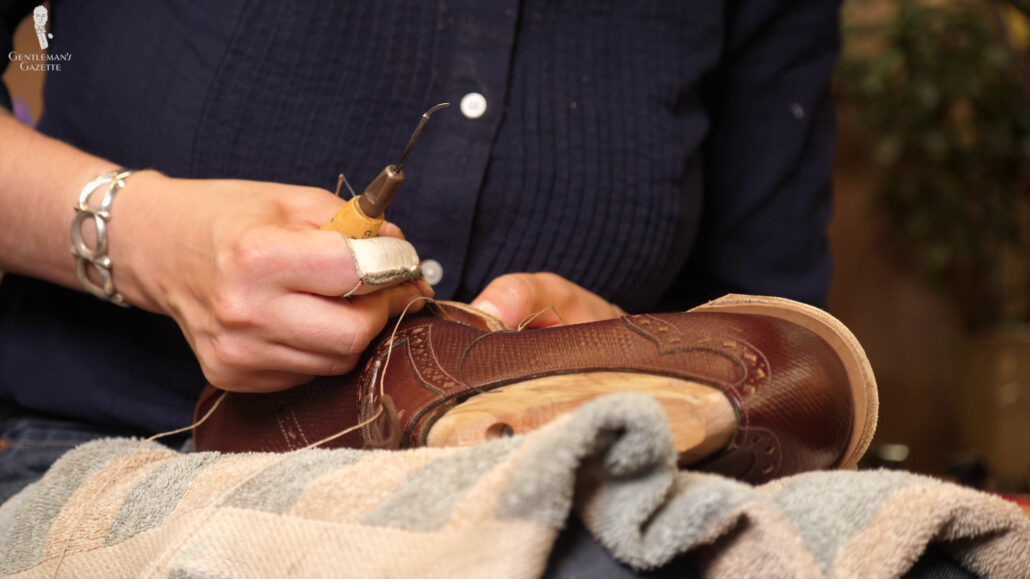
To enjoy a tight and secure stitch, everything is tightened after each stitch and is just continued. Amara also continuously applies water to keep everything soft and malleable.
“It’s annoying because the moisture level has to be kept constant or like, you know, similar. But, then, this leather apparently gets water stains, which is a nightmare.”
Amara Hark Weber
Frankly, hand stitching is really hard on a shoemaker’s body, and it’s a long, tedious process. Especially at this stitch density, I think it may have driven her a little crazy.
Amara said, “Hey, there, twelve-stitches-per-inch. Looking fine. Blowin’ my mind. Oh, my God, Chris! Oh, my God! It’s so bad. Serenity now. Serenity now. Serenity now, but insanity later.”
She sharpened the needle with sandpaper. Finally, when she’s done with all the stitching, she uses a hammer to seal that siding cut, so everything looks neat from the bottom. Then, finally, the excess thread is cut off and it’s completed.
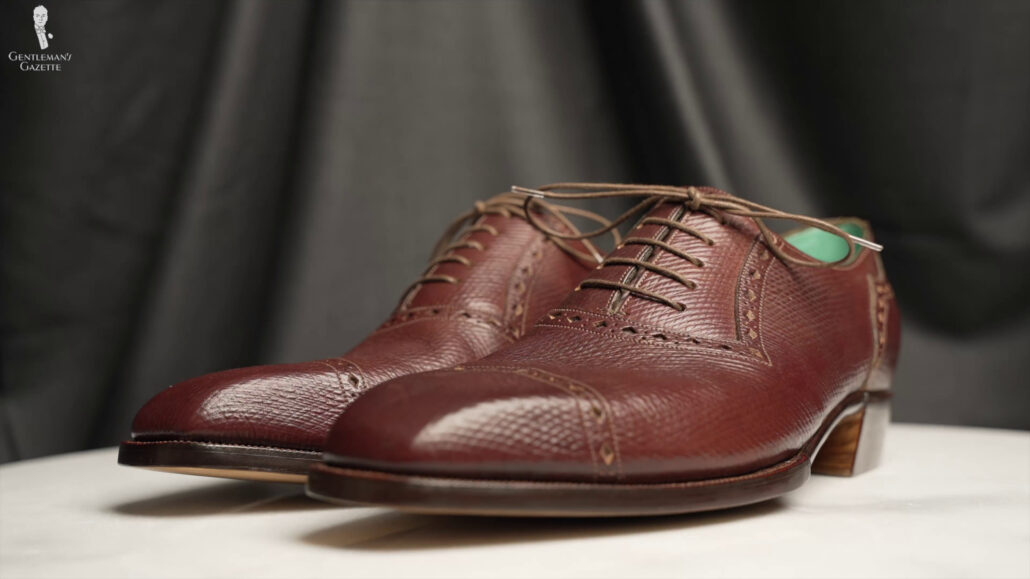
But, wow! The sewing took about three hours, but the results speak for themselves. With the outsoles attached and the sewing done, the shoe looks almost complete. But, in our next installment, you’ll see how the heel is built and how the shoe sole is shaped.
Did you appreciate the intricate welting and sewing by Amara? Will you likely invest in a pair of bespoke shoes? Share it with us in the comments!
