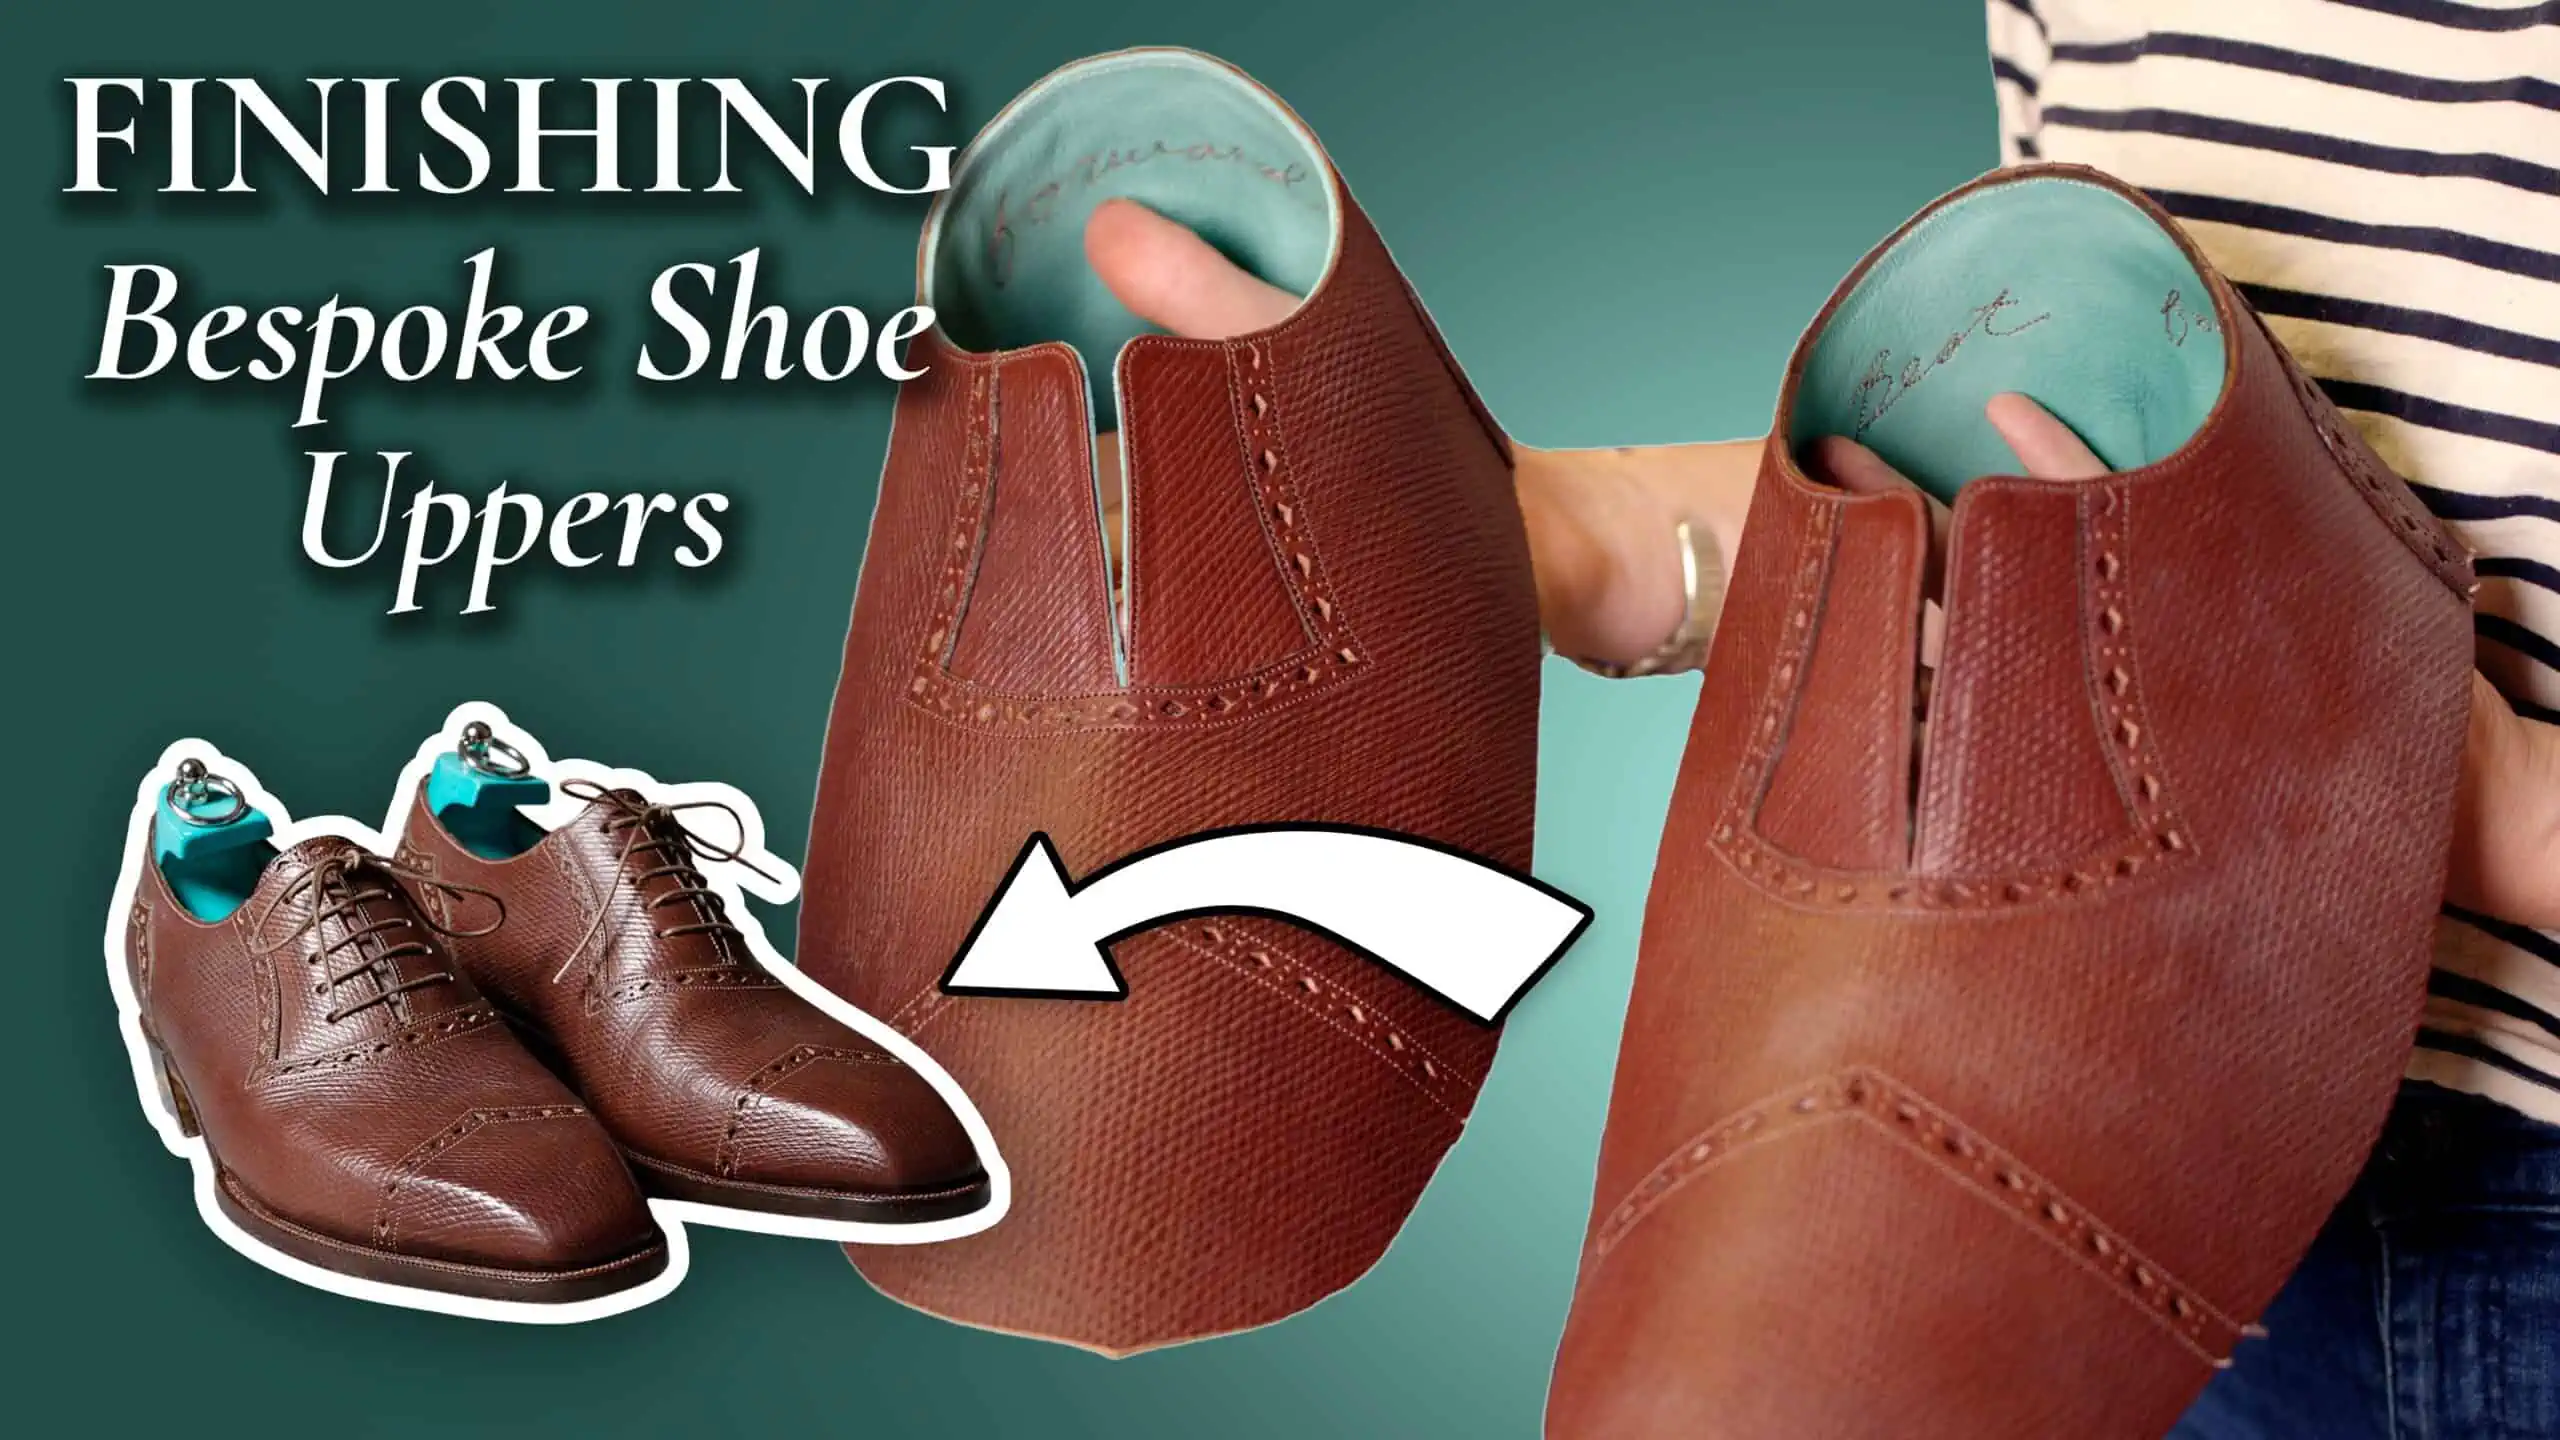
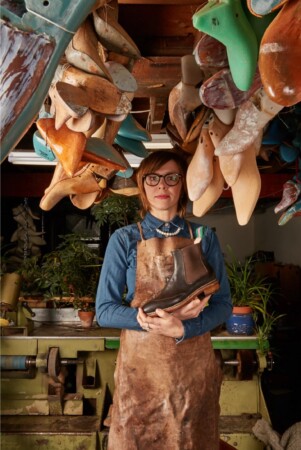
Episode 6 of our series on bespoke shoes, where we show you how shoemaker Amara Hark Weber is making a pair of shoes from start to finish by hand, is all about sewing together the uppers.
If this is your first time joining the series, you can find the rest of the episodes in our playlist.
Skiving
At this point of the process, my shoes are finally starting to take shape. We can’t quite sew the pieces together yet because before, the leather has to be skived, which is the process of thinning out the edges, so there will be no bulging later on, and everything looks smooth and neat.
As you can imagine, this process of thinning out the leather is especially important, where the leather is folded or where it’s layered. Why? Well, otherwise, it would be super obvious. For example, in our post on the Best Dress Shoes Under $300, you can see shoes where the leather wasn’t skived as neatly, and it looks much bulkier.
Best Men’s Dress Shoes Under $300
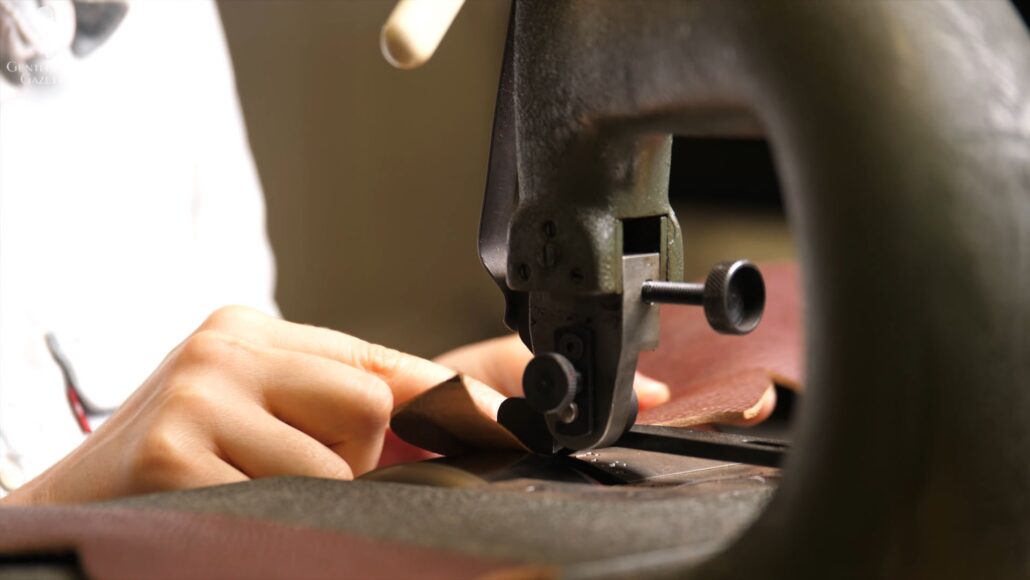
The basic skiving work can be done on a machine, if the shoemaker has one. Some may argue that it’s not true handwork if a machine is used. But in fact, you can have different settings on the machine, but it needs to be finely calibrated, and it’s very important to understand what you’re doing by hand. Otherwise, you’ll screw up the pieces. Every step, from how you hold the leather, how you position it, the speed at which you pull it through has an impact on the final output.
So, in my mind, there’s a lot of handwork involved here. Keeping a straight stitch in the machine, the operator has to be very skilled and attentive, to not screw it up. Skiving can also be done by hand and is typically done with a blade at a very flat angle, so you get very thin edges.
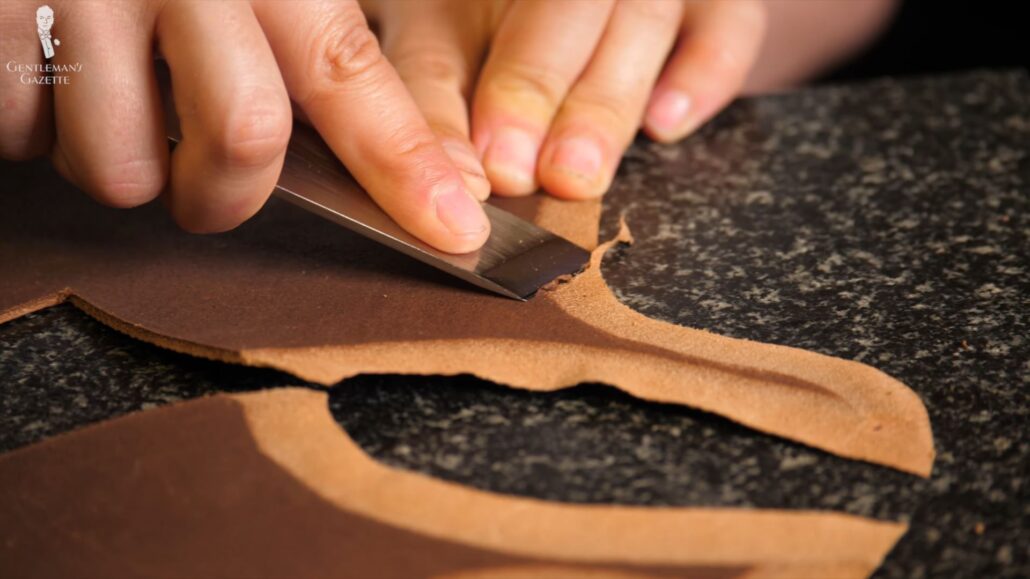
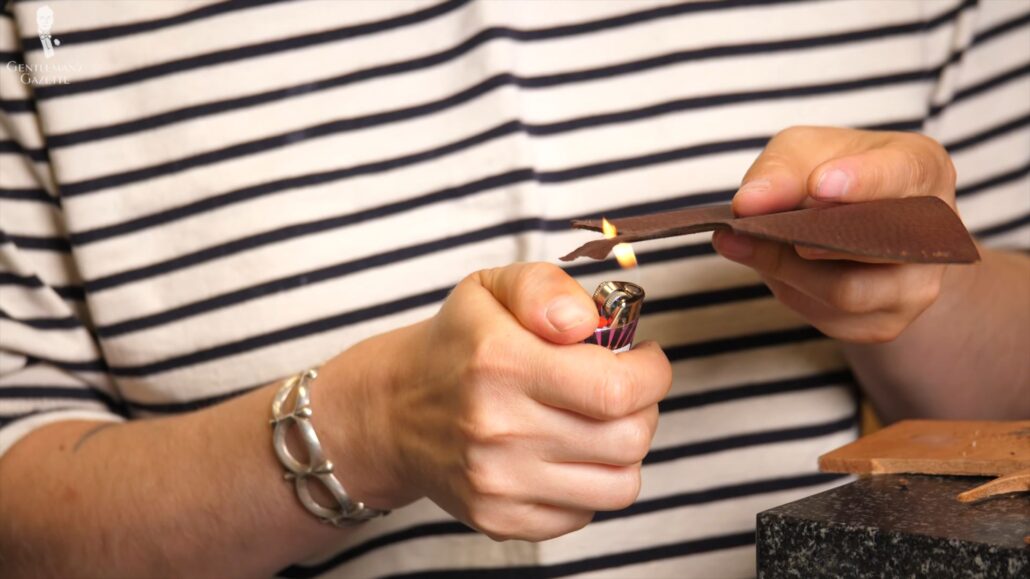
Amara Hark Weber does both for her bespoke shoes. First, she uses the machine, and then there are certain areas where she wants to use hand only or finishing things by hand. Amara prefers handwork to refine the edges, but some areas also skived completely by hand.
Of course, she can do it all by hand, but the machine is very consistent and gives her the same or better results as doing it by hand. So, why not use a machine? Any excess leather that may remain is actually burned off for a very smooth result. Now, the finished pieces of the uppers can be sewn together to prepare for the next step,
Broguing
Unlike in a factory, Amara will be doing all the broguing by hand, which allows her to be more detailed, and consistent, and with a diamond brogue, it requires individual special attention anyways. If I had chosen round brogue holes, it would have been easier and quicker. I know I’m a tough customer, or very attentive to detail, as Amara might have phrased it.
So, for my broguing hole, Amara used the diamond punch, as well as a small two-hole punch. Together, they create a visually pleasing pattern that doesn’t look cluttered.
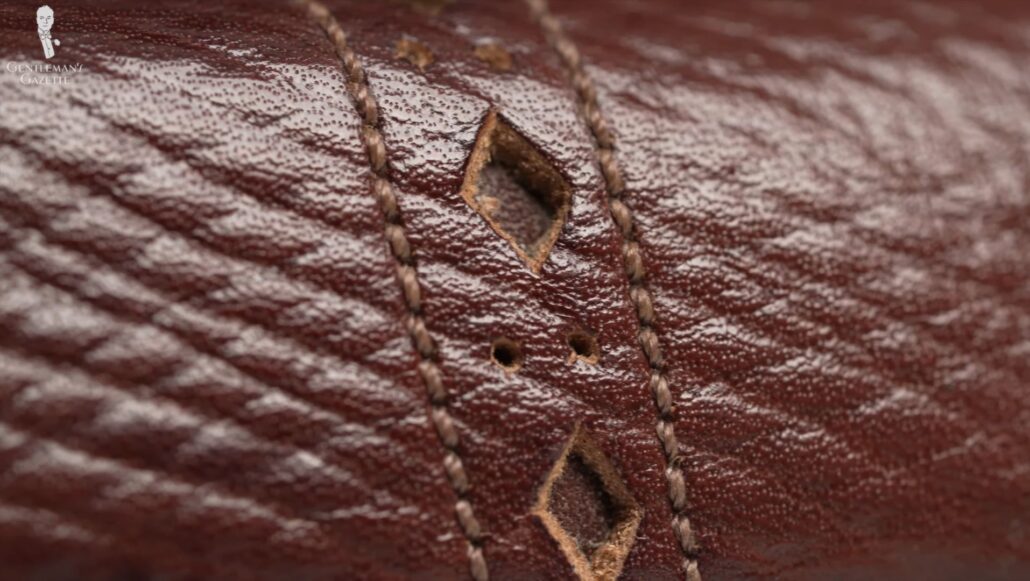
To ensure even spacing of the broguing, everything is marked first before it’s punched because remember, once it’s punched incorrectly, you have to start the entire process of creating the uppers all over. You also never want to punch holes in the area that will be folded or stitched together. So, before you use that hammer, pay attention. It’s the last chance to hammer any details before the leather is permanently marked.
As Amara and I finalized the decision for the brogue orientation, she starts with the ones that are most prominent in the center. For example, in the cap toe, she started with the one that was aligned on the center line, not at the edges. With the first hole perfectly positioned, it will look very pleasing, and the ones that the edges don’t matter as much anymore. Of course, you want them all to look neat, but frankly, that’s not what people notice. It’s the middle one.
“I think that if you have a tendency toward geometry and dimensional thinking, then making patterns isn’t too hard.”
Amara Hark Weber
I think she’s very skillful there. Sometimes, when you do this, you see exposed leather edges, and Amara uses a rechargeable dye pen that is similar to the color of the uppers to make it all look smooth. Typically, it’s better for the pen to be darker than lighter to avoid any unwanted blend. Yes, edge coloring takes time, but it’s a small detail that has a big impact on the overall look.
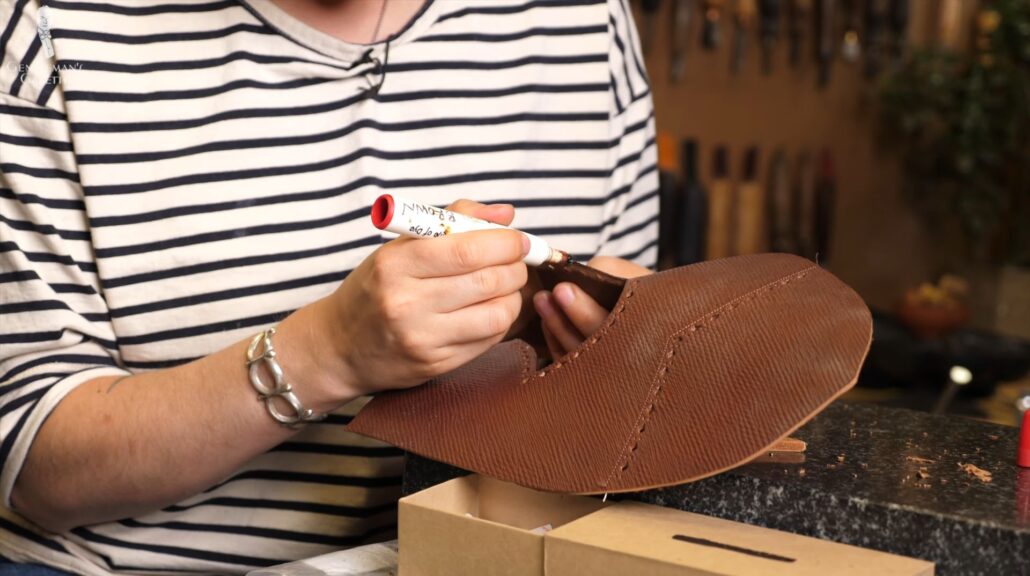
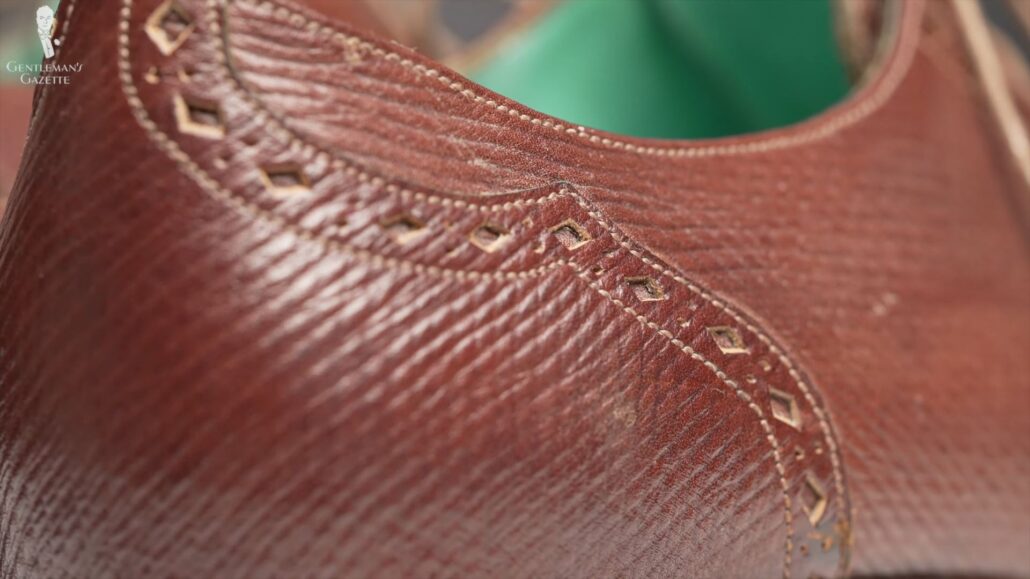
Not all raw edges are necessarily dyed, though. Amara finds that the inside of punch holes or the broguing is typically not dyed because sometimes, it bleeds and looks worse than without it. Also, the little contrast can be quite pleasing to the eye, especially in areas where the leather is stretched, like on the outer heel cap, for example. I particularly like the look of the contrast edging there. I think if it would be all the same color, it would lose visual interest.
Amara also takes time to remove any debris by burning off little bits, which were there maybe from cutting or skiving. She tells me that broguing varies greatly from shoemaker to shoemaker, so she’s always really excited to see how other shoemakers are doing it. So, once the broguing is done, it’s time to assemble the upper, so everything is ready to be sewn together.
Readying the Pieces
First, she puts the heel counter and the quarters together, then the quarters, and then the vamps. Then, she joins them around the facings. Essentially, it’s like creating a back of the uppers, and then a front, and then you combine them at last. Because of the unique design of my shoes, we just have a back and then a long front. If I had a cap toe, that would have to come together at this point. But it was just a full one.
I’m just trying to think of what’s going to be the most advantageous, so I can get the most precise stitching.
Amara Hark Weber
Backing Strips/Piping
Typically, when you do broguing, you also have some kind of backing that will show underneath those holes that you just punched out. Sometimes, it can be leather, and other times it can be fabric. Some people even like to play with a contrasting fabric to be really loud. While I may have thought about it for a second, I realize it’s not suitable for a classic menswear shoe to have such a bold element, like a flashy turquoise backing underneath your broke holes. So, I decided to just go with the leather. Sometimes, you can also have piping, which can be contrasting or the same. The upper edges will look nice afterwards.
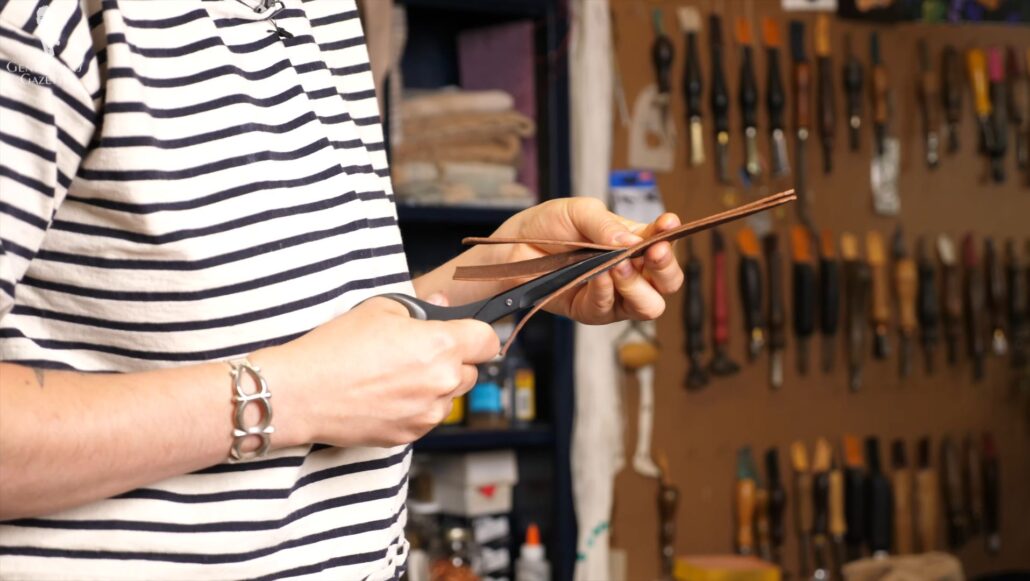
Our backing doesn’t just beautify the brogue holes, it also adds structural reinforcement, filling in the brogue holes. After all, these are not supposed to be perforated shoes, although for summer, maybe that’s what you want. Of course, the backing is also skived down to ensure an elegant look.
Amara uses her fingers, so she can feel that there are no bumps, and everything is skived in the right way. While attaching the leather pieces, you will see Amara used glue. That’s not because she just wants to glue it together, but because it keeps everything in place and means it’s ready for stitching. Also, it helps to give it a tight seal.
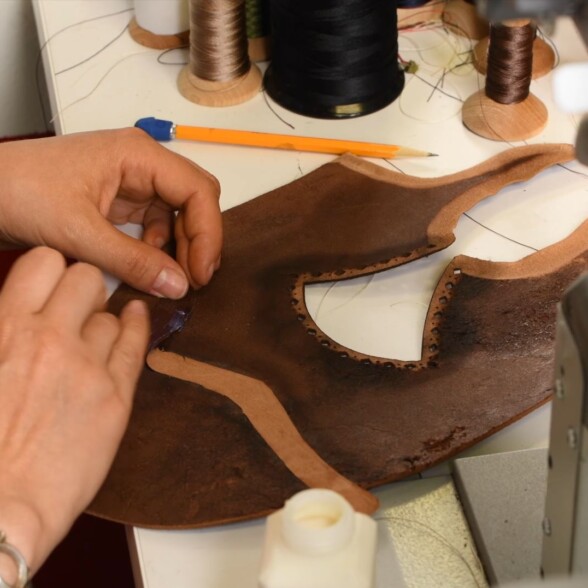
keeping it together
Before stitching, Amara uses glue to give the leather pieces a tight seal.
In much cheaper shoes, glue is used instead of stitching, but that’s not the case here. So, if you see your shoemakers using glue, don’t worry, they’re not cutting corners, they’re just ensuring an ideal outcome.
Amara uses spacers to fully understand where she has to sew things at the right distances, so everything looks aligned and not out of whack. Then, she stitches the strip in place.
Connecting Uppers and Facings
It’s time to handle the facings. These are the portion of the uppers where you find the lace holes in. The facings are particularly under a lot of stress, because that’s where you have your thin shoelaces, and some people may really pull hard in their laces.
So, you want to make sure the leather doesn’t age particularly here or that the holes rip in. Therefore, the facings are particularly reinforced. The reinforcement helps to create the rigidity, stability, and durability that you want in that area. Typically, it can be made from leather, others use fabric, or a certain kind of fiber tape. Apparently, some even use duct tape.
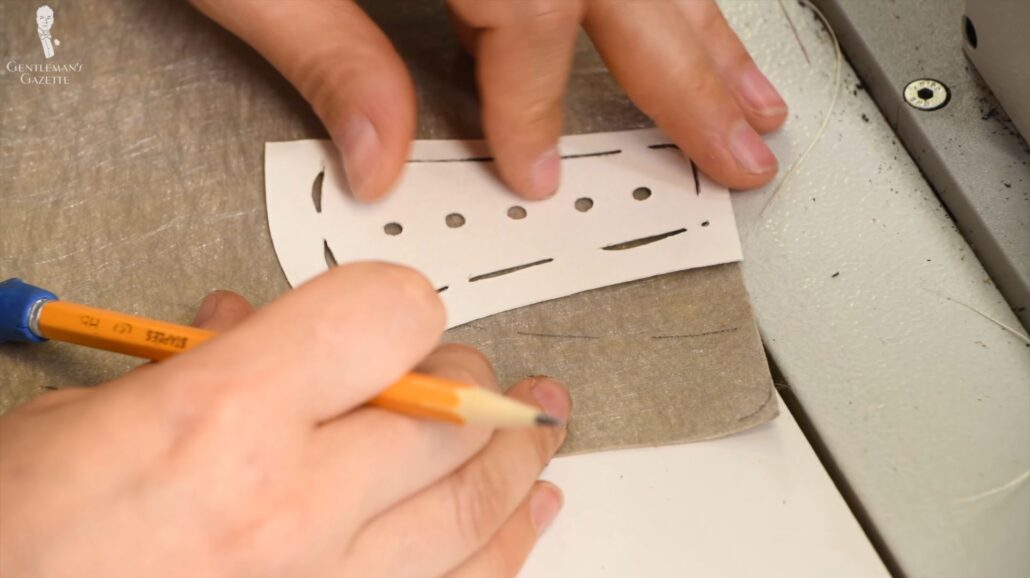
Ultimately, you need something stable, thin, and that doesn’t stretch. In this case, Amara decided to use the specific fiber tape she’s used many times before, knowing it will do the job for this shoe. She processes it, and cuts the desired shape, adds glue, and then rolls it down for a tight, refined seal.
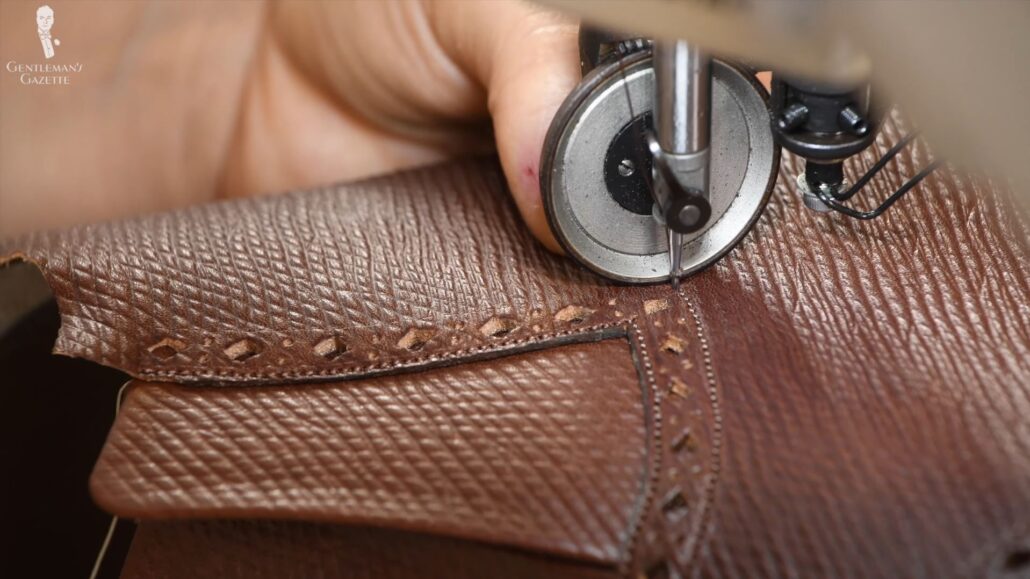
Next, Amara glues together the main pieces of the uppers. She wraps up the edges for the glue will be applied, so everything will adhere better. So first, everything is glued together, and then it is stitched. The stitching follows the top and bottom of the brogue lines. Reinforcing the backs of stitches is really helpful to ensure you have a quality product that will last many years to come.
If you use leather tapes or linen, Amara likes to have something really stiff that makes sure it will stay in place. Even though it’s a sewing machine, Amara uses the hand crank a lot, just make sure the stitches are exactly where she wants them to be.
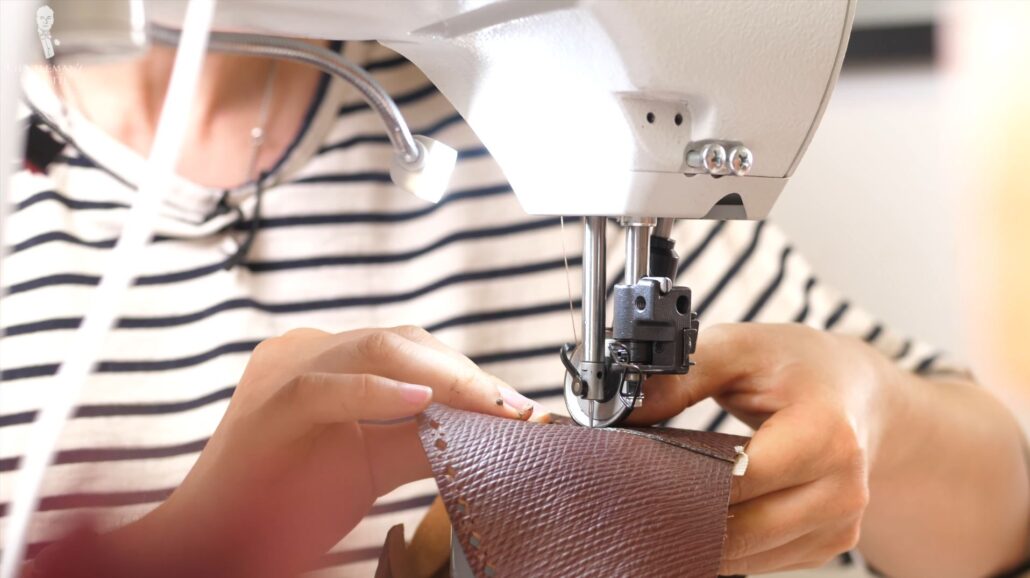
After making the initial stitch lines on the vamp, she gets hold of her spacer again to ensure everything will be just right. Amara says that the second or even the third line of stitching is harder to do than the first line. Frankly, I think even the first line is already incredibly difficult, and my uppers would look terrible. At the end of the day, how the overall design and stitching will come together really depends on your shoemaker or their upper maker and what they do in what order.
If you have the chance to see it, I found it extremely interesting, yet time-consuming. When Amara made this shoe, she use a mallet to ensure everything was tight and proper. I don’t know how she does it today. Maybe I’ll see with the next pair of shoes. When attaching the facings to the uppers, she uses glue, but she has to be careful that there’s no excess glue that would leak through the brogue holes.
Once again, there are multiple rows of stitching, which is more difficult, and at this stage, it seems like the facings are overlapping, but it’s pretty flat, and later on, the shoe everything will be fine. So, don’t be nervous. It’s just another example of how a shoemaker has to think three-dimensionally with two-dimensional items.
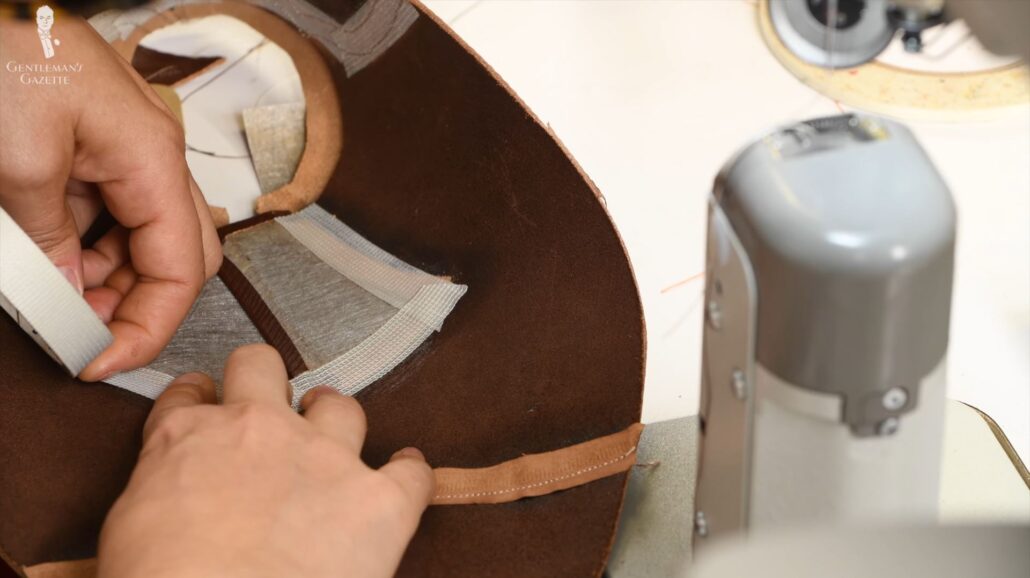
At this stage, Amara uses the backing fiber to reinforce the facings. Then, she stitches them into place very carefully and gently because the shoes have a relatively high stitch density; she doesn’t want to weaken anything, and avoid any extra stitches.
Leather having too high of a stitch density is actually disadvantageous because it makes the leather less strong. So, talk to your shoemaker about what they recommend, and don’t go overboard and ask for more stitches. In fabric, it might be better, but in leather, it’s worse. Your shoemaker will typically suggest a certain type of thread, and a stitch density they know will work. So, I definitely went with her recommendations. Because obviously, I have no specific clue about it.
To probably realize the design we discussed, she has to account for those dimensional differences. For example, the curved point on this Adelaide shape looks very exaggerated when looking at it flat. But later on, on the final shoe where it’s round, it will look different. In fact, it’s actually perfect, but you can tell this wasn’t the first time she was doing this. Honestly, overall, I was impressed by the entire sewing process because, unlike with fabric, if you make one mistake even at the very end, you have to start all over again.
Lining
For the lining, I didn’t just want an interesting color, I also wanted some fun customization, and Amara offered to add text into it. So, to come up with something, it could have been my initials, but I opted for the words “best foot” in one shoe, and then “forward” in the other. Amara obliged that it was a small little detail that no one really ever gets to see.
Before inserting the lining into the uppers, Amara made it all wet, which helps the lining adhere to the uppers to make sewing it together easier. Wetting the leather alone isn’t enough, so she actually uses some clips to hold it in place. Once everything is wet and clipped, though, it can be sewn.
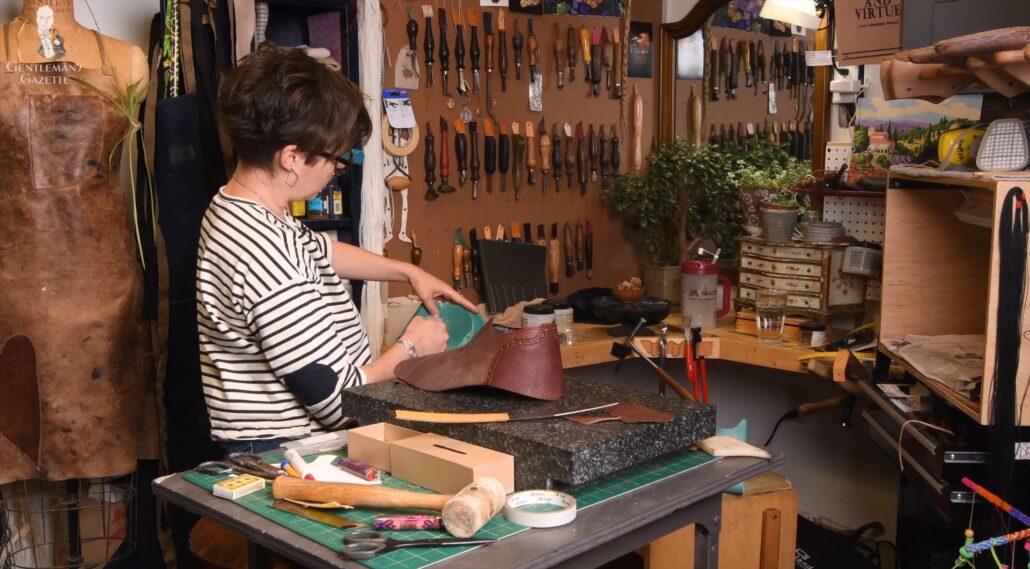
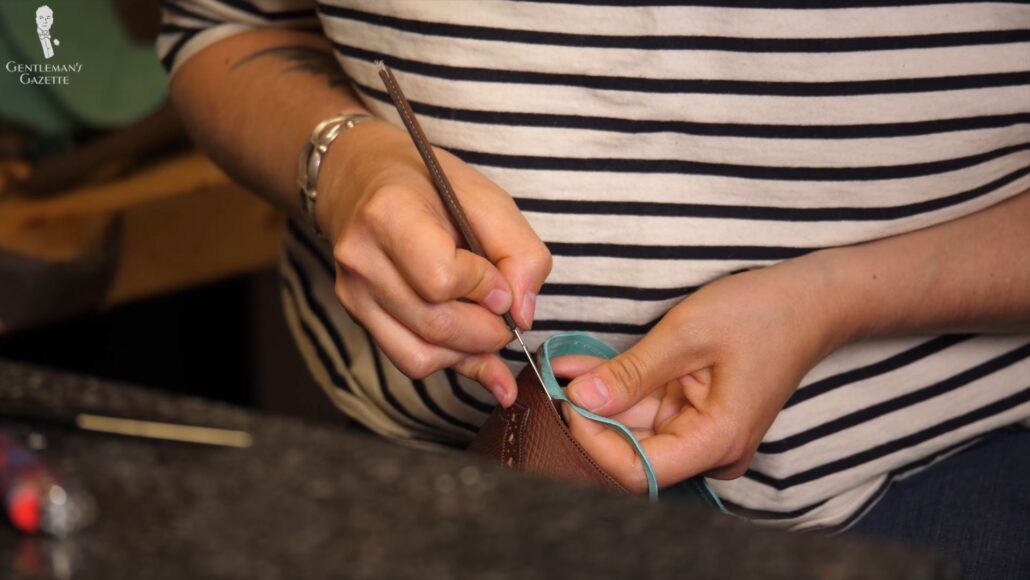
Any inconsistencies here can be marked with a Sharpie pen. Frankly, that’s not what I expected, but apparently, that’s a little trade secret. You didn’t hear that from me. As you can see, the lining is sewn with excess on it that can then be trimmed once it’s all sewn. Frankly, I didn’t realize it was done that way. Of course, just be very careful in cutting the lining without accidentally cutting any of the stitches you just made. Otherwise, she’ll have to do it all over again.
Apparently, some makers even skive the top part of the lining, but Amara doesn’t like that because she feels like it will make it break prematurely. Of course, there are always different schools of thought. So, if you’re interested talk to your shoemaker about it. Once the linings are cut, Amara once again uses her pen to color the edges. It’s a little detail, but if you compare the before and after, it’s quite obvious which one looks better. It makes a noticeable difference.
Preparing the Tongue & Throat
The tongue is prepared in are very similar way as the facings. Distances are checked with a spacer, leather is punched, pads are cut out, and then skived. Amara then prepares the uppers. She draws a full line at the throat. Why? Well, to ensure it has proper width and comfort.
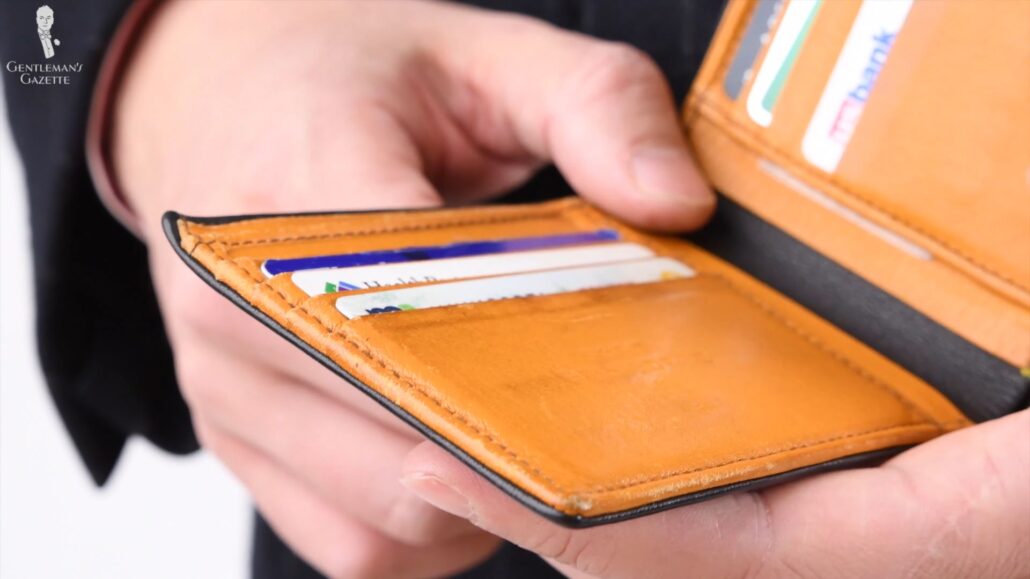
She also applies reinforcing tape to keep the throat structurally sound and reinforced for many years to come. She also cuts back the edges to ensure that everything lies flat in its final shape. Amara folds the edge of the throat down for an improved hold. That means there is no exposed cut edge, and if you know a thing or two about higher-end leather goods, folded edges are more difficult to make than edge painting.
Punching the Eyelets
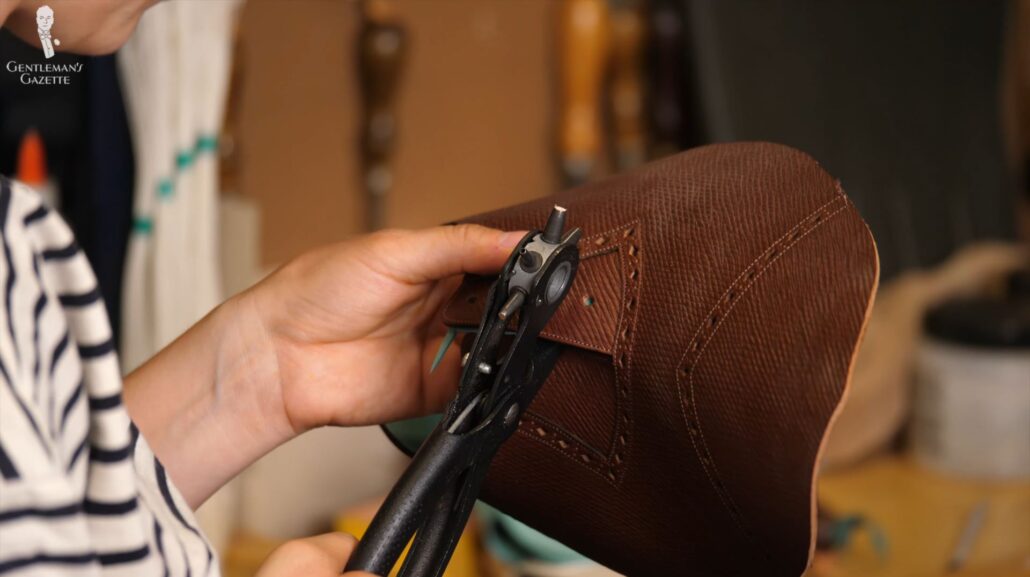
Interestingly, punching the eyelets is one of the most nerve-wracking parts of the whole thing. That’s because once it’s punched, it’s set. If it doesn’t align, back to square one. To reinforce the eyelets, you will sometimes see metal grommets. Sometimes, they’re just visible from the lining side, sometimes it is also visible from the outside, but that’s typically something you only find in more rugged, casual boots; not in a fine Oxford dress shoe.
In this case, my upper leather was very thick, so then I thought, it was necessary to add them in the back, and so we skipped them. In line with the Adelaide, we made the bottom holes wider than the top, trying to maintain that same line. So, Amara carefully lines the upper leather as discussed and then punches the holes. Before we can see if the eyelets were punched correctly, we have to finish the lacing system. That means the tongue has to be attached because it’s underneath.
Attaching the Tongue
Amara prepares the tongue lining. Sometimes, you can also add a little bit of foam in between the lining and the tongue upper to provide extra cushioning and comfort. Then, she glues the lining and sews it, then trims off excess pieces after it’s sewn. At this stage, Amara confirmed the final position of the tongue with me, just to make sure we’re all on the same page.
Typically, your shoemaker can advise you on how the tongue should be best for this shoe with your particular foot. Here, I suggested that the line of the tongue should follow something that was already in the vamp for consistency. I think it looks great, and it also functions well, too. Again, I wanted the consistency in the overall shoe. Then, we take one last trip to the sewing machine.
Stay Stitches
There are little stitches that are meant to hold movable parts of the shoe in place over time. Amara uses three; one in the middle and one on each side. Again, every shoemaker may be a little different here. You can see her using an awl to poke the central hole.

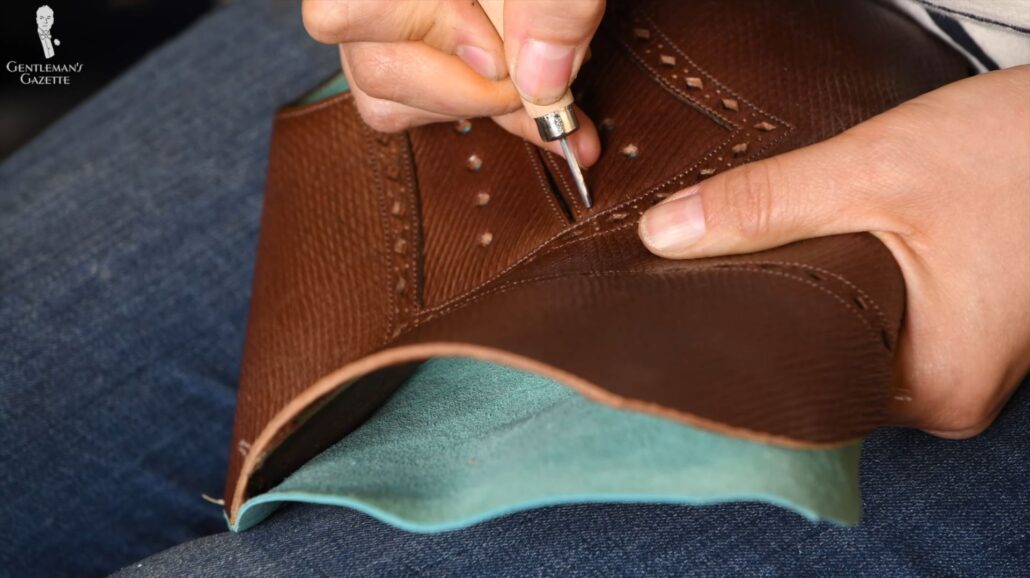
For the thread, linen and hemp are traditional. Amara prefers texon, on the other hand, which is a synthetic fiber that is this much stronger and more durable because it doesn’t decompose over time. Again, there’s no right or wrong; some shoemakers just preferred the traditional stuff, and frankly, when it comes to clothes, for example, we do too.
Checking the Laces
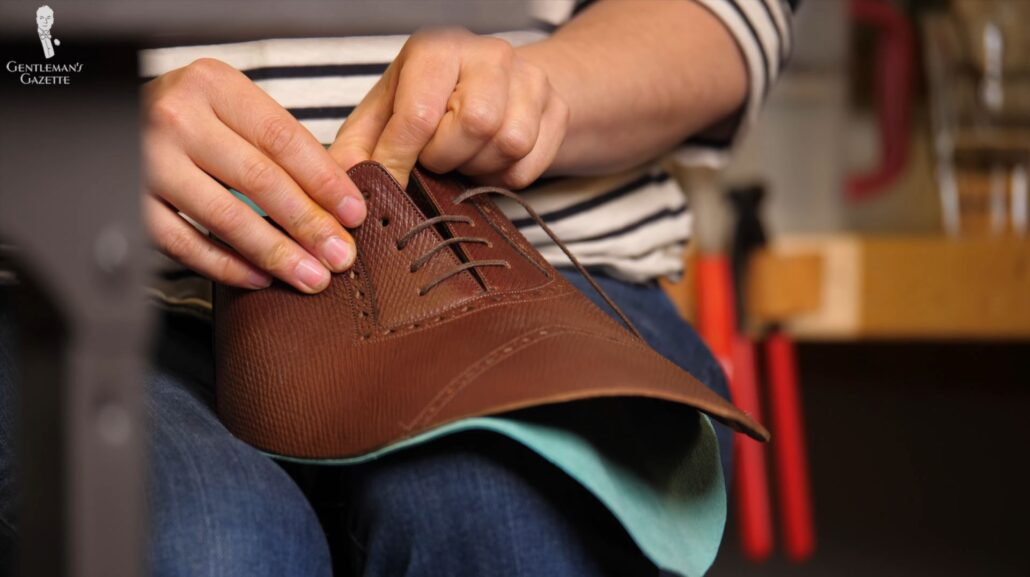
Finally, we can add a shoelace and see if the eyelets were punched properly in the right place, because if they don’t align, and the lines are not parallel or off, you’re not going to want to wear this shoe. As Amara laced the shoes, it was just something that she had lying around. I’m happy, though, that the eyelets were punched correctly, and everything looked the same. Of course, they’d look even better with Fort Belvedere laces.
Conclusion
As all the pieces are assembled together on the uppers, that more or less two-dimensional thing has now become a three-dimensional shoe. But in the next step, we have to work on the insole. It has to be applied to the last, and a channel has to be worked out, which we’ll tackle in episode 7.
