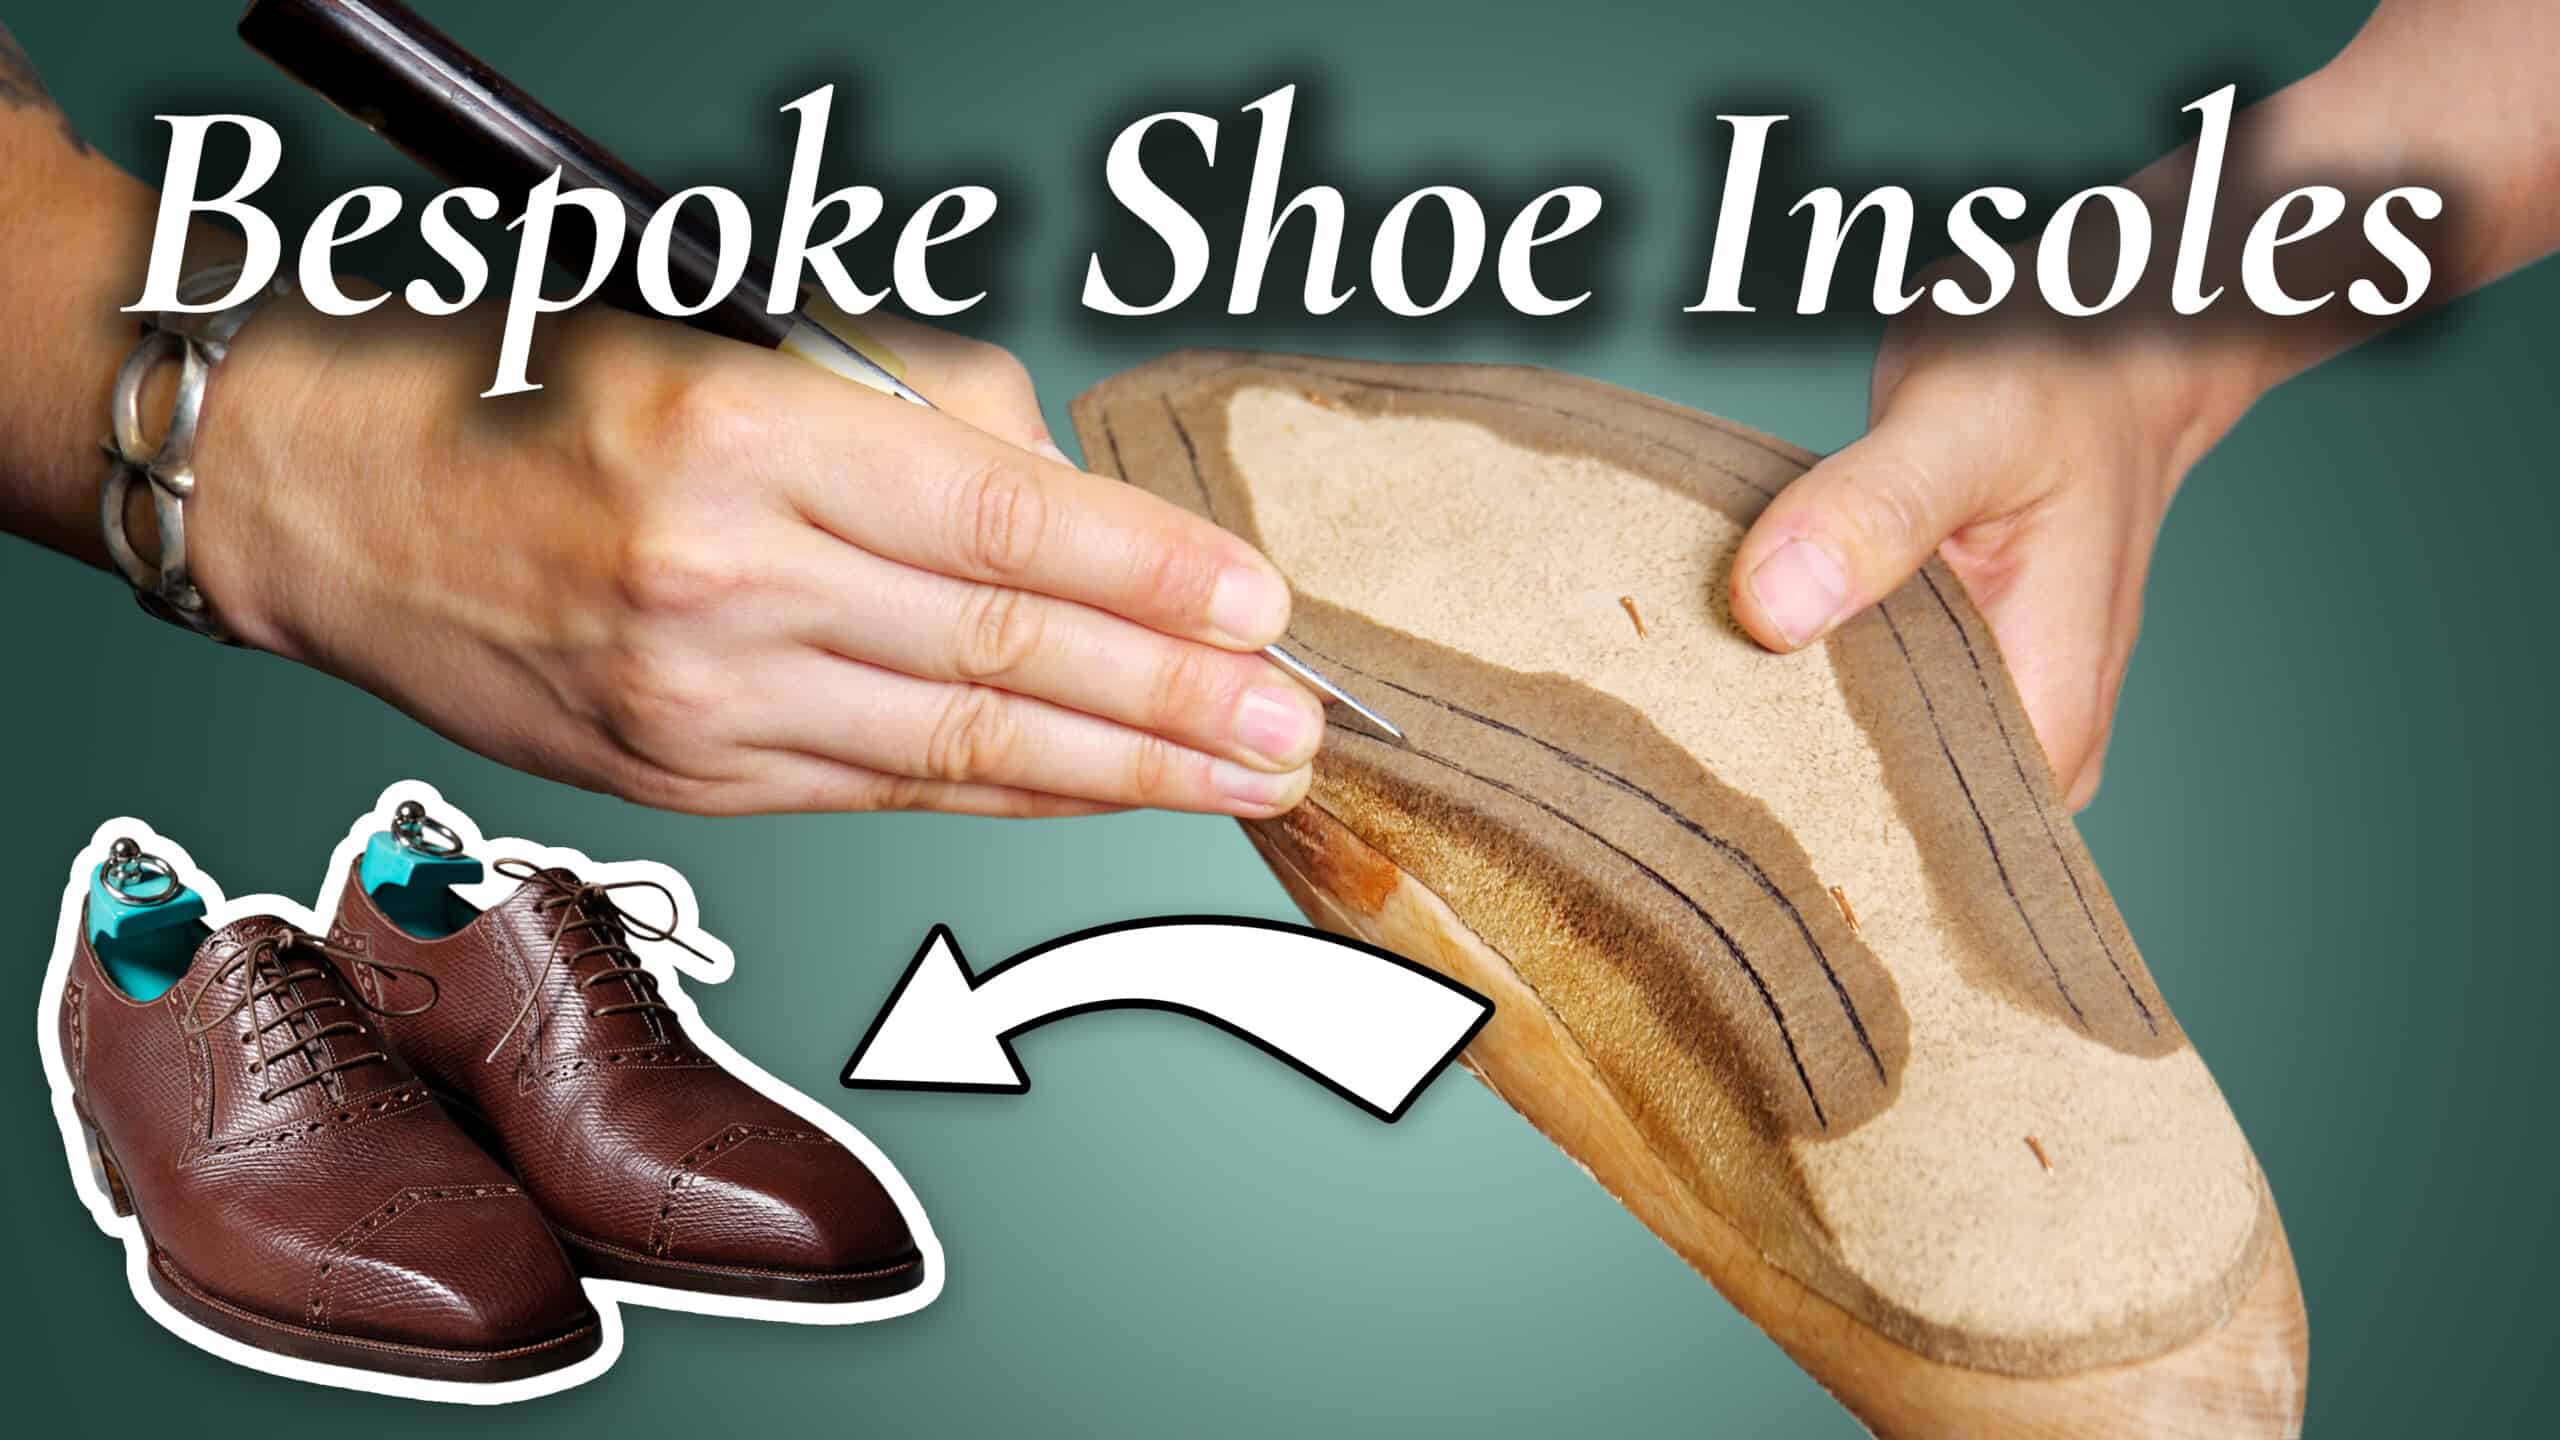
In today’s episode of our series Bespoke Shoes, Start to Finish, we’ll talk about insoles, how they are cut, shaped, and attached to the last, and how channels are added so that the shoe can come together as a whole. Without further ado, let’s get to the “bottom of things!”
What Are Insoles?
Frankly, at first, I never thought about it that way, but the insole is actually the heart of the shoe. It’s where everything comes together; the uppers, as well as the soles. The insole is really essential for the comfort of the wearer and the structure of the shoe.
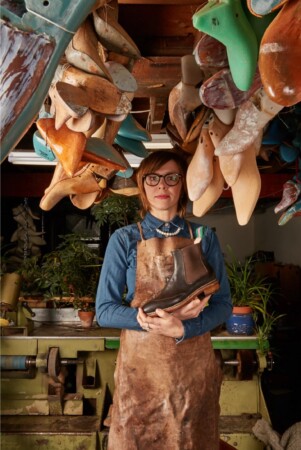
“They say the insole is like the backbone of the shoe. It’s supporting your weight. It’s conforming to your movement, and the uppers and everything is sewn through it. So, the insole is really, like the key. It’s really… it’s super important to do it well and to do it right, because if there’s a problem on the insole, there’s going to be a problem with the shoe.”
Amara Hark Weber
True words by a custom bespoke shoemaker, but of course, this is true for custom shoes. In reality, the vast majority of shoes, even dress shoes, do not have high-quality insoles.
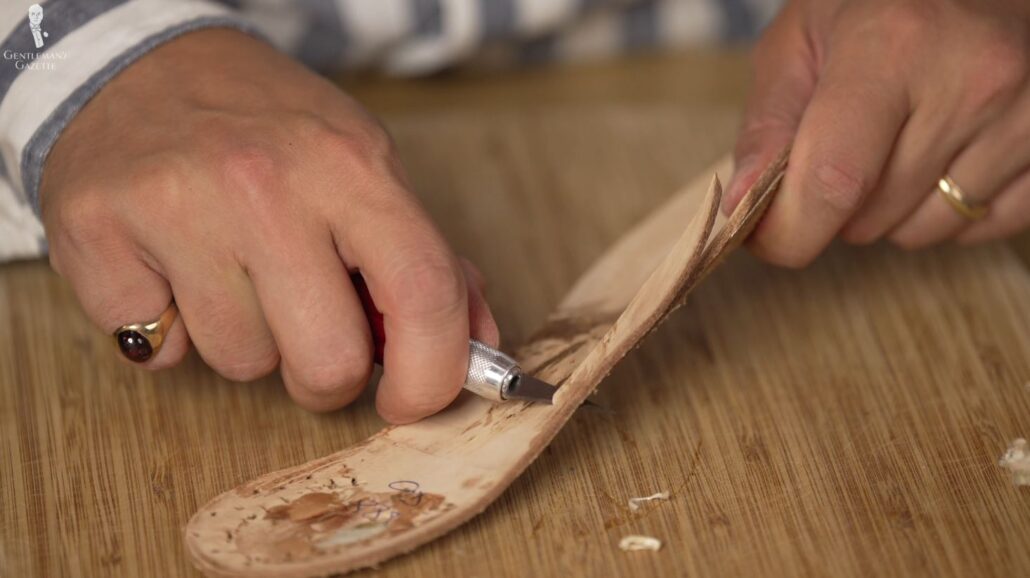
For my insoles, Amara chose the J.R. Soles, which she liked for the right amount of flexibility, stiffness, and structure. Of course, J.R. stands for Johann Rendenbach, which is German.
In most cases, the shoemaker will just use an insole that they think is right. It’s typically not something that you, as a customer, get to choose. Primarily, it’s important that they’re oak bark tanned, which is a natural process that takes quite a while with the use of bark, and the concentrations are increased over time.
Frankly, it doesn’t matter if the leather comes from Italy, England, or Germany, as long as it’s oak bark tanned. Different people swear by different things. Personally, I don’t think they make that much of a difference. As long, of course, as they’re quality leathers from quality manufacturers.
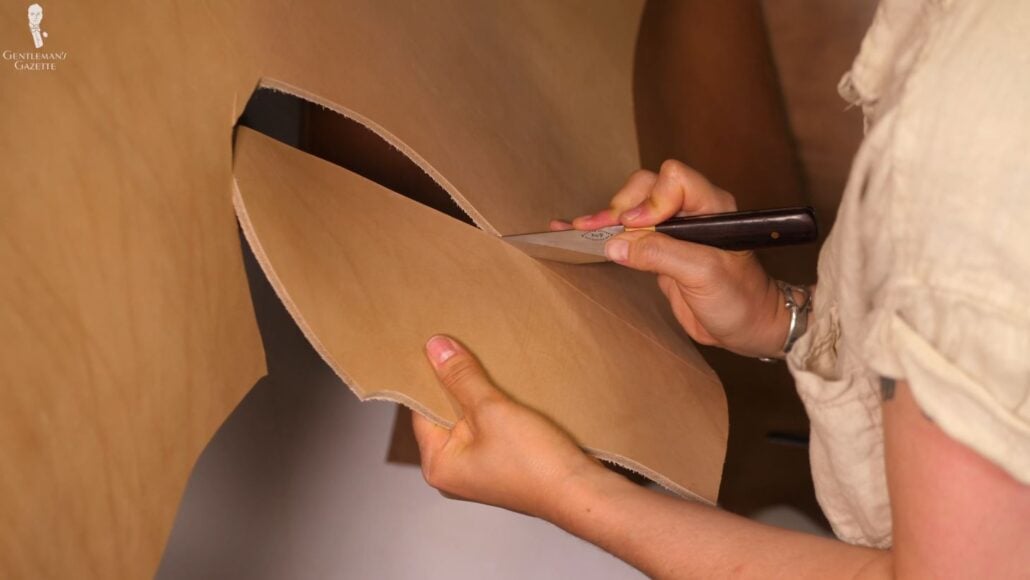
Honestly, shoemakers know their interior leather, and they have preferences for one or the other. So, unless you have a really good reason to pick a very distinct leather, I would leave it up to the shoemaker, if I were you.
So, why not just use tooling leather, thinner leather, or even cardboard on bespoke shoes, just like the majority of all the other shoes? Well, if you spend so much time on labor, it’s really not worth using anything but the best raw material.
Moreover, the beauty about this oak bark-tanned leather is that, while it’s stiffer and structured, it’s soft at the same time and molds to your foot in combination with the cork filling underneath it.
A Note on Liners
Sometimes, on bespoke shoes, you will see the original insole uncovered in the final shoe. Some shoemakers will use a sock liner, which is typically made of the same leather as the lining, so it creates a uniform look inside the shoe.
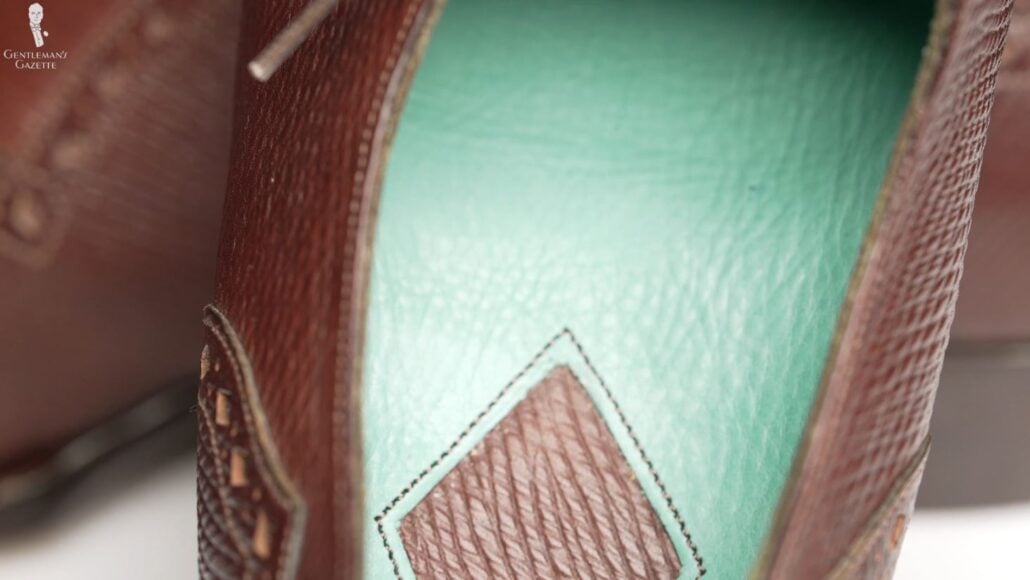
Most shoes have a half sock liner, which means, when you look into the shoe from the top, you’ll see a uniform color, but when you look further inside, you can see in the front of the shoe, where your ball is, that’s the original insole.
There’s also such a thing as a full sock liner, which means you don’t see anything of the insole anymore at all and, personally, that’s my preference because, with a half sock liner, over time, they’ll come loose and it is usually a little uncomfortable.
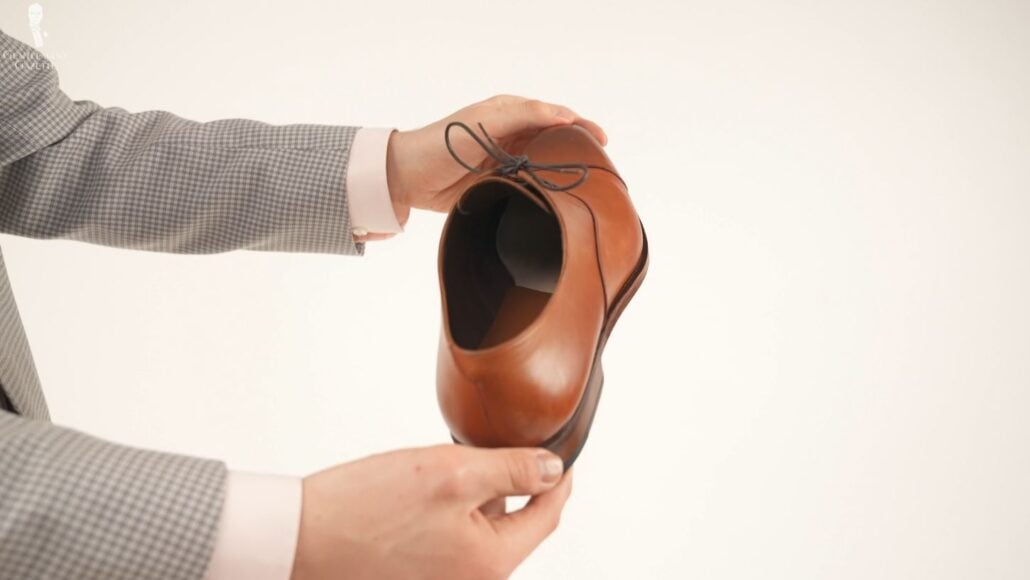
Alternatively, just going without the sock liner is also great if you want that purest feel of a bespoke shoe, having that high-quality leather directly in touch with your feet.
Beginning the Insole
To start with the insole, Amara makes a rough cut from a larger hide of leather. Once it’s cut, she’ll trim it down at the workstation. At first, she traces the last to create the proper size for the insole.
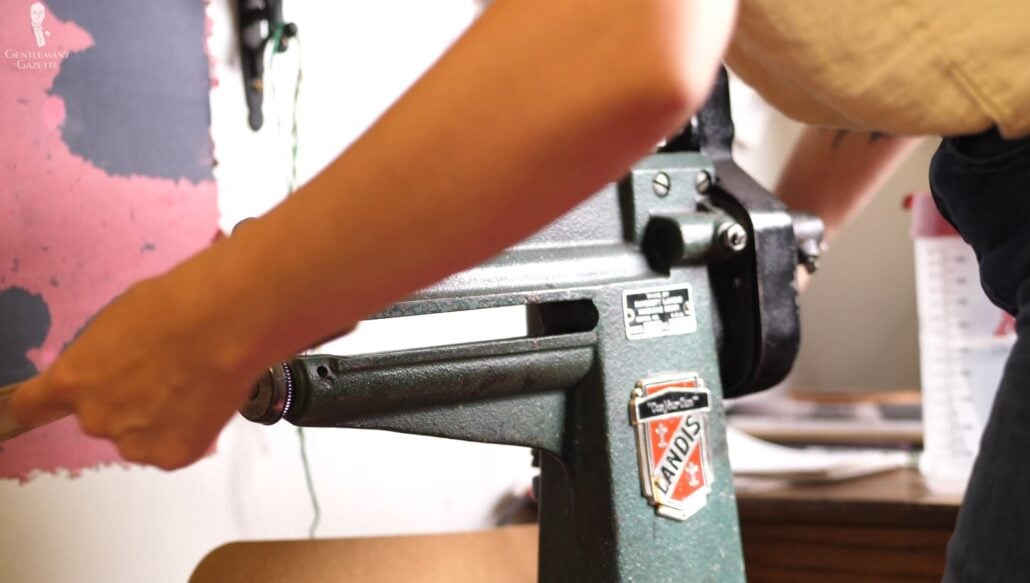
Time to meet another tool, the so-called “five-in-one.” It’s a useful leather-cutting machine because it can do welt rolling, sole cutting, heel trimming, edge beveling, and skiving. Here, Amara uses it to cut down the insole to the proper size.
Next, the soles are submerged in water. That helps them adhere to the last and mold better to that shape of the last, so it’s like they become one with the last.
Shaping Bespoke Shoe Lasts by Hand & Machine
But, first, the leather is glassed. What the heck is that? Well, it’s a bit like sanding just with a piece of glass, which is typically faster and more efficient. Amara uses the piece of glass to buff off the leather’s finish because, if she doesn’t do that, it may crack because of the wetting and putting it onto the last.
Tacking & Tying the Insoles to the Last
That insole has to be attached to the last in some way. Typically, that’s done with tacking. Amara does it down a centerline.
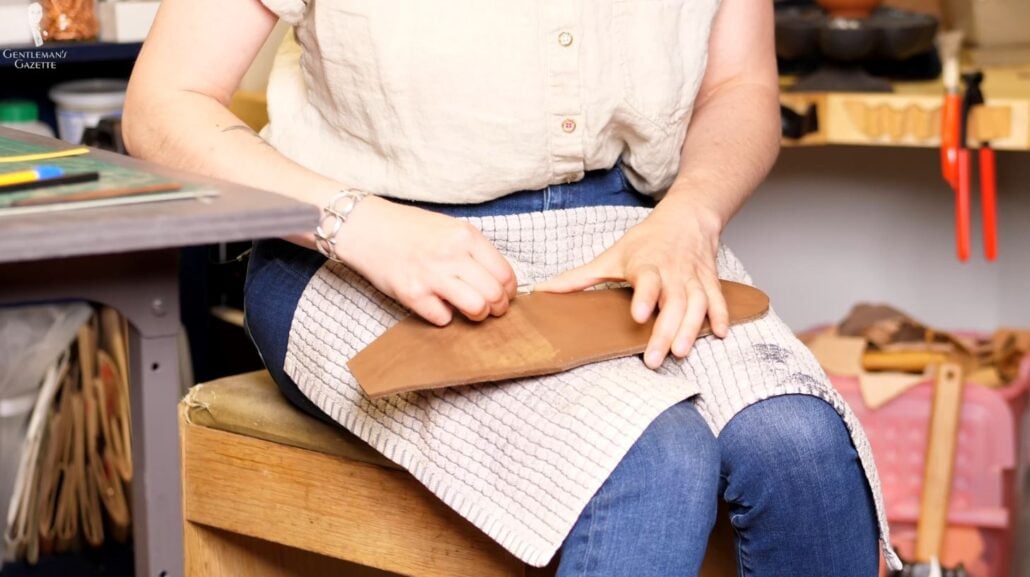
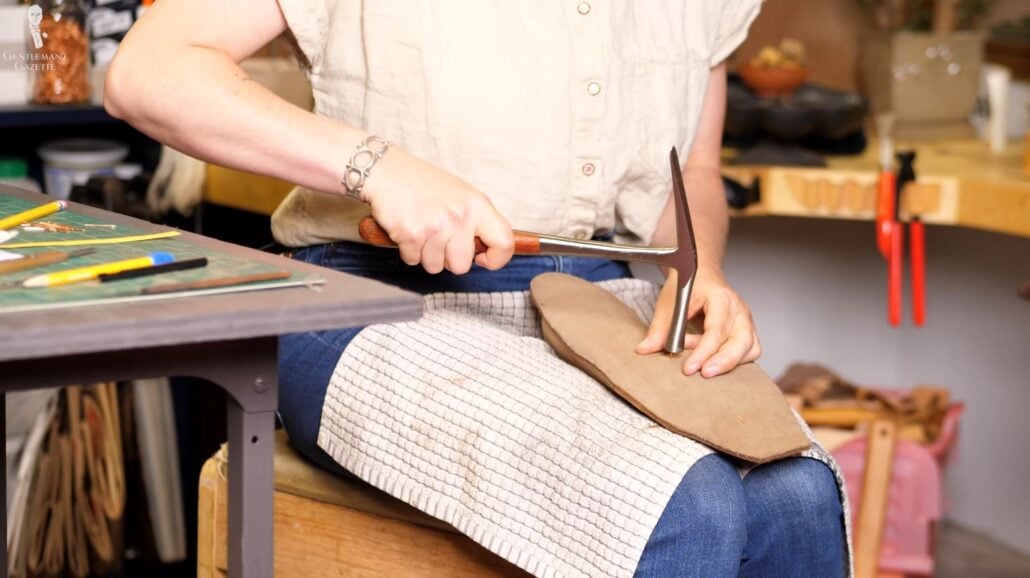
There are many different ways to do this. Of course, you might wonder, “why not take it all around the last because the more, the better?” Well, keep in mind that this insole is the product that we’ll see later on the inside of the shoe, and you don’t want it to be full of holes. The tacks Amara uses are really small. So, later on, you’ll likely won’t see holes in the insoles unless you look really closely and, of course, only if you won’t have a full sock liner.
This really highlights that shoemaking is a multi-sensory endeavor. You need your eyes, you need the feeling in your fingers, and you need the vision of what’s going to happen.
“Shoemaking is really visceral, like, I can feel and hear when the nail goes…hits the right spot, but you wouldn’t be able to see it.”
Amara Hark Weber
You can see that Amara really molds the sole onto the last with her hands. As the leather sets, it has to be tightly adhered to the last. You don’t want any gaps in between the sole and the last. To achieve that, the sole is tied down. Amara uses a ribbon or muslin. Other people use things like bike tires. There’s really no right or wrong thing.
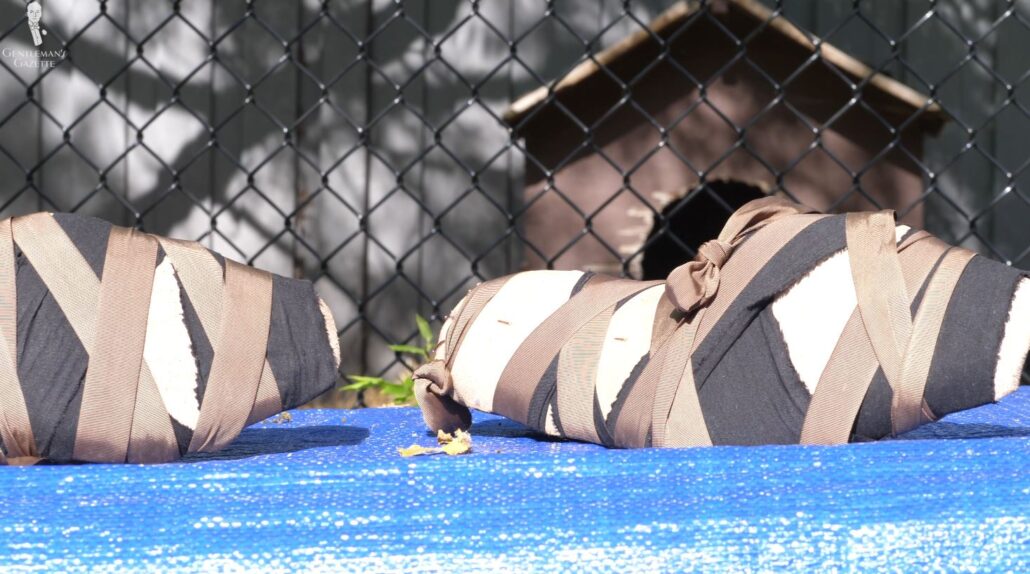
At the end of the day, it just has to be strong and do the job of adhering and shaping that insole fully to the last. Getting it flush is particularly important in the arch and instep area. It then looks like a creatively wrapped-up birthday present.
Trimming the Excess Leather
Now that the lasts are “gift wrapped,” they have to rest, the insole has to dry, and at the end of the process, it will have the exact shape of the bottom and the last. Once Amara leaves the shoes to dry for several days, it’s time to trim the leather.
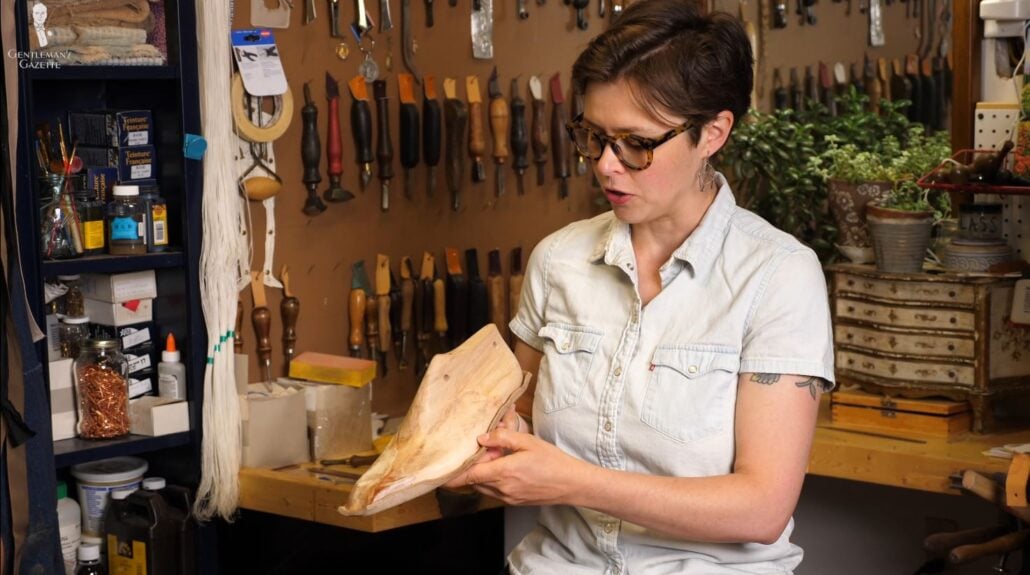
“And now, you can see that the leather is a little bit larger than the last. We have to cut that down and prepare it for the welt to be sewn onto.”
Amara hark weber
So, how to do it right? Well, first, you remove the excess leather around the perimeter. Amara begins by removing the tacks she put in initially. Of course, safety first. If you notice, she has a thick towel underneath her lap. First of all, that collects the debris, but also acts as a safety measure in case her knife slips. Amara keeps her knives and tools sharp at all times and does it herself. They’re so sharp, they even hurt to brush against the blade. You certainly don’t want that going into your leg.
In addition to being careful not cutting herself, she also has to take great care of how the leather is cut. Otherwise, the process has to start all over. Likewise, Amara wants to avoid nicking the wooden last. Why? Well, excessive or large gouges can compromise the leather once it’s on the last.
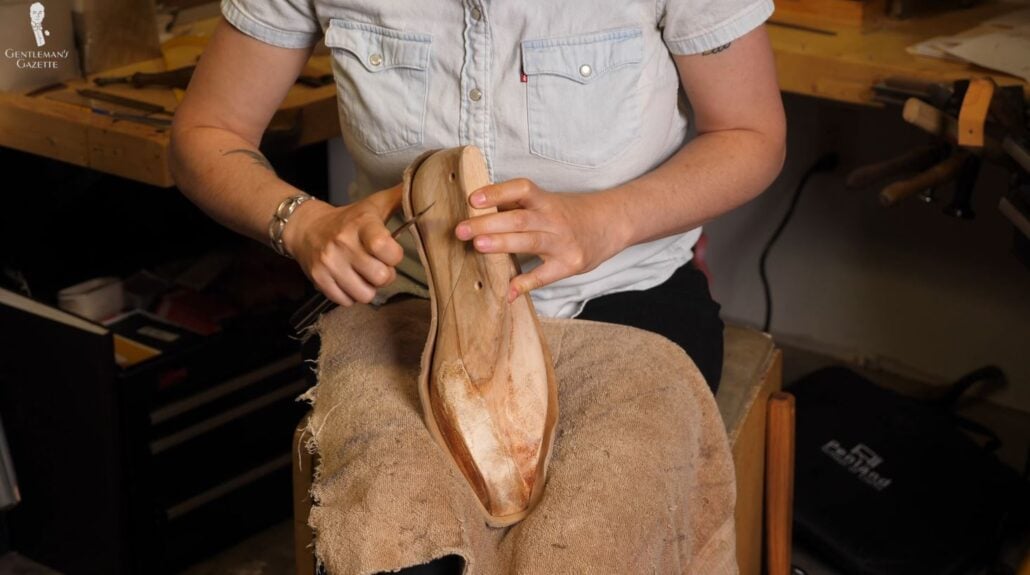
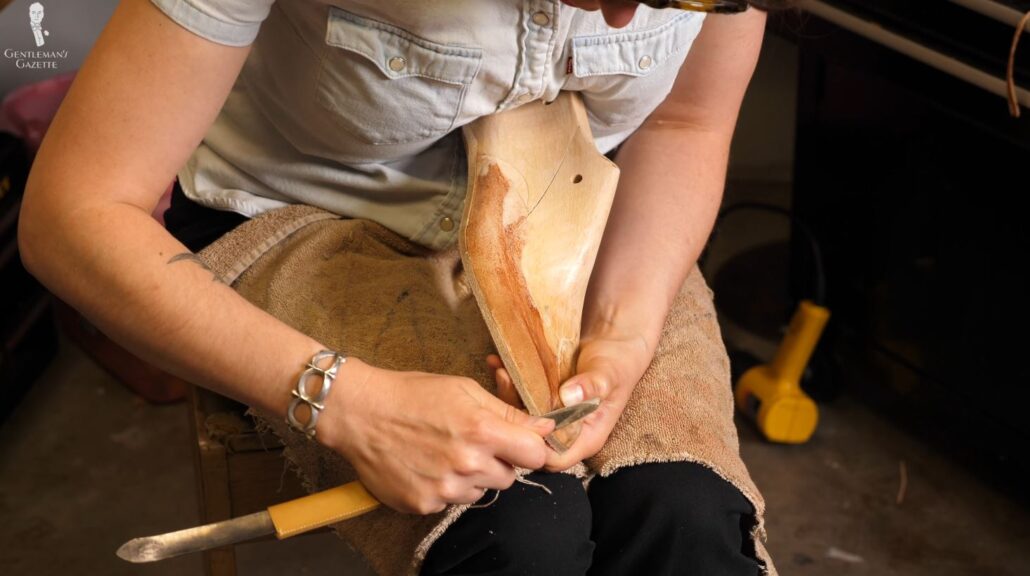
Notice the unusual way Amara is holding her knife. That control is important. Amara wants her cut to be nice and tight. And so, she uses her fingers to follow along the lines to check for any irregularities or bumps.
For aesthetic purposes, Amara is very careful around the toe area. Why? Well, it’s very prominent, so any flaw becomes much more impactful. The instep, the arch, is also a particular area of concern. The reason to pay particular attention here is that it has such an overall impact on the comfort level of the shoe.
What exactly will work best for you depends on the way you walk. For example, if your foot tends to roll inwards when you walk or if you have weak or fallen arches, it’s typically advisable to leave this area high to provide extra support and comfort for you.
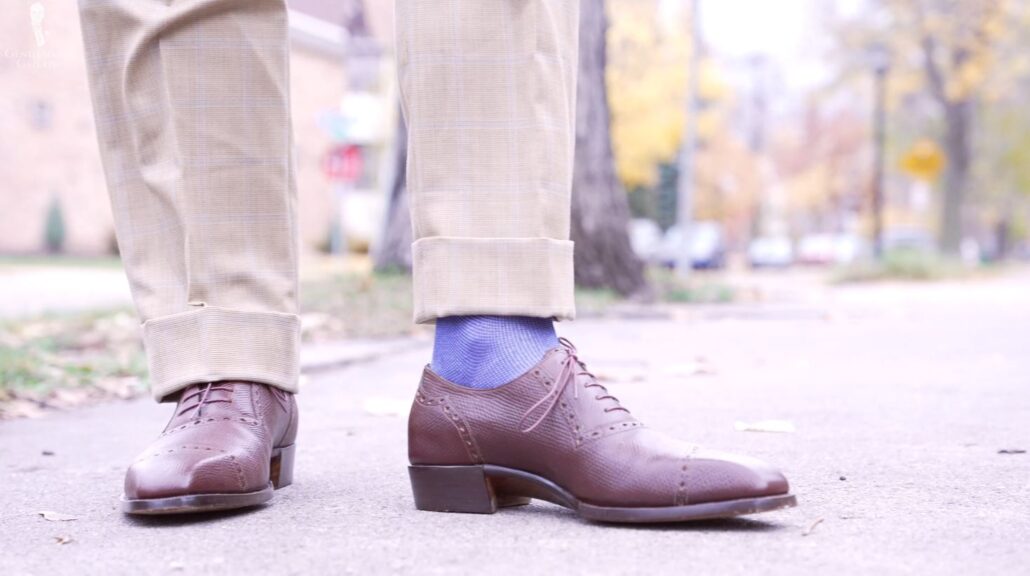
For me, Amara is shooting for something in the middle that gets us a somewhat slim waist without compromising the comfort of the shoe. Initially, I’d requested a slim fiddleback waist, so it was interesting to see how it all came together.
Shaping the Instep
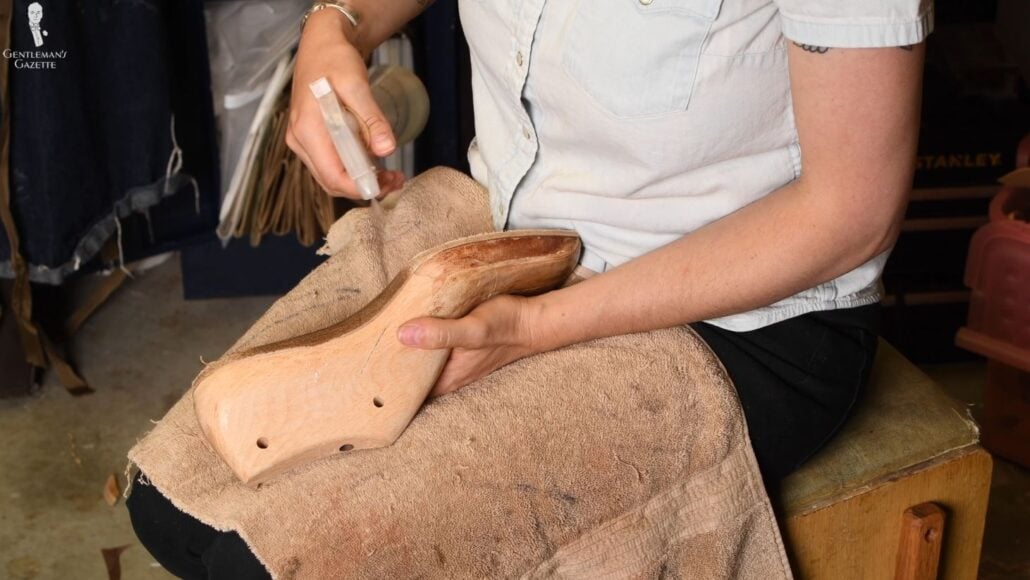
When it’s time to shape the instep, your shoemaker will likely reference the measurements just so they get everything right. As you can see, Amara applies water to the leather so she can carefully shape the area of the instep. Again, she uses glass here instead of sandpaper because it is faster and more efficient and, therefore, the shoe will cost less.
Really, you’re not losing anything in precision. Amara is really good with it, and so glass is the material of her choice for sanding in this instance. As you can see, using the hand to round the area around the instep creates a curve, visually making the waist appear slimmer.
Looking at the final shoe, I wish the waist turned out slimmer. Why? Well, that it’s not something you typically get with a ready-to-wear shoe, but it’s usually reserved for a custom shoe. Now, of course, I also don’t have the slimmest feet, so Amara tried to go somewhere in the middle.
Maybe for the next shoe, she can make it a little slimmer. That being said, the shoe and the waist don’t look anything like ready-to-wear shoes. It truly looks like a bespoke product.
To help Amara keep the work symmetrical, she works on both shoes simultaneously. She doesn’t just finish one and then start with the other. Otherwise, it’s much more difficult to get them even consistently and the way she wants them.
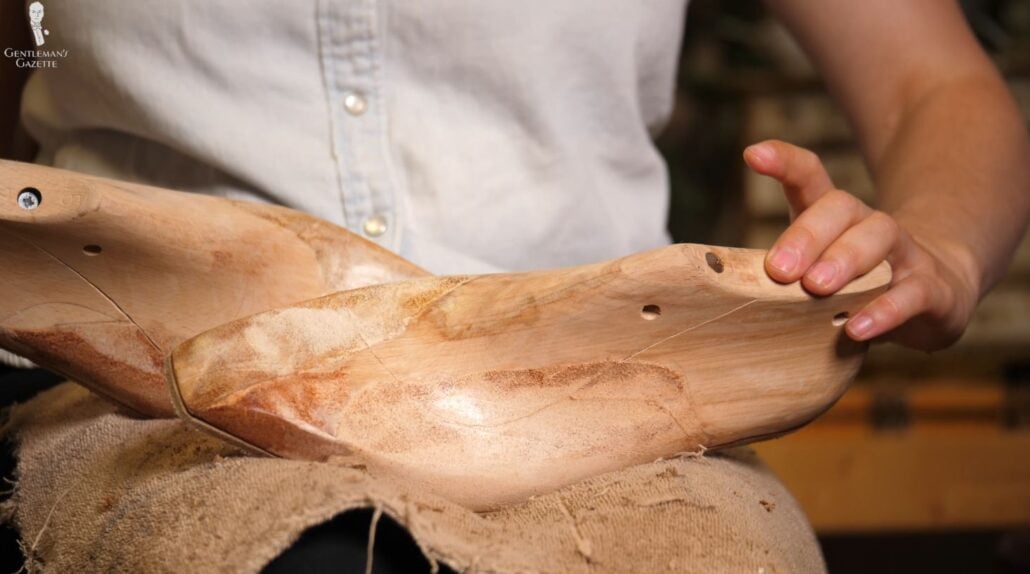
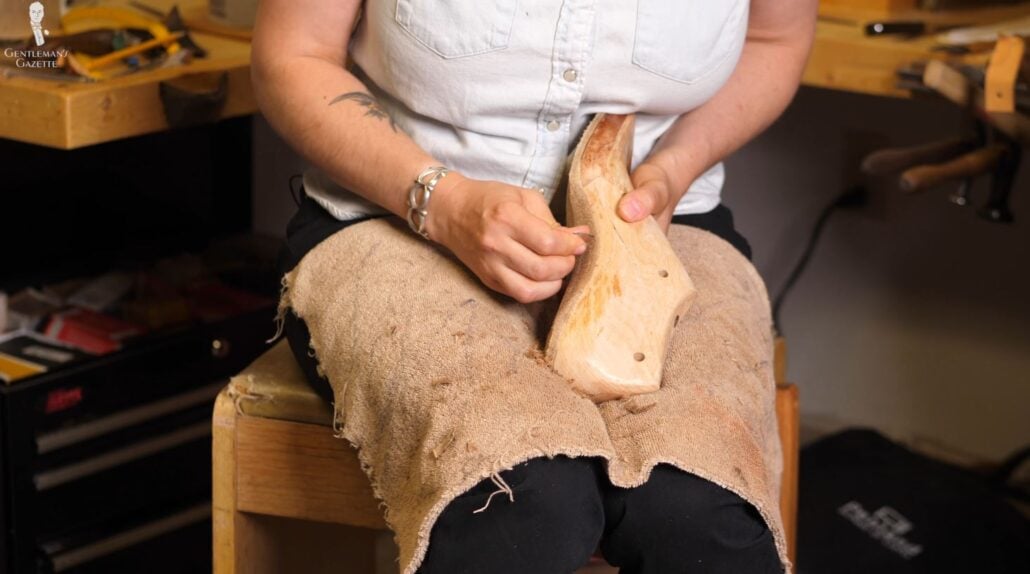
You can see she reviews constantly, going back and forth to keep things equitable. The goal is that the lines of the last continue on the insole. That means it’s not just cut down straight, but the line and the shape and the flow will make it look like it’s one piece of material, not a layer of leather paired with a wooden last.
“…[It’s important] that the insole really follows the line of the last. And so that’s really what I want, for this to match up and be an extension of the last.”
amara hark weber
This type of work requires careful attention to detail. The more work your shoemaker puts in this stage, the higher the likelihood of getting a perfect result. In a lot of ways, this process really showcases how shoemakers are artists or sculptors, more so than pure craftsmen.
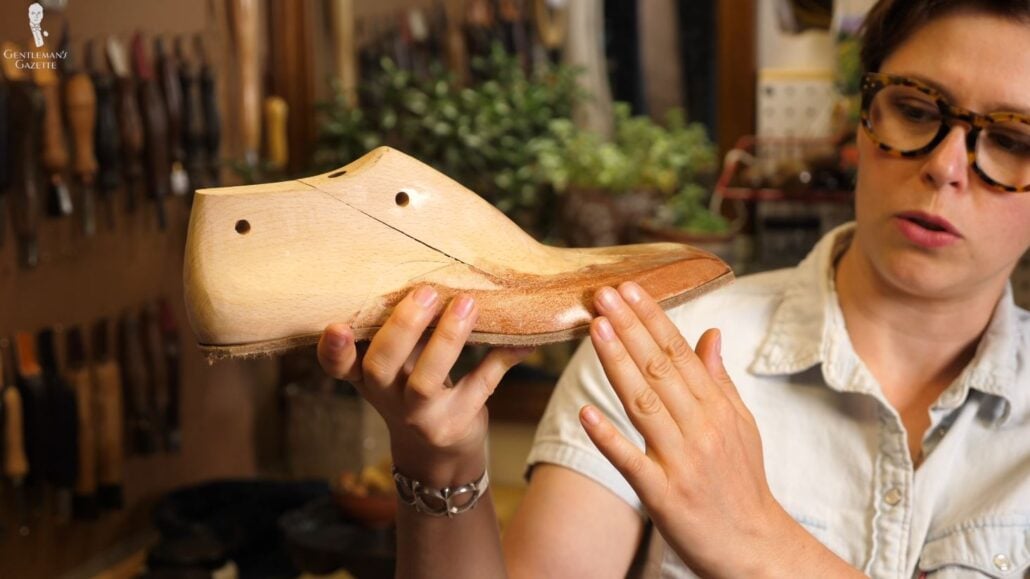
“I like this part. I like anything that has to do with the last. I like lasts. I don’t know why. It’s a sculpture, it looks like. So nice!”
Amara Hark Weber
Softening, Finishing, & Inspecting the Edges
During this work, you may end up with sharp edges that could penetrate the lining later, which is why Amara softens them, so it won’t be an issue later on. The tool she uses here is called an “edger.” Well, that’s a pretty obvious name, but it’s very accurate.
Frankly, it’s German in spirit because Germans can be very literal. Did you know what a snail lives in? A schnecken house, which means “snail house.”
Amara said she’s heard horror stories about unblunted edges that eventually worked their way through the leather, destroying it. And, of course, that’s not what we want. Whilst she never experienced it herself, she likes to blunt the edges just because it looks nicer. It’s also easier to look at any bumps or imperfections in the leather that way.
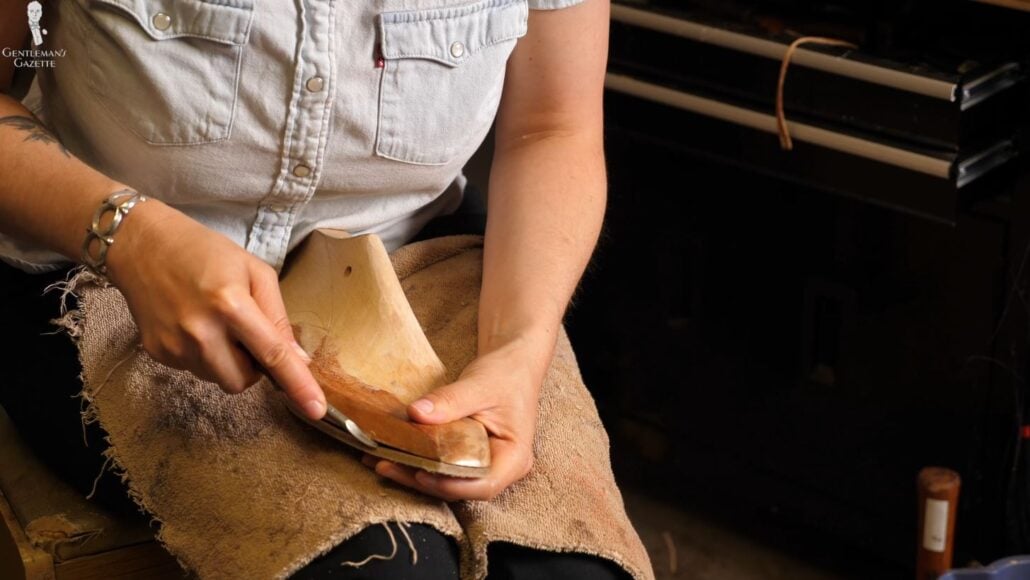
In the next step, Amara uses a finishing rod, which smoothens and compacts the leather. A few things, this tool is actually a recycled hammer handle, but it has exactly the right curvature for the bottom of the insole.
Now that the insoles are trimmed down, Amara gives both shoes a final look because she wants them to be equal. They look alright to me, so let’s keep going.
Making the Holdfast
It’s time to make the holdfast, which refers to the portion of the insole next to the channel. It is carefully carved out and perforated with holes.
Why the holes? Well, they’re there, so the welt can be sewn onto it. The holdfast consists of this channel that covers about 270 degrees of the shoe. As you may know, some shoe companies advertise their 360-degree Goodyear welt.
Myth or Magic: Are Goodyear Welted Dress Shoes Overrated?
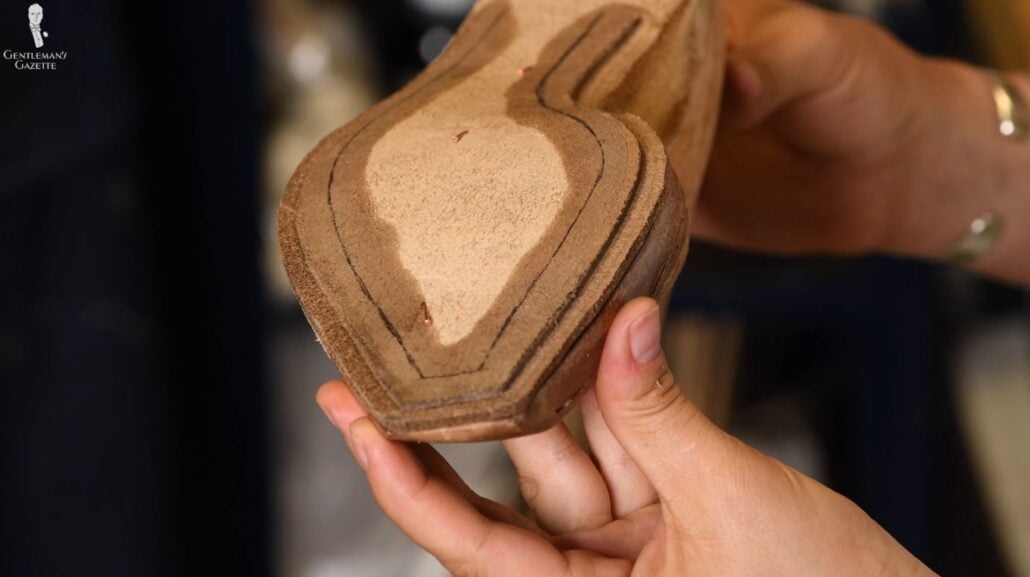
Frankly, for a handful of the shoes, 360 makes absolutely no sense. In Amara’s case, the whole face covers about three-quarters of the shoe. There are other shoemakers that sometimes only do half of the shoe and use wooden pegs in the waist area. There’s no right or wrong. It all depends on what technique the shoemaker prefers.
The most likely thing to go wrong is to make a cut that is too deep because, if that happens, you will see and feel it on the inside of the shoe on the insole.
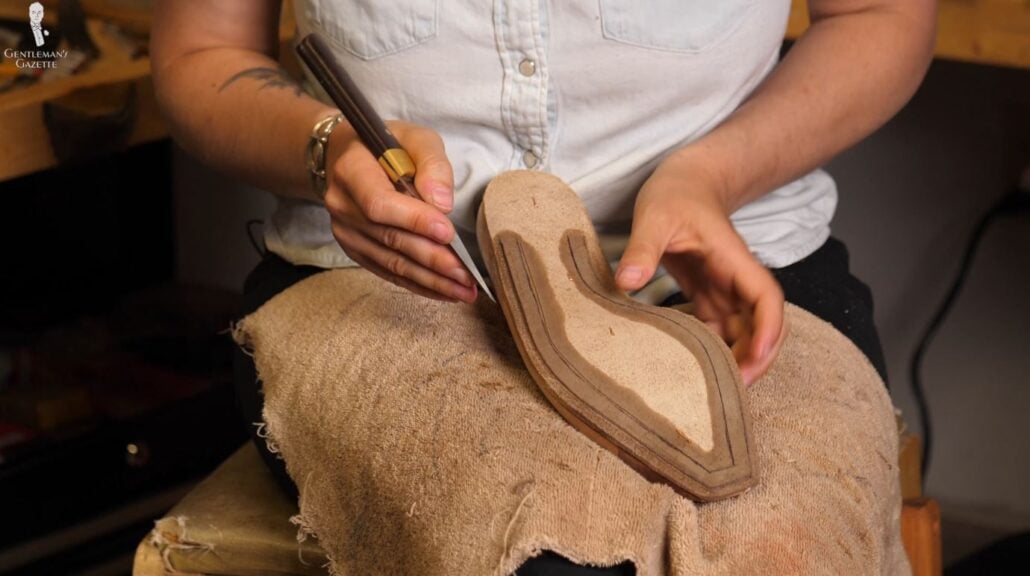
“That can be overcut. I’ve seen – and I may have done it once or twice myself – cutting too deep and cutting through the whole insole.”
If you look at the ready-to-wear shoes, chances are they will not have a holdfast. A holdfast is something you will only find on a hand-welted shoe. So, a Blake or Blake Rapid construction has no holdfast. Neither does a Goodyear-welted shoe.
Anatomy of a Dress Shoe
A machine Goodyear-welted shoe has something called a “gemband,” which is basically a piece of fabric that is glued onto the insole. In a Goodyear-welted shoe, nothing is worked out of the insole the way it is on a bespoke shoe that is hand-welted.
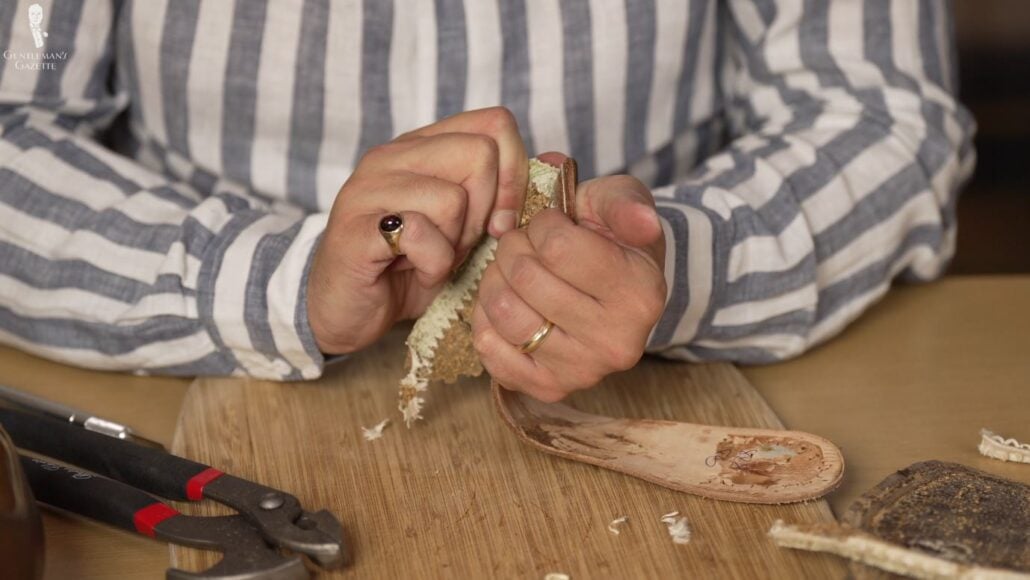
Could you make a bespoke shoe that is Goodyear welted? Absolutely. You could also make a cemented bespoke shoe but, most of the time, shoemakers will do the proper hand welt. Obviously, it takes a lot longer to make a hand-welted shoe than a cemented shoe or a Goodyear-welted shoe, and because of that, it’s more expensive.
So, how do you get the actual holdfast into the insole? The final result looks pretty cool, doesn’t it? Amara begins by drawing a guideline of the channel with a pen. She’s so talented, she does it freehand, and then just double-checks the measurements. I could not do that. I mean, I could, but it would look terrible!
Next, she uses this little brush to apply water along the desired route of the channel. This makes the leather softer and easier to cut. Using a very sharp knife, Amara now scores the leather. She’s very careful to fully control the knife without going too deep. At the same time, she wants to maintain a steady depth so the channel looks very uniform at the end.

Amara does a freehand drawing of the channel as her guide.
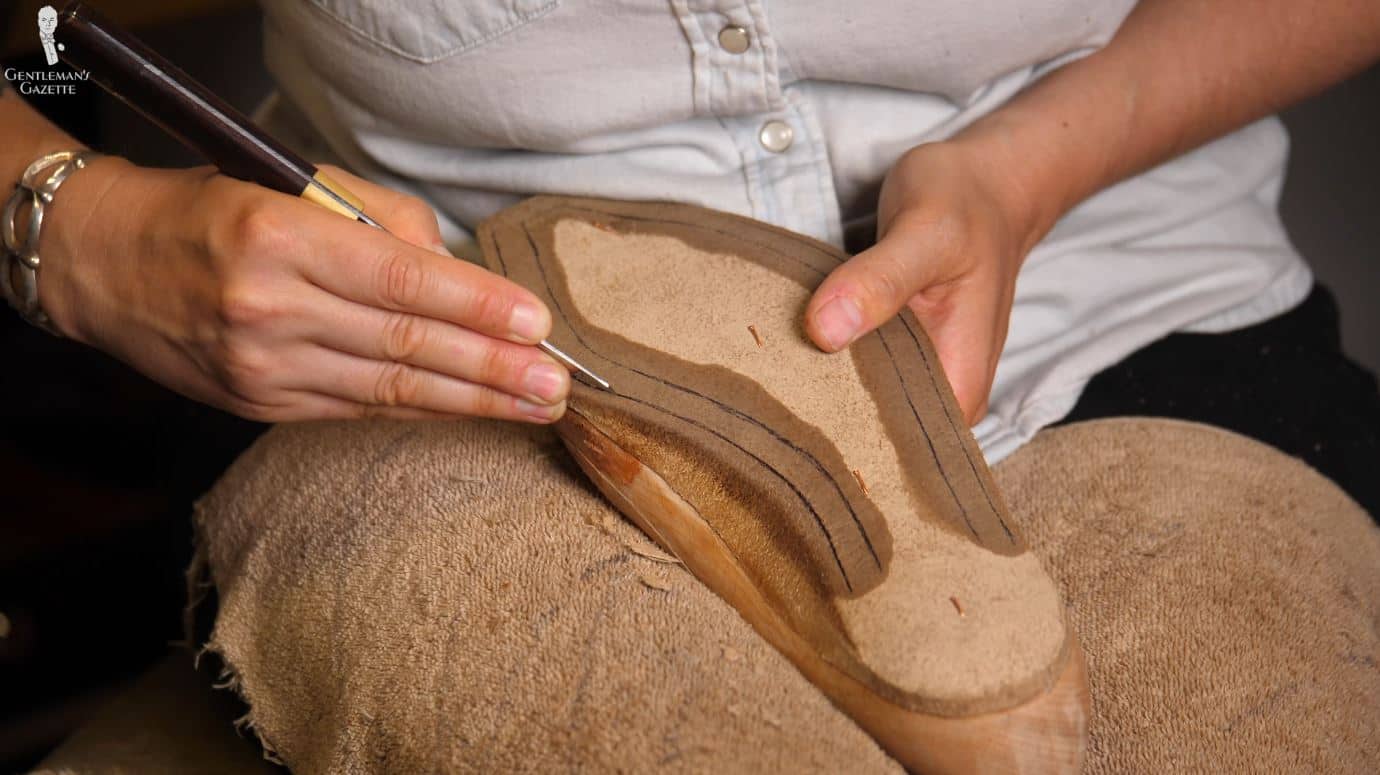
After brushing on some water to soften the leather, she now scores it.
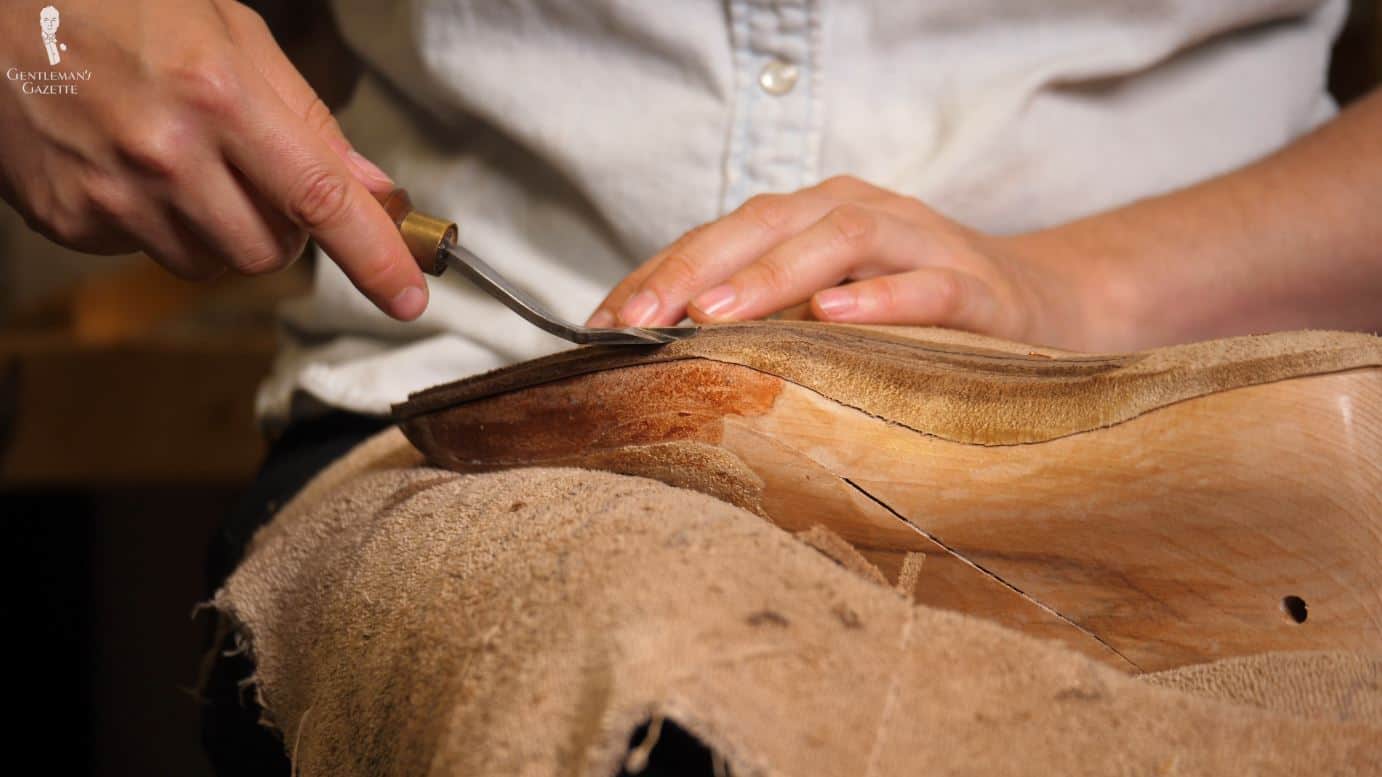
Amara uses a "welt plow" or "feathering knife" to expand the size of the channel.
After his initial cut, she switches tools and now uses the channel opener. This is a tool that opens the channel. Now, shoemakers are obviously a creative bunch. The nomenclature of the tools, not so much. The channel opener is not the last step, though. It just provides enough room for the final two.
The tool is called a “welt plow” or “feathering knife.” So, Amara now carefully follows the initial channel with her welt plow. This expands the size of the channel to her desired width.
As a shoemaker, you need a very steady hand here to keep it even and wide without having any wobbles in it. At the same time, you don’t want to cut yourself. Once again, Amara glasses the leather to keep things smooth.
Having completed the channel, Amara can now add the holes to holdfast so the final welt can be sewn. These holes are made with an awl, and Amara leaves about seven millimeters or a little over a quarter inch in between the holes.
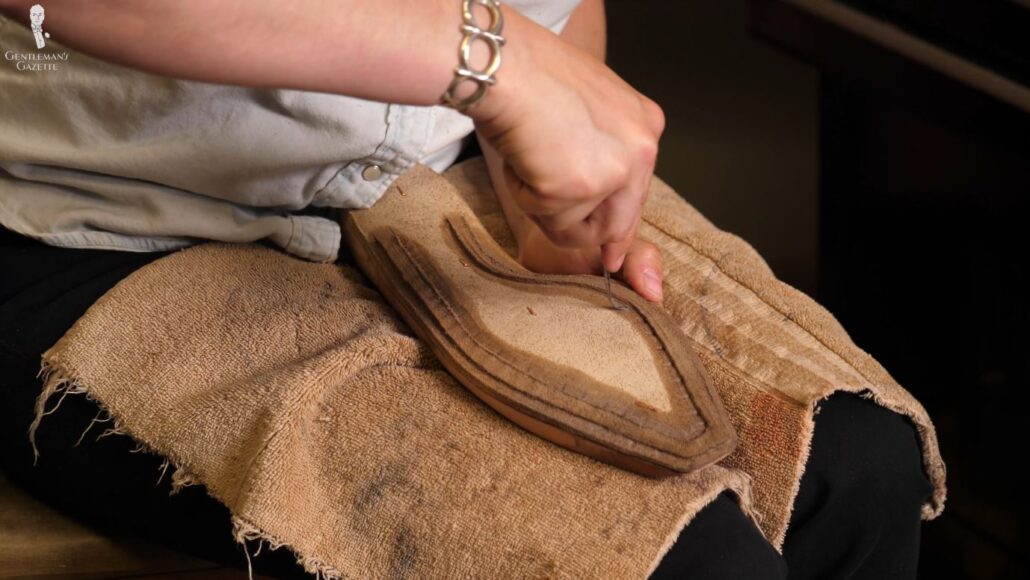
The exact distance can always vary a little bit because Amara is more concerned about the angle of the hole in the holdfast or the channel as the shoe is curving.
Personally, I was very impressed to see how well Amara could gauge where her final awl would come out. When I’m sewing on the button, sometimes, I think my needle will come out here, but then it doesn’t. She, on the other hand, got it right every single time. Frankly, you’ll never see this later, but I was impressed to see this level of perfectionism here.
Conclusion
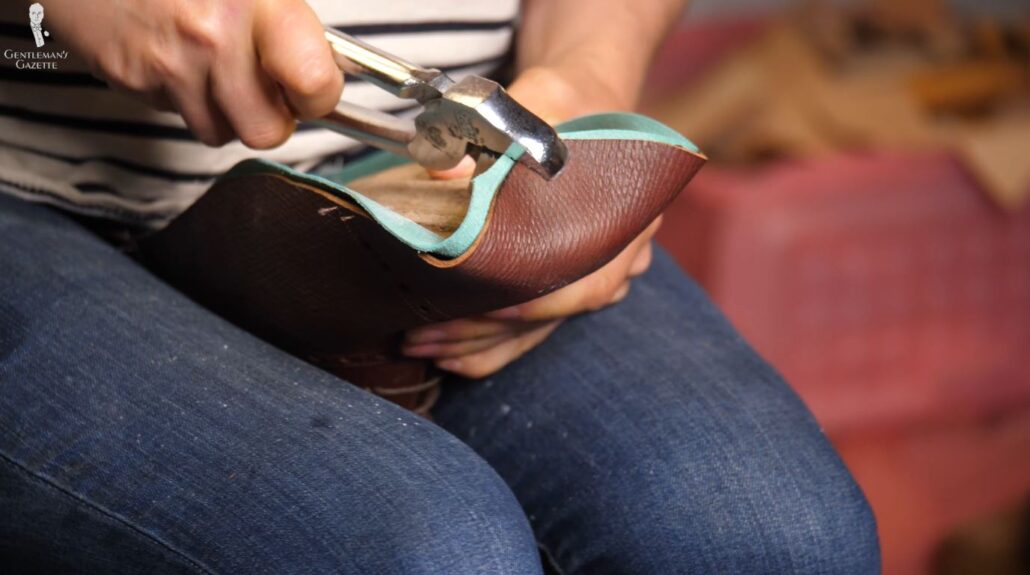
Next, it’s time to let the insoles dry; during the drying process, they get a little smaller, and you don’t want to make things perfect in a wet state just to then find that the final product is too small.
So, now that the insoles are fully channeled, we can pull the upper over the last and attach it to it. But, we’ll cover that in our next installment.
With our bespoke shoes coming together nicely, do you have a newfound appreciation for insoles, too? Let us know in the comments!
