Welcome back to the Gentleman’s Gazette in our series on bespoke shoes, where Amara Hark Weber makes one pair of men’s shoes from start to finish by hand. Today, we’re finally taking the shoes off the last, trying them on, adding the padding and the sock liner, and basically making sure it fits the way they should.
If you’re joining just now, please check out our playlist so you can see the full series!
Removing the Lasts
I can’t very well put my feet into those shoes while the lasts are still in, so let’s move them. To avoid any stress on a tongue or the vamp, first, all the laces are removed.
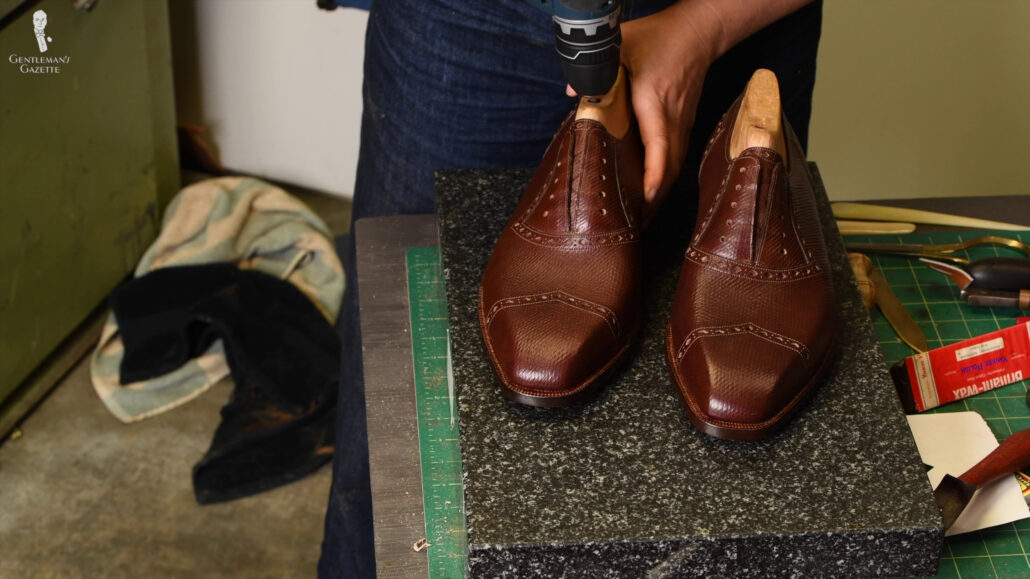
For this shoe, Amara used a “split last,” which means the last is composed of multiple pieces that are screwed together. Because you can break down the last and smaller pieces, it is easier to remove them from the shoe. Also, if you just have a one-piece last, you may stretch the leather in unwanted ways when removing it from the shoe.
You can see Amara using a power drill to remove the screw. Even when you have a split last, it’s still hard to actually pull it out. Remember, the leather uppers have been wetted, dried, hammered, and stuck onto the last in all kinds of ways. So, no surprise, it takes a little work to remove the last from the shoe.
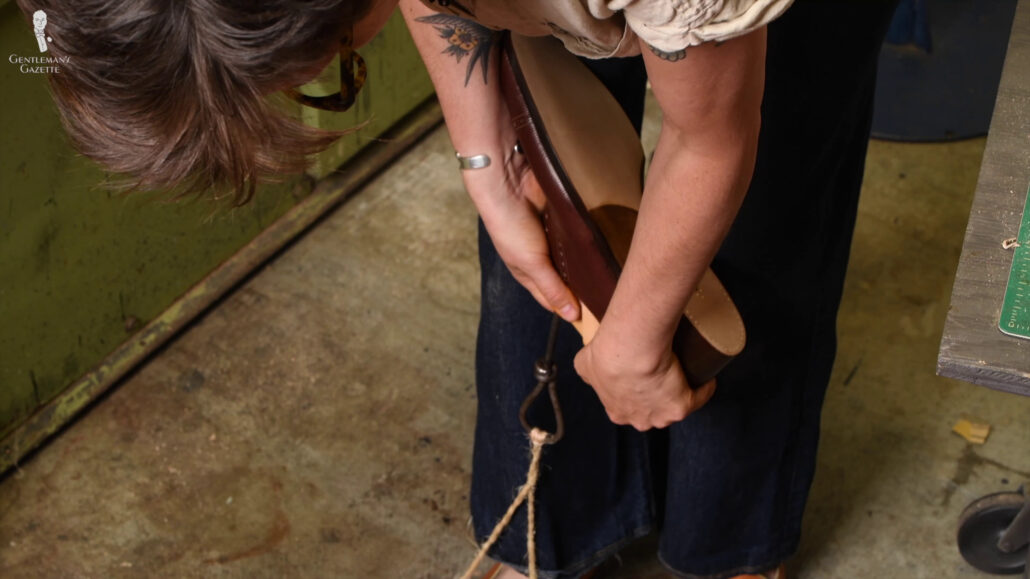
To safely and efficiently remove the last, Amara uses a tool called “last hook'” or “last remover.” It consists of a metal hook with a sharp tip attached to a rope with a stirrup. The hook adds grip, and the rope adds leverage. The metal hook attaches to the last. Amara puts her foot through the stirrup, so she can use her body weight to pull the last out.
Once the first piece of the last is out, the next portion is unscrewed, and we repeat the procedure. Because it is tightly wedged into its whole area, it gives him a hard time coming out. She has to wiggle it closer to the opening by hand, then put it out with a last remover.
Shaping Bespoke Shoe Lasts by Hand & Machine
Sanding the Pegs
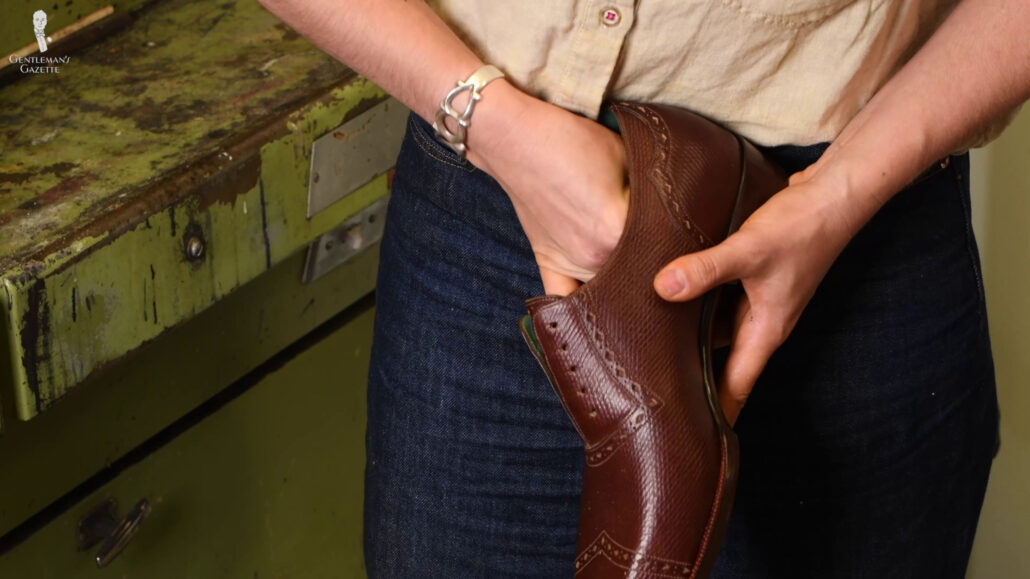
With the last removed. For the first time, we can see the inside of the shoe. Now, the last has come out. It’s time to sand off the pegs. Yep, you heard right. There are some exposed pegs that would be somewhat uncomfortable in the shoe when you actually walk in them. Furthermore, I’m not a pirate, so I don’t like walking around on wooden pegs.
Amara uses sandpaper to smooth out the surface and get rid of any pegs that protrude into the footbed. She said, “This is why it’s good to have small hands.”
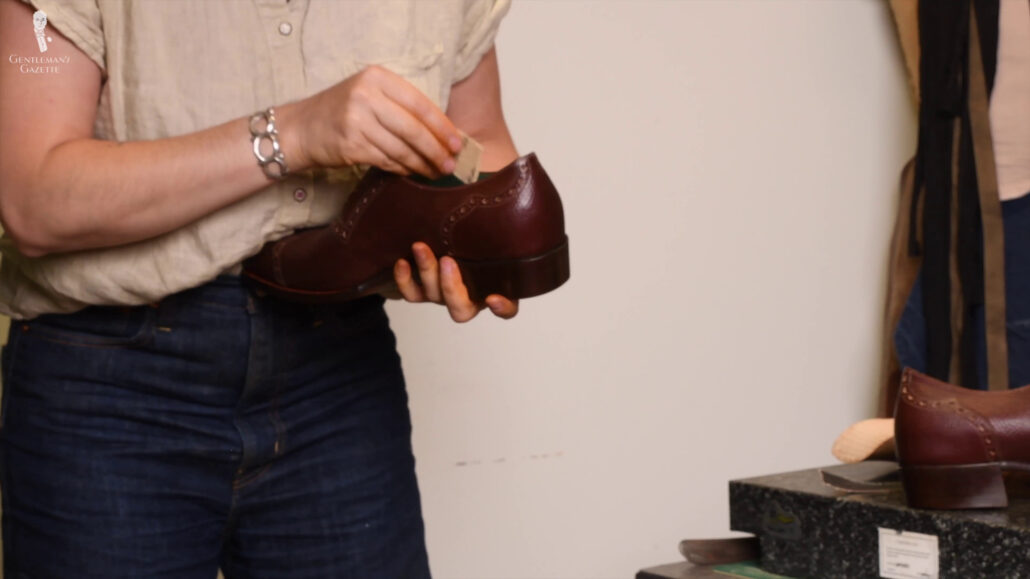
Funnily enough, my Brazilian grandfather used to have a cobbler shop, and when my dad was little, he had to help him go inside the shoe to feel if there were any nails, and his small hands were the desired tool for that. Yes, my last name is Schneider, which means “tailor,” yet my grandfather was a cobbler.
Using the Decorative Wheel
Next, Amara uses a decorative wheel. It’s a scroll wheel that goes over the perimeter of the sole. Really, it’s really decorative. It’s usually heated to brand a repeating pattern that is consistent onto the sole. Some shoemakers even have a signature pattern that identifies their work. Amara has mixed feelings about the decorating wheel.
Decorative wheels, when used well, are super beautiful, and there’s no faster way that I have ruined the shoe at the last minute than using a hot decorative wheel. It’s purely decorative. It is the last thing that I do. And so, sometimes I use them if I’m feeling brave, and sometimes, usually, I don’t. But I thought that, on that particular line, I just thought that it just adds a slight texture. So, I thought that it would make the transition a little bit softer.
Amara Hark Weber
Because of the associated risk with a scrolling wheel, if your shoemaker doesn’t want to use it, don’t push them. It’s not that important, and you don’t want to ruin the shoe at this stage.
Trying the Shoes on For The First Time
All right, time to try on the shoes for the very first time. Of course, Amara puts some laces back in, and she puts down a towel, so we don’t scratch the soles.
Amara said, “I find it very interesting to see what happens on people’s faces and in their bodies when they try on shoes – like custom shoes for the first time.”
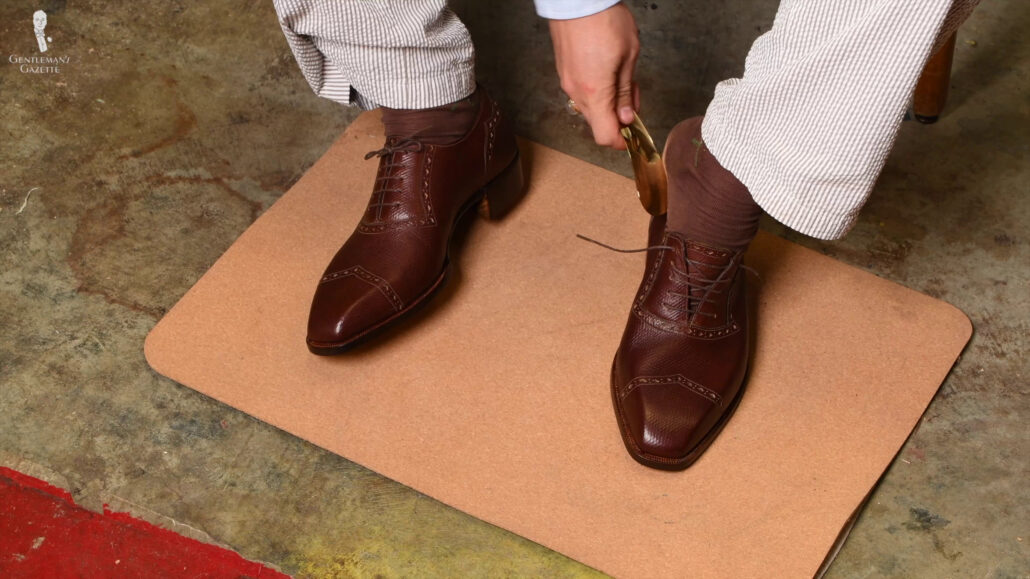
Of course, I use a shoehorn, and I wear my typical, over-the-calf dress socks, so it’s exactly the same as what I would wear on a regular day. I immediately noticed the shoe felt very supportive, especially in that arch area. That indicates a good, tight fit.
At first, the heel felt good while I was sitting. When I was standing on one foot, I felt it could be a little tighter. I definitely also felt some excess space in the vamp area.
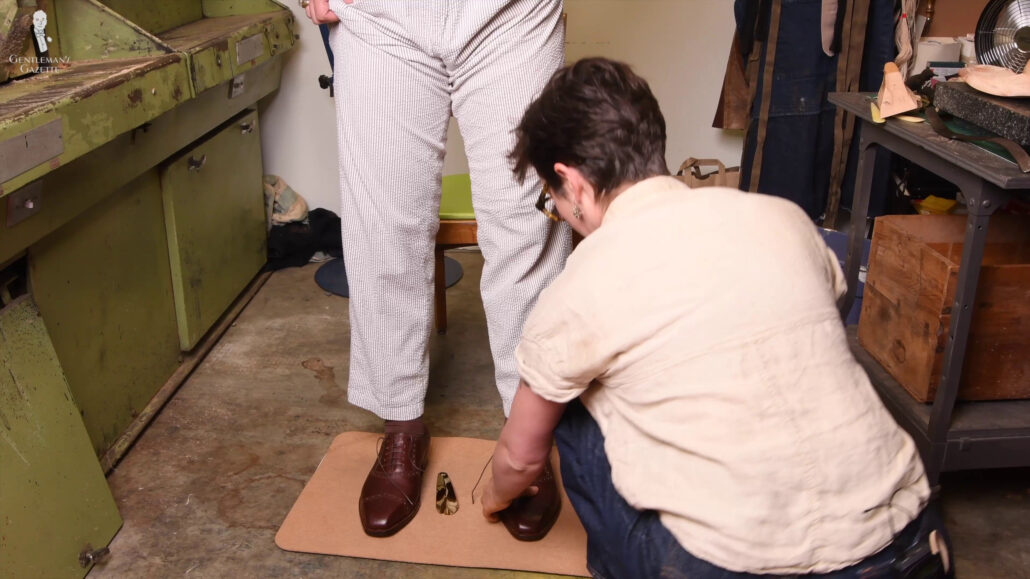
In those first moments, Amara felt the shoe and touched it to see what she thought of the fit. After all, different people have different levels of comfort, and what a shoemaker considers to be a good fit doesn’t always match up with what the customer has in mind.
Amara recalls a story of making two different custom shoes at the same time:
“I had actually two pairs that I was building at the same time. And one was a pair for someone who was a speed skater, and so he was used to his feet being really snug inside a shoe, and the other person was a classical musician, and he liked a lot of room. And so, as I was building both of these pairs of shoes, one I kept getting smaller and smaller with the fit models, and one got larger and larger with the fit models, to the point where I was like ‘Ah!’ Like, what I mean, I almost felt like I was losing my mind.”
On my shoe, she compares the heel area to ensure a good grip – toe box, vamp, ball of the foot, and so forth.
When you do bespoke, you may think, “Well, it’s made for me, based on my measurements and my feet and my body. Won’t it fit perfectly from the get-go?” Unfortunately, not. Typically, your first bespoke garment or shoe or whatever is never perfect when it comes to fit. And that’s the case here. I think Amara would have liked it to fit a little more closely, but I was prepared that it might not be a hundred percent. And sometimes, the shoemaker has to remake the shoe because it doesn’t fit. That is just a risk of the process. I think there isn’t a single bespoke shoemaker who had not to remake a pair of shoes because they didn’t fit the first time around.
Nevertheless, the fit of these shoes is tighter than other ready-to-wear shoes that I have, and I can definitely feel that it’s not a regular factory-made shoe.
Improving the Fit
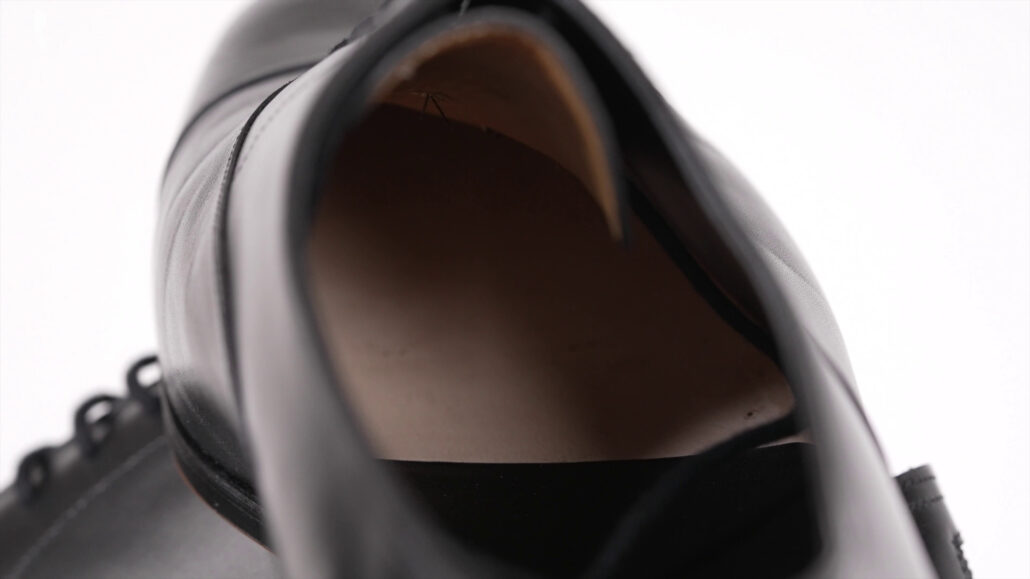
To improve the fit even further, the shoemaker can play with a few things. One of them is the sock liner. Personally, I like it for decorative purposes, and many shoes – I would say even most men’s dress shoes – come with a half sock liner. Personally, I don’t like that because, over time, the glue in the middle will come undone, and I can feel it when I stand in my shoe. Because of that, I like a full sock liner from the heel, all the way down to the toe, covering the entire insole.
Obviously, I wasn’t letting Amara get off the hook with just a simple sock liner, so I made it difficult and asked for a diamond pattern. After all, that was the theme of the shoe. Hey, we’re going bespoke. So, why not go bespoke all the way?
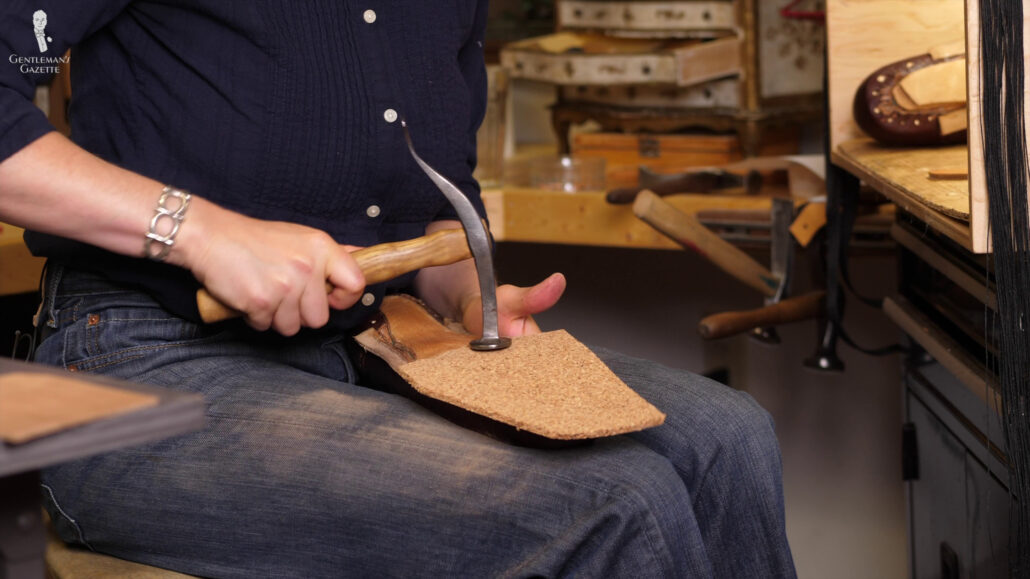
Now, sometimes, the sock liner can be backed with a piece of cork or some foam, depending on the wearer’s choices or ideas of comfort when they walk. Remember, we already have cork underneath the insole, and over time, as you walk and after you’ve broken the shoe in, it’ll be more comfortable. But, hey, if you want to achieve a certain fit at this stage, you have to resort to some methods to maybe reduce the volume or add volume.
Of course, different materials are better suited to different things. For example, this foam fiber material is great for padding. It’s great to fill in excess volume, but it doesn’t provide support. Amara said, “It’s a little squishy, so some people like it, and some people don’t care for it as much.”
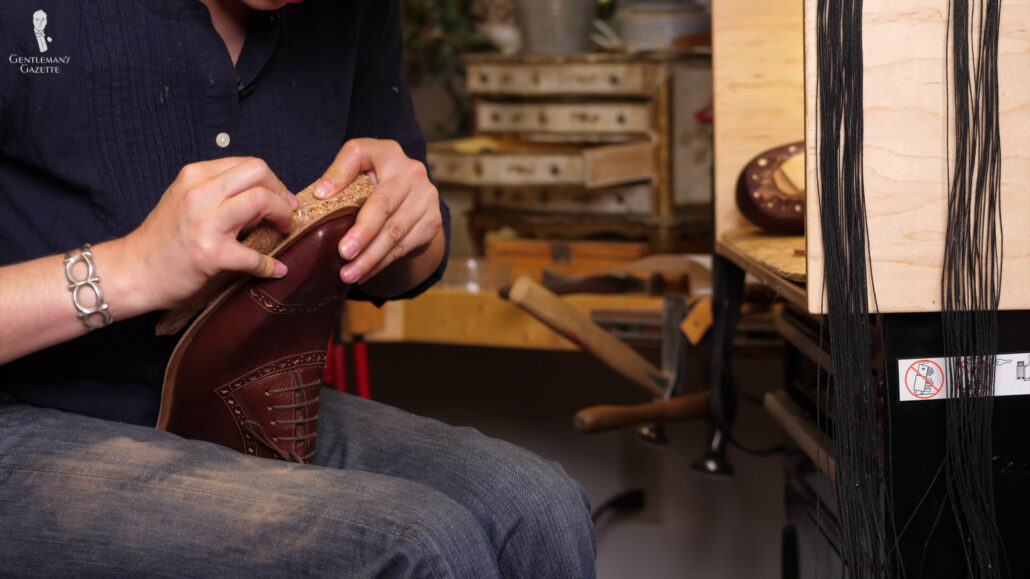
Cork, on the other hand, is more substantial, and you can use it to build up things on the inside. You can build up arch support or metatarsal support. You can also reduce the volume for a snugger fit inside the shoe. Over time, the pressure of your foot will mold both the cork and the foam fiber to your foot.
As Amara said, “Yeah, the shoe will really change with wear. My mom says that that’s the last part of the making: it’s wearing them. Because it will really change your motion as you… Your motion and your weight”
Excess material in the wrong spot can be uncomfortable, painful, and can damage the foot in the long term. That’s why most shoemakers don’t include it as part of the last. Allows for the padding to be carefully adjusted as needed, and nothing is set in stone.
“Sometimes fittings… Like the shoe goes on, and it’s just perfect, and sometimes it takes a fair amount of adjusting to get the shoe to a point where it meets my expectations and your expectations.”
AMARA HARK WEBER
Foam and cork aside, the socks you wear also have a big impact on how the shoe fits. If you wear tennis socks or big, thick winter hiking socks or a fine pair of silk dress socks or cotton dress socks, you will definitely feel it in a bespoke shoe.
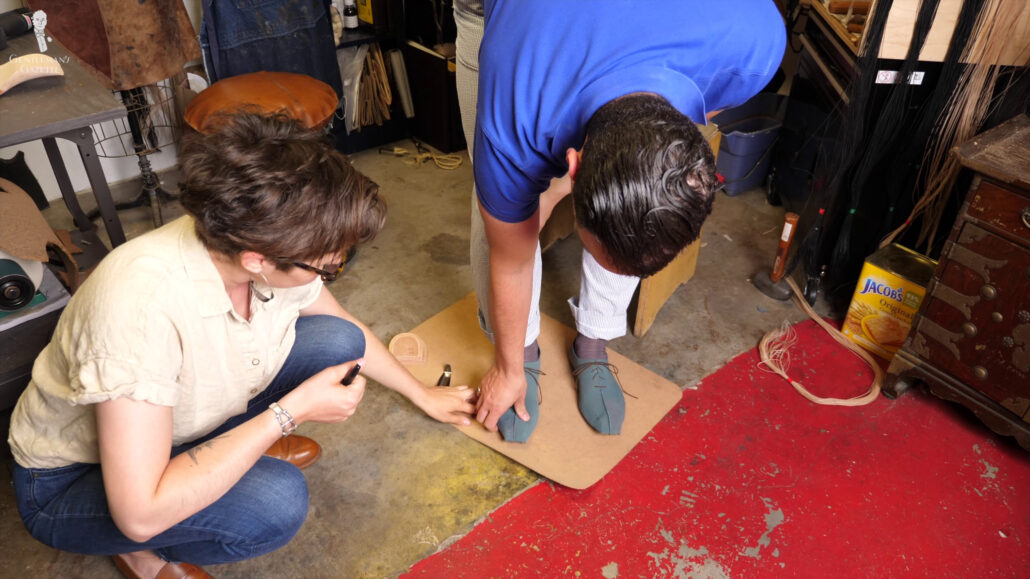
Firstly, I ensure to have a consistent sock thickness throughout the entire process. So, what I wore when I was measured was the same kind of sock as when I was fitted in a trial shoe and for the final try-on stage.
Making the Sock Liner
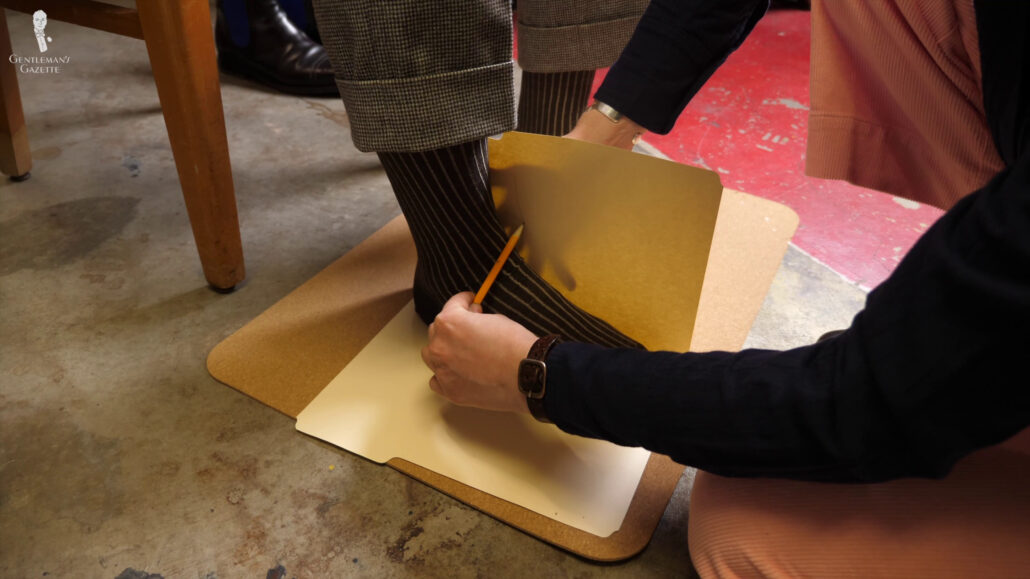
So, how do you actually make the sock liner? First of all, the last is being put back together. Obviously, you can make the sock on it always a little larger because you can always cut it down, but you can’t add it back on if you cut it too small. Then, Amara uses masking tape to get the pattern of the last. Then, the outline is sketched, and the tape is removed and placed onto paper. The pattern is then covered with a knife and subsequently used to make leather pieces for a sock liner.
If you watch the series and it seems familiar to you, you’re right. It’s the exact same process that we utilized before in pattern-making.
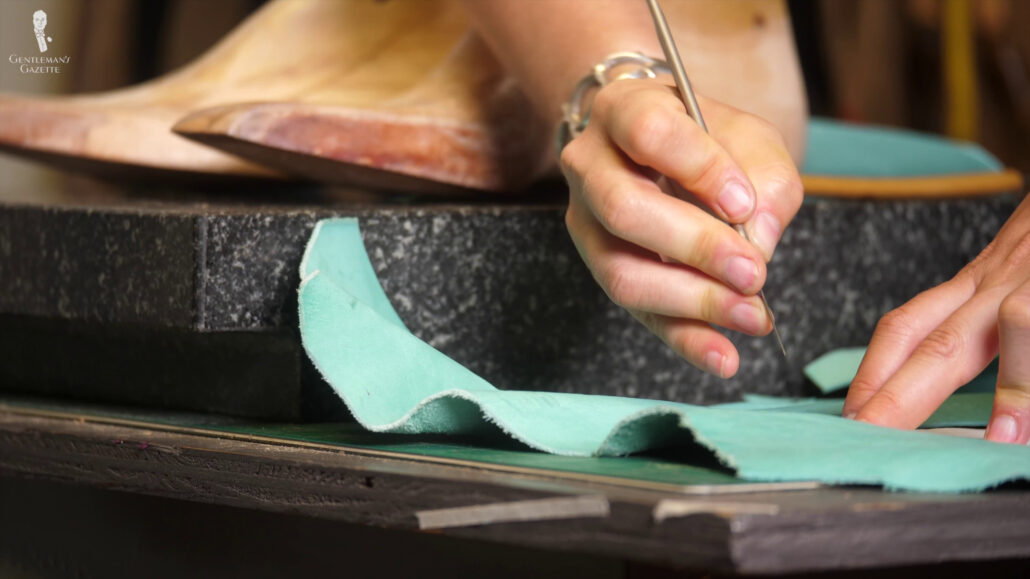
Of course, Amara is always paying great attention to detail. She cuts out the leather for the heel area, which can be seen through the mouth of the shoe. Outer lining colors should match, of course, so she carefully ensures nothing is off. Amara then cuts the leather slightly wider in the footbed to ensure everything is overlapping properly and there are no gaps.
At the same time, you don’t want any bulk. Therefore, she plays with the sock liner inside the shoe to check if everything is the way she wants it to be.
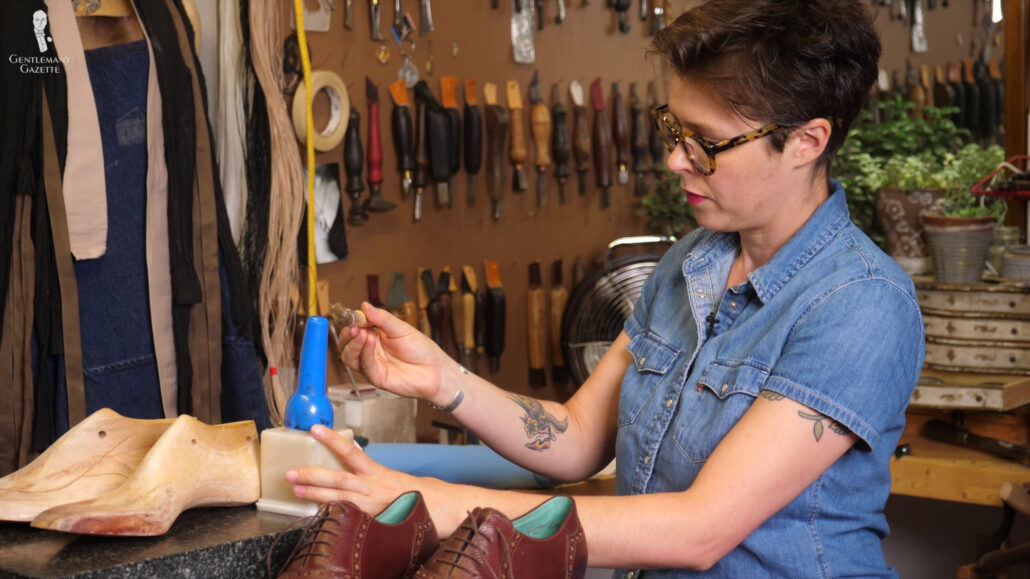
Once Amara is satisfied with the shape and the fit of the sock liner, she uses rubber cement to quickly adhere the sock liner to the shoe, so I can test it and see how it feels. It’s just a thin layer of leather, but I could totally feel the difference.
The toe was noticeably more snuck, and Amara also felt like an improved fit in the heel. It improved the arch support, and there was no healed slippage. Yeah, barely any slippage, even if the shoe was untied. That’s ideal. The shoes definitely still felt stiff in a good supportive kind of way. But, on the flip side, I also wish I had already broken them in.
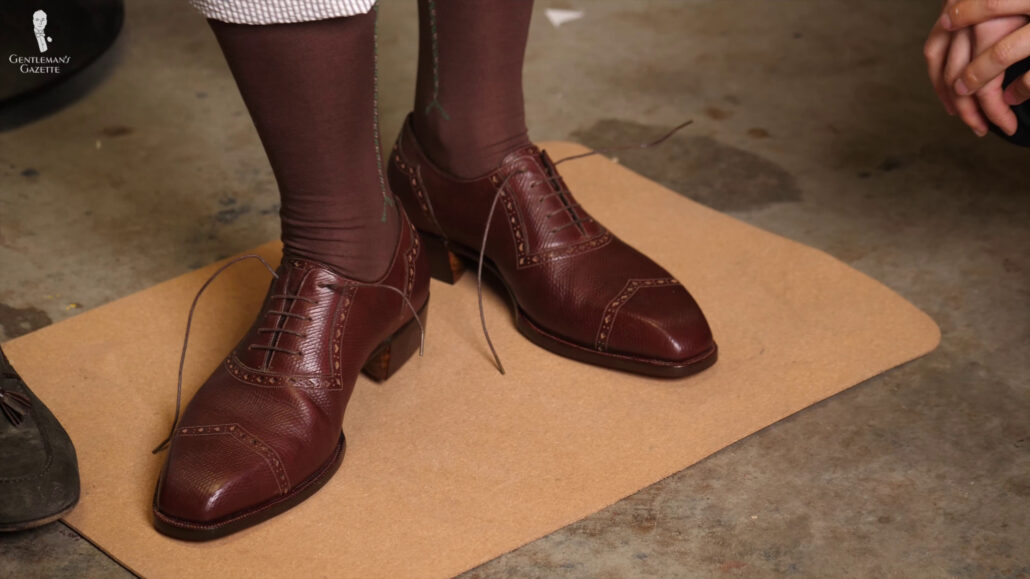
When I wore it, I said, “Yeah, it’s incredible! I mean, it’s really just this one layer of leather, but it makes a huge difference in the way it feels.”
Improving the Padding
On my left shoe, I still had noticeable space around the vamp, and Amara wasn’t super happy about that. I think at that point Amara was considering even redoing the entire shoe but, personally, I was so grateful for all the time she put into this, and I didn’t want her to go through the entire process again just to get me a shoe. I knew that it wouldn’t be a perfect fit, and I also hope that my next pair of shoes would fit even better.
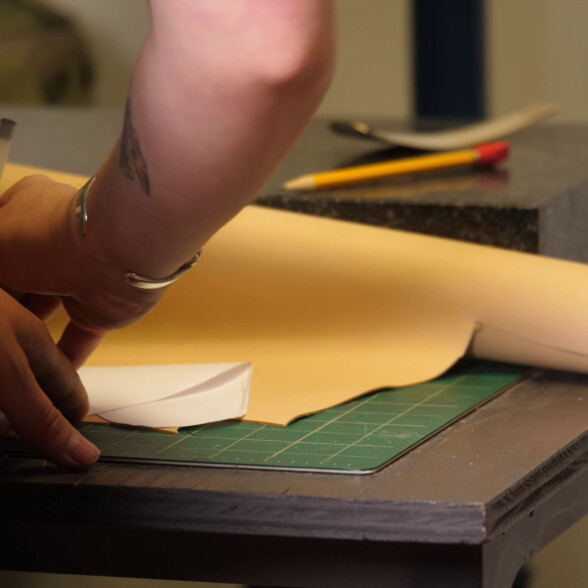
How do you improve the fit?
Padding
Because this is a bespoke shoe, you can always add padding wherever you need or want it. Plus, you can also test it right there and then.
So, how do you improve the fit? Well, first of all, I suggested maybe some cork from the ball in the left shoe to see how that would work and feel. Of course, it’s a bespoke shoe, so you can add padding wherever you need it or want it or think it might help. And I really like that you could test it in real-time.
Of course, if you do a remote bespoke project, you can’t really do that.
For all that to happen, the sock liner had to come back out, then the padding adhered to the sock liner again with rubber cement. Again, it’s just a little tiny layer, but it feels like a world of difference.
And once it’s better than in the left shoe, I also wanted some extra padding on the right shoe, but it was not as thick as in the left shoe. I also noticed that the heel felt a little shallow. The other petting felt too thick and rigid in the heel cap.
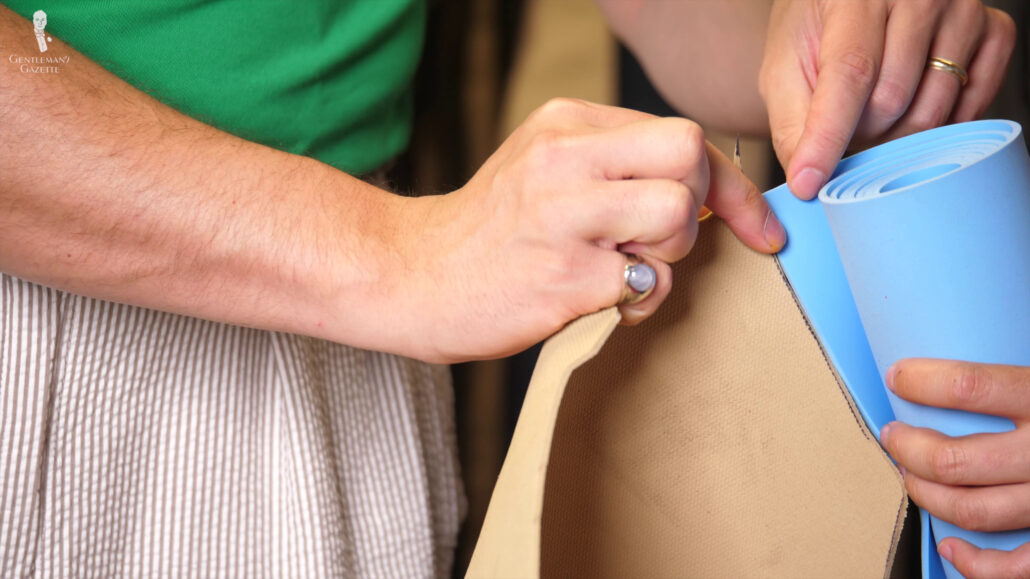
It felt like the shoe was a bit too tight, so I decided to give foam a try. I was also able to test out the various thicknesses of foam to see what I liked the most. The thinner foam was skived down and added to the heel. And frankly, I could hardly notice it. Then, we tried a thicker piece of foam that was also skived, and that was much more noticeable. It also created a feeling of snugness without feeling too tight.
Finalizing the Padding & Sock Liner
Once we nailed down all the padding that I wanted in the spots where we wanted and the thickness, it was time to assemble it all. The leather padding was, of course, skived down, so it’s not bulky. Then, it was rubber cemented into place.
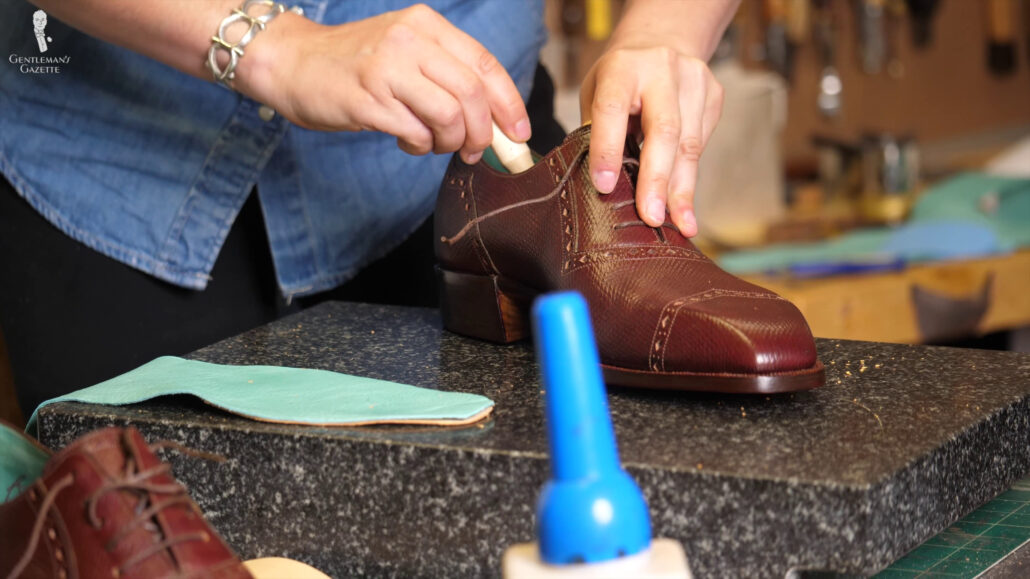
Interestingly, Amara applied the glue after the padding had been put into the shoe. If she had applied the glue already outside of the shoe, there’s a much higher risk of the glue getting in parts onto the inside lining where you don’t want it. So, that’s the reason why she does it in this particular way.
Next, the foam heel support is glued into place. Because it will show through the mouth of the shoe, Amara pays particular attention to detail to ensure this turquoise leather looks very nice. She carefully trims the edges, then she skives everything, and then burns off the edge to ensure they’re not any excess fibers standing out.
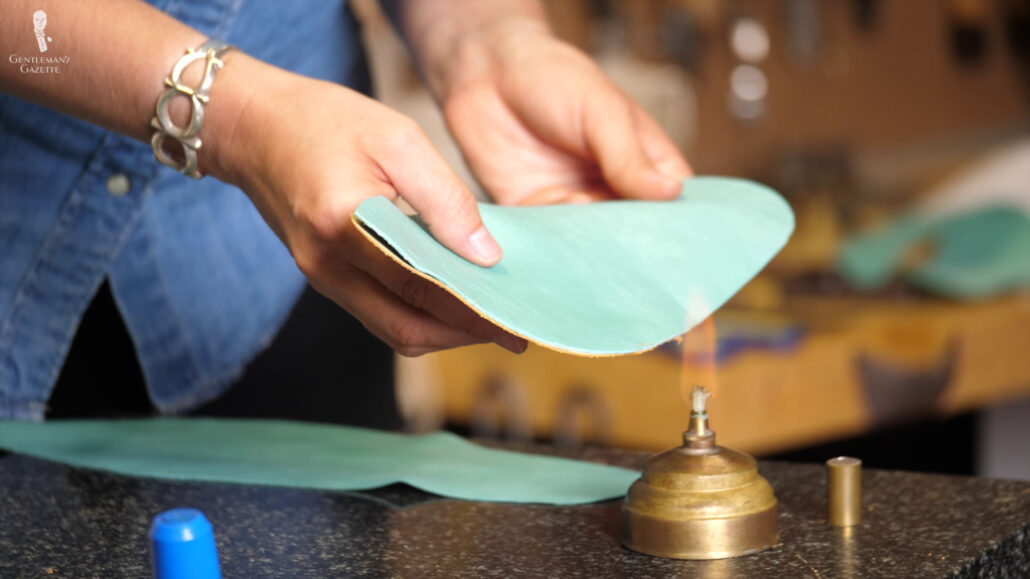
Generally, the edges look really neat now.
Diamond Pattern Detailing
To top it all off, I thought it would be cool to have this diamond pattern, which was the theme of the shoe, also reflected in the sock liner – an area where you could actually see it. Obviously, it’s purely decorative, and having different layers of leather there may feel uncomfortable because you stand on it with your heel. But Amara really understood to layer it and skive it in a way so I can’t feel that there is a diamond pattern underneath my heel.
Of course, Amara marks everything up. The first diamond is a bit too long and pointed. But the second one is perfect. Amara also took the time to position the diamond exactly in the right shape, so it doesn’t look off. Then, the pattern is traced onto the sock liner and cut out, which then burns away to get that smooth, generally neat edge.
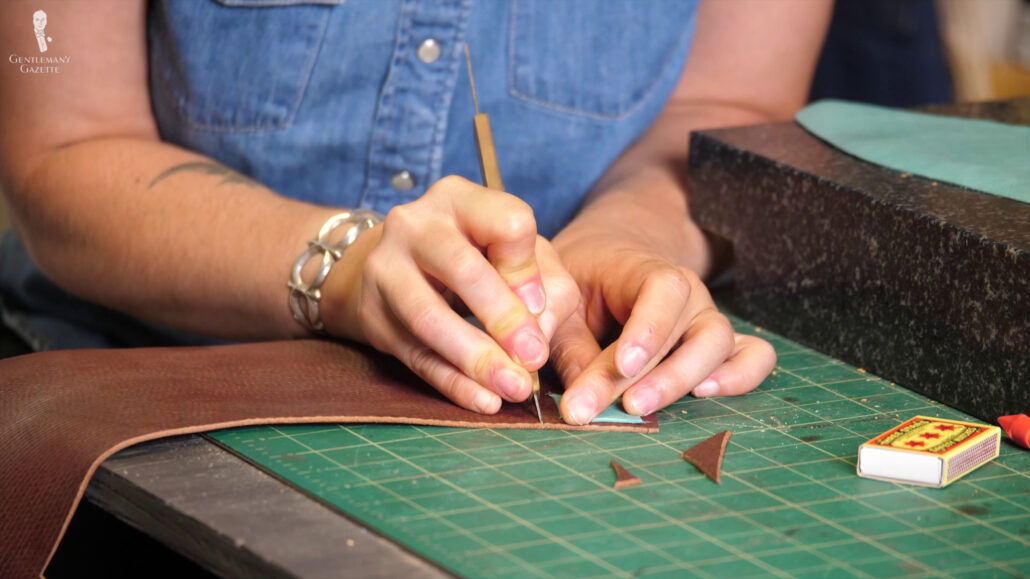
Of course, we didn’t just use any leather, but the exact leather of the uppers, so there was this consistency throughout the shoe. Obviously, both the turquoise edges, as well as the brown edges were skived.
But then Amara took the diamond she had cut out of the turquoise sock liner and put it underneath the brown leather layer, backing it all up, skiving it, and it made perfect sense. That way, you push up that brown leather with the exact same size and thickness of leather that was previously there, which creates a much smoother, flat surface. It fills in the void for comfort and consistency.
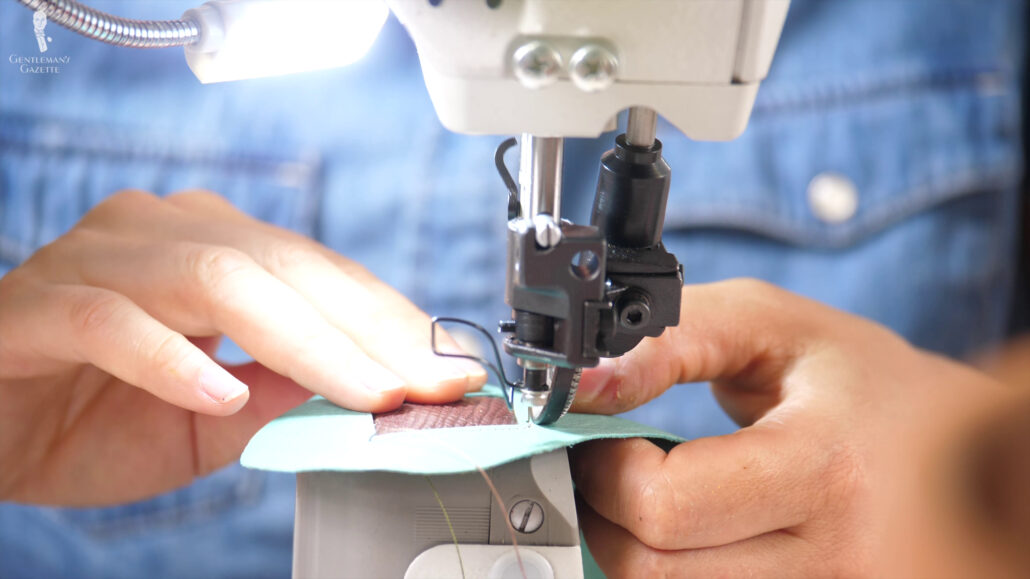
Everything is roughed up and then rubber-cemented together. Then, last but not least, all three layers are sewn together by machine, and then everything is hammered securely into place as the heel is a higher wear area in a shoe. Then, the sock liners are inserted into the footbed, glue is applied, and sock liners are in the shoes.
Are we done yet? Not quite.
Waxing the Openings
Last but not least, Amara is waxing the openings. It’s a final layer of protection, and it helps make the leather softer. Wax is applied to the edges and the openings of the lacings.
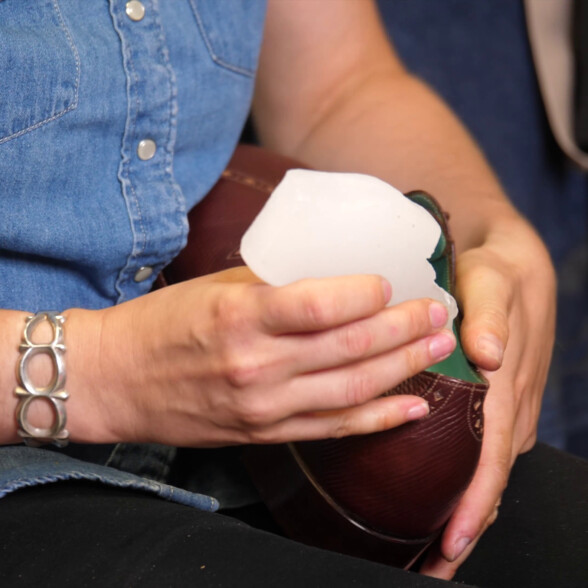
The final touch
Waxing
The edges and the openings of the lacings are waxed to add a layer of protection, while also softening the leather.
Amara rubs even a little saliva through the wax and leather because it helps the tanning process. The enzymes in the saliva or urine just help in that whole thing. That’s why, back in the day, sometimes people would pee in their boots and put them on, so they would ensure a better fit.
And with that, we are finally done!
Conclusion
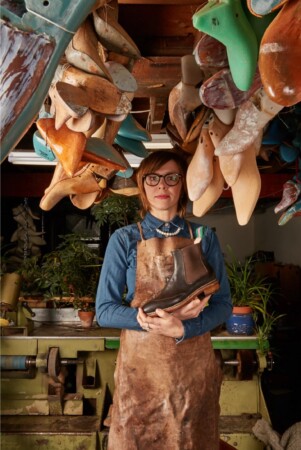
If you follow this series, you’ve seen how leather is transformed into a pair of handmade shoes, and all of this was just done by one person Amara Hark Weber in Saint Paul.
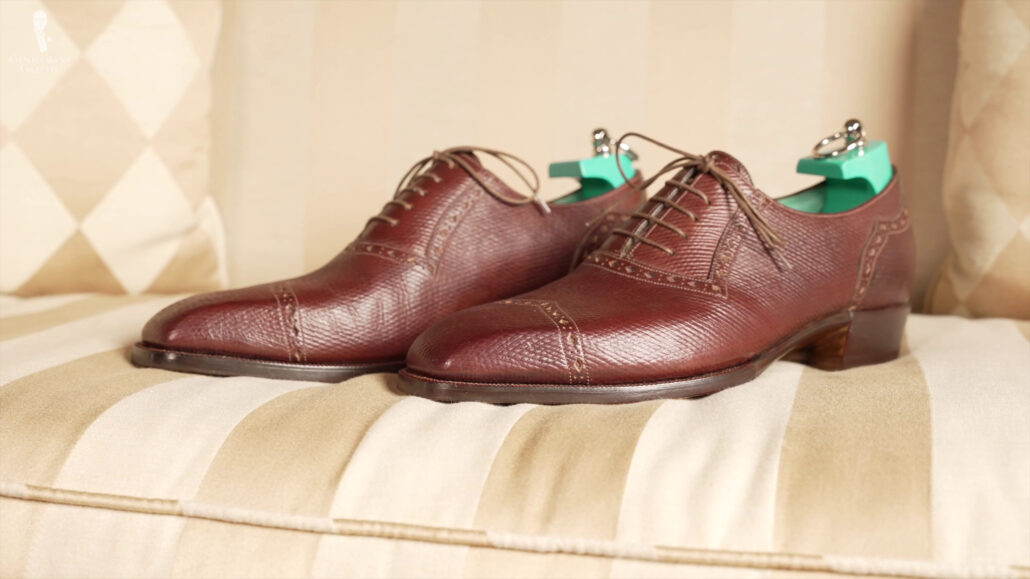
Of course, we have a bespoke shoe. You also want to make sure that it lasts as long as it can, and you want it to look as good as it can for as long as it can. To do that, you need a shoe tree. And for bespoke shoes, typically, that is a last bespoke shoe tree. And if you want to learn more about that, stay tuned for our next episode.
Because I had a special leather for the shoes, I wanted a matching belt, naturally. So, Amara made me one, and we’ll cover that in the next episode, too.
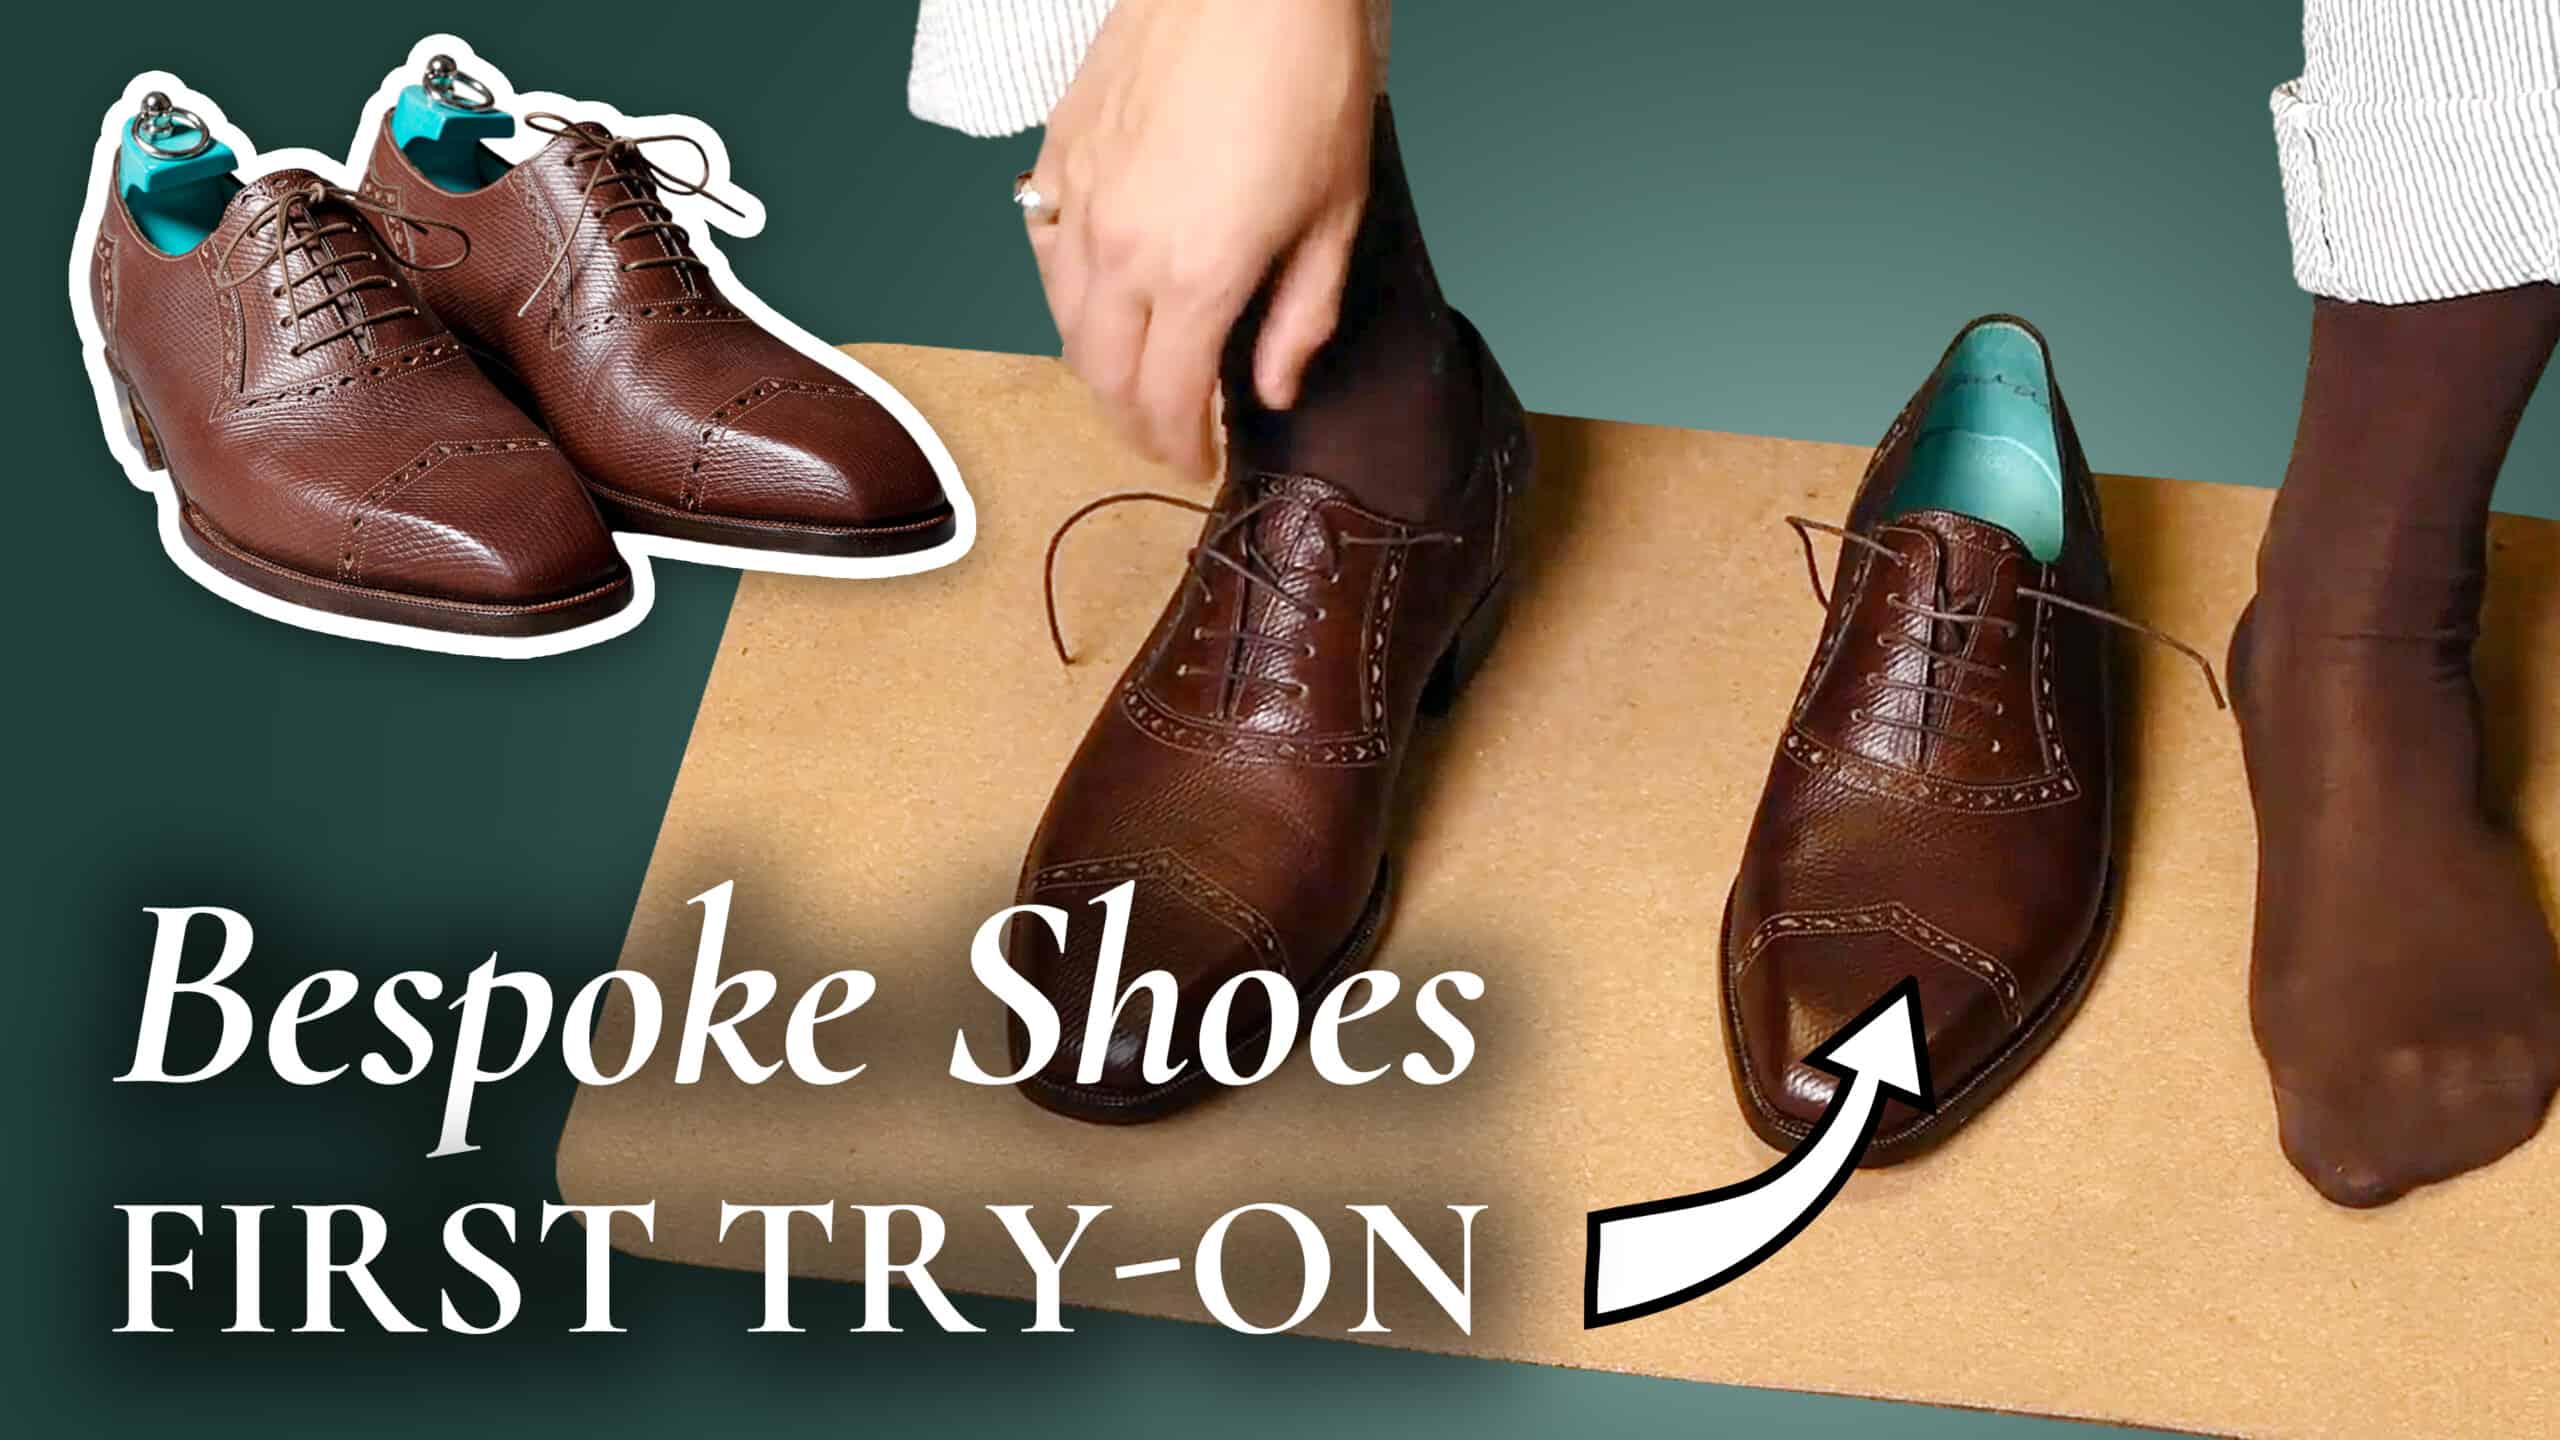

Wonderful looking shoes, Raphael….
The color, diamond detail/theme, broguing and chisel toe box really work well together.
Except for the “Dog Days” of summer – 3+ season shoes?
A vintage tweed suit with odd vest would be a good look.
Interesting series, keep ’em coming.
Best,
JL