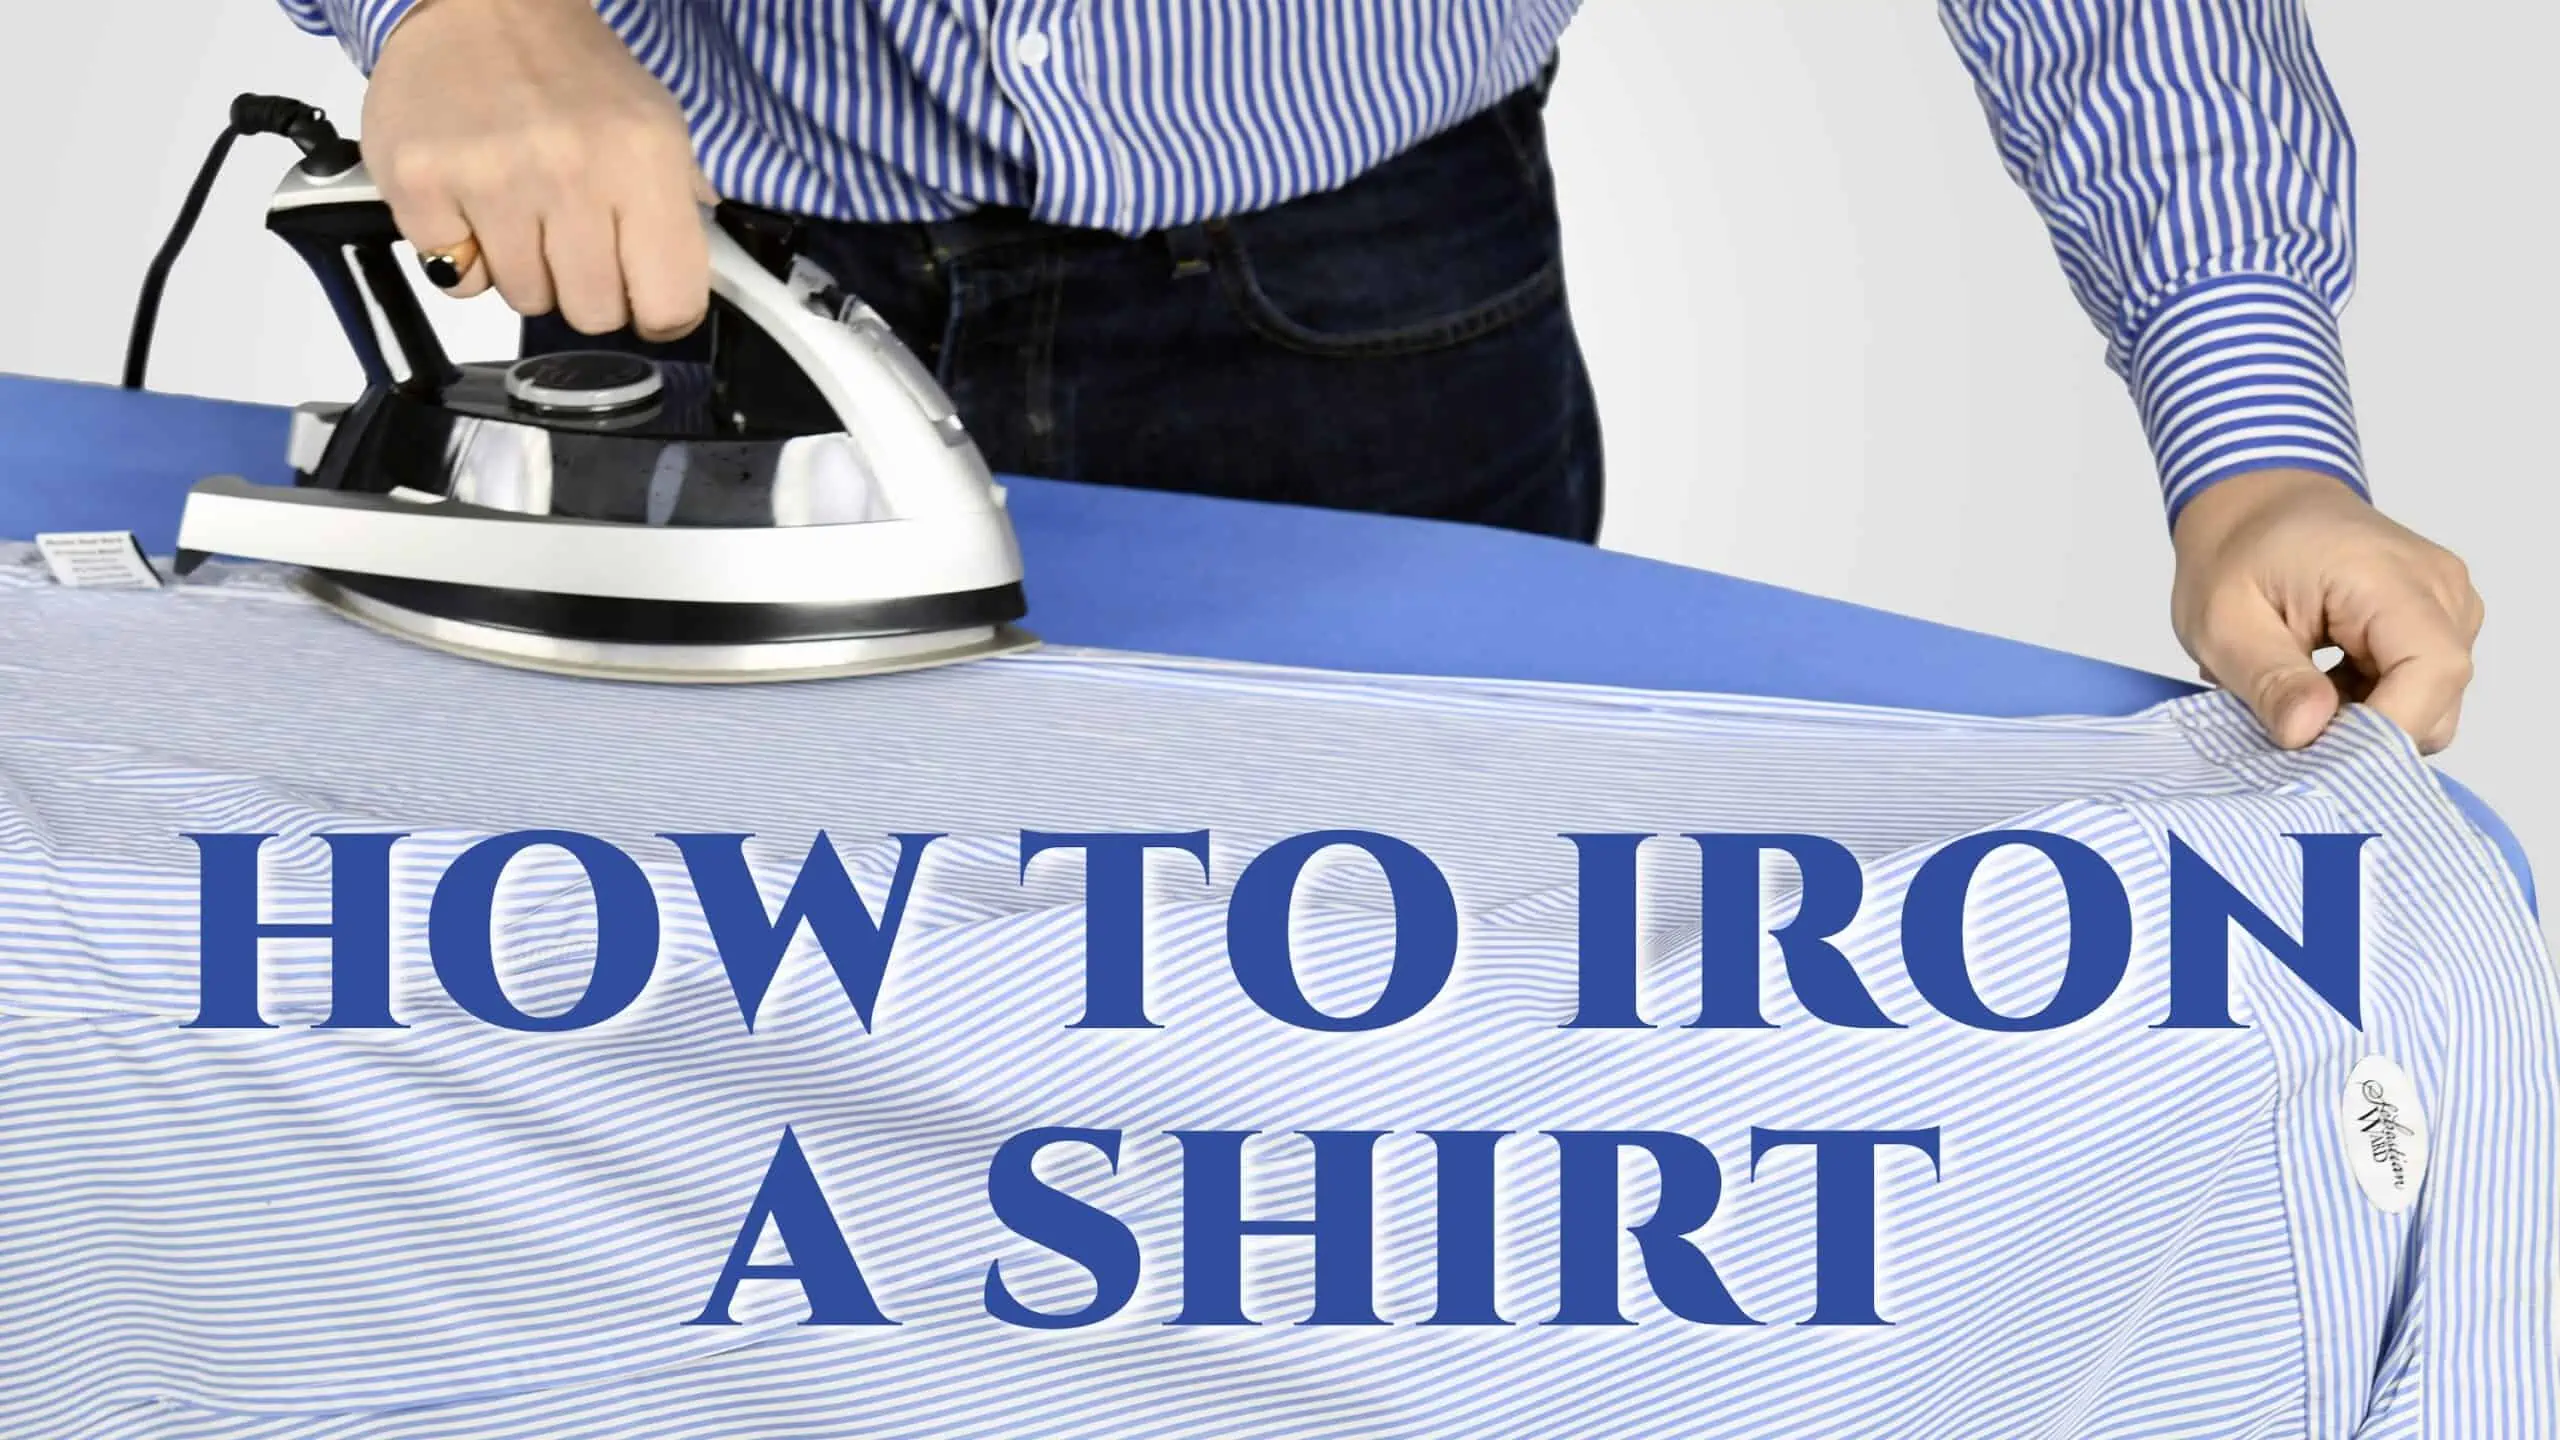
In the second part of our series about ironing, we discuss how to properly iron a dress shirt step-by-step so you get perfect results even if you are a beginner. If you haven’t already done so, definitely check out Part I about essential ironing tools because without those ironing will be slower, more painful and the result will be worse.
Ironing Series
This is just Part II of our four part ironing series, which you can find here
Part 1 – Essential Ironing Tools
Part II -How To Iron A Dress Shirt
Part III – How to Iron Dress Pants
Part IV – How to Iron a Suit Jacket
How to Iron a Dress Shirt
Of the three major garments worn for tailored clothing, a dress shirt is the easiest to iron and the best one, to begin with when learning how to iron correctly. Preparations begin in the laundry room. Though you would never throw a suit into the washing machine, cotton dress shirts will obviously find their way into the wash, and how you handle them when they come out can help with effective ironing.
To preserve the life of your shirts and eliminate any risk of shrinkage, using a dryer is not recommended at all, but whether you use or skip the dryer, promptly removing your shirts from either machine, smoothing them out, and hanging them are important steps to avoid over-wrinkling. You don’t want to let your shirts sit crumpled in the washer or dryer for any length of time. Then, iron your shirts when they are still damp or slightly wet, which enables you to shape the cloth better than ironing something that is fully dry.
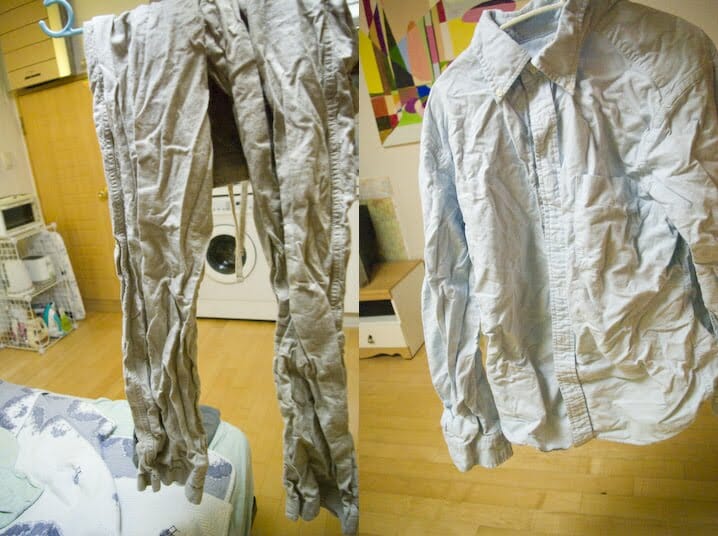
0. Prep Your Shirt
The higher the spin cycle on your washing machine the dryer your shirt will be but also the more wrinkles the fabric will have. If your shirt is too wet, it takes a long time to iron, especially if you do not have a vacuum ironing board.
On the other hand, if your shirt is too dry, chances are you will not release all the wrinkles when ironing. So ideally you iron a slightly damp shirt. If it is already dry, spray it generously with water, and let it sit in a plastic bag for 10 minutes. Afterwards, you have the perfect fabric conditions for ironing.
Because ironing requires all the setup and prep work you want to iron shirts in batches, not individually, and you can pack a whole bunch of shirt in a plastic bag or even better a garbage bag if you iron a dozen in one go.
1. Layout Your Equipment & Ironing Board
When your shirts are ready for ironing, prepare your board and other equipment, such as a sleeve board, tailor’s ham, and spray bottle. Turn the ironing board with the pointed end to the left if you’re right-handed and to the right, if you’re a lefty.
2. Make Sure Everything is Clean When Ironing A Shirt
Check over your shirts closely to make sure there are no recent stains or spots. If you iron these, the heat will set them in and make them difficult to remove. Instead, ensure all stains are taken out beforehand. Likewise you want the ironing board cover to be in pristine condition.
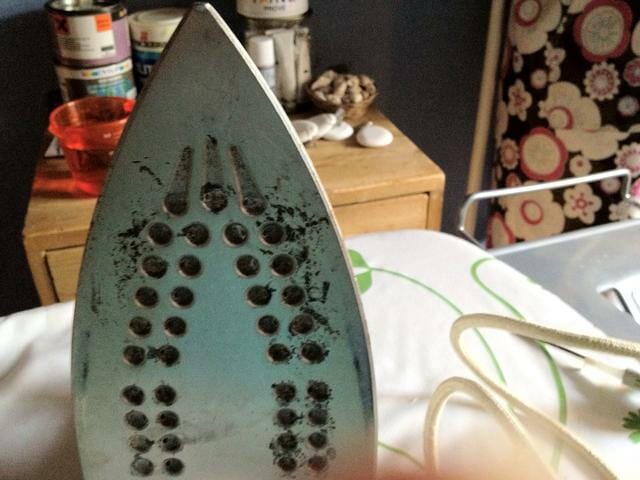
It’s also important to make sure the sole plate or underside of your iron is clean. Hopefully, you haven’t allowed your iron to get filthy, but if something has burned onto the bottom of the iron in the past, what’s stuck there will almost certainly spread onto your clothes if you use it in an unclean state. Put some detergent on the iron and let it sit, using a scouring pad if needed to get it clean.
3. Add Water
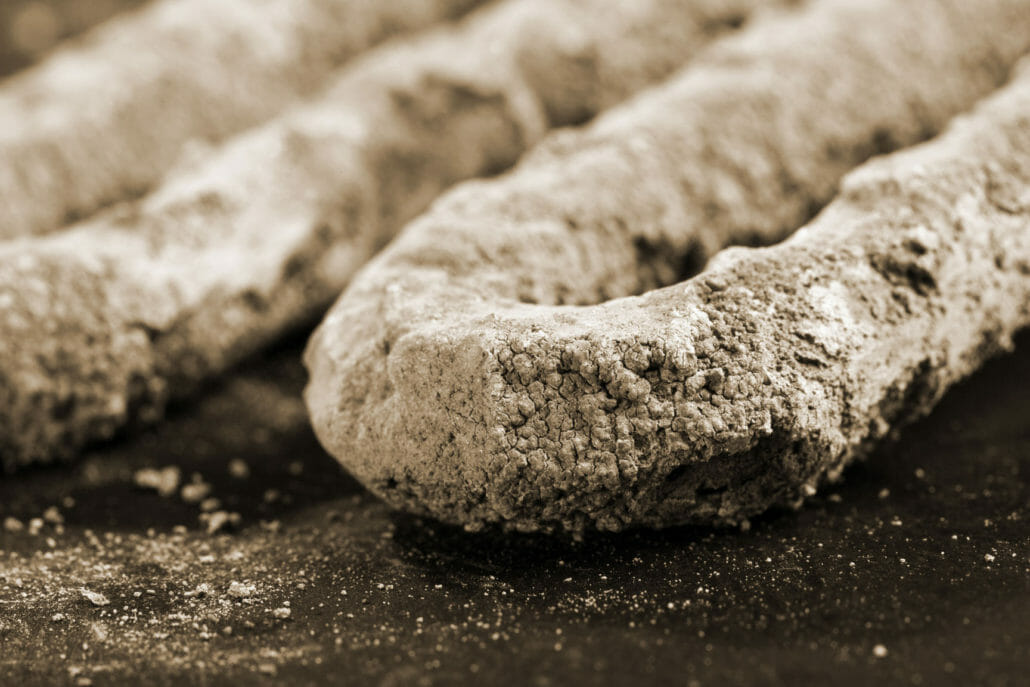
Unless you have a water softener, or your water is soft, fill your iron’s reservoir with distilled water. In many places, tap water is “hard,” meaning it’s rich in minerals that will eventually precipitate calcium and magnesium scale inside your iron when the water in it evaporates. Scale can clog up the holes and prevent any steam from coming out of your iron. And, if you do get steam, whitish or brownish solids will come out with it onto your shirts and stain them. Usually, you’d be able to sweep the particles away with your hand, but they are a nuisance. Better to invest a dollar for a jug of distilled water when you iron.
4. Set the Proper Temperature
Set the proper temperature on the iron for cotton. Consumer irons will have fabric-specific heat settings, while professional irons usually just have numbers. Most irons will have a designated heat or steam area that is best for ironing shirts, so take a closer look.
Don’t start ironing immediately, however, give the iron some time to reach the proper temperature. Ironing prematurely can cause water to sputter and spit from the underside of the iron onto your clothes; any rust inside the iron also has a tendency to spill out if the iron is put in the horizontal position too soon. You don’t want this to happen on a white shirt that is waiting to be pressed.
5. Press the Cuffs and Sleeves
Begin by laying a sleeve on the board. If you have a sleeve board, now is the time to use it. Open the cuff button and lay it flat; press it, first the inside and then the outside. Then press the length of the sleeve. If you have french cuffs, iron the underside first, and then the side of the cuffs you’ll see when you wear it. Cuffs should be also ironed from the outside in with gentle motions so you do have wrinkles. Personally, I dislike a crease on my cuff because if looks like it just came ouf of the package.
A key to success with all ironing is not to make broad sweeping motions with the iron but to apply short, controlled movements, applying consistent pressure to the cloth. Moving your arm like you’re conducting an orchestra or swinging a mug of beer to a German drinking song will pinch the fabric, adding new creases. Remember, ironing is also called “pressing” and putting weight on the material as you do it is essential for good results.
If you don’t want a crease down the middle of your bicep and elbow, avoid pressing the edges of the sleeve down against the board. Instead, concentrate on the middle of the sleeve. Repeat with the other arm. If you like the crease, I suggest you invest in a clapper which gives you razor-sharp results.
If you just have a regular ironing board, you will always iron two layers at the same time, which increase the risk of wrinkles. For better results, I suggest you invest a few bucks in a sleeve board. You’ll be able to also use it for ironing pants and jackets but as the name suggests, it is great for shirt sleeves. You’ll just iron one layer at a time, thus eliminating wrinkles.
A shirt with glued interlining in the cuffs is easier to iron than one with sewn interlining. Watch the video to see how you can ensure to get perfect results for both versions.
6. Press the Collar
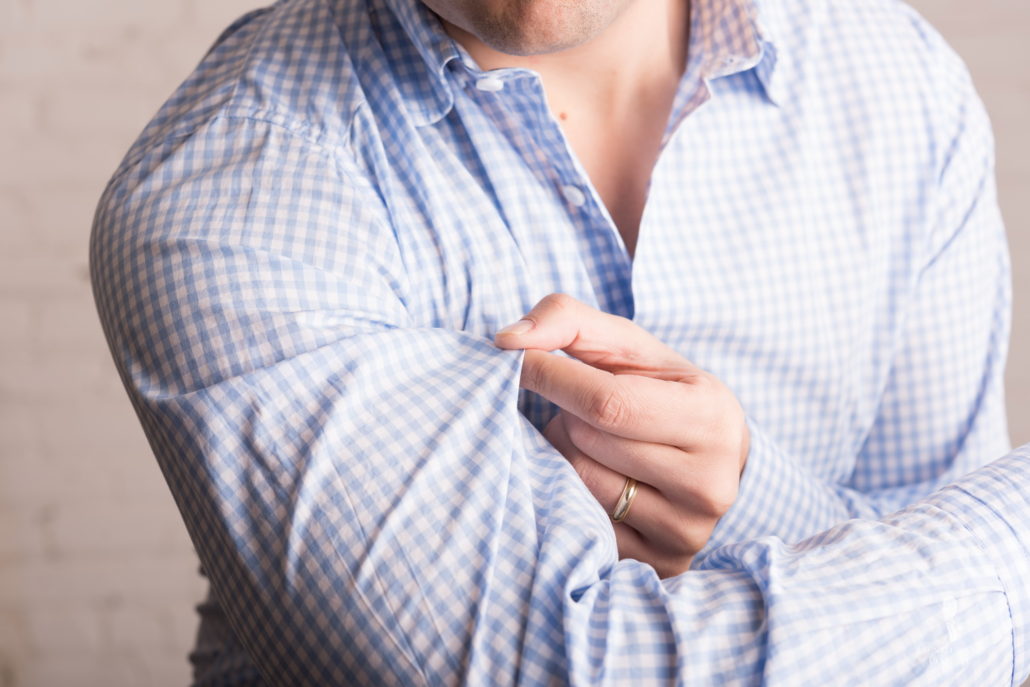
Next, pop the collar and check that you’ve removed collar stays, especially plastic ones that might melt; press the inside flat. First, iron the underside of the collar with gentle motions. Now turn the shirt and iron the outside of the collar (the side you will see when you wear the shirt). Fold the collar back to the normal position and press the outside. If you want a soft roll collar, don’t press down to the points, just the portion that will sit behind your neck.
If you have a sewn interlining in your collar, make sure to iron from the outside in and use short ironing strokes. If you just iron in one motion you will get wrinkles in the shirt.
7. Iron the Yoke
Next up is the yoke, place it at the end of the ironing board or use a sleeve board if you have one and iron the yoke. If it is a split yoke do one side after another. Watch out, not to iron wrinkles in the sleeves or back
8. Finish with the Back and Body
You’ll find that the pointed part of the ironing board is perfect for curved areas like the shoulder and upper chest of shirts and jackets. So, with either the top button of your shirt closed or not, align the top area of your shirt with the narrow part of the board and press the shoulder and chest on one side of your shirt.
Ideally, you have sprayed the shirt with water beforehand but you will still want to steam generously. Then, either iron the other front half or rotate the shirt to work your way around the back. Look for any wrinkles and press those out. If you have a lot of wrinkles, iron the front part from the inside first, and then from the outside. With patterned shirts be careful about the placet and make sure it is neat. Watch the videos for details.
No matter what you iron, spreading the fabric out on the board or actively smoothing it with your hands is essential. As you press, keep pulling and moving the shirt as needed to keep it flat. Concentrate on small areas and avoid putting weight on the tip of the iron; if you drive the iron forward, the point will act like the cow-catcher on a steam train, but instead of catching livestock, it will cause ripples and creases in the fabric. The only time you need to apply force to the tip is when pressing between the buttons of your shirt. Conclude by ironing there and down the placket. If your buttons are made of plastic pay attention not to melt them with your hot iron. Mother of pearl or horn buttons should be just fine.
Typically I start with the button side first, then transition to the back, and then finish with the placket shirt front side.
When ironing the back, you might encounter different pleat arrangements, such as two middle pleats, side pleats or grinze, which are Italian style waves along the yoke seam.
When ironing your pleats, pull the shirt from the bottom, so you get the pleat where you want it, then press them with steam and heat. Of course, you can also use a clapper here. For the grinze, just use gentle motions and make sure you remove wrinkles. Do not iron in one big motion or you will likely end up with wrinkles.
9. The Shirt Pocket
If your shirt has a pocket, it pays to iron around it when you iron the front and to focus just on the pocket once you are done with the surroundings. Often a shirt pocket has excess material, in that case, it pays to use small gentle iron motions to avoid any creasing.
10. Starching A Shirt
Starching a shirt the proper way requires rice starch and it is an entirely different process. Sometimes you may find cheap spray starch products that promise a military-style result but ultimately the results are mediocre and if you use too much heat you’ll end up with stains. Hence we suggest not to use them. If there is enough demand we might do another video on how to properly starch a shirt at home.
Do I Need to Iron Wrinkle Free Shirts?
The truth is, there is no such thing as as Non-Iron or Wrinkle-Free Shirt. It is correct that some companies have added formaldehyde to their fabrics thus making them wrinkle-resistant but after a few washes the substance comes off and you will have to iron it. However, the feel of the fabric will be stiff and uncomfortable forever.
Eton of Sweden has developed a process that is chemically free and helps to prevent wrinkles and makes ironing shirts easier but they charge north of $250 for off-the-rack shirts. While they have fewer wrinkles, you’ll still want to iron them.
Other Garments
Once you know how to iron a dress shirt, ironing a t-shirt or polo shirt will be a piece of cake for you.
Want more Shirt Ironing Details?
The first video above is pretty comprehensive but if you want more details, from a top down, and side angle, please watch this extended How To Iron A Dress Shirt II video below.
Conclusion
Once you develop the proper mindset for ironing and get the basic equipment, you’ll find that ironing shirts is straightforward. You’ll quickly get the hang of making your shirts look sharp within minutes, and, before you know it, you can graduate to the slightly more challenging task of pressing pants and jackets.
Apart from acquiring an iron with enough heat and steam, I strongly suggest you consider investing in a vacuum ironing board as you will spend less time and get superior results compared to a generic consumer ironing board. Meanwhile, give us your tips for ironing shirts. What ironing gear do you own? Do you use a spray bottle? Tell us in the comments below.
Also, check out our in-depth guides on how to iron dress pants and a suit jacket or blazer at home.
Outfit Rundown
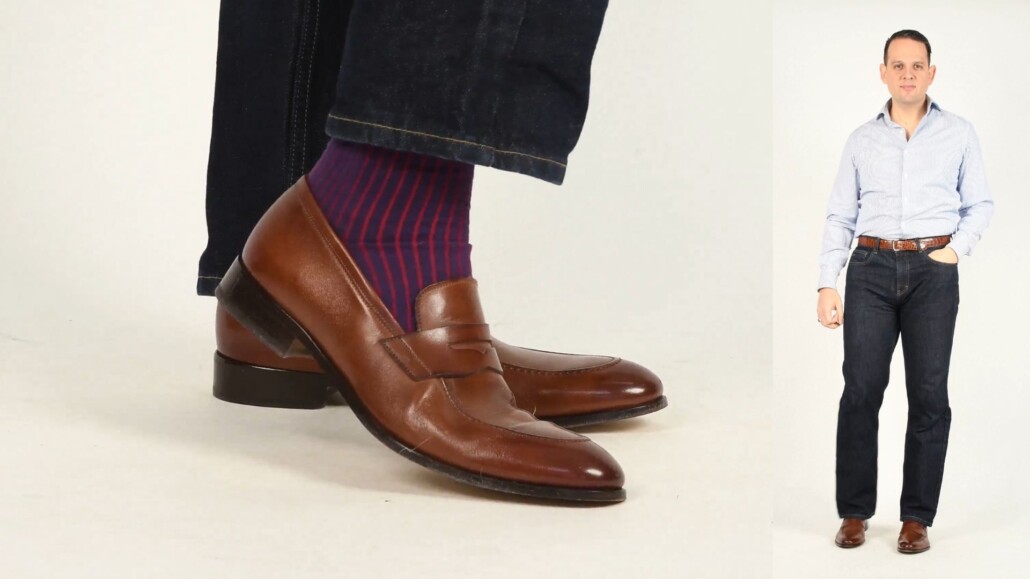
It consists of a pressed dress shirt which is striped in blue and white cotton. I’m using barrel cuffs and the french cuffs, that way it won’t interfere with the ironing. I’m wearing a pair of navy blue denim with a brown crocodile belt and a silver buckle which works well with my silver and carnelian green ring. The shoes are antique brown penny loafers and they work well with my belt. My socks consist of red and blue shadow stripes socks which you can find in our shop. They tie together; the shoes, the jeans as well as the ring I’m wearing.
Great video and good technique. My approach is similar, but I do the collar last as it is the most visible part of a dress shirt. I also remove collar stays before washing.
Keep up the good work!
Thanks for sharing!
I find this somewhat of an oxymoron.
I think this article should mention if it’s wise to use either iron or vapor iron steamer? I see that for basic and advance clothing the steamer would be best bet unless I am mistaken
Ditto on stay removal prior to laundering.
Here’s a vote for a steam press. The compression and steam are superlative for pleated evening shirts. Casual shirts come out quite crisp without starch, and I will confess that, where dress shirts are concerned, my old-school methodology is to press cuffs, collar, and front. The rationale: a gentleman never removes his jacket, so the rest doesn’t matter.
Hi Sven Raphael,
Yes, I’d love to learn about better starching, but the privé of Eton shirts, my favourite shirt brand, hete in Europe would avarage some 150 euro, which i guess is considerabbly lower than the 250 dollars in the article.
Thanks again for this great read
Rgds
Jonne
Admittedly I’m British but my mother was horrified at the thought that I might wear a shirt with a pocket. In her view, no gentleman would ever be seen with a pocket in his shirt. I have used spray starch many times and always found it to produce a crisp result without detriment to the fabric of the garment. The only problem was that I had to limit the temperature of the iron (for pure cotton or linen items) to avoid scorching the starch.
Video on how to properly starch a shirt at home – a must for the younger readers !
I must admit, as a somewhat younger reader, a video on starching a shirt at home could prove most useful.
Could you please let us know what iron that is you’re using in the video. Thank you.
Thanks for the video. My Dad showed me how to iron a shirt when I was a young man. He taught me to iron the front of the shirt after I iron the back as that is what people see when you have a jacket on. The front and collar is the part I put the most effort into as it’s the most visible. I like the way you ironed the yoke, my Dad taught me another way but I think your way is better so I’ll give it a go next time.
I like your crocodile belt you had on with your jeans as I have a similar one. I’ve been reading up on which is better crocodile or alligator as I want to get a new watch band. It seems alligator is the better of the two. It would make a good video if you’re ever looking for ideas for a video, shark and stingray leather is also interesting. Thanks again for the video, I’ve learned so much from you over the years.
I learned something new… to iron the yolk in parts rather than as one piece (good thought). Other than that, my method differs a bit. At the start I iron the cuffs and collar on the inside only; the last very thing I do is to iron the outside (the showing part). Also, I iron the parts that will wrinkle first: the sleeves and then the backside, leaving the front panels and the button placket last. I also finish by buttoning the top three buttons when hanging on a hanger. That seems to keep the collar “standing” even when I later fold the shirt.
FOOLPROOF SEQUENCE FOR IRONING A SHIRT
1. Start with the collar. (If you finish with the collar, you will crease the upper halves of the right and left front panels of the shirt and have to touch them up.)
2. Iron the yoke.
3. Iron both cuffs.
4. Iron the sleeves. (If you finish with the sleeves, you will crease the upper halves of the right and left front panels of the shirt and have to touch them up.)
5. Iron the right front panel
6. Iron the back.
7. Iron the left front panel.
8. Fasten the top and third buttons, and leave the shirt to cool and air. This will allow the final vestige of moisture to evaporate and prevent creasing.
Thank for this very good guide. After watching I immediately went ironing some shirts. Hehe
Keep on doing the good work!!
Excellent guide. In fact, ironing a shirt is not as difficult as it seems at first glance. Possessing a modest set of knowledge, you can pat one shirt in less than 5 minutes. The main thing to remember is: 1. Turn the shirt inside out. Thus, you will achieve better results, especially on shirts made of thick cotton fabric. 2. Set the correct temperature for the iron. Read the label on which there is a recommended temperature for the iron. If there is no such icon, then look at the type of fabric and set the temperature for the iron, according to the manual from the iron maker. 3. Most shirts are made of cotton or cotton with the addition of a different type of fabric. Make sure that there is no synthetics in the shirt, otherwise you can burn the shirt from a hot iron. If there is no label, then try to iron with a small temperature. If creases are ironed badly, add a little temperature. As soon as you feel that the iron starts to slip badly, immediately stop ironing and reduce the temperature of the iron.