Nowadays, there are quite a number of shaving methods possible, like the innovative electric razor, which gives you a quick shave, and the multi-blade models sold by many companies from Gillette to Dollar Shave Club, but the tried-and-true method of shaving with a double-edged safety razor is still “a cut above.” Today, we’ll discuss some techniques for you to master this supreme shaving technique.
Have Your DE Shaving Arsenal Ready
1. Good DE Razor
First and most obviously, every good shaving kit needs, well, a razor—particularly, in this case, a good DE safety razor. But, what does that mean exactly: “good?” There are a few variables to take into consideration when choosing the right DE razor—and we say this in reference specifically to the razor itself and not the blade because that is an entirely different topic all on its own. Many of these variables are, in fact, subjective and entirely dependent on your personal preferences.
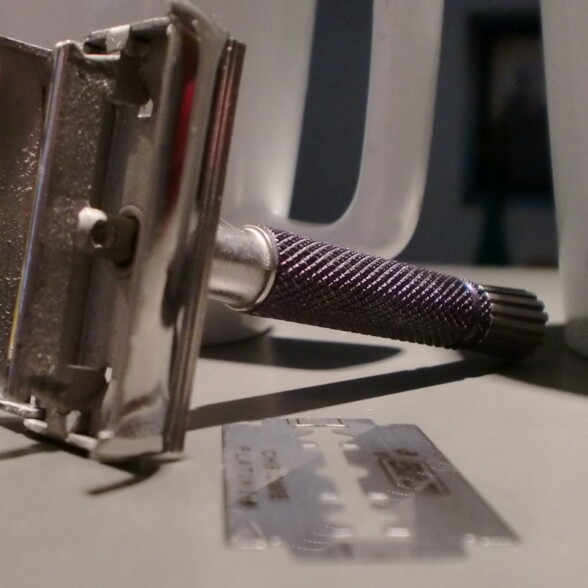
Consider the Razor’s
Weight and balance
A good DE razor needs to be well-weighted and balanced. A razor’s balance affects your control over the tool you’ll be using. Its weight will determine the innate pressure it puts on your skin. The heavier the razor, the more the pressure, and the less pressure you will need to exert on it; the inverse the true for lighter razors. For beginners, the heavier razor is typically preferred since the razor will do most of the work for you.
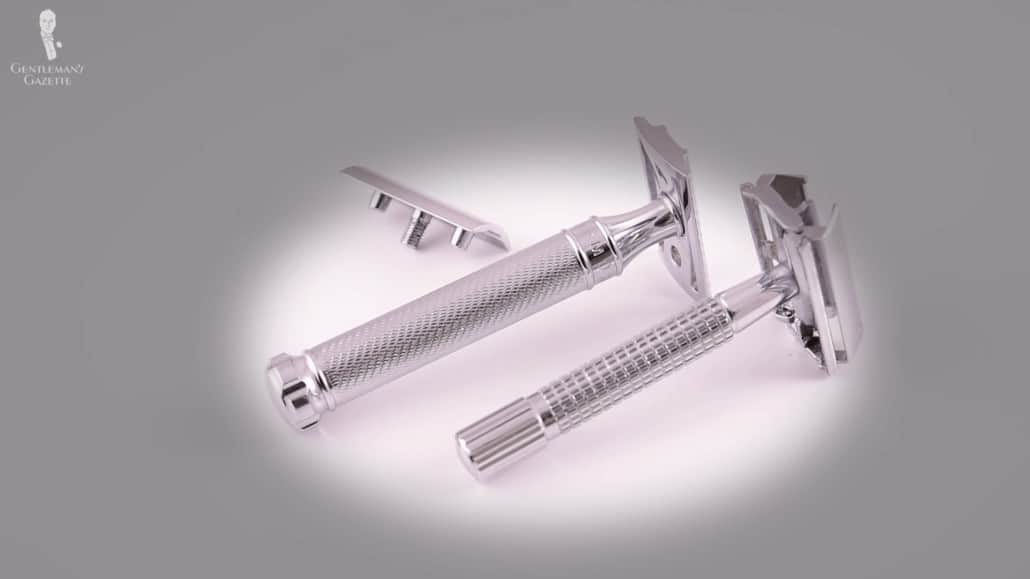
Adjacent to weight and balance are handle length and type. There are many to choose from, and some are even made by craftsmen. In regards to length, this variable will largely depend on the size of your hand. Obviously, with a langer hand, a longer handle might be ideal; and inversely for a smaller hand. However, there are those who prefer one or the other regardless of the size of their grip, as longer handles provide more room to finesse the razor, and shorter handles may be better for balance.
For types of handles, specifically material, a large majority of DE razors come in some sort of metal—either stainless steel or a zinc alloy, wherein the latter is the cheaper option. Most metal-handled razors have ridges to improve grip. Some even offer telescopic handles for ease in storage and travel, as well as versatility in length.
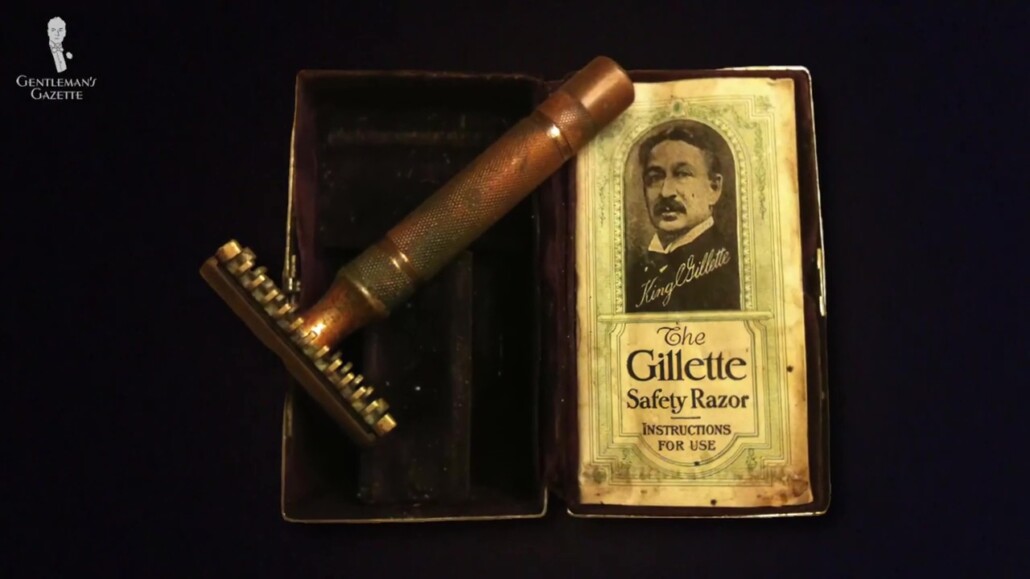
Some DE razors also come with wood handles and are usually carved ergonomically for better control. Poorer quality wood handles can also be prone to mold. The material of your handle is entirely predicated on feel, so, in this regard, go with whichever feels best for you.
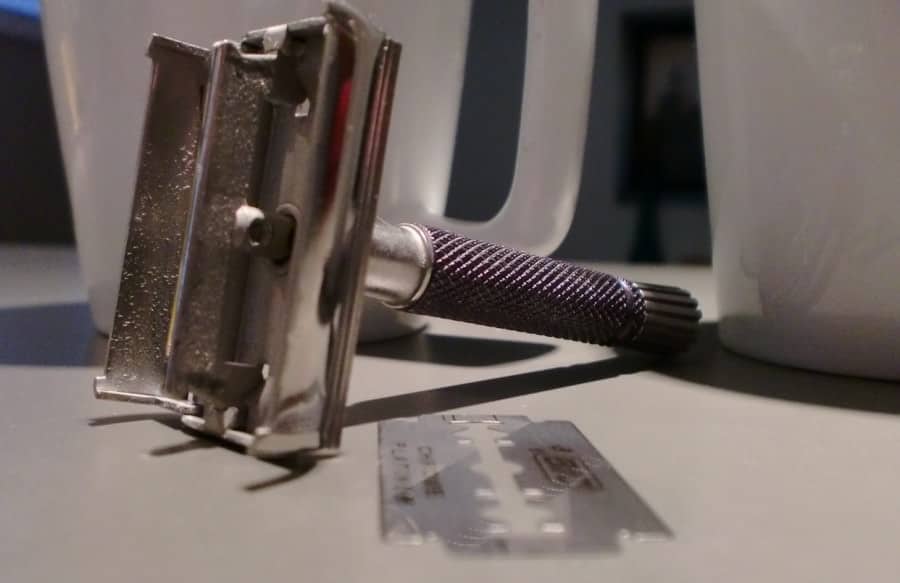
A DE razor’s blade gap determines its aggressiveness. This refers to how much of the blade is exposed. This is also adjacent to another variable, which is the razor’s comb type. To understand which blade gap and comb type combination works for you, think of these two variables as a gradient scale. The wider the gap and the more open the comb, the more aggressive your shave will be. This grants the advantage of a closer shave and is ideal for longer and denser facial hair but may cause irritation for more sensitive skin types. Conversely, the tighter the gap and the closer the comb, the milder the shave, which is ideal for more sensitive skin types and regular shaver who never let their facial hair grow thicker than stubble.
Now, at this point, you may wonder why you should go through all the trouble of figuring all this out when cartridge razors, plastic razors, or even electric razors can be more convenient. Well, there are actually are number of reasons why DE razors are far better than these.
We discuss the differences between all methods in more detail in a different guide, but at the forefront of the discussion are price, quality, and craftsmanship.
Double-Edge vs. Cartridge vs. Electric Razors
First and foremost, there is the matter of price. A cartridge razor refill will cost you two, three, or even upwards of $5 per cartridge, which you would ideally replace every four to five shaves, not counting for the handle itself, which would cost north of $10. An electric foil razor can cost anywhere from $20 to $40, and a rotary razor can even go up to $800, depending on the brand. These last you anywhere between five to fifteen years, depending on quality.
Compare these prices to a DE razor of decent quality, which comes at a much wider range—from $10 to upwards of $300. While it can be a sizable investment, especially if you go closer to the higher end of that scale, you’ll find dividends in the price of blades. A box of 100 high-quality blades can be purchased for about $10. That’s a staggering 10 cents per shave with a razor that could, if well chosen and well care for, potentially last you a lifetime. And that’s if you change blades with every shave, which you’re likely not to do.
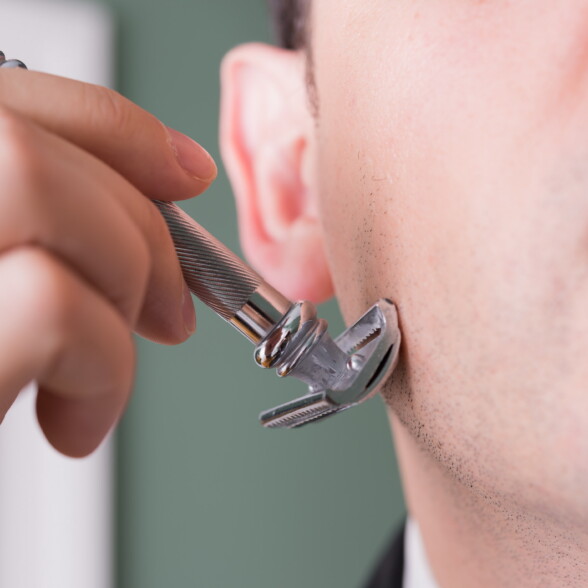
With a DE Safety razor, You can
Have a superior shaving routine
Depending on your budget, the price may not be a factor for you, so you may be more interested in the quality of your shave.
Cartridge razors have multiple blades that mechanically do multiple passes with a single stroke. Some even have lubricating strips and pivoting heads that theoretically lessen irritation and aid with control.
Meanwhile, DE razors utilize a single, double-edge blade, meaning a single stroke equals a single pass. With proper shaving preparation, more control and precision over the number of passes you make does more to prevent skin irritation and razor burns than many lubricating strip or pivoting head can.
Moving on, electric razors catch hairs and cut them with either rotating or vibrating blades, working much like how scissors would. They typically have a foil that presses down on your skin, exposing the hairs and protecting your skin from the blade.
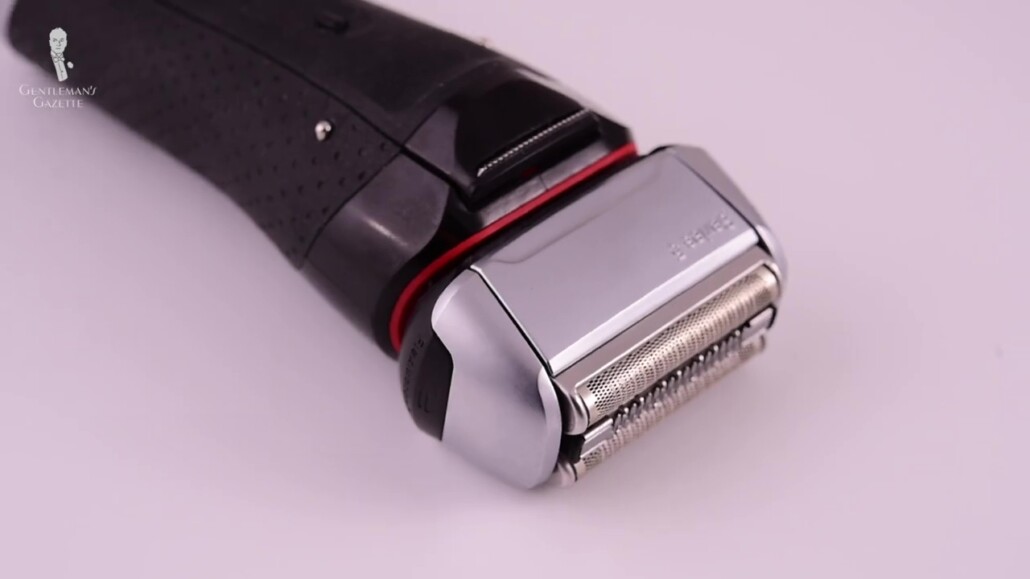

The problem therein lies with keep these blades sharp. While there are replacement blades available, they can be extremely costly and quite a hassle to replace; compare this with the affordability and ease of a DE razor. Because, we can tell you, no amount of convenience is worth shaving with a dull blade.
Moreover, electric razors of lesser quality may not provide the close shave that you may want, leaving you with a rough stubble rather than a baby-smooth shave.
While it is possible to get a good, close shave with any of the methods we mentioned here to today, really each have there own pros and cons to consider, and, in the end, it truly comes down to your own preference and priority.
2. High-Quality Blade
As important as a good razor is a good blade, and as many things there are to consider when choosing your DE razor, you may be surprised to learn that there are also some things you need to keep in mind when choosing the right blade.
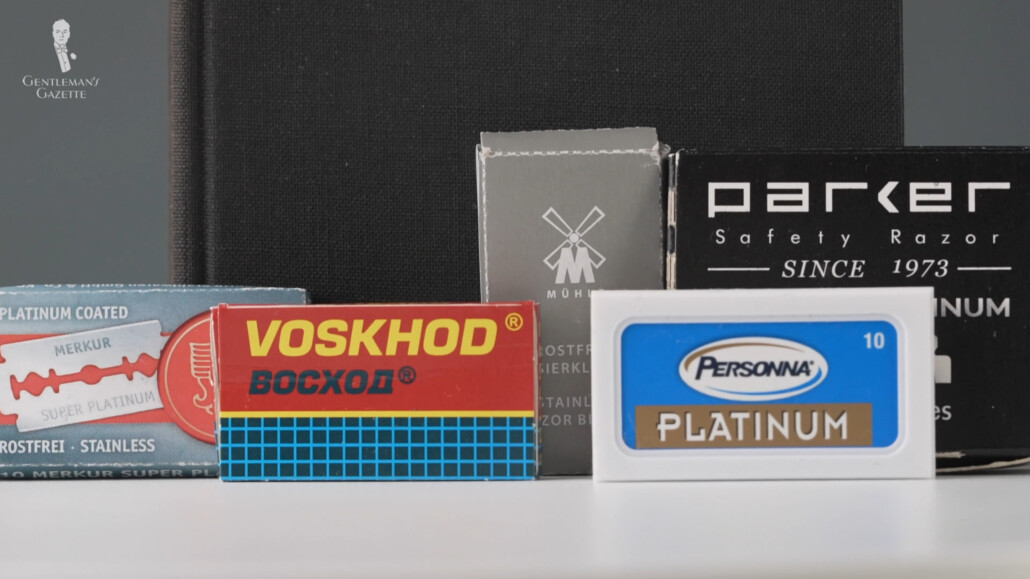
What is more immediately important is the blade’s sharpness—or rather, how aggressive it may be on your skin. You see, this variable is mostly dependent on your skin type and hair type—whether you have sensitive and acne-prone skin or smoother and more resilient skin, and whether you have coarser or finer hair. Also important to consider is your skill level in regard to DE shaving.
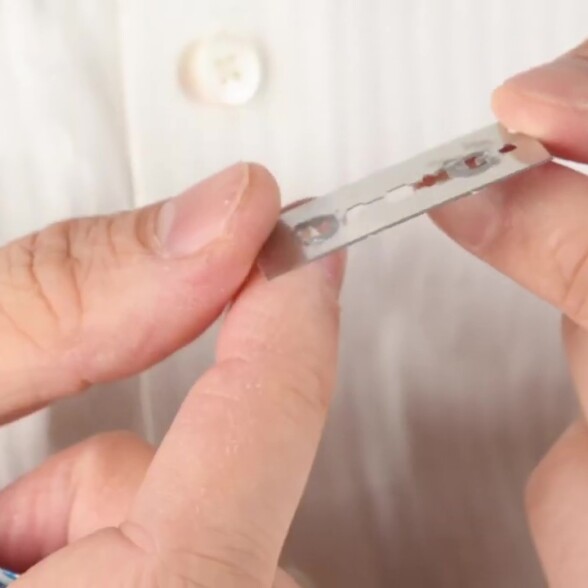
Keeping a blade sharp is important as we’ve pointed out, but sharpness comes in a variety of levels.
Take into consideration
The sharpness of your blade
Sharper, more aggressive blades may cause irritation and burns on sensitive skin and may cause cuts on acne-prone skin when not handled with care. Thus, blades on the sharper end of the spectrum are better for more experienced shavers. They’re particularly useful for men with coarser hair who would, otherwise, require more passes on a duller blade, potentially subjecting them to, again, irritation.
On the other end of the spectrum, blades that are less sharp are better for people with, yes, more sensitive skin, but also those who have finer hair that would require less passes and, in which case, a sharper blade would be overkill. This is also better recommended for newcomers to the method, who may not be as accustomed to what specific kind of blade they may need or how much pressure they would need to use. And if they find themselves lacking in these milder, graduating to a more aggressive option is always an option without having to risk irritation, nicks, or cuts.
| Brand | Country of Origin | Where to Buy |
|---|---|---|
| Astra | Russia | Amazon |
| BiC | Greece | Amazon |
| Bluebird | Turkey | Amazon |
| Derby | Turkey and Sweden | Amazon |
| Feather | Japan | Amazon |
| Gilette | Russia and India (Primarily) | Amazon |
| Lord | Egypt | Amazon |
| Merkur of Germany | Germany, the Czech Republic | Amazon |
| Mühle of Germany | Germany | Amazon |
| Parker | Sweden | Amazon |
| Personna | America | Amazon |
| Shark | Egypt | Amazon |
| Voskhod | Russia | Amazon |
| Wilkinson Sword | Germany (Classic Line) | Amazon |
While price can be a major factor here, the affordability of any reasonable choice of blade makes it less important to discuss. But, for those interested, we do go into more detail about that in our post where we review blades.
Reviewing DE Safety Razor Blades
3. Product
Once you have your razor and blade at hand, you are ready to choose how you’d like to prepare your skin and get a comfortable shave. The first of these is your choice of product, which can be a soap, gel, foam, oil, or cream.
Again, we go into the details of each choice in detail in another guide, but really, each choice comes with its own strengths and weaknesses—balancing between not only softens the skin and hair, but also how well it protects the skin well beyond the shaving routine. Moreover, some choices may require a learning curve to truly bring out the best it can offer.
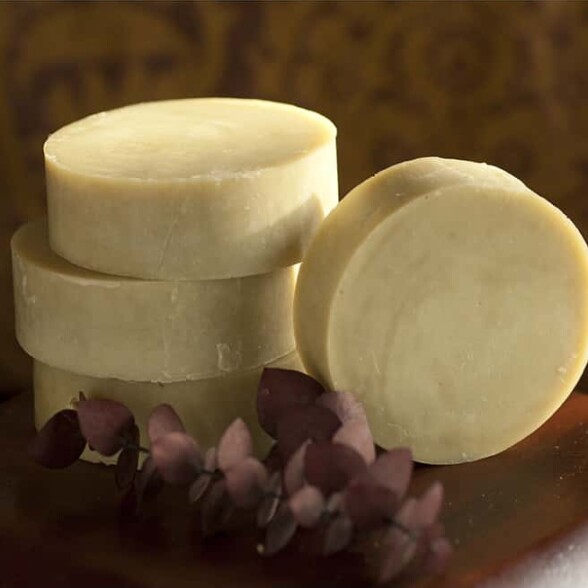
SHAVING SOAPS Can Give
A good lather
Shaving soaps, when properly prepared, offer excellent skin softening and lather. It’s a traditional choice that may require some practice and additional tools to use, but it’s cost-effective and feels fantastic if you appreciate taking your time.
Creams are easy to use and are very moisturizing. They’re great for beginners, but be wary of cheaper options that may contain harsher chemicals, in which case it might do more harm than good. It can be more costly than shaving soap, but its simple and effective.
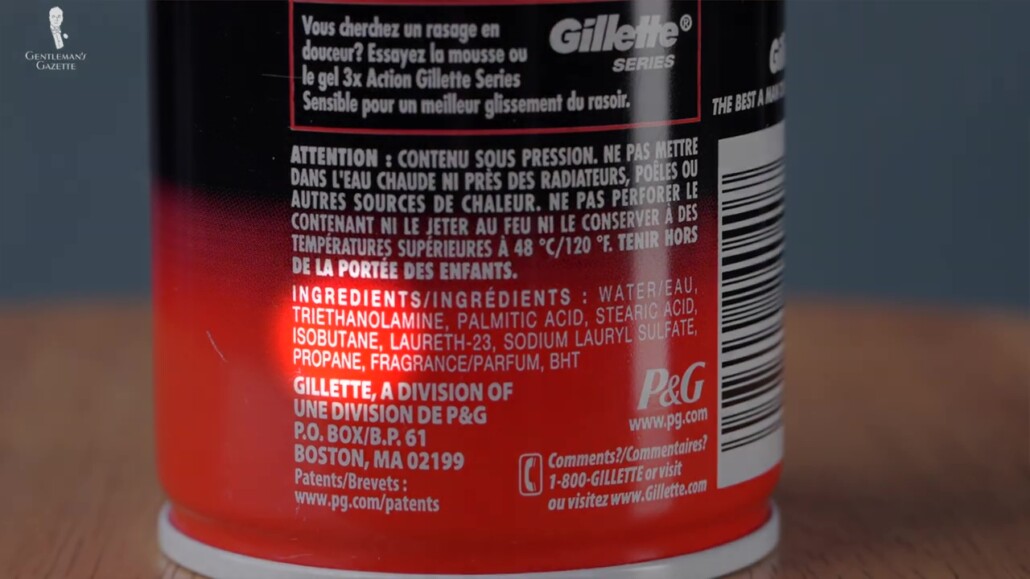
But as easy as they are, even more so are foams that come in cans and instantly lather. Indeed, these are accessible, convenient, and as simple to use as pressing a button. But these aren’t good for your skin. They provide little to no lubrication and zero moisturizing benefits.
A close cousin to foams is gels, which provide a bit more moisturizing benefits but still little making the skin soft enough. Having a clear appearance, they allow you to see exactly where your blade is going. They’re as easy to use as foams but also still contain those nasty chemicals that you find in aerosolized cans.
Shaving oils are less popular than the previous methods, but they provide a unique experience. They’re quick and easy to use like foams and gels, but they also provide the lubrication, moisturizing, and skin conditioning benefits that those two lack. While they may be the hail mary for sensitive skin, the downside of this option is its cost and that it may fall short when used on coarser hairs.
4. Accessories
Beyond the previous three items, you may need other accessories to enhance your shaving experience. While a kit with a razor, a blade, and a product is going to work fine, depending on the specifics of your previous choices, you may need things such as a shaving brush and bowl, a razor stand, and a handy pouch or dopp kit for when you travel.
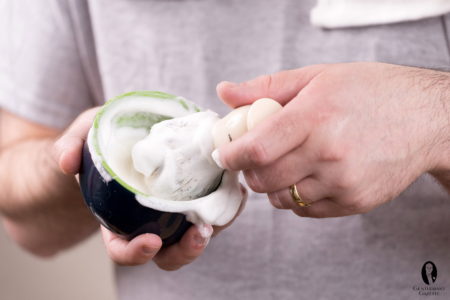
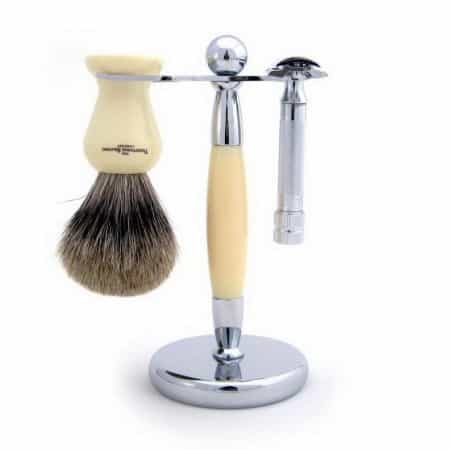
If you had chosen either shaving cream or shaving soap for the product, you will need a shaving brush and bowl to actually use—and, of course, some decent practice. Choosing a brush requires you to pick between synthetic or natural bristles, usually boar or badger—each, again, comes with different strengths and weaknesses.
A razor stand allows you to dry your razors upright, which aids in the longevity of your tool and blades, as well as in the quality of your next shave. A properly cared-for razor will gunk less, last longer, and generally give you a better experience. Future you will thank you deerly for choosing to care for you razor.
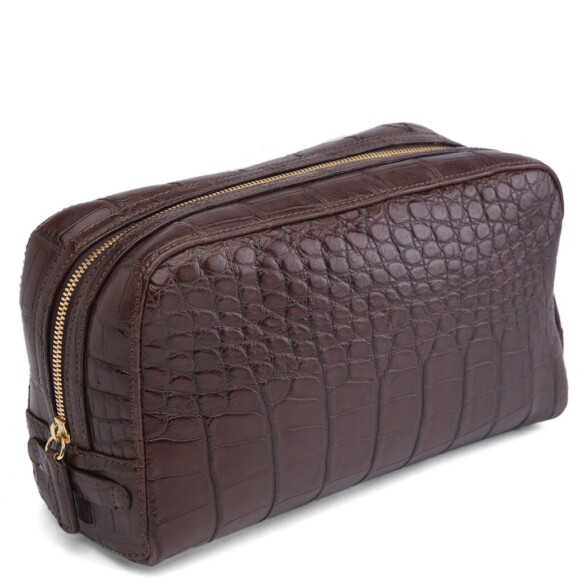
Secure your shaving kit with
A reliable pouch for traveling
A pouch or dopp kit is useful for when you travel with your shaving kit. They typically come in leather and help protect your razor and anything it might come in contact with inside your luggage.
Additionally, you may be wondering how you are to dispose of used blades, and if so is the case, then you may want to consider getting yourself a blade bank. These are sealed cases similar to a coin bank, where you drop in used razors instead of pennies, keeping them there until they filled and ready to be safely binned. They are disposable, recyclable, and safe. You do not want to be disposing of used razors loosely in the trash, for your sake or the sake of the garbage collector—it’s the responsible, gentlemanly thing to do.
How Do You Shave With A Double-Edged Safety Razor?
Step 1: Pre-Shave Routine
We can’t emphasize the importance of a pre-shave routine enough. But, what does this mean? For one thing, you can take a hot shower, which makes your hair soft. If you don’t want to shower, you can use a wet towel, heating it for a a minute or so in the microwave. It’s very comforting, but it also helps your hair to get soft. If that’s too much time for you, you can also splash your face with hot water for a minute or two, until you can feel that your hair is getting soft.
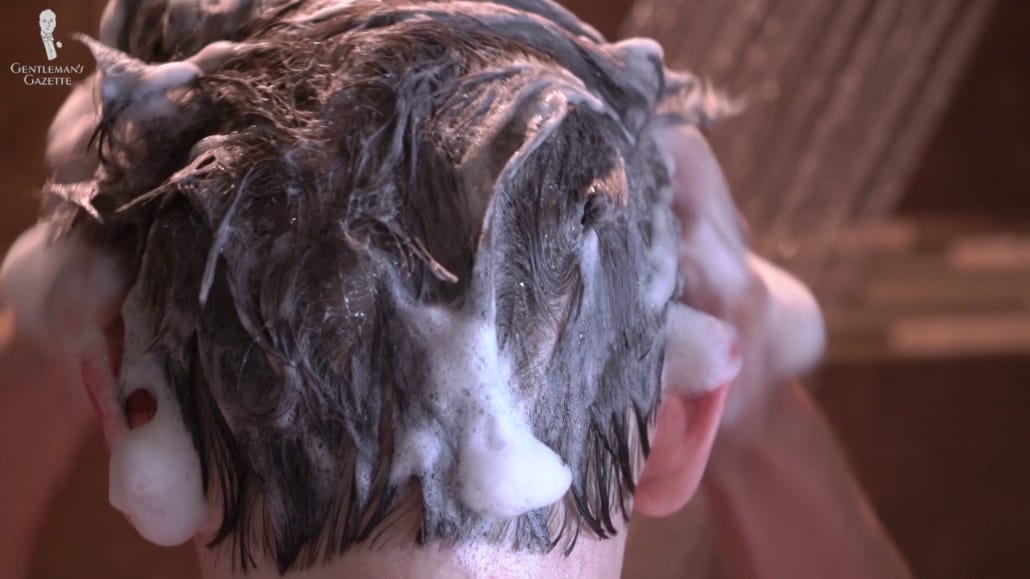
Step 2: Apply Shaving Cream
Applying shaving cream or shaving lather to your face is next. If you’re in a hurry, we suggest using shaving cream from a tube. Never use cream from aerosol cans, because these products don’t have enough fat, which is a natural lubricant. You can also use a shaving soap, but you’ll need a brush to lather it up and it takes a bit more time.
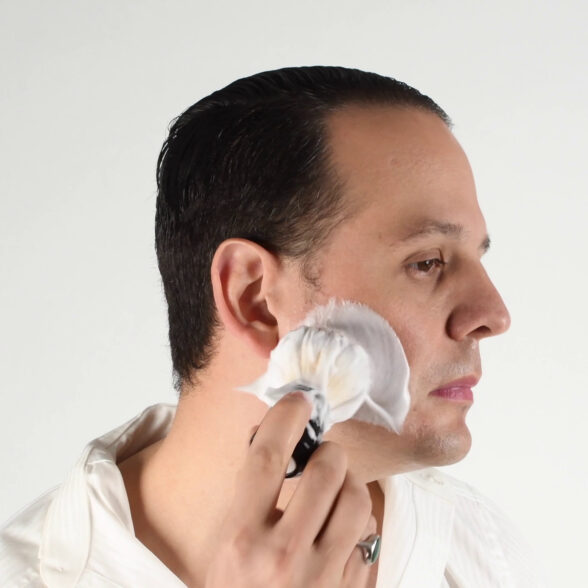
A Shaving Brush Will
Help generate a good lather
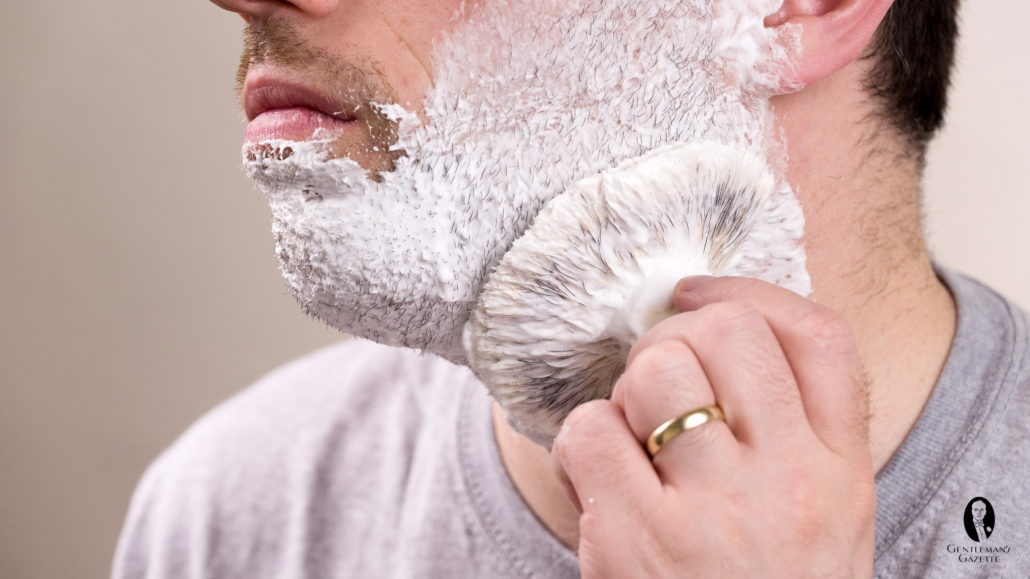
Using the shaving brush is probably the best technique overall because it puts the lather all around each hair. It also may aid in moving your hair slightly away from your face, which makes the shave easier and will prevent cuts, nicks, and ingrown hairs.
Once you’ve got the shaving cream or a lather on your face, it’s time to actually shave.
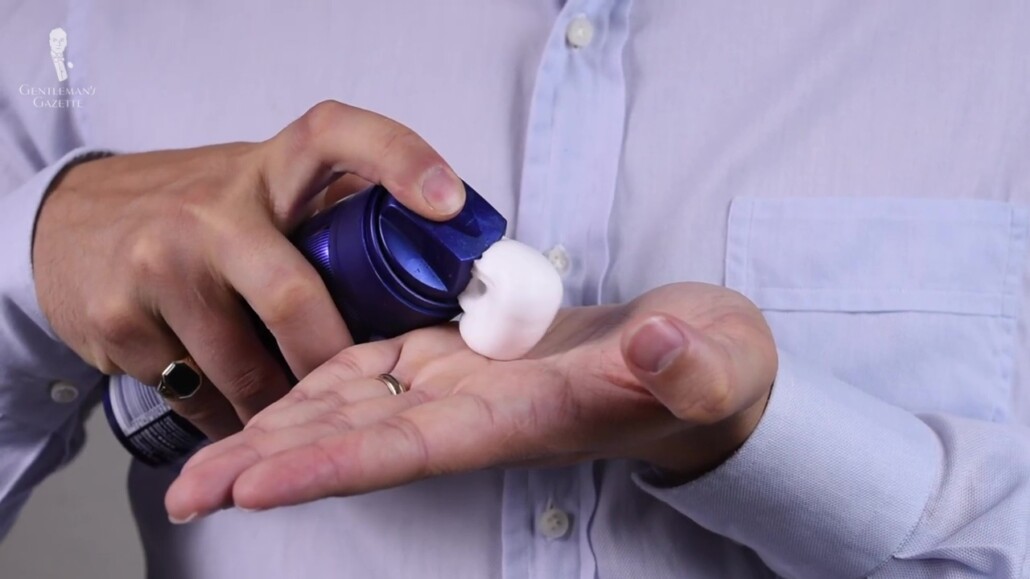
PRO TIP
Avoid using products from aerosol cans as they don’t have enough fat to render a good lather.
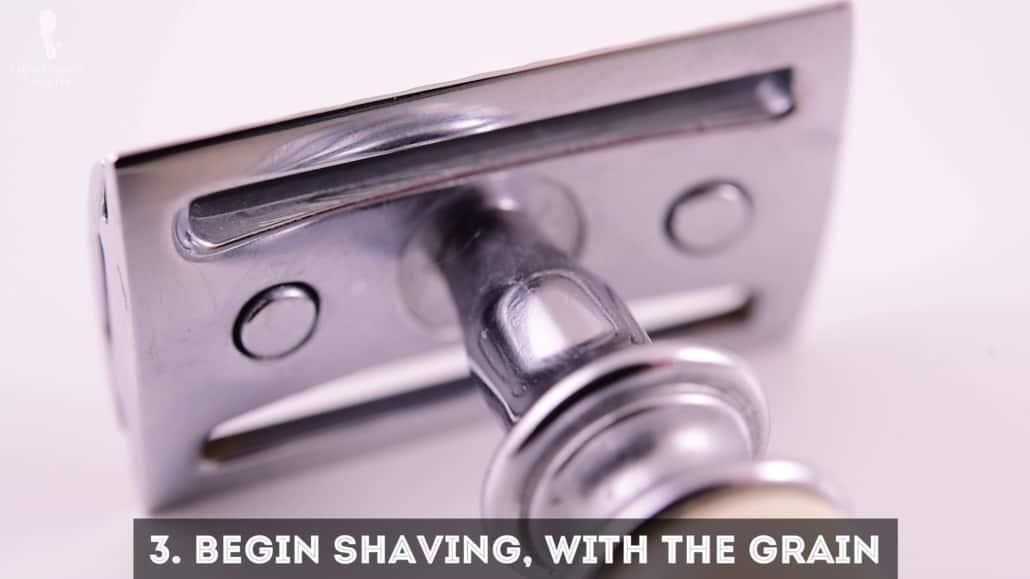
Step 3: Begin Shaving, With the Grain
At this point, load up your razor’s head with your blade of choice, and make sure it’s straight and not crooked (because you don’t want to cut yourself). Begin the first pass; don’t worry about removing all of your hair, as a second and (optional) third pass will provide a perfectly smooth result. When you are just starting out, we suggest standing in front of the mirror and looking at the growth directions of your beard hair before you even start shaving or lathering up. If you can’t remember how your beard grows, use a pen and paper to diagram the directions you think your hair is growing. It’s very simple. Just look at it closely, and you’ll see it.
Why is it important to do this, you ask? Well, in the first pass, you want to shave in the direction of your hair grain (or “with the grain”), which is much less stressful on your skin. Honestly, every man has a slightly different growth direction, so it’s hard to make blanket statements.
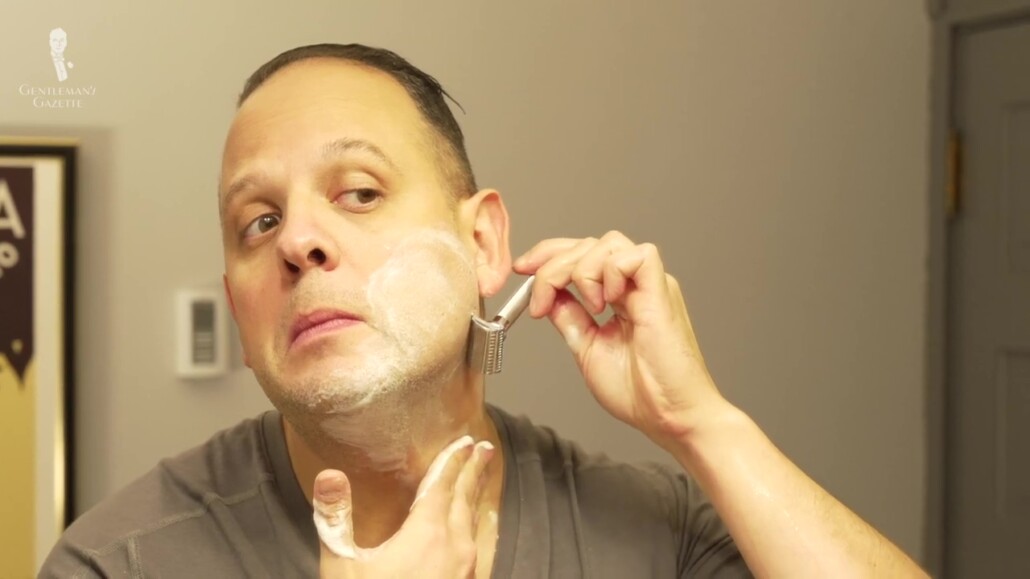
When you make a pass, always ensure that your skin is tight or stretched (using your free hand) because if there’s loose skin, you’re much more likely to cut yourself. For example, that can mean pulling around your sideburn or reaching overhead to pull up, to tighten the area just before the razor blade goes over it. Sometimes, around your cheeks, you can also just puff them out with enough air to make the skin tight. In the area below your nose and around your mouth, you can also tighten your skin with your muscles, or just use your tongue from the inside.
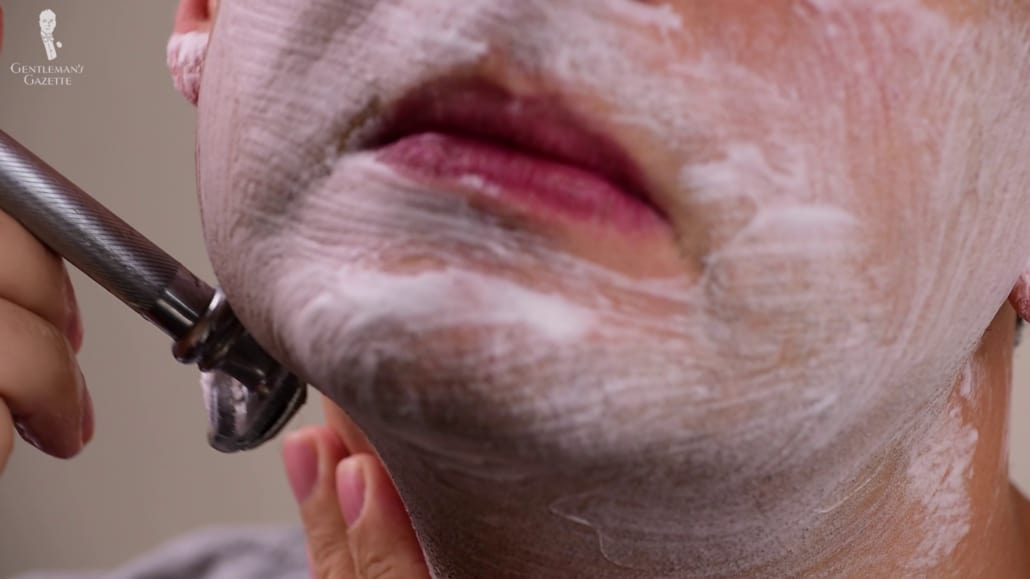
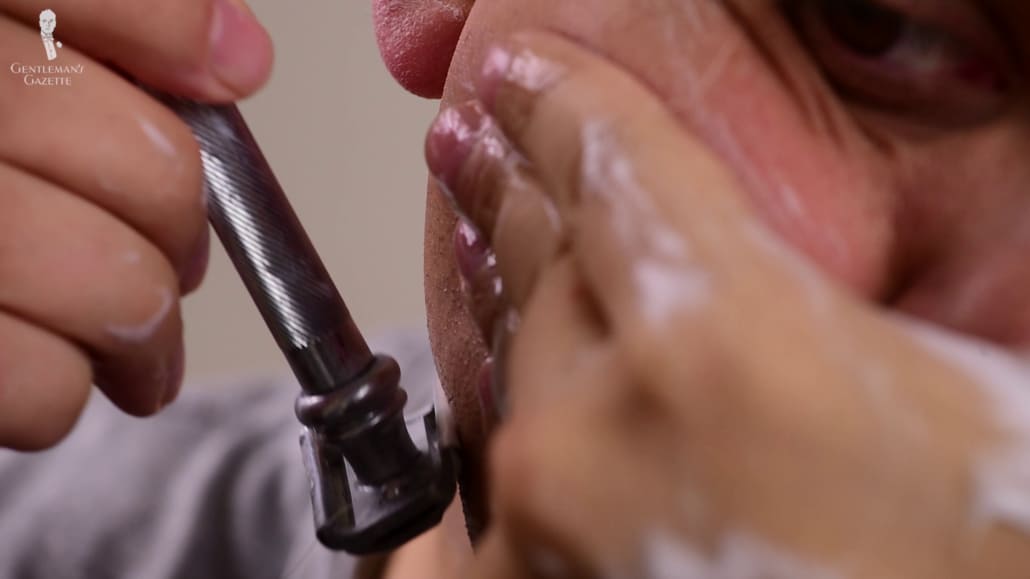
Depending on the head of your double-edged razor, you should hold your handle at an angle of about 30 to 45 degrees. You’ll hear what the right angle is once you do the pass. When you do the pass, you want to be very gentle on the skin. Don’t have any strong pressure. Just use gravity to slide the razor down on your face.
Ensure that you make short and slow strokes. When you start, make sure you shave in straight strokes perpendicular to the edge of the blade; that way, you’re less likely to cut yourself. Once you’re a little more advanced, you can also have a slight stride, which means you go at a slight angle, because this kind of movement creates a stronger cutting motion.
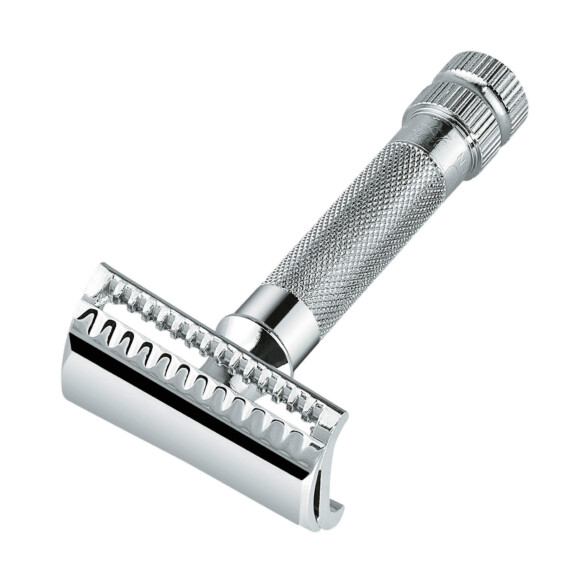
Angled razors heads
Help you with your strokes
You could also get a handle that is slightly angled, so if you pull down your handle straight, it always cuts the hair at an angle, therefore enhancing the cutting motion just like on a guillotine. We only suggest angled heads for people with very thick hair, because it makes for a more aggressive razor; if you have very thin beard hair, you’ll still get the same result with a less aggressive razor, and your skin will thank you for it.
Once you’re done with one or two strokes, just switch to the other side of the blade, and repeat once or twice.
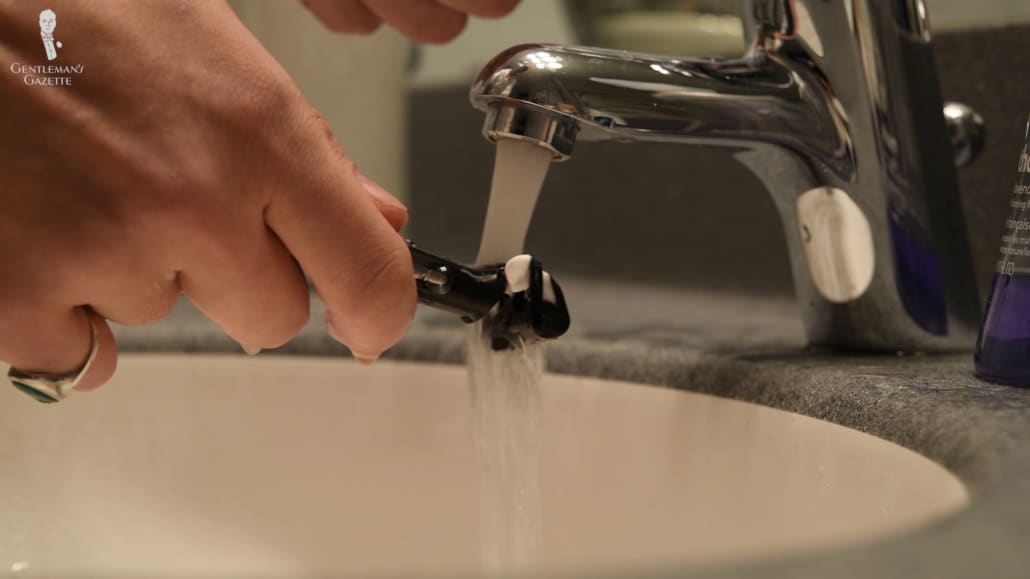
Step 4: Rinse the Blade After Using Each Side
You can either do this under running water or in a sink that’s filled with water. If you feel any kind of pulling or any pain when you shave with a DE razor, it either means that you didn’t do a proper pre-shave routine, or that your blade is dull.
If you use shaving cream, you can clearly see where you’ve already shaved. You may also find it helpful to have a little bit of extra shaving cream in your free hand, so you can apply it after each pass. You can’t have too much shaving cream on your skin when you shave, because the cream protects and lubricates the skin. In the beginning, it may be tempting to go over the same area three or four times without reapplying shaving cream; but trust me, it’s better to have new shaving cream applied every time before you shave.
That being said, when you’re just learning a technique, everything is going to take you a lot longer, and so by the time you make it from your right side to the left side, you may already experience a drying feeling on your face. You don’t want a dry shaving cream, because it clogs up the razor and prevents skin protection. Therefore, if you can feel that it gets a little drier, wet your hand, go over the area again, and maybe reapply a little bit of lather or shaving cream so everything is fresh before you shave over it.
The tricky areas are usually right underneath your nose and underneath your mouth; experiment with using your tongue or filling your cheeks with air to make sure the skin isn’t loose in those areas. Also, around your jawline, it can be hard to get it smooth all the way along, so stretching the asking with your free hand can also be a good idea here.
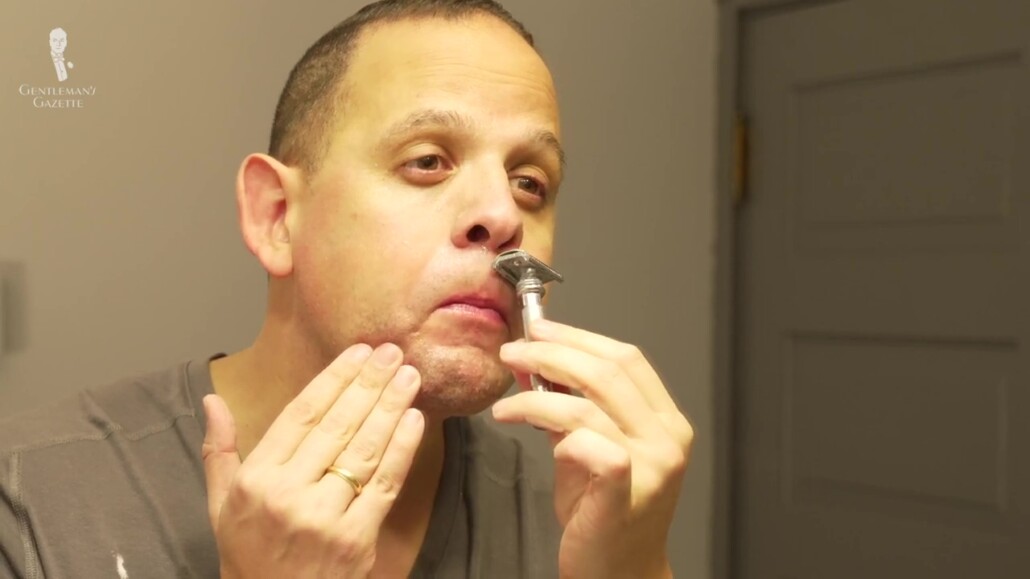
Every man has different problem areas. For example, underneath his right ear, Raphael always has to go in a different direction, otherwise he doesn’t get all the hair. The chin is another area where it can be a little bit difficult. Again, use your fingers and your face muscles to keep the skin tight. Just shave in different directions, always reapplying the shaving cream. After you’re done with the first pass, there will likely be still some residual hair in certain places. That’s when it’s time for the second pass.
Lather up a better shave with a shaving cream!
Step 5: Make A Second Pass, Across the Grain
Again, put shaving cream on your face with your hand (or you lather up and use a shaving brush), and then cut “across the grain.” What does this mean? Not against, but at a 90-degree angle, perpendicular to the direction of hair growth. Again, pull your skin tight and shave in the same manner as you did before, just at a 90-degree angle.
Step 6: Make An Optional Third Pass, Against the Grain
Most men are done after the second pass, but if you have thicker hair or if you want an even better and closer shave, you can do a third pass “against the grain.” Be aware, however, that this may cut your hair below the skin level, which could lead to irritation. Still, these “baby-bottom smooth” results are often viewed favorably by romantic partners!

When you shave against the grain, it can feel more aggressive on your skin, and you can also hear the cutting motion more. Shaving against the grain may lead to more irritation in some areas, as the hair may be cut below the surface. Trial and error should be your guide here. Once you’re done with the third pass, it’s time for the next step.
Step 7: Close the Pores with Cold Water

Rinsing with cold water
Closes pores and also stops bleeding!
Splash your face with cold water to close up your pores. Some people use ice water because they believe it does a better job of closing the pores and stopping any kind of bleeding, though you may find regular cold tap water does the trick.
Step 8: Soothe the Skin with A Post-Shave Product
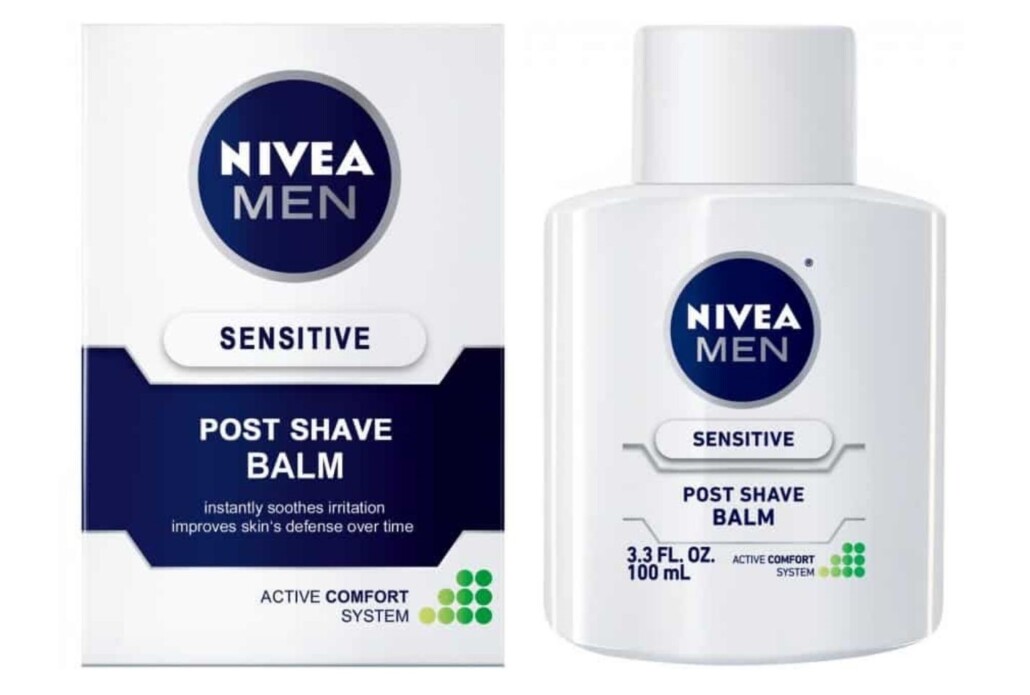
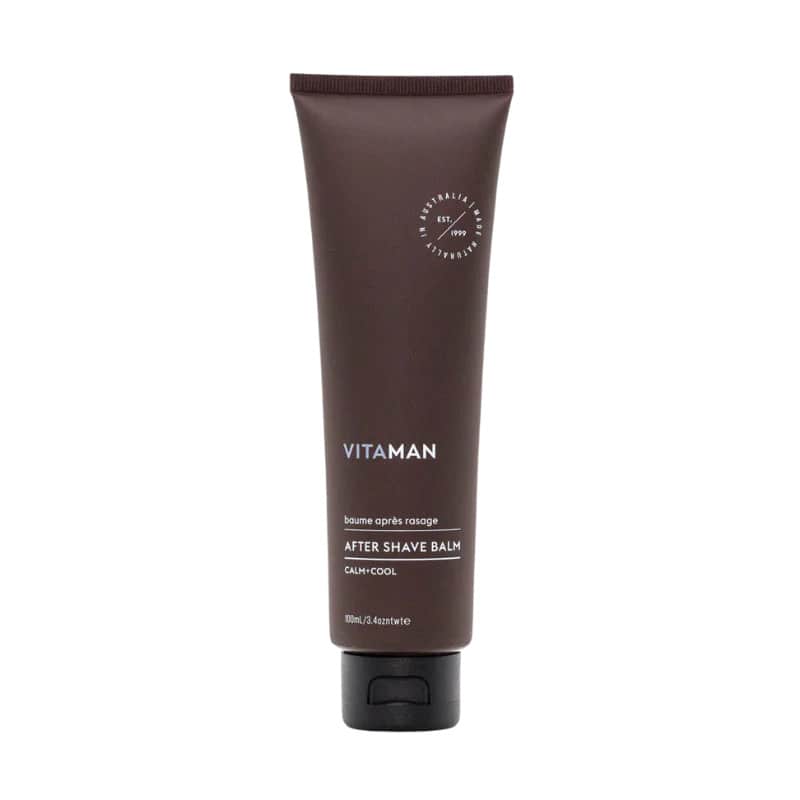
Afterward, it is very important to add a post-shave balm or product. Every company that offers shaving creams also has post-shave products. Some will be more fragrant than others. The traditional, old-school, all-alcohol varieties are not recommended because they dry out your skin. Our team has had great results with an inexpensive Nivea aftershave balm for sensitive skin. There are also pricier options, like VitaMan aftershave balm, which has natural or vegan ingredients, which some also prefer.
How Can You Achieve A DE Result Faster?
The result of a DE shave is superior to any cartridge razor shave, and on par with systems like Supply or OneBlade. Some may argue it’s not quite as good as shaving with a straight razor, but that also takes a lot longer and requires even more technique. Try it if you like, but you’ll likely find (as we have) that a straight-razor shave is best saved for the weekend or other times when you really want to enjoy the shaving process.
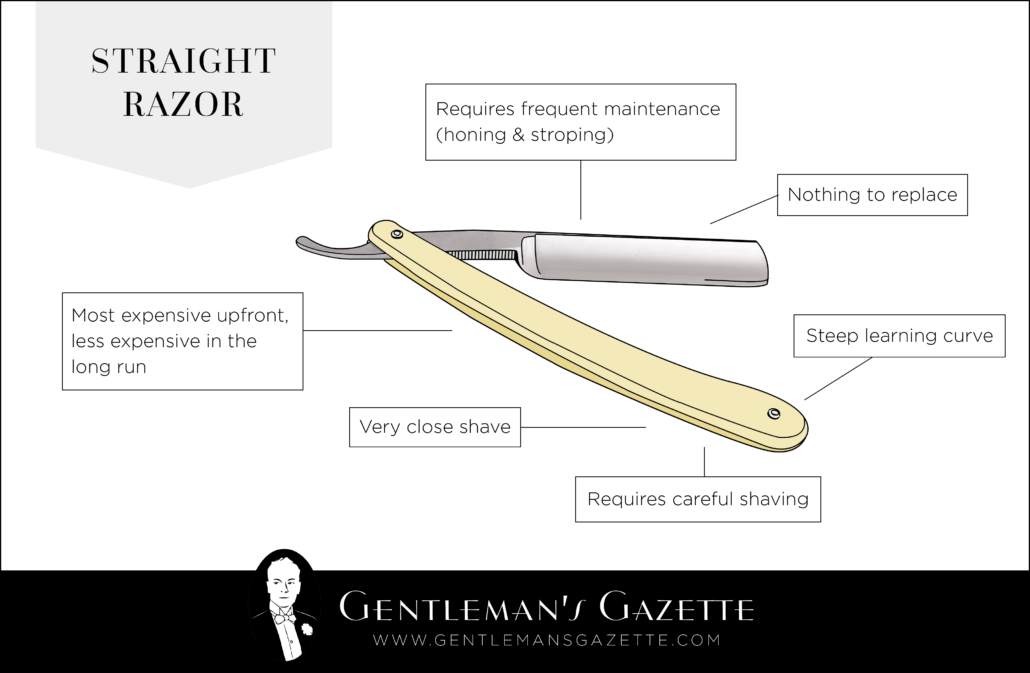
The big question here is, how can you achieve that same result of a DE shave, just a lot faster? Consider trying our founder, Sven Raphael Schneider’s shaving routine, which is geared towards the best result in the shortest amount of time.
Raphael’s Personal Method – Step 1: Pre-Shave Routine
First, Raphael starts by taking a warm shower (not doing any other prep work with towels), or just splashing his face, to get his hair in the right condition.
Discover our fool-proof pre-shave skin care regimen!
Step 2: Apply Shaving Cream by Hand
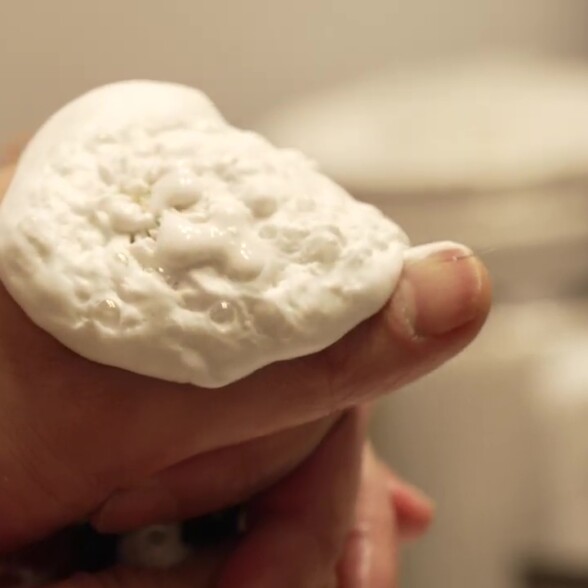
Save time by Applying products by hand
Raphael applies shaving cream out of the tube with his hands because that way, he doesn’t have to lather up or clean a brush.
Step 3: Make A First Pass with an Electric Shaver
Raphael uses an electric shaver to get rid of all the excess hair on his face. This is the equivalent of the first and maybe the second pass, but it’s a lot faster–and you don’t have to pay attention to cutting yourself because electric shavers are pretty good at minimizing this. All you have to ensure is that your electric shaver is meant to get wet; if not, you have a problem!
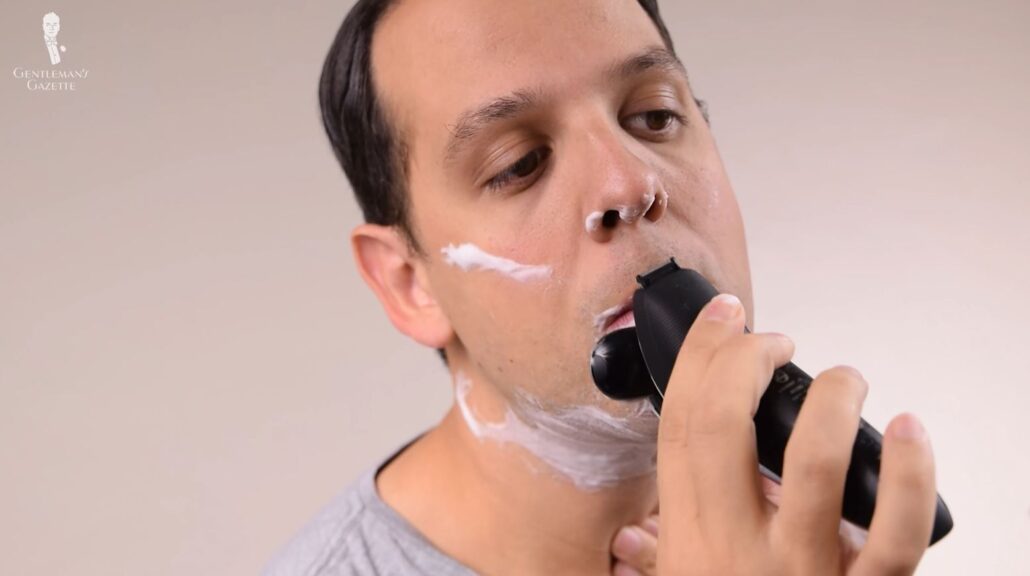
Raphael prefers a wet electric shave compared to a dry electric shave, simply because it gets a much closer result, and it can be done with shaving cream.
Step 4: Make A Pass Against the Grain with a Safety Razor
Once he’s done with the electric shaver, Raphael simply reapplies shave cream with his hand and shaves against the grain once with his double-edged razor. In addition to saving time, another advantage is that his razor blades last a lot longer this way–after all, it’s just one pass, not two or three.
Step 5: Post-Shave Routine
Finally, Raphael cleans up with cold water and adds his post-shave balm. And that’s it! Raphael can do all of this in about five to six minutes. Of course, when you’re starting out, it may take you a little longer, and this method has a disadvantage in that you also have to invest in a waterproof electric shaver, which can add $200 or $300 to the overall upfront investment. Like Raphael, though, you may find that the savings in time spent justify the cost.

UsE cold water to
Complete the shaving regimen
A good post-shave routine includes a thorough rinse with cold water. The low temperature soothes the skin that has been exposed to blades by reducing swelling and closes the pores.
Conclusion
That’s everything you need to know about necessary tools and how to shave with a DE razor in the classic way, as well as Raphael’s personal time-saving way. If you want to learn more about shaving, check out our complete shaving guide.
What’s your current shaving method? Do you use a DE razor? Share with us in the comments!
RECOMMENDED
Master the Art of Shaving with Our Shaving Guide
Each man has different needs, and even though we love a deep dive into one part of shaving, we know that the Big Picture is just as important. To answer the many shaving questions and concerns that we receive from men every day, we put together the most comprehensive Shaving Guide out there.
In assembling this work, we personally tested over one hundred shaving products to see how they performed. Our expert testers have extensive experience with all shaving methods, including cartridge, double-edged or safety, and straight razors, techniques, and tools. All products were tested comparatively by the same team, so you can be sure that every suggestion, tip, and review is unbiased and the direct result of our genuine opinions and assessments.
Experience the Ultimate Gent’s Luxury
Outfit Rundown
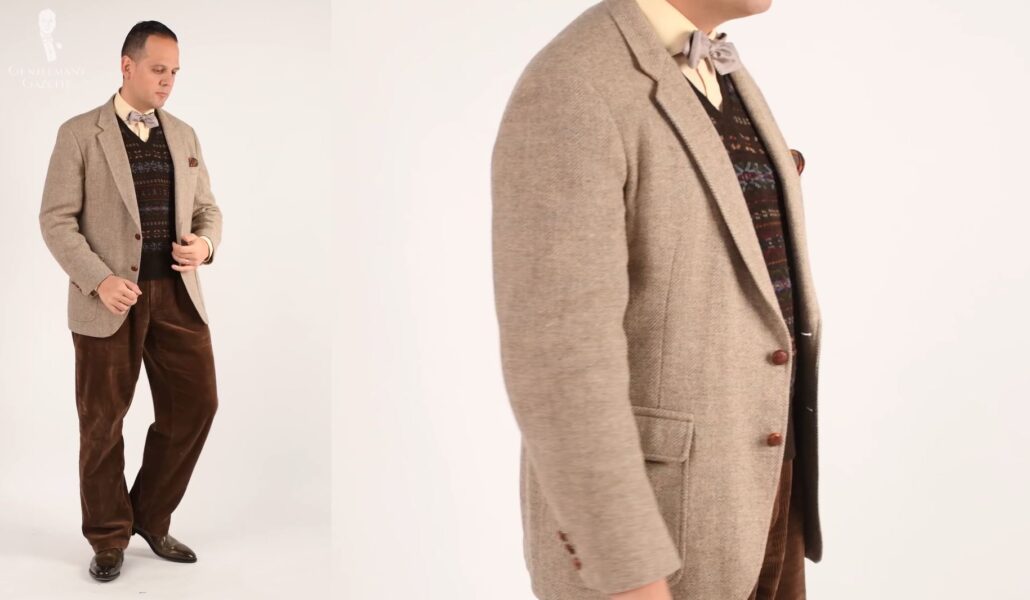
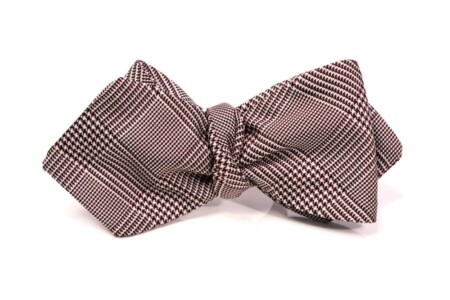
Raphael is wearing a combination of an orange or salmon-colored shirt with a fair isle knit vest in brown. He is combining it with a light beige herringbone tweed jacket and a Prince of Wales check bow tie in burgundy. It’s from Fort Belvedere, just like his silk-wool pocket square, which picks up the earthy tones of red, brown, green, and yellow.
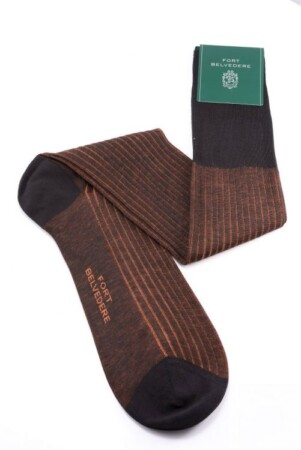
Raphael’s pants are mid-brown corduroys, and he’s combining them with Fort Belvedere socks in charcoal and orange shadow stripes, which from afar creates a look of something brownish, and therefore pair well with the pants as well as his olive green Derby shoes, while still providing enough contrast and picking up the orange and other warm tones in the outfit.
Enjoy an ASMR wet shave experience



Hi Sven, I notice that some of your readers make suggestions and I have one to add. GG should have a signature tune. At the beginning of each update Kyle, Dr Lee and Preston should join your good self in singing:
Hey, hey, we’re the Gentleman’s Gazette
and we don’t monkey around
we’re too busy helping men to be gentlemen
to put anybody down
Thanks for reading, Arthur! We’ll keep you posted if we make any progress on forming a Monkees tribute band. :)
A single pass with a Fatip Open Comb razor and a Feather blade works well enough for me. I use cold water only, works as well for the shave, and better for the prep (at least for my skin).
I’ve used a DE razor for the past 35 years. The biggest change for me was switching to cold water shaves. They really work better for me.
Another good post. However, I disagree with using an electric shaver.. This defeats the purpose of DE shaving. A number of razors (Merkur, Muhle, Edwin Jagger, etc.) can be purchased for around $50. There are also quite a few Chinese razors for $10 or less. Chinese razors have come a long way and are now pretty good. My favorite blades are Astra from Russia. China, Russia and India have more DE razor users than the rest of the world combined.
Search DE razor shave on youtube for more helpful hints.
One of the real secrets in a good shave is time ; allow your self the proper time needed to shave . There are many types of skin and hair out there so educate yourself about shaving to your individual needs .
The other important thing is using good gear . Don’t spend your money buying rubbish .
One of the few pleasures a mature man has is his grooming . Don’t skimp on time or on gear . A day of rest for your face is not a bad idea either .
Thanks so much for appreciating the double edged shaving , 3 swipes, perfect method. It’s not only for ‘older men taking their time and ritual”. Against the pop culture of ‘wokeness’ and the bearded feigns of masculinity….hey! Some of us are good looking and have handsome faces. Why hide behind the mask of dirty hair when nature gave one a ‘movie star’ face.? Shaving is a chore for some. Many others a grateful that they are naturally handsome and enjoy being admired for a clean smooth face. Thanks for the article.
Hi Sven, I use a DE. First I boil some water pour it into a small bowl. Next to that is my shaving mug with a bar of soap. I dip the shaving brush into the water and then lather up. I completely know what you mean about keeping the skin tight. I am guilty of shaving with loose skin and paid for it with nicks. Usually two passes is enough for me. Then I apply a aftershave balm. It was a very good article.
This is counterintuitive, but once you prepare your beard with HOT water, HOT towel, and HOT shaving soap, rinse your razor with COLD water, and you will find the improved comfort practically miraculous.
In all reality wet shaving is only good during the summer months when the humidity is high and that’s the only real alternative you have in shaving at that period. Unless you’ve got the AC on constantly.(depending what part of the country you live). Winter, when it’s cold and dry, electric is probably the best way to go. Just prep with a good “drying type” of soap like Ivory. I’m 63 and retired and don’t really feel the need anymore to shave everyday like I used to. I’ve noticed that wet shaving is best when you “Let It Go” for a couple of days. regardless of atmospheric conditions. One more thing, badger brush is the best way to go. Boar bristle are a bit too stiff and badger really works up a good lather. And after probably 70 years, I’ve still got my dad’s old Old Spice glass soap mug and it still works great with the right “Puck” style soap. Past few years I’ve been training myself to shave “straight razor”, real interesting.
By the way Sven, I’ve notice the Jacket you wear in one of your pictures. That’s something you should do a blog about….Smoking Jackets.
I agree that you can save a lot of money with DE razor.
However, chances are you start the quest to find the optimal combination of blade, handle, prep oil, soap/creme, brush, after shave.
You can then invest your savings in your new hobby “shaving”, which is no longer a tedious task for grooming purposes, but a – often quite celebrated time consuming – ritual.
If you need a quick shave and do not have time to prep and soak your face with water, use some shaving oil before applying the lather. And yes, if you have run out of your shaving oil you can use some olive oil from the kitchen.
Since I saw a photo of the Japanese Feather blades a warning. As a beginner you should use them only in a Feather handle.
If you use them in another handle, even advanced shavers get cuts, and we don’t talk nicks but bloodbath here.
If, however, you use a Feather blade with a Feather handle it is the smoothest and most risk-less shave you will experience.
I switch between Feather Metal Razor & Feather Blades and a Merkur Futur with Personna Blades at home. For the brush I prefer pig bristles over badger.
The Merkur I use always when I haven’t shaved for a day or two after outdoor activities.
For travelling I use the Feather Plastic handle with Feather blades. Travelling I also don’t use a scuttle but just my palm to get lather.
If shaving develops into a hobby, you will sooner or later come across an after shave called Alt-Innsbruck. Its smell is a little too heavy and old (think Marlon Brando in “The Missouri Breaks”) for me, but the sensation when the icy cold kicks in a few seconds after applying is priceless.
If you are adventurous you can replicate this feeling with any after shave, on your own responsibility of course.
Get in your next pharmacy store and buy a gram or so of pure Menthol. Add just a few crystals into your favourite after shave and you can experience the feeling of an icy mountain river flowing over your face with your favourite after shave-
Speaking of after shaves, get informed about witch-hazel… I’ll stop now. :)
Thank you for this article. It gave me the impetus to immediately buy new shaving gear.
You are welcome. :)
Hi Sven, I’m 50 and even if I used the shaving soap with an Omega “48” brush for many years, just from one year I found perfect for me the shaving with a Muhle DE paired with Feather blades. I must be very careful but it ensures a perfect and smooth skin, when I take a shower and immediatley out I put myself in front of the mirror. I leave the Omega for the shower time in hot water. Actually I use Geo F. Trumpers Eucris solid soap, and Floid aftershave. The shaving ritual takes around 15 minutes as average, and I’m not capable of come back to plastic razors even if I’m pressed by time.
Great article, the tight skin is essential to make a good result…
Gold plated Merkur…finest kind. Great photo of Sven und Frau by the way!
Hi,
I do my shaving by using a a twin blade & a gel based shaving cream with a shaving brush. After shaving I rinse my face with water & then use an Alum Bar to clear off any infection & then finish off with a shaving balm. Is using an Alum Bar ok or not?
Great article. I use Geo trumpers or Prorasso. But instead of an electric razor I use a Gillette Pro glide as my first pass and then use a Merkur Futur for the second. Works much better
Thank you for sharing, Shiro.
I used to shave with plastic Gillette or Schick razors, which are widely available in supermarkets. I recently got a Merkur DE “travel” razor by Amazon, and I have to say: the change was AWESOME, and I use it in face as long as body. The irritation and skin spots I get with those plastic razors disappeared, the skin feels more fresh and soft. Definitely it was one of my best investments and I totally recommend it.
Thanks for sharing!
Upon the recommendation of GG, I switched to wet shaving with a DE about 8 months ago. I should have done that many years ago, but better late than never. I’m now an evangelist for DE shaving, and I’ve gotten several friends to ditch the expensive an fairly useless cartridges.
It took me about 6 months to get good at this, meaning getting a consistently close shave without cutting up my face. With daily practice, I’ve learned to go faster and I”m always improving my technique.
I would recommend that any beginner get a sampler pack of razors to try out different brands. I picked Wilkinson Sword blades as they seemed to do a good job without making much trouble. However, when I ordered a box of 50 blades, I noticed they were distinctly inferior to the samples.
Some online reviews state that they have found that a favorite brand will send out a bad batch, or that production has moved to another place, or some other variable occurs. So consistency might be a problem. The gentleman consumer really has no control over that, but he should be mindful of this potential issue.
Such a shame that Astra brand is now produced in Russia. It was Czech wellknown brand! The original factory in the Czech Republic where Astra blades were produced continues to operate under the name Czech Blades. They have maintained production of their own shaving blades and other related products after Astra’s manufacturing was moved to Russia under Gillette’s ownership.
Czech Blades has leveraged its long-standing expertise in blade manufacturing to produce a variety of high-quality razor blades, maintaining a reputation for excellence in the shaving industry. Their products are well-regarded for their sharpness and durability, continuing the legacy of quality established by the original Astra blades.